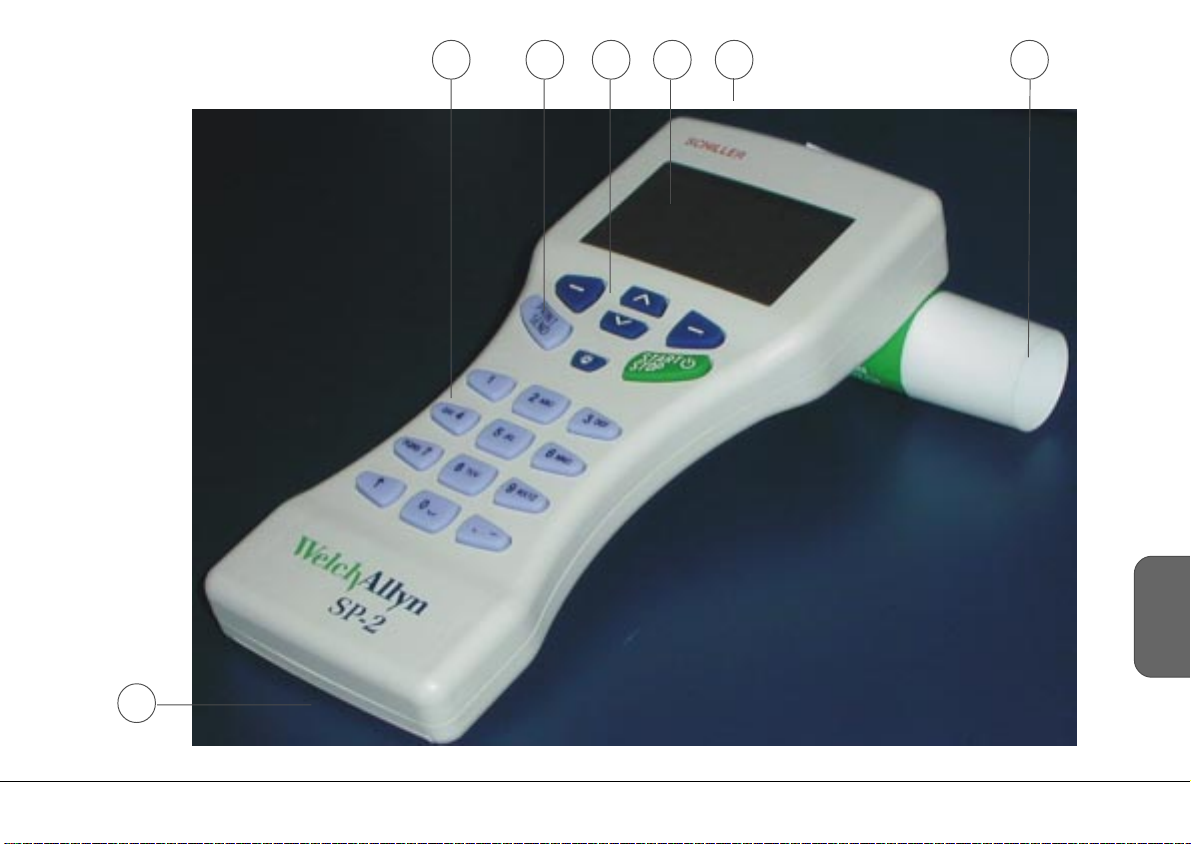
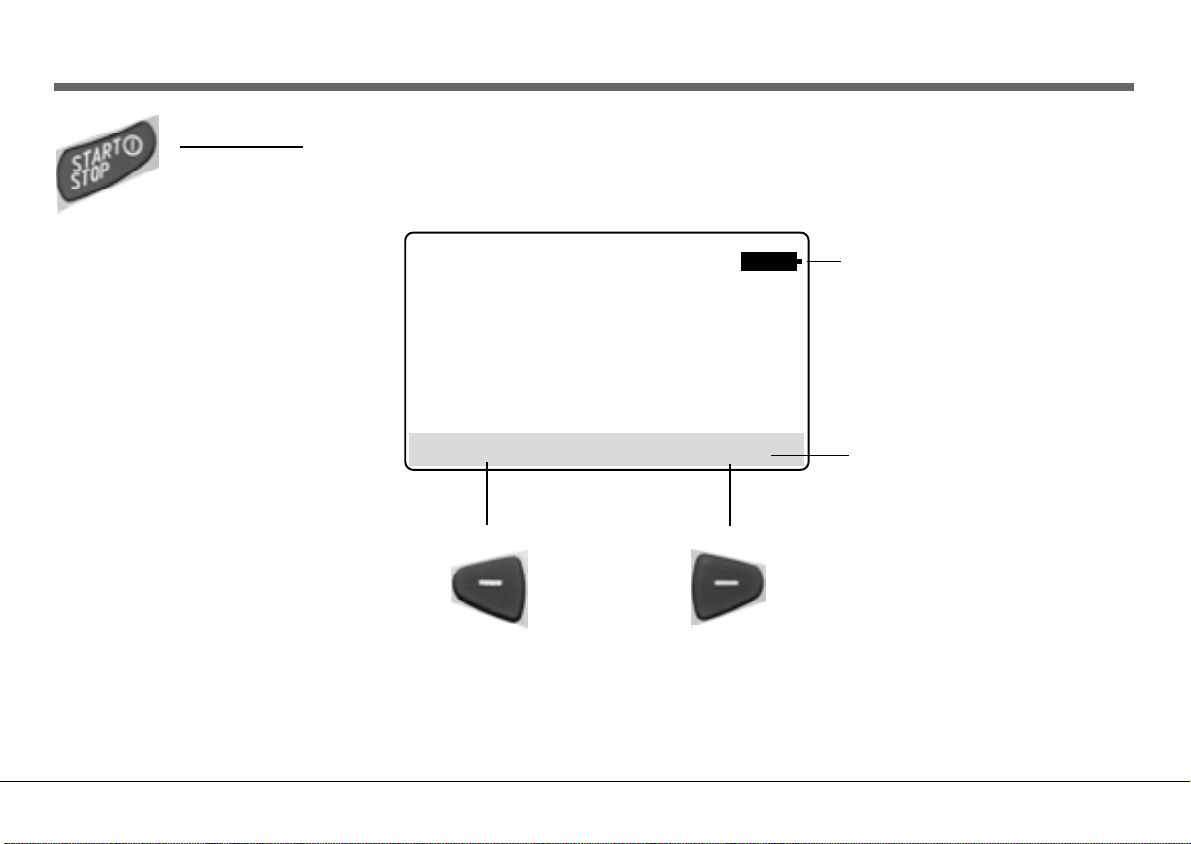
Welch Allyn Schiller SP-2 User manual
Other Welch Allyn Medical Equipment manuals

Welch Allyn
Welch Allyn 650 Manual

Welch Allyn
Welch Allyn CP300 How to use

Welch Allyn
Welch Allyn Spot VS100 User manual

Welch Allyn
Welch Allyn CP 150 User manual

Welch Allyn
Welch Allyn Insight 13500 Manual

Welch Allyn
Welch Allyn 53 User manual

Welch Allyn
Welch Allyn Vital Signs Monitor 300 Series Manual

Welch Allyn
Welch Allyn CP 150 User manual

Welch Allyn
Welch Allyn Connex Vital Signs Monitor 6000 Series User manual

Welch Allyn
Welch Allyn CP 50 Mounting instructions

Welch Allyn
Welch Allyn ELI 380 User manual

Welch Allyn
Welch Allyn DuraShock DS45 Instruction Manual

Welch Allyn
Welch Allyn CP 150 User manual

Welch Allyn
Welch Allyn Kreativ User manual

Welch Allyn
Welch Allyn CP 100 Manual

Welch Allyn
Welch Allyn PocketScopes Instruction Manual

Welch Allyn
Welch Allyn 18200 User manual

Welch Allyn
Welch Allyn RetinaVue User manual

Welch Allyn
Welch Allyn Schiller AT-2plus User manual

Welch Allyn
Welch Allyn PocketScopes Otoscope Instruction Manual