2User manual WMF bistro!
Introduction and General Information
Congratulations on the purchase of your
WMF coffee machine
You will be impressed by technical design, durability,
economy of use and, first and foremost, the quality of the
coffee.
The WMF bistro! coffee machine is a fully automatic single-
cup machine for espresso, café crème, cappuccino, latte
macchiato, milk coffee, foamed milk and hot water.
With its optionally available choc hopper, the bistro! can
also make hot chocolate with milk or milk foam.
Each beverage is freshly brewed at the press of a button
which guarantees a high quality beverage.
Operator control of the machine is possible via a graphic
touch-pad display. Up to eight beverage buttons are
available on the operating panel. The beverage buttons
can be allocated on two levels and have a lettering space.
Additional function keys are allocated depending on the
machine configuration.
Keep these instructions near the coffee machine so that
you and your operating staff have the right information
handy and can take the correct action in the event of any
technical problems arising.
The maintenance concept for the machine is designed for
preparation of 60,000 coffee servings and 6,000 chocolate
beverages per year. Customer check-up is required after a
maximum of 6 months and maintenance is planned after
each 30,000 brewings. Alternative maintenance concepts
for higher brewing rates can be agreed upon individually.
Please read the user manual prior
to using the coffee machine!
Ensure staff have access to the
user manual!
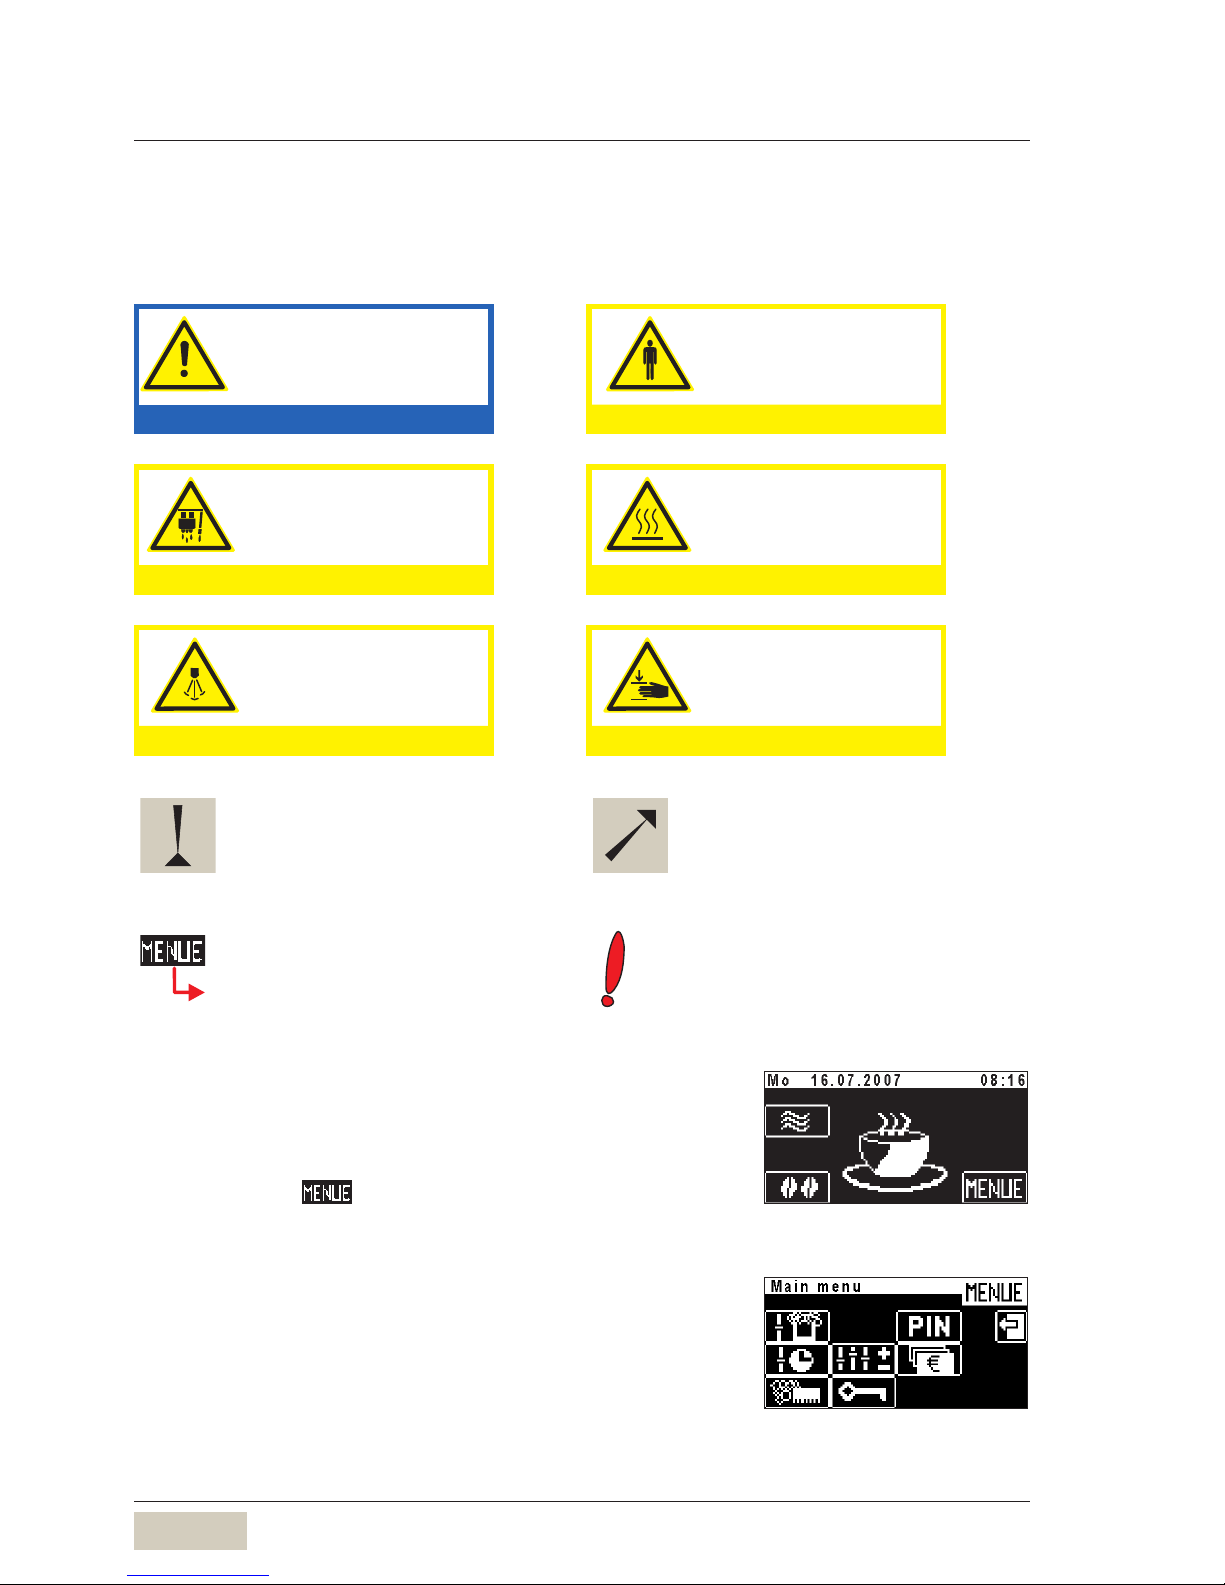
Important! Chapter 1 Introduction
User Manual Signs and Symbols
see chapter Safety!
Please read the user manual prior
to using the coffee machine!
Ensure staff have access to the
user manual!
Important! Chapter 1 Introduction
User Manual Signs and Symbols
see chapter Safety!
In the event of failure to comply
with maintenance information (see
chapter Maintenance), no liability
is accepted for any resultant
damage.
Similarly all guarantee/warranty
obligations cease to apply in such
cases.
In the event of failure to comply
with maintenance information (see
chapter Maintenance), no liability
is accepted for any resultant
damage.
Similarly all guarantee/warranty
obligations cease to apply in such
cases.