manuals.online logo
Brands
  1. Home
  2. •
  3. Brands
  4. •
  5. WYLER
  6. •
  7. Measuring Instrument
  8. •
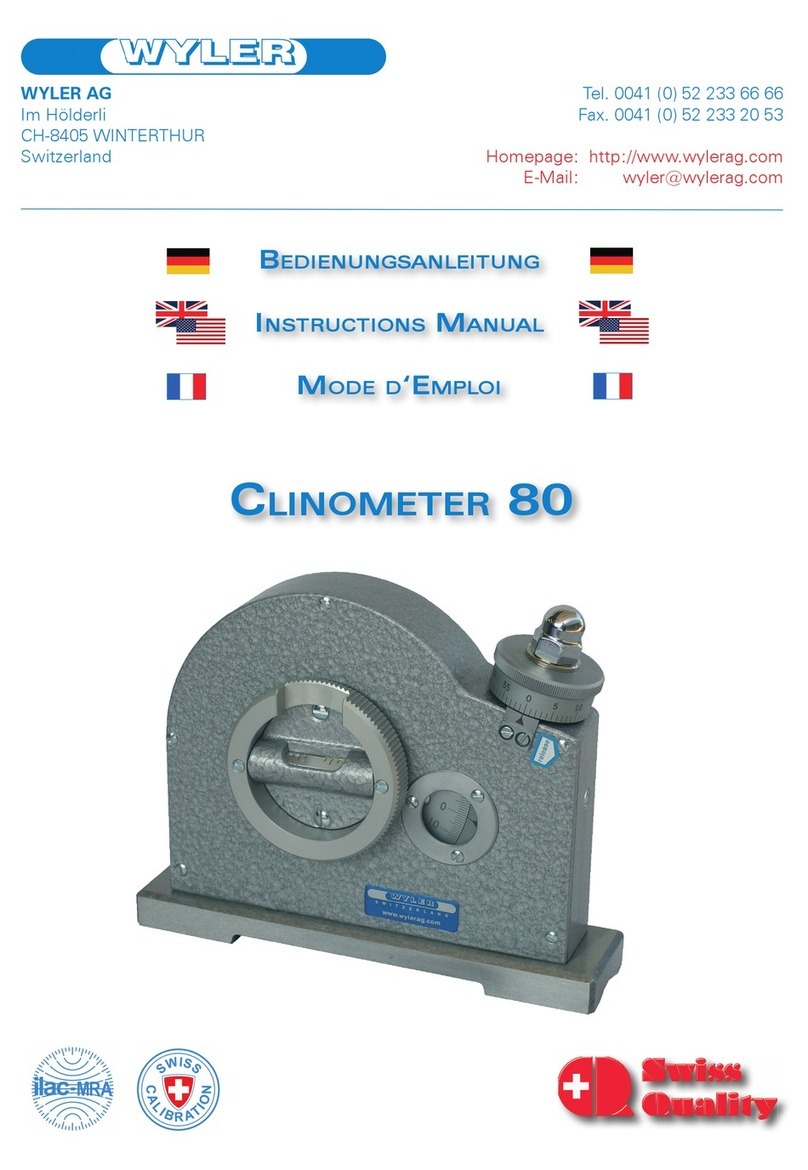
  9. WYLER CLINOMETER 80 User manual

WYLER CLINOMETER 80 User manual

Other manuals for CLINOMETER 80

1

Other WYLER Measuring Instrument manuals

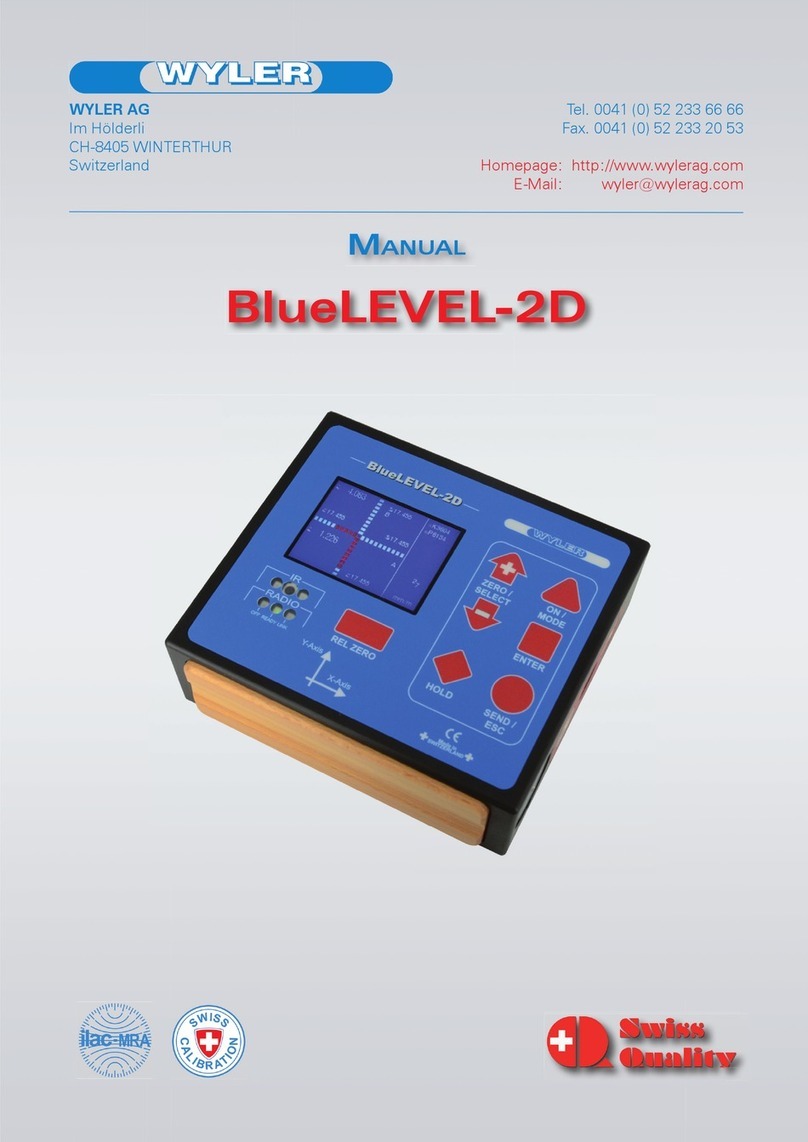
WYLER BlueSYSTEM User manual

WYLER

WYLER BlueSYSTEM User manual

WYLER Clinotronic PLUS User manual

WYLER

WYLER Clinotronic PLUS User manual

WYLER BlueCLINO User manual

WYLER

WYLER BlueCLINO User manual

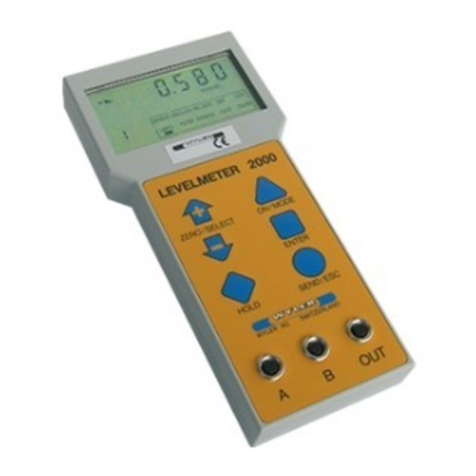
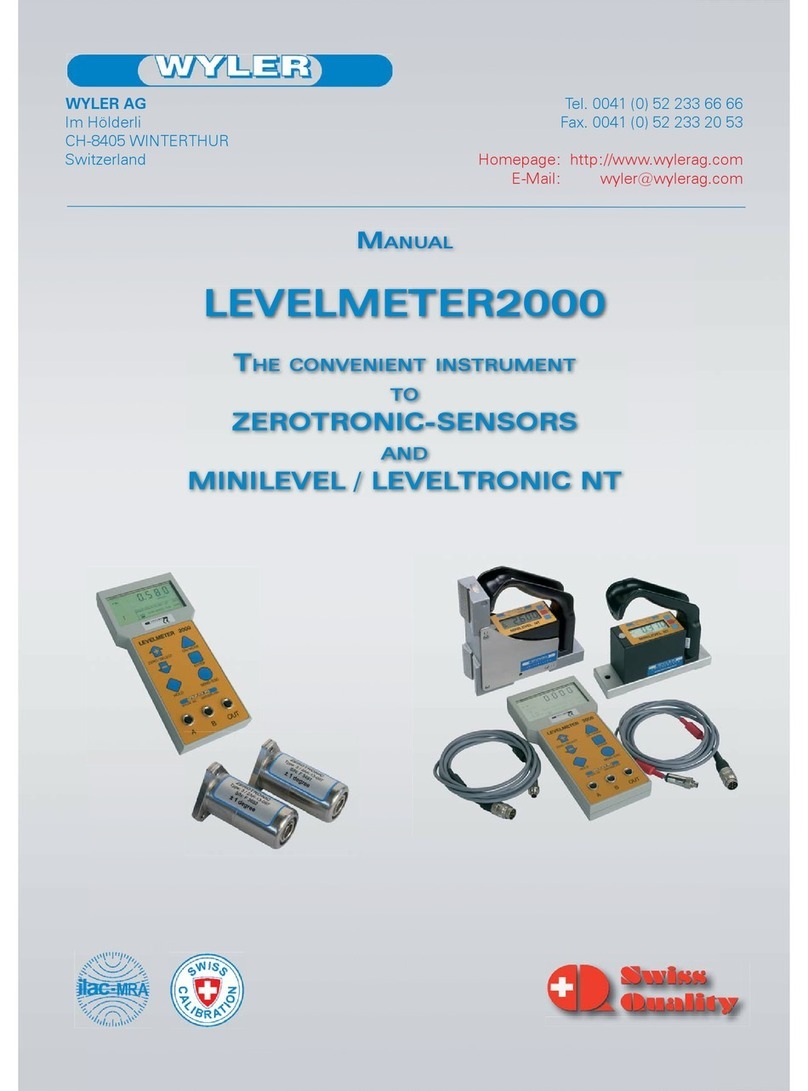
WYLER Levelmeter 2000 User manual

WYLER

WYLER Levelmeter 2000 User manual

WYLER LEVELTRONIC NT User manual

WYLER

WYLER LEVELTRONIC NT User manual

WYLER BlueSYSTEM User manual

WYLER

WYLER BlueSYSTEM User manual

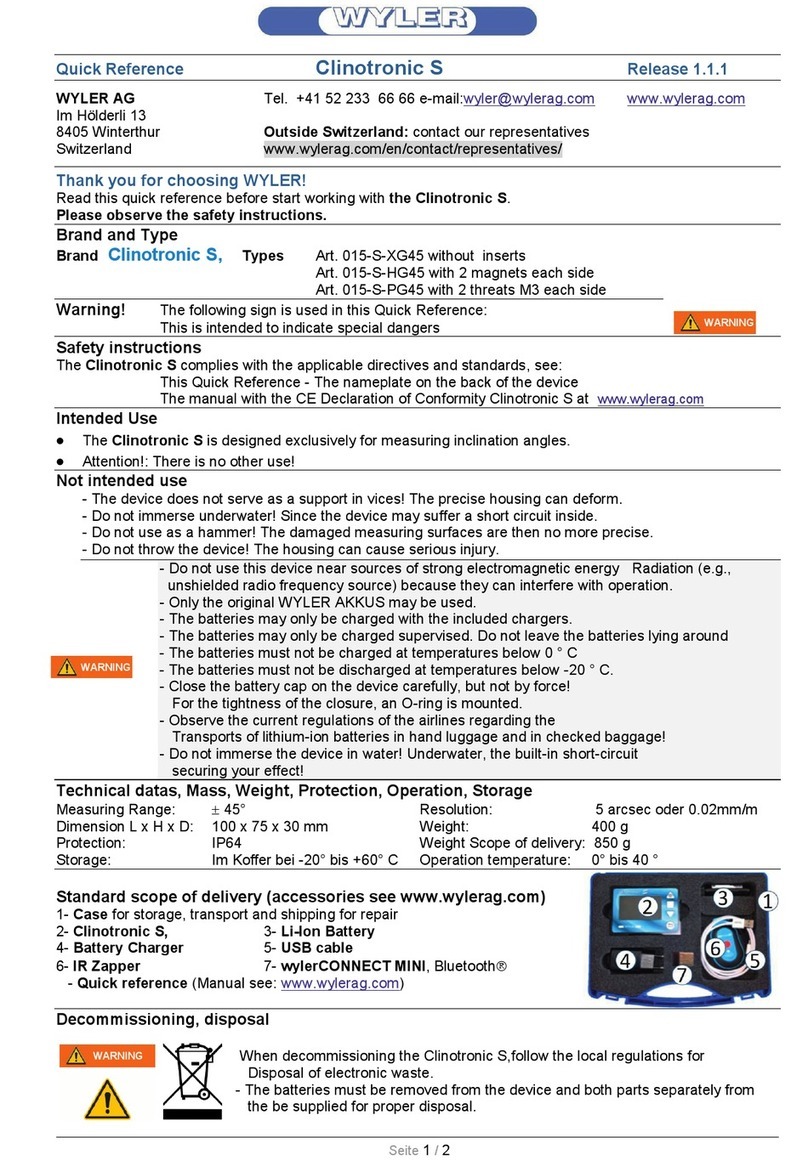
WYLER Clinotronic S User manual

WYLER

WYLER Clinotronic S User manual

WYLER Clinotronic S User manual

WYLER

WYLER Clinotronic S User manual

WYLER Clinotronic S User manual

WYLER

WYLER Clinotronic S User manual

WYLER Clinotronic S User manual

WYLER

WYLER Clinotronic S User manual

WYLER wylerLEVEL User manual

WYLER

WYLER wylerLEVEL User manual

WYLER ML NT 11 User manual

WYLER

WYLER ML NT 11 User manual

WYLER BlueLEVEL-2D User manual

WYLER

WYLER BlueLEVEL-2D User manual

WYLER CLINOMETER 80 User manual

WYLER

WYLER CLINOMETER 80 User manual

Popular Measuring Instrument manuals by other brands

Powerfix Profi 278296 Operation and safety notes

Powerfix Profi

Powerfix Profi 278296 Operation and safety notes

Test Equipment Depot GVT-427B user manual

Test Equipment Depot

Test Equipment Depot GVT-427B user manual

Fieldpiece ACH Operator's manual

Fieldpiece

Fieldpiece ACH Operator's manual

FLYSURFER VIRON3 user manual

FLYSURFER

FLYSURFER VIRON3 user manual

GMW TG uni 1 operating manual

GMW

GMW TG uni 1 operating manual

Downeaster Wind & Weather Medallion Series instruction manual

Downeaster

Downeaster Wind & Weather Medallion Series instruction manual

Hanna Instruments HI96725C instruction manual

Hanna Instruments

Hanna Instruments HI96725C instruction manual

Nokeval KMR260 quick guide

Nokeval

Nokeval KMR260 quick guide

HOKUYO AUTOMATIC UBG-05LN instruction manual

HOKUYO AUTOMATIC

HOKUYO AUTOMATIC UBG-05LN instruction manual

Fluke 96000 Series Operator's manual

Fluke

Fluke 96000 Series Operator's manual

Test Products International SP565 user manual

Test Products International

Test Products International SP565 user manual

General Sleep Zmachine Insight+ DT-200 Service manual

General Sleep

General Sleep Zmachine Insight+ DT-200 Service manual

Sensa Core Lacto Spark user manual

Sensa Core

Sensa Core Lacto Spark user manual

VOLTCRAFT UTS-1980 operating instructions

VOLTCRAFT

VOLTCRAFT UTS-1980 operating instructions

EBCHQ 94915 Operation manual

EBCHQ

EBCHQ 94915 Operation manual

Balluff BIP LD2-T017-01-EP-S4 Series user guide

Balluff

Balluff BIP LD2-T017-01-EP-S4 Series user guide

Pulsar IMP Lite Series instruction manual

Pulsar

Pulsar IMP Lite Series instruction manual

ETCR 6800 user manual

ETCR

ETCR 6800 user manual

manuals.online logo
manuals.online logoBrands
  • About & Mission
  • Contact us
  • Privacy Policy
  • Terms and Conditions

Copyright 2025 Manuals.Online. All Rights Reserved.

Technical changes reserved Release R1.0 947-QR-0015-E
0
Quick Reference CLINOMETER 80 page 1
WYLER AG
Im Hoelderli 13 Phone +41 52 233 66 66 Outside Switzerland:
8405 Winterthur E-Mail: wyler@wylerag.com contact our representatives
Switzerland Website: www.wylerag.com www.wylerag.com/en/contact/representatives/
Thank you for choosing WYLER!
Read this quick reference before start working with CLINOMETER 80.
Please follow the safety instructions.
Brand and Type
Brand CLINOMETER 80 Type Art.no. 180-150-112-300
180-150-115-300
Warning! The following sign is used in this quick reference:
This is intended to indicate special hazards
Intended use
The CLINOMETER 80 is designed exclusively to measure inclination with the range +/- 180°
Attention: There is no other use!
Not intended use / safety instructions
- Do not use as a hammer! Probably damaged measuring surfaces are not usable
anymore.
- Do not throw the device! The housing can cause serious injury.
Technical data, dimension, weight, operation/storage-temperature, storage box
Prisma for cylinder Ø: 17..80 mm Scale vial: 0.3 mm/m  1 arcmin
Roll over stability: +/- 2° Scale micrometer drum: 1 arcmin
Instrument L x W x H: 150 x 35 x 116 mm Main scale: 1°
Case L x W x H: 205 x 75 x 175 mm Weight net: 1.6 kg
Operation/storage temp.: 15..25°C / -40..70°C DIN 2276-1 Weight case: 0.5 kg
Standard scope of delivery
CLINOMETER 80
Case for storage, transport and shipping.
Quick reference
Parts
*The knurled ring (4) mounted on the
micrometer drum (5) serves as a
handle to loosen the main scale
(coarse setting) by pushing it to the right side of the housing. Turn the vial (2) into the horizontal position and
carefully release the knurled ring (4) again. Then turn the knurled ring (4) for fine adjustment.
Decommissioning, disposal
When decommissioning the CLINOMETER 80, follow the local regulations for
disposal of metal waste.
WARNING
WARNING
WARNING
3 Prismatic
base,
ready for Ø 17..80mm,
optional with magnets
1 Body
5 Graduated micrometer drum, 60 arcmin per
rotation
Scale: 1 arcmin
2 Vial
Scale 0.3 mm/m
 1 arcmin
6 Main scale: ± 180°
Scale: 1 °
4 Knurled ring for loosening the main scale
and fine adjustment of the micrometer drum*
Technical changes reserved Release R1.0 947-QR-0015-E
Quick Reference CLINOMETER 80 page 2
Positive and negative inclination: definition of the main scale (6)
By turning the micrometer drum (5), the main scale (6) moves:
- Positive angle: The 0 decreases downwards, the values increase
positively.
- Negative angle: The 0 increases, the values decrease negatively.
2 examples
Depending on whether the inclination is negative or positive, proceed as follows:
1. Example of measurement with a negative inclination
- Place the CLINOMETER 80 in a stable position
on the measurement object.
- Uncouple the knurled ring (4) to the right and turn
the vial (2) until it is roughly horizontal.
- Carefully guide the knurled ring (4) back to the left.
- Turn the knurled ring (4) until the vial bubble (2) is
centered.
- Make sure the last correction by turning in the
direction of ascending micrometer drum (5) takes
place.
- Read the the value from the main scale (6)
and add it to the value of the micrometer
drum (5).
Result: -9° + (-35) arcmin = -9° 35’
2. Example of measurement with a positive inclination
- Place the CLINOMETER 80 in a stable position on the measurement object.
- Uncouple the knurled ring (4) and turn the level (2) until it is roughly horizontal.
- Carefully guide the knurled ring (4) back.
- Turn the knurled ring (4) until the vial bubble (2) is centered.
- Make sure the last correction by turning in the direction of ascending
micrometer drum (5) takes place.
- Read the inclination from main scale (6), thereafter read the
micrometer drum (5):
Calculate the number of missing arcmin up to
60 arcmin, add the calculated figure to the reading of the main scale (6).
Result: 25° + 6 arcmin = 25° 6’
Maintenance
Please note:
The base is made on steel.
To protect the steel base
against rust, clean it with an
oil-soaked cloth.
Keep the CLINOMETER 80
in the case.
In the event of damage,
send the device to your
national representative.