manuals.online logo
Brands
  1. Home
  2. •
  3. Brands
  4. •
  5. Yale
  6. •
  7. Door Opening System
  8. •
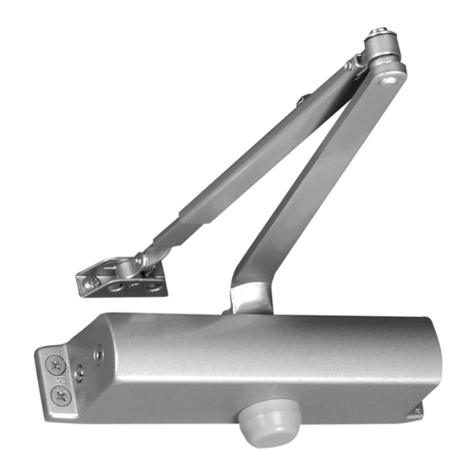
  9. Yale YM Series User manual

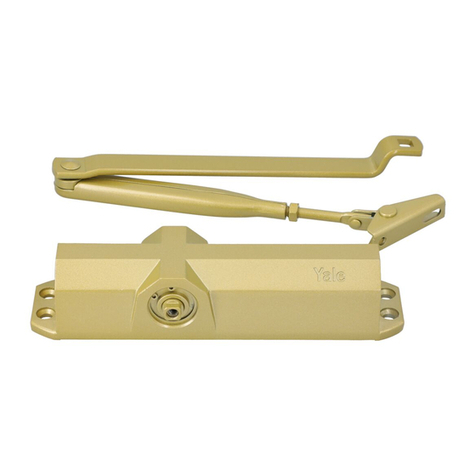
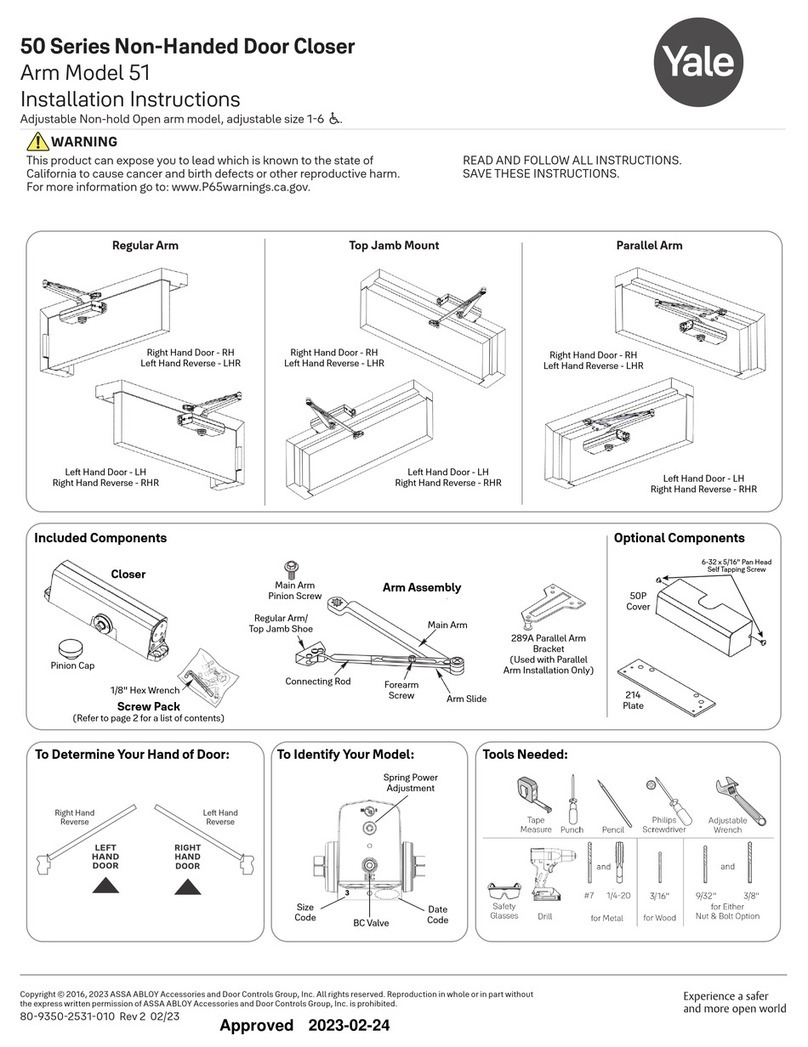
Yale YM Series User manual

3/16”
#7
1/4-20
for Wood drill 7/32
Machine Screws
#7 Drill, 1/4-20 Tap
Sleeve Nut and Bolt
Drill 9/32 thru from Closer Side
3/8 Drill other Side
(Optional)
Metal Wood
Doors should be hung on ball bearing or
anti-friction hinges.
A separate door stop is recommended.
Door and frame must be properly
reinforced.
Always adjust spring power before
adjusting control.
Adjust closing time speed between 3 and 7
seconds from 90° to 0°. Greater closing
times may be required for elderly or
handicapped.
These door closers should be
installed on the exposed side (weather
side) of exterior doors.
NOT
Installation must be in accordance with
American National Standard A115.
Left Hand Door - LH
Right Hand Reverse - RHR Right Hand Door - RH
Left Hand Reverse - LHR
Regular Arm
Installation
See Page 2
Regular Arm
Installation
See Page 2
Self Drilling Screws
Wood and Metal
For Wood drill 3/16 hole
* Pilot Hole
Required
Left Hand Door - LH
Right Hand Reverse - RHR
Top Jamb
Installation
See Page 5
Top Jamb
Installation
See Page 5
Right Hand Door - RH
Left Hand Reverse - LHR
Right Hand Door - RH
Left Hand Reverse - LHR
Left Hand Door - LH
Right Hand Reverse - RHR
Parallel Arm
Installation
See Pages
3&4
Parallel Arm
Installation
See Pages
3&4
Power Adjustment Shaft
Backcheck Valve
Closer
Body
Sweep Valve
Latch Valve
Regular Arm/Top
Jamb Shoe
Connecting Rod
Main Arm
Closer Arm
Insert Cutouts
Cover
Insert
Full Cover Screw Pack
Thru Bolt and Grommet Nut
Drill 9/32 thru from Closer Side
3/8 Drill other Side
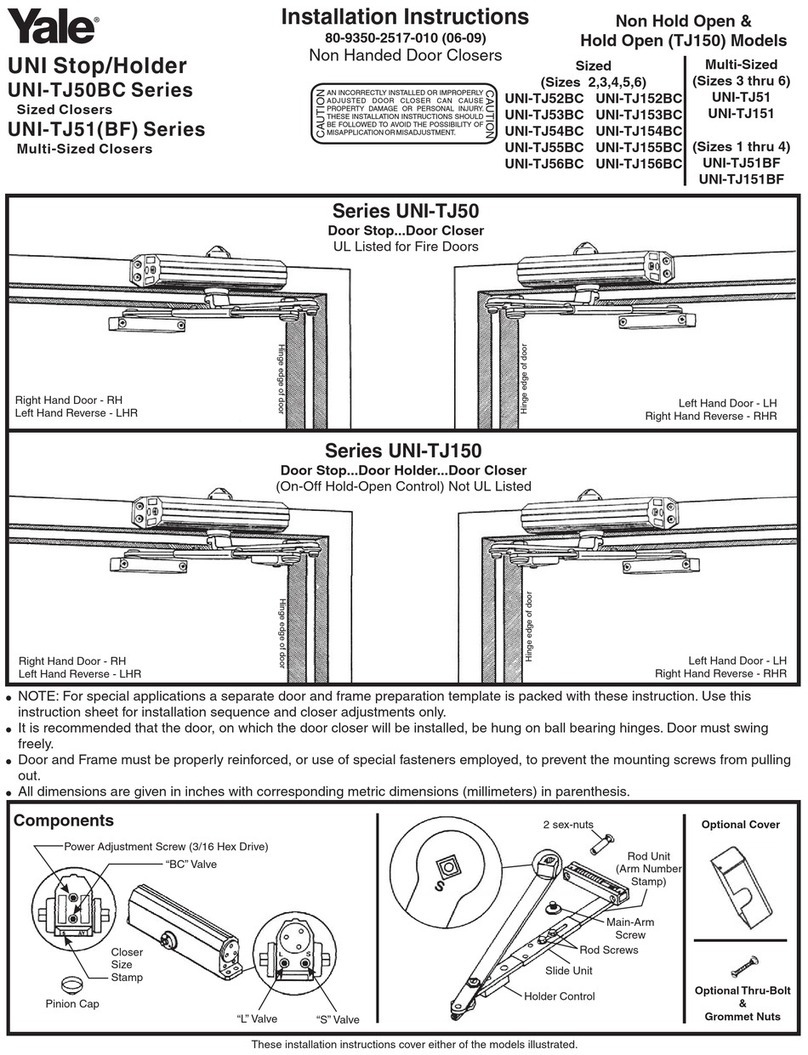
Installation Instructions
80-9325-0025-010 (06-08)
Non Hold Open Models
Adjustable (Sizes 1 thru 6)
YMDC2501
YMDC2000 Series
Non Handed Door Closer
CAUTION
CAUTION
An Incorrectly installed or
improperly adjusted door closer can
cause property damage or personal
injury.Theseinstallationinstructions
should be followed to avoid the
possibility of misapplication or
misadjustment.
!
Hinge Edge of Door
Hinge Edge of Door
Parallel Arm
Bracket
Hinge Edge of Door
Hinge Edge of Door
7
45
2
3
Non Hold Open Door Closers — Regular Arm
*Door/Wall/Hardware/Jamb
conditions permitting
Right Hand Shown
Inches
(mm)
YMDC2000 Series
Cover
Opening
To 100°
101° to 130°
131° to *180°
7-1/2
(191)
6
(152)
4-1/2
(114)
Dimension "A"
5-1/2
(140) 1-3/4
(44)
12
(304.8)
1
(25.4)
A
1-3/8
(35) 3/4
(19)
Mark and Drill Holes
Installation Sequence
1
Parts
Latch
Sweep
6
Backcheck
Caution:
Don't completely
close valve
!
—2—
Nut
Spring Power Adjust
(If Necessary)
Install cover using screws provided.
C
L
Y
S
Z
R
54 6
2
80-9325-0025-010 (06-08)
YMDC2000 Series Non Hold Open Door Closers — Parallel Arm
*Door/Wall/Hardware/Jamb
conditions permitting.
R
o
t
a
t
e
Door
Opening
To 120°
*121° to 180°
A
9-1/2
(241)
7
(178)
B
3-3/4
(95)
1-1/4
(32)
Close Valves
Latch
"L”
Sweep
"S”
3-1/2
(89)
3/4
(19) 12
(304.8)
Top of
Door
Inches
(mm)
Frame
BC
L
1/2
(13)
7/16
(11)
2
(51)
2-3/4
(70) 3/8
(10)
A
Remove Arm
from Spindle
Place Arm on
Spindle
—3—
Mark and Drill Holes
Install Closer and Bracket Preload Closer
Right Hand Shown
Parts 1
3
Installation Sequence
C
7
14
98
80-9325-0025-010 (06-08)
Non Hold Open Door Closers — Parallel Arm
11
10 Spring Power Adjust
(If necessary)
Adjust Arm
Arm Screw
Cover
Open Valves
Caution:
Don't remove
valves
!
12
13
Latch
Sweep
Backcheck
—4—
Caution:
Don't completely
close valve
!
15
YMDC2000 Series
Install cover using screws provided.
Latch
Sweep
L
Y
S
Z
R
L
Y
S
Z
R
Left Hand
Door
Right Hand
Door
or
B
A
Flat
Flat
6
3
2
Spring Power Adjust
(If Necessary)
1
Backcheck
*Door/Wall/Hardware/Jamb
conditions permitting
—5—
Caution:
Don't completely
close valve
Cover
3" Reveal
Max.
Opening
To 100°
101° to 130°
131° to *180°
7-1/2
(191)
6
(152)
4-1/2
(114)
Dimension "A"
Right Hand Shown
5
Latch
Non Hold Open Door Closers — Top Jamb Arm
12
(304.8)
A
3/4
(19)
1/2
(13)
5-1/2
(140)
1-7/8
(38)
1-3/4
(44) C
L
Top of
Frame
Installation Sequence
Mark and Drill Holes
!
4
Sweep
7
YMDC2000 Series
Inches
(mm)
Install cover using screws provided.
Parts
C
L
Y
S
Z
R
—6—
Arm Placement in Shoe
YMDC2000 Series
CLOSED
70°
10°
80-9325-0025-010 (06-08)
Spring Power Adjustment
Adjustment Chart
EXTERIOR
INTERIOR
Regular Arm
Top Jamb
Regular Arm
Top Jamb
Parallel Arm
Parallel Arm
FULL 360° TURNS OF
ADJUSTMENT WRENCH
DOOR
TYPE
OF
INST. *
32”
(0.85M) 36”
(0.90M) 42”
(1.00M) 48”
(1.20M)
3711 16
69
15 19
4813 17
6915 19
*
21 FULL (360°) TURNS MAXIMUM AVAILABLE
MAXIMUM DOOR SIZE
Number of Turns Required
or
or
7-1/2 % stronger
7-1/2 % weaker
(Use allen wrench for these Adjustments)
Backcheck
Latch "L"
Sweep "S"
Closer is shipped set at mid range setting = 12 turns
Adjust Closing Speed Time to between 3 to 7 seconds from 90°.
Use of the door by handicapped, elderly or small children may
require greater closing time.
!
The closing force for series YMDC2000 door closers is adjustable
from a size 1 to a size 6, as outlined in ANSI StandardA156.4.
When these series of door closers are installed and adjusted to
conform to ADA reduced opening force requirements (5 lbs max.) for
interior doors, they may not have adequate closing force to reliably
close and latch the door. Power adjustments charted on this page are
recommended where possible, to ensure proper door control.
By law the Americans with
Disabilities Act (ADA) may
require that door closer
installation comply with
accessability guidelines.
!
100 Yale Avenue, Lenoir City, TN 37771 • Product Support Tel 800.438.1951 • Fax 800.338.0965 • www.yalecommercial.com
An ASSAABLOY Group brand
Yale® is a registered trademark of Yale Security Inc., an ASSAABLOY Group company. Other products' brand names may be trademarks or registered trademarks of their respective
owners and are mentioned for reference purposes only. These materials are protected under U.S. copyright laws.All contents current at time of publication. Yale Security Inc., an ASSAABLOY Group
company reserves the right to change availability of any item in this catalog, its design, construction, and/or its materials. Copyright © 2008, Yale Security Inc., anASSAABLOY Group company.
All rights reserved. Reproduction in whole or in part without the express written permission of Yale Security Inc. is prohibited.
(Use 5/16” Socket or Adjustable Wrench for this Adjustment)

This manual suits for next models

2

Other Yale Door Opening System manuals
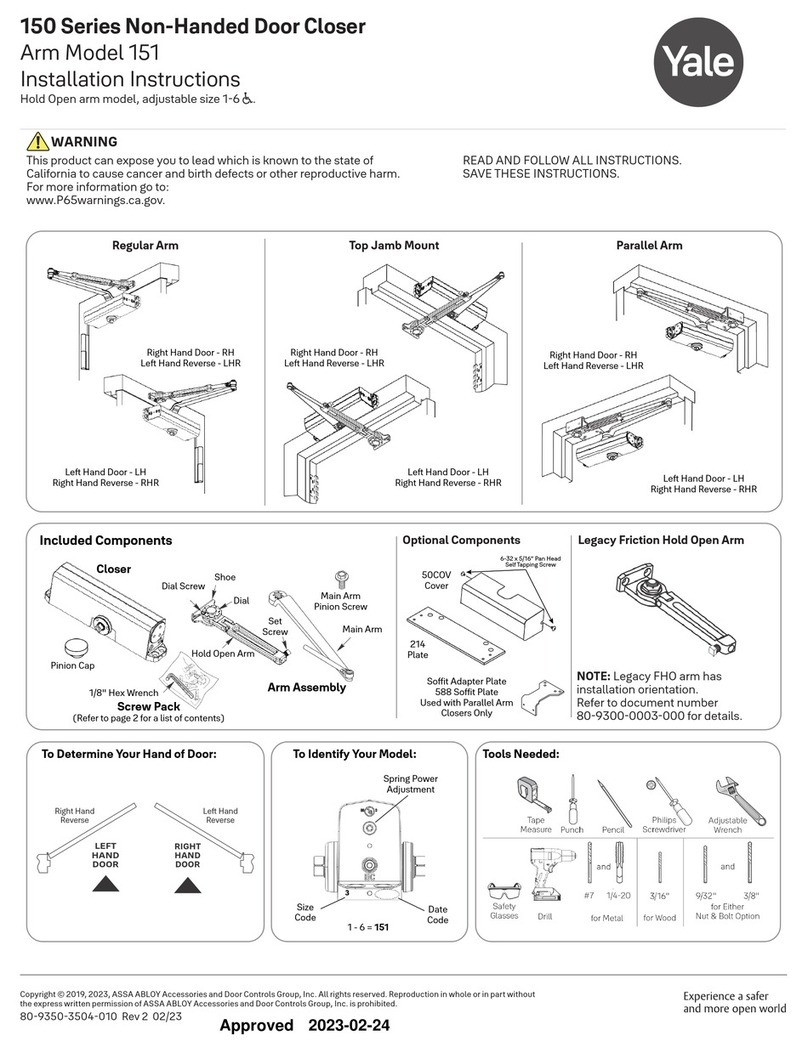
Yale 7000 Series User manual

Yale

Yale 7000 Series User manual

Yale 3040 User manual

Yale

Yale 3040 User manual

Yale Lockmaster PED1000 User manual

Yale

Yale Lockmaster PED1000 User manual
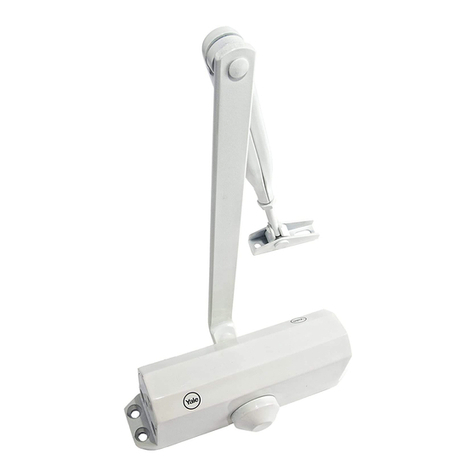
Yale 150 Series User manual

Yale

Yale 150 Series User manual

Yale PR3301 User manual

Yale

Yale PR3301 User manual

Yale 3000 Series User manual

Yale

Yale 3000 Series User manual

Yale Power Track Series User manual

Yale

Yale Power Track Series User manual

Yale Tri-Pack 50 Series User manual

Yale

Yale Tri-Pack 50 Series User manual

Yale Tri-Pack 51 User manual

Yale

Yale Tri-Pack 51 User manual

Yale Delayed Egress 7100 Series User manual

Yale

Yale Delayed Egress 7100 Series User manual

Yale YDC201 User manual

Yale

Yale YDC201 User manual

Yale 50 Series User manual

Yale

Yale 50 Series User manual

Yale UNI Series User manual

Yale

Yale UNI Series User manual

Yale 6116 Series User manual

Yale

Yale 6116 Series User manual

Yale 2100 Series User manual

Yale

Yale 2100 Series User manual

Yale PR50 User manual

Yale

Yale PR50 User manual

Yale 7110 User manual

Yale

Yale 7110 User manual

Yale YM Series User manual

Yale

Yale YM Series User manual

Yale UNOplus 3000 User manual

Yale

Yale UNOplus 3000 User manual
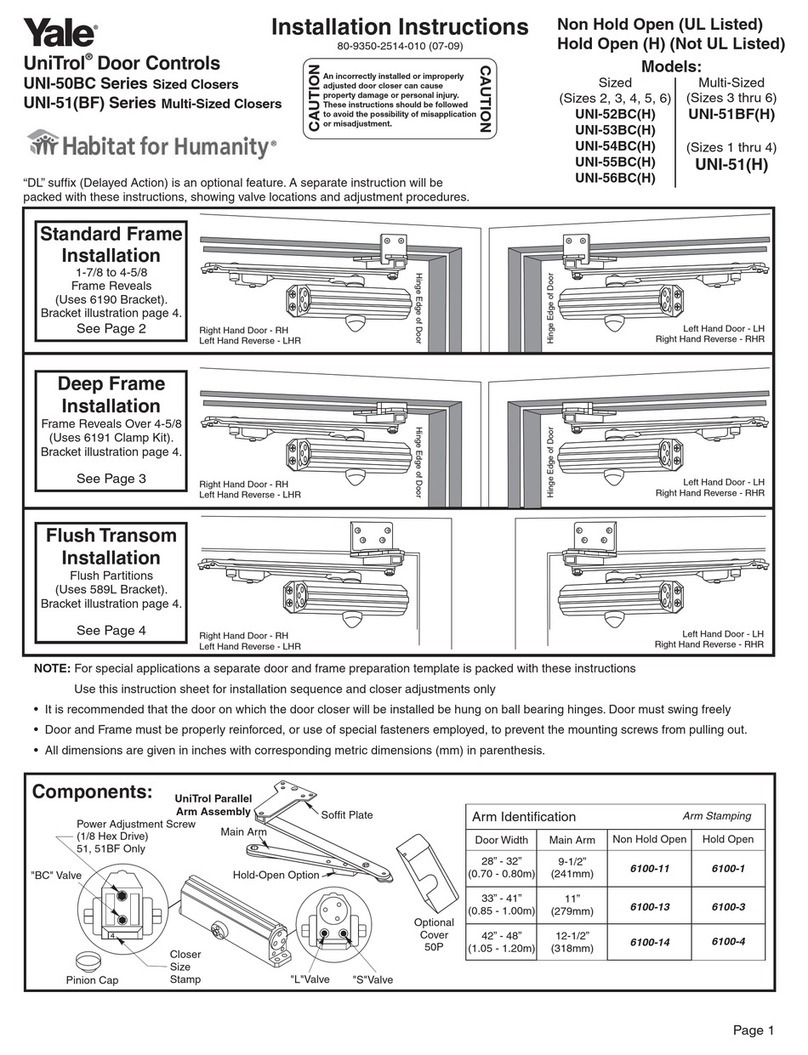
Yale UNI-TJ50BC Series User manual

Yale

Yale UNI-TJ50BC Series User manual

Yale 3000 Series User manual

Yale

Yale 3000 Series User manual

Yale UniTrol UNI-50BC Series User manual

Yale

Yale UniTrol UNI-50BC Series User manual

Popular Door Opening System manuals by other brands

Assa Abloy DC700G-FMS-K installation instructions

Assa Abloy

Assa Abloy DC700G-FMS-K installation instructions

Eco TS-31 Assembly instruction

Eco

Eco TS-31 Assembly instruction

Prismatibro Prisma Button 800 installation manual

Prismatibro

Prismatibro Prisma Button 800 installation manual

Fireco Dorgard Pro Handbook

Fireco

Fireco Dorgard Pro Handbook

Fireco Dorgard X2 Fitting and Operating Guide

Fireco

Fireco Dorgard X2 Fitting and Operating Guide

DEUTSCHTEC SLH Series installation manual

DEUTSCHTEC

DEUTSCHTEC SLH Series installation manual

MAGNASPHERE HSS L2S Series installation instructions

MAGNASPHERE

MAGNASPHERE HSS L2S Series installation instructions

golmar K-ACCESS PAC-90 quick start guide

golmar

golmar K-ACCESS PAC-90 quick start guide

Dormakaba Muto Premium XL120 installation instructions

Dormakaba

Dormakaba Muto Premium XL120 installation instructions

Sargent ASSA ABLOY 3727 Series Instructions for installing

Sargent

Sargent ASSA ABLOY 3727 Series Instructions for installing

RADEMACHER RolloSystems T2 instruction manual

RADEMACHER

RADEMACHER RolloSystems T2 instruction manual

Dorma 8916 AF89 PFT manual

Dorma

Dorma 8916 AF89 PFT manual

Dorma GK 41 Mounting instruction

Dorma

Dorma GK 41 Mounting instruction

ECO Schulte ETS 42 Operator's manual

ECO Schulte

ECO Schulte ETS 42 Operator's manual

Assa Abloy Corbin Russwin DC3210 Series installation instructions

Assa Abloy

Assa Abloy Corbin Russwin DC3210 Series installation instructions

Chamberlain 9747E Series Installation

Chamberlain

Chamberlain 9747E Series Installation

RIB R60 Operating and installation instructions

RIB

RIB R60 Operating and installation instructions

Falcon SC71 Series installation instructions

Falcon

Falcon SC71 Series installation instructions

manuals.online logo
manuals.online logoBrands
  • About & Mission
  • Contact us
  • Privacy Policy
  • Terms and Conditions

Copyright 2025 Manuals.Online. All Rights Reserved.