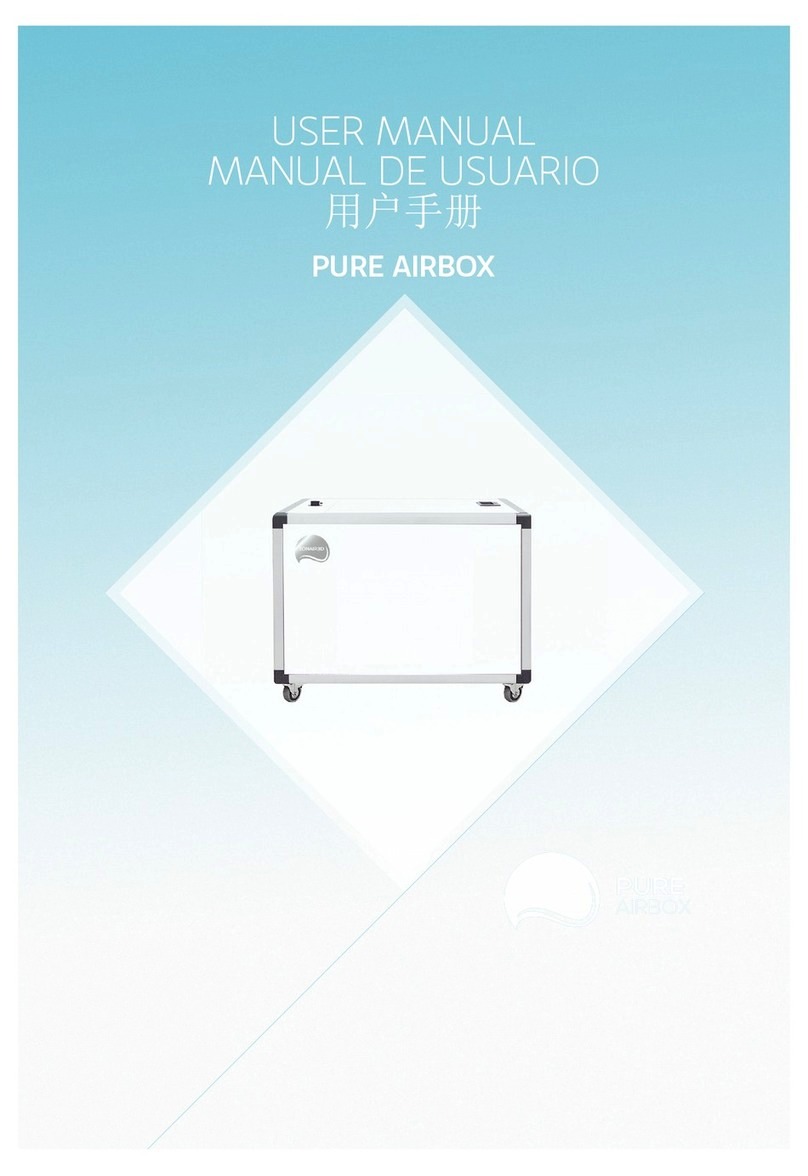
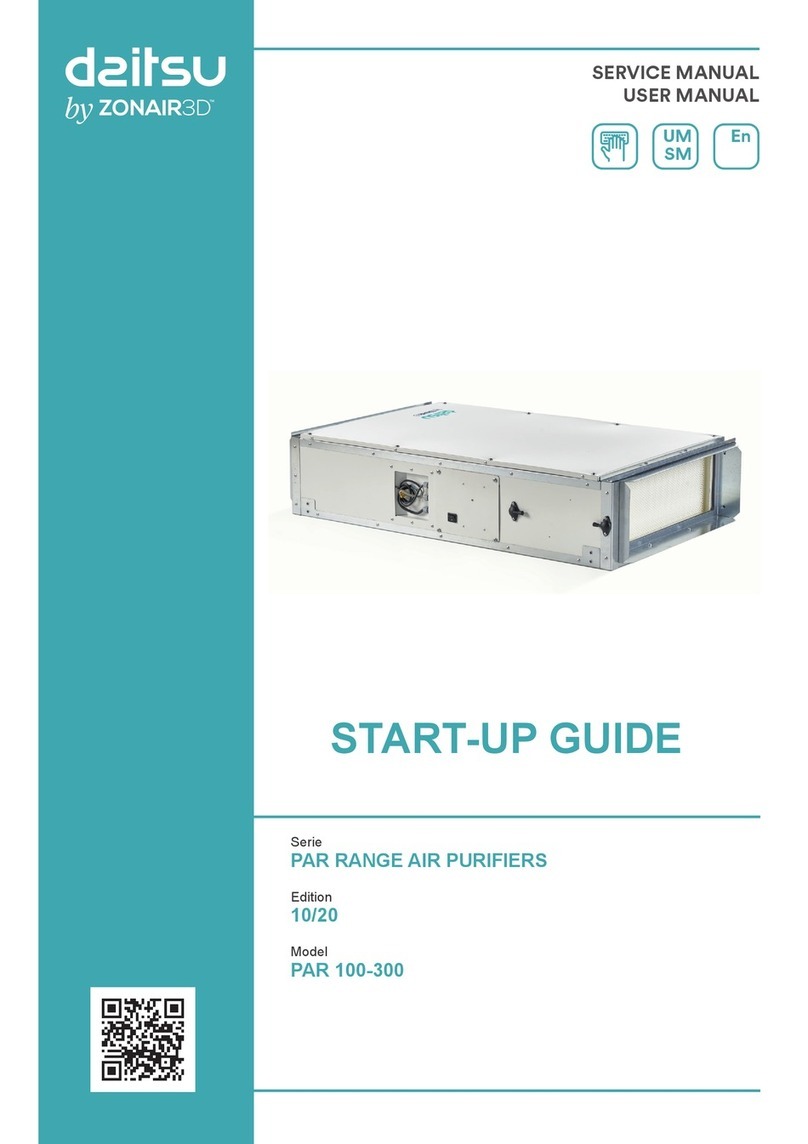
Zonair3D PURE AIR RESIDENTIAL 100 User manual

INSTALLATION
MANUAL
PURE AIR RESIDENTIAL
RESIDENTIAL


Zonair3D is a Spanish company
operating on all ve continents that is
engaged in the research and scientic
development of air purication systems.
In collaboration with a number of
scientic institutions and research
centres, Zonair3D works on the
development of solutions that offer
answers to unresolved needs in such
areas as health, wellbeing or buildings,
among others.
PURE AIR RESIDENTIAL
This pioneering product is our response
to current environmental pollution and
our concerns over the constant and
ever-increasing deterioration of the
quality of the air we breathe.
Pure Air Residential is an air purication
equipment specially designed for
indoor spaces. Its unique system lters
and puries polluted air, transforming
it into the best quality air, free from
contaminating particulate, free from
environmental ozone, and with toxic,
irritating and carcinogenic gaseous
pollutants reduced to levels of
comfort.
Pure air is essential for the
respiratory system to work properly,
it is an important factor in anti-aging
treatments, it enhances respiratory
pathway recovery following physical
exercise and it is of fundamental
importance to the existence of life.


CONTENTS
1. SAFETY STANDARDS AND “CE” MARKING ___________________________________
2. GENERAL STANDARDS _____________________________________________________
3. UNIT LABELING ____________________________________________________________
4. HANDLING _________________________________________________________________
5. INSTALLATION _____________________________________________________________
5.1. IDENTIFICATION OF PARTS OF THE UNIT _________________________________
5.2. SETTING-UP LOCATION _________________________________________________
5.3. MAINTENANCE SPACE _________________________________________________
5.4. ELECTRICAL CONNECTION OF THE EQUIPMENT _________________________
5.4.1. CONNECTING WITH ZONAIR3D CONTROLLER
5.4.2. CONNECTING WITHOUT ZONAIR3D CONTROLLER
5.5. CONNECTING THE UNIT TO THE THE DUCT SYSTEM ___________________
6. START-UP PROCEDURE _____________________________________________________
7. EMERGENCY OPERATIONS _________________________________________________
8. PREVENTIVE MAINTENANCE ________________________________________________
8.1. MOTORS ______________________________________________________________
8.2. FANS __________________________________________________________________
8.3. FILTERS _______________________________________________________________
8.3.1. 8.3.1.REPLACEMENT OF MAIN DEVICE FILTER
9. RECYCLING ________________________________________________________________
6
6
7
7
8
10
12
12
14
16
16
17
17
17
18
18
18
18

Pure Air Residential is a high-quality product that has been manufactured in strict
compliance with recognized technical regulations safety, and in accordance with EC
standards.
Read this instruction booklet carefully, since it contains important information for
your safety during the installation, use and maintenance of this product.
We ask that you make sure the equipment is in perfect condition when you unpack
it, since any existing defect is covered by the manufacturer warranty.
1. SAFETY STANDARDS AND “EC” MARKS
The standards and recommendations indicated below reect current standards in the
eld of safety, and therefore are based primarily on meeting standards of a general
nature.
Consequently, we recommend that all personnel exposed to risks adhere strictly to
local regulations in force regarding hazard prevention.
ZONAIR3D is in no responsible for any damage or injury caused to persons or
objects resulting from failure to comply with safety standards, and any possible
modications to the product. The EC seal and statement of conformity serve as a
proof of the product’s compliance with applicable European Community standards.
ZONAIR3D engineers are rmly comitted to research and development to achieve
products with improved eciency that complies with current safety standards.
2. GENERAL STANDARDS
·Product risks have been analysed pursuant to the provisions of the Machinery
Directive. This manual contains information intended for all personnel exposed to
hazards, with the goal of preventing personal injuries or damage to objects resulting
from mishandling or improper maintenance.
·All maintenance service work (corrective and preventive) must be performed with
the equipment stopped and disconnected.
·Before connecting the power cable to the motors, make sure that the voltage on
the line matches the voltage indicated on the unit’s identication plate.

3. UNIT LABELING
The unit comes with a variety of labels that must not be removed. Herewith sample
labels and meaning:
4. HANDLING
When unit received, unpack and make sure the packaging is intact; any defect may
indicate damage to the equipment. Review it carefully to make sure that no parts
are missing.
If there is any damage to the unit or the shipment is not complete, write down
the problems on the delivery slip and send a claim to the carrier. Also report any
problems to Eurofred/Zonair3D.
Components should be transported using appropiate hoist and slings. The
equipment has corner lugs for loading and unloading.
ICON / LABEL MEANING
7Pure Air Residential
Caution: the panel may fall once opened
Caution: cut off the power supply before
removing the panel
Rating plate of the unit.
- Model
- Serial number
- Max. power (kW)
- Voltage (v)
- Maximum absorbed current of motor (A)
- Frequency (Hz)

5. INSTALLATION
·The person responsible for receiving the equipment must ensure that the
characteristics of the available electrical supply are in accordance with the electrical
data on the rating plate of the unit
·Before fully setting up the equipment, it must veried that the place where the
equipment is going to be located is strong enough to support its weight.
·This must not be installed, under any circumstances, in ammable or explosive
environments, such as environments loaded with oil vapors, saline air or corrosive.
·The installation of the equipment can be dangerous, due to the material used, the
pressures in the system and the electrical components. Because of this only trained
and qualied personnel must install, service or repair the equipment.
·When carrying out operations inside the equipment, precautions must be taken to
interrupt the electric current in the isolator, in order to prevent possible accidents
with the moving parts of the equipment which might start running unpredictably, as
well as to prevent direct or indirect contact with any active part of the equipment.
·During the installation, the equipment must be leveled for a good adjustment of
the different units and a good opening of the registers.
·To check the perfect condition of the fan, the centering of the suction ring can be
checked by turning the turbine by hand.
HANDLING
When you receive the unit, unpack it and check it is in good condition. Check
that no components are missing (see general description page 11).
You will nd separately:
·One bag with "L-shaped mounting brackets" or xing brackets that are supplied
unassembled, to be installed on site to the machine chassis. Includes 8 M5 star
screws to x the equipment to the desired surface.
·Another one with the differential pressure switch, the transparent pressure
tube and the 2 thread / sheet screws to x it.
·An individual absolute lter test certicate
START-UP OPERATIONS
It is recommended to open the registration panel to verify that there have been no
movements during transport, ensuring that the pre-lter, the GRSystem and the absolute
lter are correctly positioned and xed in position
The access panel is opened by removing the 8 M6 Allen screws (4 on each side), it being
important to re-tighten them correctly to ensure the tightness of the unit.
The unit automatically starts up when powered up. *
Before starting up, all the access panels to the equipment must be closed.
Keep the start switch in the stop position and then connect the equipment.
Connect the external general power switch to the unit, keeping the unit's start switch
in the stop position. Once this is done, check that the voltage at the electrical input
terminals of the equipment corresponds to that established on the nameplate (the
minimum allowed voltage will be 10% less than the nominal voltage indicated on the
nameplate).
It will be veried that the earth connection is well connected.
Once all the checks have been made, remove the stop position of the equipment (turn it
ON).
The fan will not start if the ductwork is not completely closed, as the connection of the
fan without load can cause overcurrents that could damage the motor.
EMERGENCY OPERATIONS
If any problems are noted on the unit, turned it off using the emergency shut-off switch.
These emergency operations will generally be the result of some problem with the
electrical circuit, in which case you may have problems with the motors. You will
therefore need to disconnect the power to locate the fault, which may be inside the unit
(short circuit) or external to it (problems with the power supply, voltage variations, etc).
In t he event of re, it must be extinguished using suitable extinguishers. Extinguishers
should be appropriate for use on electrical res.
9Pure Air Residential

5.1 IDENTIFICATION OF EQUIPMENT UNITS
The main unit consists of the following differentiated sections: prelter, GRSystem
gas lter, fan and absolute lter. The following gure identies the main
components of the main module .
W
L
PREFILTER &
GRSYSTEM
SECTION
FAN
SECTION ABSOLUTE
FILTER
SECTION
Air ow
Air ow
Air
ow
Air
ow
H
Air
ow
Maintenance
PRODUCT
RANGE
FLOW
(m3/h) DIMENSIONS
H x L x W (mm)
FAN POWER (W / A) WEIGHT
(kg)
PAR 100 160-120 207.2 x 583.2 x 985 27W / 0,27 A (1 fan) 48
PAR 300 350-250 237.2 x 583.2 x 985 54W / 0,54 A (2 fans) 48,5
VOLTAGE (V) /
FREQ.(Hz)
230 - 50/60
230 - 50/60
Air ow

COMPONENTS
11 Pure Air Residential
H14 Pressure switch has a light signal which alerts to change the lter.
(See page 12)
1- Pressure switch connection cable
(black with 2 terminal blocks joined together)
2- Connection cable for Zonair3D air quality probe
(probe not included), with 4 marked terminals, 5 and
6 attached to strip, 17 and 18 (attached to strip)
3- 230v network cable (2 phases + earth)
4- ON / OFF main switch
5- PCB registration cover (4 M5 screws)
6- Positive pressure taking of the H14
7- Differential pressure switch
8- Connection to positive pressure switch H14
9- M5 threads for xing the anchor brackets
10- Taking the H14 negative pressure
11- Connection to negative pressure switch H14
12- Red LED indicative of HEPA14 lter change
3
21 4 5 6 7
10
12
8
11
9
9 9 9
9
9
10
76
12
432199
5
8
11
Air
ow
Maintenance
Air
ow
Maintenance

RECOMENDED VALUE FOR SETTING H14 PRESSURE SWITCH
Denition of the pressure switch value Filter change warning switch H14, knowing
that this limits the ow that the machine gives:
·If the unit is installed without ducts, the H14 pressure switch is set at about 175 Pa and
the machine should not drop below 235 m3/h; initial ow of 325m3/h with pressure
differential of H14 of about 120Pa.
Switch delta = 55Pa
· If the unit is installed in a duct system about 50Pa (the sum of impulse and suction), it
should be set at about 150Pa and the machine would not drop below 210Pa;
initial ow of approx. 290 m3/h with differential pressure in the H14 starting at 105Pa;
Switch delta = 45Pa
· If the unit is installed in a 100Pa duct system, the pressure switch should be set to
about 135Pa and the machine would give at least 180m3/h; initial about 260m3/h and
pressure difference in H14 of initial 95Pa.
Switch delta = 40Pa
5.2 SETTING-UP LOCATION
Avoid installing the device in areas close to heat sources and humid areas where the it
may come into contact with water.
It is advisable to place the device in a location where the installation is easily accessible.
Provide sucient space for maintenance and connection.
5.3 MAINTENANCE SPACE
The person installing the equipment must allow space which is free of obstruction
to be able to freely access the device for maintenance. The space required will
depend on the side of the device where the extraction is made. The equipment is
provided with registers to access the lters and fans.
400
400 400
* Low part access uni t
400

4
MOUNTING POSITION
CEILING MOUNTED FLOOR MOUNTED
13 Pure Air Residential
OK (horizontal) OK (transversal) OK (vertical)
For ceiling and oor mounting, the equipment must be suspended from the four existing
brackets in each unit as follows:
ATTENTION: Due to the length and weight of the devices, each unit must be suspended
separately.
No obstacle shall prevent or reduce the passage of air in suction.

5.5 ELECTRICAL CONNECTION OF THE EQUIPMENT
·The installation must be carried out by qualied personnel.
·Cables complying to the section with the current directives must be installed
preventing heating and a voltage drop higher than that allowed. The current
regulations must be complied with and, at all times, the designer's criteria must be
followed.
·Before connecting the cables, check that the electrical installation is disconnected
and that there is no voltage between the cables.
·Once installed, the device must comply with the following directives:
- Low Voltage Directive 2006/95/CE
- Machinery Directive 2006/42/CE
- Electromagnetic Compatibility Directive 2004/108/CE
·Once these operations have been carried out, it is necessary to verify the tightening
of all the electrical connections (a badly tightened cable can cause irreparable
damage).
·Check that the earthing has been carried out and that the thermal and over-current
protections have been regulated according to the values established on the rating
plate.
·As a safety measure, if the fan runs out of voltage, it must be made so that all
other electrical elements are without voltage.
5.4.1. CONNECTING WITH ZONAIR3D CONTROLLER
· Strip the power cable and connect it to 230v (50 / 60Hz) general. It is
recommended electrical protection type and connected to the control panel re
alarm.
· Make sure that the probe connection cables are correctly switched (5 and 6) and
(17 and 18) in their respective strips that come from.
· Pressure switch connection:
· Open the transparent cover of the differential pressure switch (2 star screws)
· Set the pressure switch according to the indications p. 12.
· Remove the connecting strip from the pressure switch cable terminals; and connect
passing the cables to terminals 1 and 2 through the M16 gland of the pressure switch
inside the pressure switch, taking care that they do not touch and that replace the
transparent lid well.
· Screw the transparent cover back on.
· Fix the pressure switch in the position indicated by means of the self-tapping
screws provided, on the side of the machine are the xing holes.
· Cut to size and connect the transparent tube (from the + socket to the
pressure switch +; and from the socket - to the pressure switch input -), rmly (in
the pressure switch must reach the second thickness).

15 Pure Air Residential
5.4.2. CONNECTING WITHOUT ZONAIR3D CONTROLLER
·Strip the power cable and connect it to 230v (50 / 60Hz) general. It is
recommended electrical protection type and connected to the control panel re
alarm.
·Make sure that the probe connection cables are well switched (5 and 6) and (17 and
18) on their respective strips that come standard.
· Pressure switch connection:
· Open the transparent cover of the differential pressure switch (2 star screws).
· Set the pressure switch according to the indications p. 12.
· Remove the connecting strip from the pressure switch cable terminals; and connect
passing the cables to terminals 1 and 2 through the M16 gland of the pressure switch
inside the pressure switch, taking care that they do not touch and that replace the
transparent lid well.
· Screw the transparent cover back on.
· Fix the pressure switch in the position indicated by means of the self-tapping
screws provided, on the side of the machine are the xing holes.
· Cut to size and connect the transparent tube (from the + socket to the inlet
pressure switch +; and from the socket - to the pressure switch input -), rmly (on
the pressure switch it must reach the second thickness)
· Splice the numbered outputs to the same numbers on the inputs of the Zonair3d
probe using a connection cable, the connection can be up to 50 meters long.
· In the case of several machines controlled by the same probe, the connection
between machines and probe will be carried out in parallel.
· For a good reading of the indoor air quality of the Zonair3D probe, it is its proper
placement in the space to be treated is very important, please read the instructions
for the Zonair3D probe carefully.
· Do not connect any other probe other than Zonair3D.

5.7 CONNECTION TO CONDUIT NETWORKS
The equipment will never serve as support or structure for the conduits.
The connection of the equipment to the air ducts must be made through exible
connections to avoid the transmission of vibrations to the installation.
It must be checked that the entrance and the air impulsion are not obstructed
or that no obstacle is preventing the good circulation of the latter. If these
requirements are not met, the eciency of the system will be affected.
6. SETTING UP PROCEDURE
All access panels to the equipment must be closed before proceeding to the start-up
It must be checked that the ground connection is properly connected.
· Connect the external switch to the unit, keeping the control switch of the unit off.
Once this has been done, check that the voltage at the electrical input terminals of
the equipment corresponds to the characteristics established on the rating plate (the
minimum tension allowed should be 10 % lower than the nominal voltage indicated on
the rating plate).
· The fan will not start if the duct network is not completely closed, since the
connection of the fan without load can cause over-currents that could damage the
motor . This same effect can occur if the requested static pressure is greater that the
losses of load produced in the pipeline network. To solve this act on the ow control
gates by closing them, in order to produce a greater load loss.
· Connect the external switch and stop it a few moments later.
· Check that the direction of rotation of the motors coincides with that established by
the manufacturer (observe the direction of rotation marked on the fan). If the direction
of rotation is not correct swap two of the force phases. To carry out this operatio ,
disconnect the equipment control switch and the power switch, once this has been
done, swap the phases.
· Check the direction of rotation and if no strange noise is observed, reconnect the
equipment .
· The rotation speed of the fan and the motor must be checked through a tachometer.
· With the equipment running, check the intensities absorbed by each electrical
element, checking that the intensity does not exceed the limit values of each one.
It must be also veried that there are no lags between the intensities that circulate
through each line, unless the monophasic electrical components cause it.
· The total intensity absorbed by all the equipment must be checked, also checking
that there are no lags between the currents of the different lines.

17 Pure Air Residential
7. EMERGENCY OPERATIONS
In case of any anomaly of the equipment, stop the device's operation through the
emergency stop button.
These emergency operation will be, in general, due to problems with the electrical
circuit, in which case will cause problems to the motors, therefore, the device must be
disconnected from the electric current to locate the fault, which can be internal to the
equipment (short circuits, etc.) or external (supply problems, voltage variation, etc.).
In case of re, it must be neutralised with the use of appropriate re extinguishers.
These extinguishers must be suitable for use on electrical elements.
8. PREVENTIVE MAINTANCE
Preventive Maintenance is a pre-established control program that is periodically
followed to avoid an unscheduled stoppage of the equipment.
At all times, the Regulation of Technical Facilities complementary to the buildings
regarding the application of maintenance standards must apply, except for technical
justication.
It is of vital importance and depending on the operating need of the equipment, to
make a list of those essential elements for an early troubleshooting procedure.
Based on this list, the necessary spare stock will be valued in order to carry out quick
repairs.
The personnel dedicated to maintenance of the device must have specic training.
Before starting the maintenance operations of the unit, disconnect the main switch of
the unit. An electric shock can cause personal injuries.
In these operations you need to have in mind the following aspects:
8.1 MOTORS
Check that electric consumption hasn't increased.
Periodically check that the electrical connections have good contact to avoid
breakdowns.
In general, periodically monitor the fastening screws of the fan, motor, bedplate,
which could cause breakdowns and noise if they loosen up.

8.2. FANS
Clean the blades and impellers of the fans quarterly, as this can produce, in
addition to a decrease in ow, disbalance and disturbing noises.
Periodically check the ow rates of the fans.
8.3. FILTERS
To ensure the effectiveness of particle lters, it is necessary to control the
pressure loss that occurs in them (indicative of their degree of dirtiness).
It is recommended to change the absolute lter according to the set values of the
pressure switch indicated on page 12, when the switch light turns on. The
pre-lter once a year and the GRSystem lter, every 2 years.
Even if the maximum permissible load loss is not produced, the lters must be
checked monthly for the lter's tightness and lter's holder assembly.
It is advisable to have a set of lters always as a spare. Under no circumstances
will the operation of the equipment without lters be allowed as this could affect
soiling of vital elements of the equipment and therefore, their deterioration and a
loss of eciency.
8.3.1. REPLACEMENT OF MAIN DEVICE FILTER
To extract the lter, the corresponding inspection record must be opened and
removed by sliding the lter outwards, for prelter and GRSystem lter. The
high eciency lters (H14) are provided with an anchoring system through the
safety handles.
In order to remove the lter, turn the upper and lowers handles and slide the
lter out.
Replace the lter and repeat the operation in reverse.
9. RECYCLE
The EEC regulations and the commitment that we must acquire with future generations
oblige us to recycle materials; we kidnly ask you not to forget to deposit all the
remaining elements of the packaging in the corresponding recycling containers, as well
as to take the replaced equipment to the nearest waste manager.
Table of contents
Other Zonair3D Air Cleaner manuals

Zonair3D
Zonair3D PURE AIRBOX User manual

Zonair3D
Zonair3D AIR+ 50 User manual

Zonair3D
Zonair3D BUBBLE | PURE AIR User manual

Zonair3D
Zonair3D AIR+ 600i Instruction manual

Zonair3D
Zonair3D AIR+ 300 S User manual

Zonair3D
Zonair3D Pure Airbox Home 500 S User manual

Zonair3D
Zonair3D AIR PRO 500 User manual

Zonair3D
Zonair3D AIR MOVE+ User manual

Zonair3D
Zonair3D DAITSU Pure Airbox Home S User manual

Zonair3D
Zonair3D AIR+ 600 User manual