manuals.online logo
Brands
  1. Home
  2. •
  3. Brands
  4. •
  5. ABB
  6. •
  7. Circuit Breaker
  8. •
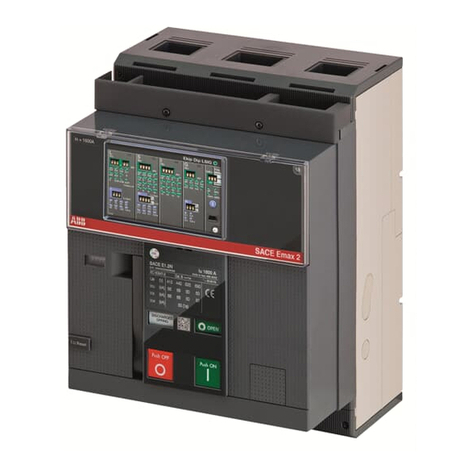
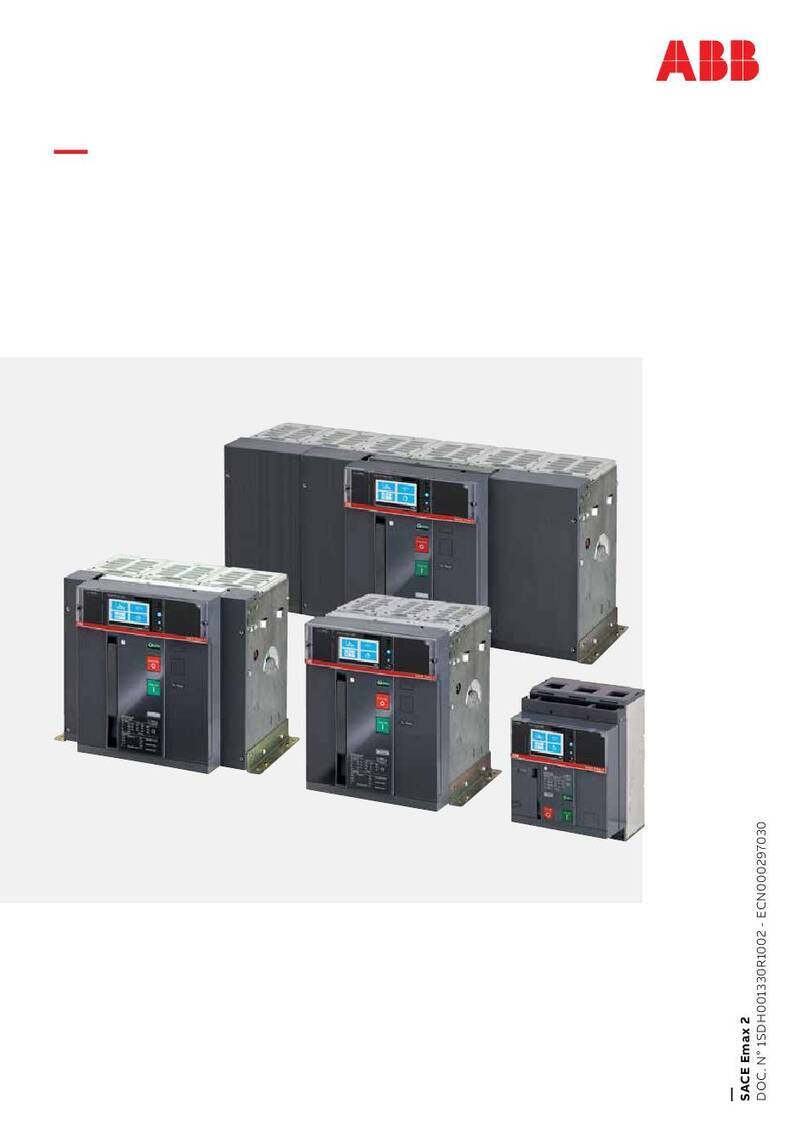
  9. ABB SACE Emax 2 User manual

ABB SACE Emax 2 User manual

Other manuals for SACE Emax 2

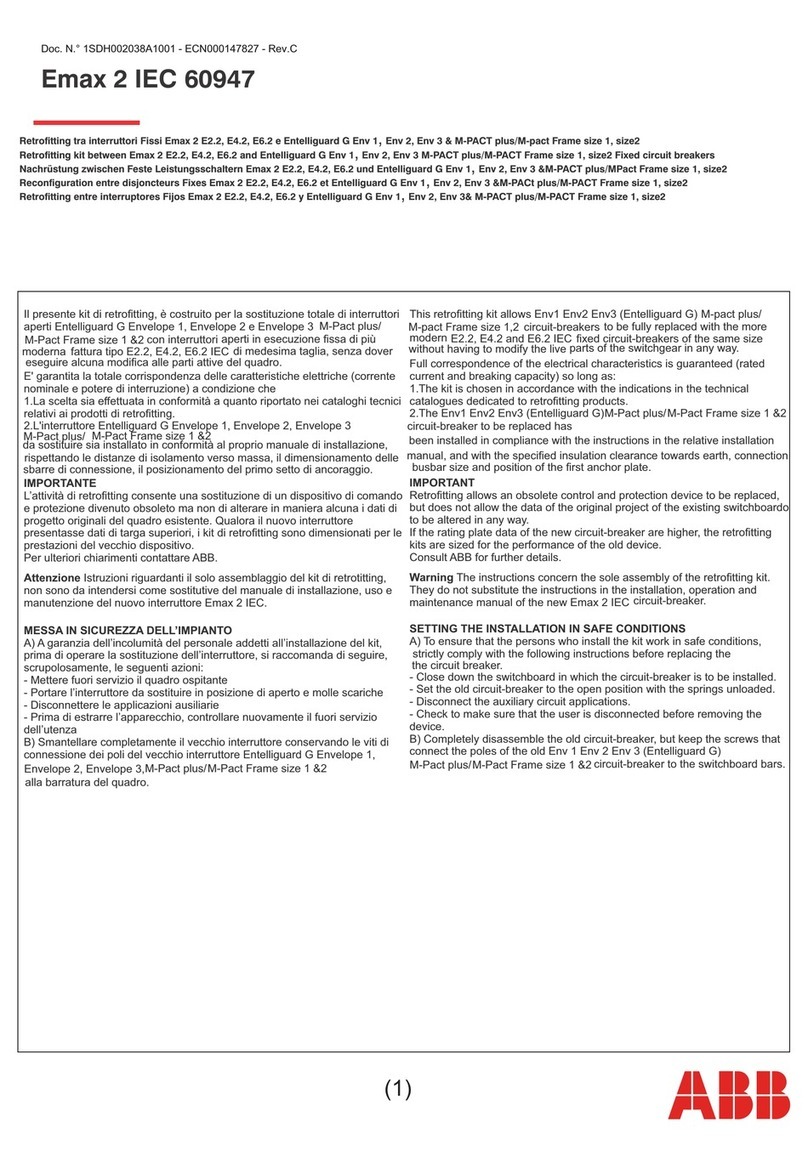
46

Other ABB Circuit Breaker manuals

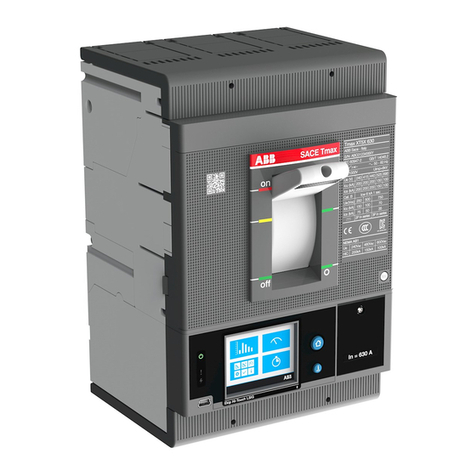
ABB SACE Tmax XT5 User manual

ABB

ABB SACE Tmax XT5 User manual

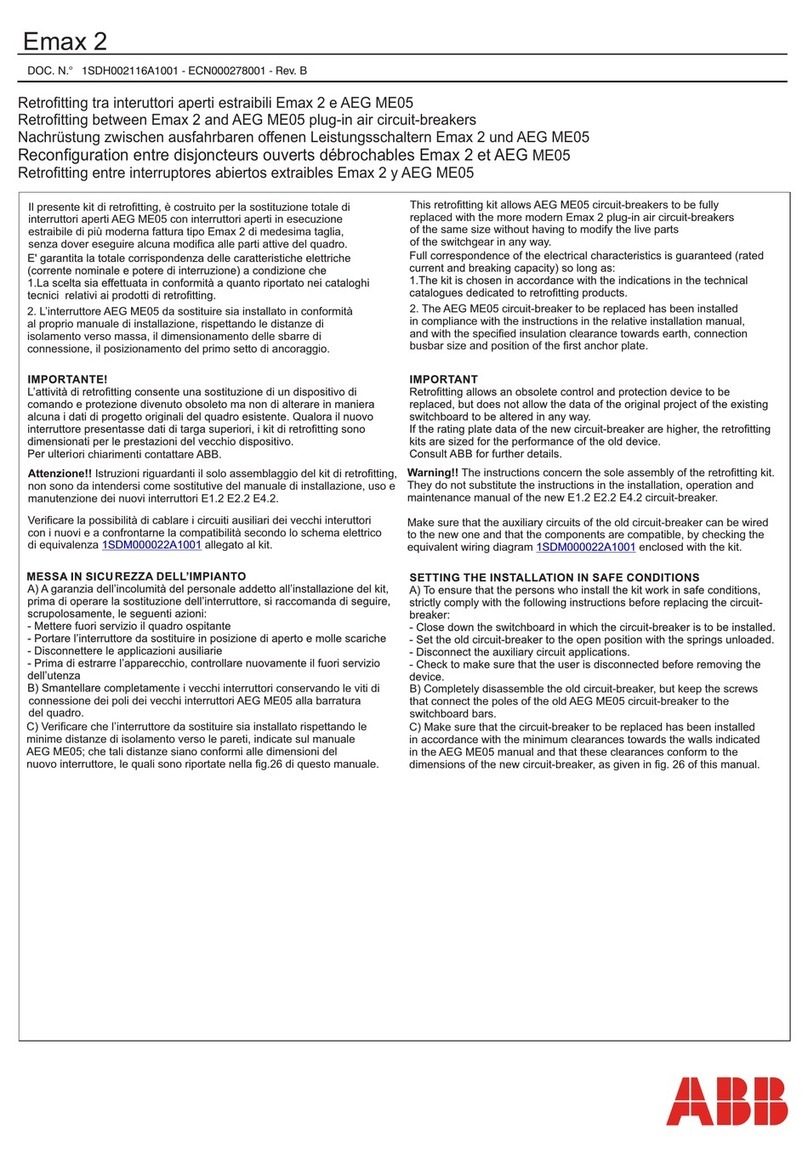
ABB Emax 2 Retrofill Product manual

ABB

ABB Emax 2 Retrofill Product manual

ABB SACE Emax 2 User manual

ABB

ABB SACE Emax 2 User manual

ABB SACE Emax E2.2 User guide

ABB

ABB SACE Emax E2.2 User guide

ABB XT7 User manual

ABB

ABB XT7 User manual

ABB S4 User manual

ABB

ABB S4 User manual

ABB SACE Emax 2 User manual

ABB

ABB SACE Emax 2 User manual

ABB S800U User manual

ABB

ABB S800U User manual

ABB Tmax MIR-V User manual

ABB

ABB Tmax MIR-V User manual

ABB SF6 LTB 245E1 BLG 1002A User manual

ABB

ABB SF6 LTB 245E1 BLG 1002A User manual

ABB SMISSLINE CLASSIC FS451 Service manual

ABB

ABB SMISSLINE CLASSIC FS451 Service manual

ABB VD4 Series User manual

ABB

ABB VD4 Series User manual

ABB Emax 2 Retrofill AKR-30-800A Product manual

ABB

ABB Emax 2 Retrofill AKR-30-800A Product manual

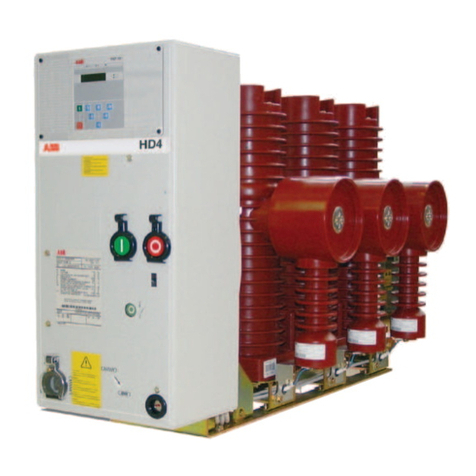
ABB HD4/R User manual

ABB

ABB HD4/R User manual

ABB SACE Emax 2 User manual

ABB

ABB SACE Emax 2 User manual

ABB SACE Emax 2 E6.2 manual 

ABB

ABB SACE Emax 2 E6.2 manual 

ABB Emax X1 B/E 1150 V User manual

ABB

ABB Emax X1 B/E 1150 V User manual

ABB VD4 Series Installation and operating instructions

ABB

ABB VD4 Series Installation and operating instructions

ABB DCBreak Series Programming manual

ABB

ABB DCBreak Series Programming manual

ABB Tmax T8 L5757 Guide

ABB

ABB Tmax T8 L5757 Guide

ABB 5HK Series Installation and operating instructions

ABB

ABB 5HK Series Installation and operating instructions

ABB SACE Emax 2 User manual

ABB

ABB SACE Emax 2 User manual

ABB SACE Emax E1 User manual

ABB

ABB SACE Emax E1 User manual

ABB eVD4 Quick guide

ABB

ABB eVD4 Quick guide

Popular Circuit Breaker manuals by other brands

Siemens 3VT9524-4TG30 quick start guide

Siemens

Siemens 3VT9524-4TG30 quick start guide

Acrel ASCB1 Series Installation and operation manual

Acrel

Acrel ASCB1 Series Installation and operation manual

Eaton NOVA LBS 15 Installation and operation instructions

Eaton

Eaton NOVA LBS 15 Installation and operation instructions

Siemens SIRIUS 3RV1742 Original operating instructions

Siemens

Siemens SIRIUS 3RV1742 Original operating instructions

WEG FHU ACW125 installation instructions

WEG

WEG FHU ACW125 installation instructions

TERASAKI NHP TemBreak PRO P160 Series installation instructions

TERASAKI

TERASAKI NHP TemBreak PRO P160 Series installation instructions

Siemens Sentron 3VA9157-0PK1 Series operating instructions

Siemens

Siemens Sentron 3VA9157-0PK1 Series operating instructions

hager TS 303 User instruction

hager

hager TS 303 User instruction

ETI EFI-4B Instructions for mounting

ETI

ETI EFI-4B Instructions for mounting

Gladiator GCB150 Installation instruction

Gladiator

Gladiator GCB150 Installation instruction

nader NDM3EU-225 operating instructions

nader

nader NDM3EU-225 operating instructions

Eaton 50DHP-VR Instruction handbook

Eaton

Eaton 50DHP-VR Instruction handbook

Gewiss 90 RCD Installation

Gewiss

Gewiss 90 RCD Installation

OEZ LFN Instructions for use

OEZ

OEZ LFN Instructions for use

Eaton Power Defense PDG2 Instruction leaflet

Eaton

Eaton Power Defense PDG2 Instruction leaflet

Bticino L4412CM2 quick start guide

Bticino

Bticino L4412CM2 quick start guide

OEZ 3VA9-RS-4VBH1 Installation, service and maintenance instructions

OEZ

OEZ 3VA9-RS-4VBH1 Installation, service and maintenance instructions

Siemens PSR Instructions, Installation, Operation, Maintenance

Siemens

Siemens PSR Instructions, Installation, Operation, Maintenance

manuals.online logo
manuals.online logoBrands
  • About & Mission
  • Contact us
  • Privacy Policy
  • Terms and Conditions

Copyright 2025 Manuals.Online. All Rights Reserved.

Emax 2
Attenzione!! Istruzioni riguardanti il solo assemblaggio del kit di retrofitting,
non sono da intendersi come sostitutive del manuale di installazione, uso e
manutenzione dei nuovi interruttori E1.2 E2.2 E4.2.
ori chiarimenti contattare ABB
Verificare la possibilità di cablare i circuiti ausiliari dei vecchi interuttori
con i nuovi e a confrontarne la compatibilità secondo lo schema elettrico
di equivalenza n° 1SDM000102R0001 allegato al kit
e i vecchi interruttori conservando le viti di
connessione dei poli dei vecchi interruttori AEG ME1257 ME2007
ME2507 ME3207 alla barratura del quadro.
C) Verificare che l’interruttore da sostituire sia installato rispettando le
minime distanze di isolamento verso le pareti, indicate sul manuale AEG
ME1257 ME2007 ME2507 ME3207; che tali distanze siano conformi
alle dimensioni del nuovo interruttore, le quali sono riportate nella fig.50
di questo manuale.
C) Make sure that the circuit-breaker to be replaced has been installed
in accordance with the minimum clearances towards the walls indicated
in the AEG ME1257 ME2007 ME2507 ME3207 manual and that these
clearances conform to the dimensions of the new circuit-breaker, as
given in fig. 50 of this manual.
the switchboard bars.
Retrofitting tra interuttori aperti estraibili Emax 2 e AEG ME1257-ME2007-ME2507-ME3207
Retrofitting between Emax 2 and AEG ME1257-ME2007-ME2507-ME3207 plug-in air circuit-breakers
Nachrüstung zwischen ausfahrbaren offenen Leistungsschaltern Emax 2 und AEG ME1257-ME2007-ME2507-ME3207
Reconfiguration entre disjoncteurs ouverts débrochables Emax 2 et AEG ME1257-ME2007-ME2507-ME3207
Retrofitting entre interruptores abiertos extraibles Emax 2 y AEG ME1257-ME2007-ME2507-ME3207
DOC. N.° 1SDH002134A1001 - ECN000240053 - Rev. C
der
Schaltanlage aufbewahren.
C) Sicherstellen, dass der auszutauschende
Leistungsschalter unter Beachtung der
Mindestisolationsabstände zu den Wänden
installiert worden ist, die im Handbuch AEG
ME1257 ME2007 ME2507 ME3207 angegeben
sind; dass diese Abstände den Abmessungen
des neuen Leistungsschalters entsprechen,
die in der Abb.50 dieses Handbuchs stehen.
C) Vérifier que le disjoncteur à remplacer soit
installé en respectant les distances minimales
d'isolement envers les parois, indiquées sur le
manuel AEG ME1257 ME2007 ME2507 ME3207;
que ces distances sont conformes aux
dimensions du nouveau disjoncteur, qui sont
reportées dans la fig.50 de ce manuel.
C) Verificar que el interruptor a sustituir esté
instalado respetando las distancias mínimas de
aislamiento hacia las paredes, indicadas en el
manual AEG ME1257 ME2007 ME2507 ME3207;
que dichas distancias sean conformes a las
dimensiones del nuevo interruptor, expuestas
en la fig.50 de este manual.
arres du tableau.
as del cuadro.
Tabella di abbinabilità
Compatibility table
Kompatibilitätstabelle
Tableau de compatibilité
Tabla de compatibilidad
AEG SIZE SIZE
ABB
ME1257N
ME1257S1
ME1257H
ME2007N
ME2007S1
ME2007H
ME2507N
ME2507S1
ME2507H
ME3207N
ME3207S1
ME3207H
1250A 1250A
1250A 1250A
1250A 1250A
2000A 2000A
2000A 2000A
2000A 2000A
2500A 2500A
2500A 2500A
2500A 2500A
3200A 3200A
3200A 3200A
3200A 3200A
E1.2 B
E1.2 N
NOT AVAILABLE
E2.2 B
E2.2 N
E2.2 H
E2.2 H (*)
E2.2 N
E2.2 N
E4.2 V
E4.2 V
E4.2 V
(*) = derating Icu 500V 85kA
derating Icm 500V 187kA
2
1
1
1
1 1
1
3P
4P
F HR
Riusare viteria esistente
Use the existing screws and bolts again
Die vorhandenen Schraubteile wiederbenutzen
Réutiliser la boulonnerie existante
Reutilizar la tornillería existente
Example for F
1 1
E2.2 / ME2007
E2.2 / ME2007
1
1
1 1
1 1
3P
4P
F HR
4
3
Riusare viteria esistente
Use the existing screws and bolts again
Die vorhandenen Schraubteile wiederbenutzen
Réutiliser la boulonnerie existante
Reutilizar la tornillería existente
Example for F
x4
E2.2 / ME2507
E2.2 / ME2507
1
1
1 1
1 1
3P
4P
6
5
x4
x4
Riusare viteria esistente
Use the existing screws and bolts again
Die vorhandenen Schraubteile wiederbenutzen
Réutiliser la boulonnerie existante
Reutilizar la tornillería existente
F HR
Example for F
E4.2 / ME3207
E4.2 / ME3207
1
1
1 1
1 1
3P
4P
F HR
x4
x4
8
7
Riusare viteria esistente
Use the existing screws and bolts again
Die vorhandenen Schraubteile wiederbenutzen
Réutiliser la boulonnerie existante
Reutilizar la tornillería existente
Example for F
10
Smontare la mostrina del vecchio interruttore.
Disassemble the flange of the old circuit-breaker.
Den Abdeckahmen des alten Leistungsschalters entfernen.
Démonter la garniture de l’ancien disjoncteur.
Desmontar la cubierta de protección del viejo interruptor.
Forare la portella quadro secondo necessità del nuovo interruttore. Porre particolare attenzione alla tipologia del kit acquistato.
Controllare il posizionamento degli assi.
Make a hole in the switchboard door to suit the new circuit-breaker. Pay specific attention to the type of kit purchased. Check the
positions of the axes.
Die Schaltanlagentür je nach den Erfordernissen des neuen Leistungsschalters bohren. Besonders auf den Typ des gekauften
Nachrüstsatzes achten. Die genaue Lage der Achsen prüfen.
Percer la porte du tableau d’après les exigences du nouveau disjoncteur. Faire tout particulièrement attention à la typologie de kit
acheté. Contrôler le positionnement des axes.
Perforar la puerta del cuadro según las exigencias impuestas por el nuevo interruptor. Poner mucha atención a la tipología del kit
comprado. Controlar la posición de los ejes.
Asse orizzontale E1.2
Horizontal axis E1.2
Horizontal achse E1.2
Axe horizontal E1.2
Eje horizontal E1.2
Asse verticale E1.2
Vertical axis E1.2
Vertikale achse E1.2
Axe vertical E1.2
Eje vertical E1.2
Y’ Y
Y’ Y
7,5
5,5
X
X’
X
X’
Asse orizzontale E1.2
Horizontal axis E1.2
Horizontal achse E1.2
Axe horizontal E1.2
Eje horizonal E1.2
Asse verticale E1.2
Vertical axis E1.2
Vertikale achse E1.2
Axe vertical E1.2
Eje vertical E1.2
Y’ Y
Y’ Y
25,5
5,5
X
X’
X
X’
E1.2 / ME1257 3 POLES E1.2 / ME1257 4 POLES
9
YY’
YY’
XX
X’ X’
48,5
43
Asse orizzontale E2.2
Horizontal axis E2.2
Horizontal achse E2.2
Axe horizontal E2.2
Eje horizontal E2.2
Asse verticale E2.2
Vertical axis E2.2
Vertikale achse E2.2
Axe vertical E2.2
Eje vertical E2.2
YY’
YY’
XX
X’ X’
48,5
53
Asse orizzontale E2.2
Horizontal axis E2.2
Horizontal achse E2.2
Axe horizontal E2.2
Eje horizontal E2.2
Asse orizzontale E2.2
Horizontal axis E2.2
Horizontal achse E2.2
Axe horizontal E2.2
Eje horizontal E2.2
Asse verticale E2.2
Vertical axis E2.2
Vertikale achse E2.2
Axe vertical E2.2
Eje vertical E2.2
48,5
Y Y’
Y Y’
X’ X’
XX
12
48,5
Y Y’
Y Y’
X’ X’
XX
E2.2 / ME2007 4 POLESE2.2 / ME2007 3 POLES
E2.2 / ME2507 3 POLES E2.2 / ME2507 4 POLES
Asse verticale E2.2 - ME2007
Vertical axis E2.2 - ME2007
Vertikale achse E2.2 - ME2007
Axe vertical E2.2 - ME2007
Eje vertical E2.2 - ME2007
Asse verticale E2.2 - ME2507
Vertical axis E2.2 - ME2507
Vertikale achse E2.2 - ME2507
Axe vertical E2.2 - ME2507
Eje vertical E2.2 - ME2507
Asse orizzontale ME2007
Horizontal axis ME2007
Horizontal achse ME2007
Axe horizontal ME2007
Eje horizontal ME2007
Asse orizzontale E2.2
Horizontal axis E2.2
Horizontal achse E2.2
Axe horizontal E2.2
Eje horizontal E2.2
Forare la portella quadro secondo necessità del nuovo interruttore. Porre particolare attenzione alla tipologia del kit acquistato.
Controllare il posizionamento degli assi.
Make a hole in the switchboard door to suit the new circuit-breaker. Pay specific attention to the type of kit purchased. Check the
positions of the axes.
Die Schaltanlagentür je nach den Erfordernissen des neuen Leistungsschalters bohren. Besonders auf den Typ des gekauften
Nachrüstsatzes achten. Die genaue Lage der Achsen prüfen.
Percer la porte du tableau d’après les exigences du nouveau disjoncteur. Faire tout particulièrement attention à la typologie de kit
acheté. Contrôler le positionnement des axes.
Perforar la puerta del cuadro según las exigencias impuestas por el nuevo interruptor. Poner mucha atención a la tipología del kit
comprado. Controlar la posición de los ejes.
11
YY’
YY’
XX
X’ X’
48,5
41,5
Asse orizzontale E4.2
Horizontal axis E4.2
Horizontal achse E4.2
Axe horizontal E4.2
Eje horizontal E4.2
Asse orizzontale E4.2
Horizontal axis E4.2
Horizontal achse E4.2
Axe horizontal E4.2
Eje horizontal E4.2
Asse verticale E4.2
Vertical axis E4.2
Vertikale achse E4.2
Axe vertical E4.2
Eje vertical E4.2
48,5
Y Y’
Y Y’
X’ X’
XX
Collocare la dima adesiva alla portella e controllare che la linea tratteggiata sia perfettamente combaciante con il foro già presente sulla portella.
Position the adhesive template on the door and make sure that the dotted line perfectly matches the aperture on the door itself.
Die selbstklebende Schablone auf der Tür anbringen und sicherstellen, dass die gestrichelte Linie perfekt über dem Loch liegt, das schon auf
der Tür vorhanden ist.
Placer le gabarit adhésif à la porte et vérifier que la ligne hachurée coïncide parfaitement avec l’ouverture présente sur la porte.
Colocar la plantilla adhesiva en la puerta y controlar que la línea punteada coincida perfectamente con el orificio ya presente en la puerta.
Figura esemplificativa, per immagini reali vedere istruzioni 15-16-17-18
Indicative figure. Consult instructions 15-16-17-18 for the real images
Als Beispiel gedachte Abbildung, für echte Bilder siehe Anweisungen 15-16-17-18
Figure d'exemple, pour les images réelle voir les instructions 15-16-17-18
Figura ejemplificativa, para las imágenes reales véanse las instrucciones 15-16-17-18
E4.2 / ME3207 3 POLES E4.2 / ME3207 4 POLES
Asse verticale E4.2 - ME3207
Vertical axis E4.2 - ME3207
Vertikale achse E4.2 - ME3207
Axe vertical E4.2 - ME3207
Eje vertical E4.2 - ME3207
Forare la portella quadro secondo necessità del nuovo interruttore. Porre particolare attenzione alla tipologia del kit acquistato.
Controllare il posizionamento degli assi.
Make a hole in the switchboard door to suit the new circuit-breaker. Pay specific attention to the type of kit purchased. Check the
positions of the axes.
Die Schaltanlagentür je nach den Erfordernissen des neuen Leistungsschalters bohren. Besonders auf den Typ des gekauften
Nachrüstsatzes achten. Die genaue Lage der Achsen prüfen.
Percer la porte du tableau d’après les exigences du nouveau disjoncteur. Faire tout particulièrement attention à la typologie de kit
acheté. Contrôler le positionnement des axes.
Perforar la puerta del cuadro según las exigencias impuestas por el nuevo interruptor. Poner mucha atención a la tipología del kit
comprado. Controlar la posición de los ejes.
14
13