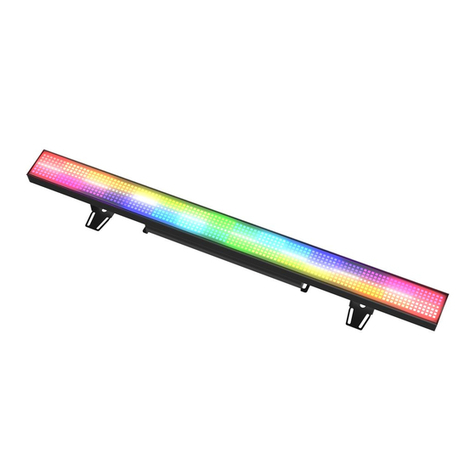
LED-HC 50 II
C. Master/Slave operation
The fixture will allow you to link 16 fixtures together and operate without a controller.
In Master/Slave mode, the first fixture will control the others to give an automatic,
sound activated, synchronized light show. This function is good when you want an
instant show. The first fixture it’s DMX input cable will have nothing connect it, and
the other fixtures will be set in slave mode automatically. Their DMX input cables
connect the last fixture DMX output cable (daisy chain). Any fixture can act as a
Master or as a Slave
LED-HC 50 II
When you set the address by DMX controller and dip-switch at the same
time, the order of the DMX controller will be invalid.
A. DMX address setting by dip-switches
1. Set the start address by dip-switch as the diagram below
2. Hold the AUTO DMX ADDRESS button for about 5 seconds, the LED
lights blinking indicating the address is set successfully.
Dip # 1 # 2 # 3 # 4 # 5 # 6 # 7 # 8 # 9 # 10
Value 1 2 4 8 16 32 64 128 256 Master/Slave
•Examples:
Channel 01:dip / on : # 1(=1)
Channel 05:dip / on : # 1, # 3(1+4=5)
Channel 09:dip / on : # 1, # 4 (1+8=9)
Channel 13:dip / on : # 1, # 3, # 4(=13)
B. Auto DMX addressing
1. The DMX address of fixture can be set automatically. Set all dip-switches to OFF
and hold the AUTO DMX ADDRESS button of the first unit for about 5 seconds,
the fixture will be set the DMX start address to 1, and the other fixtures of the
chain will be set their own DMX start address automatically.
2. The LED fixtures use four channels, the next fixture’s will be automatic calculate
their own DMX address, not need to calculate the DMX channels of each fixture
in the chain. (Fixture 1 = 1, Fixture 2 = 5, Fixture 3 = 9, Fixture 4 = 13, Fixture…)
3. No need to turn the fixture off when you change the DMX address, as new DMX
address setting will be effect at once. Every time you turn the fixture on, it will be
ready to receive DMX signal or run the built-in programs.
8A 5A
