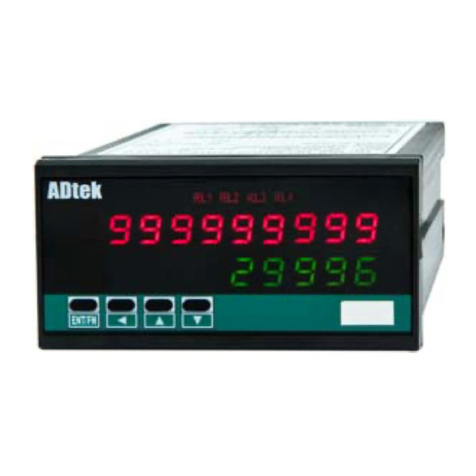
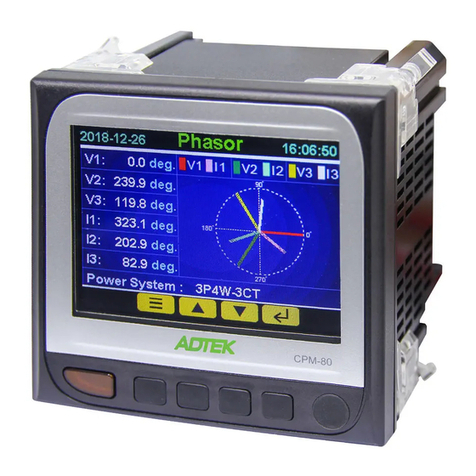
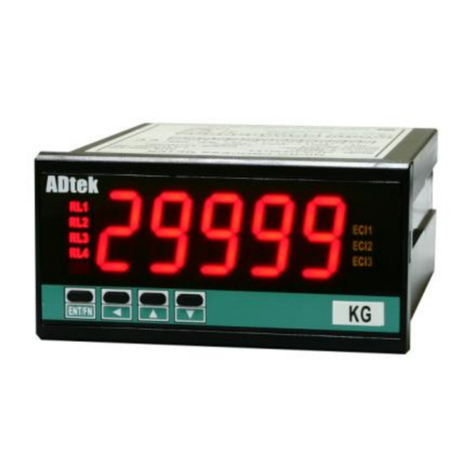
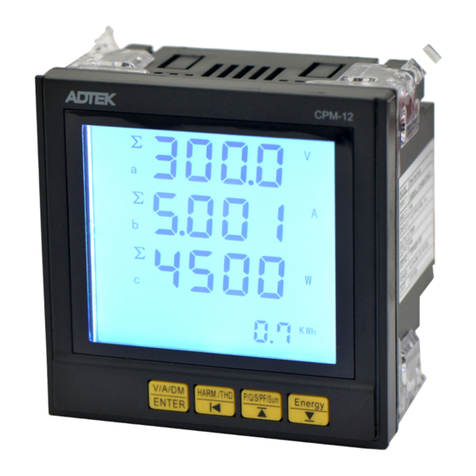
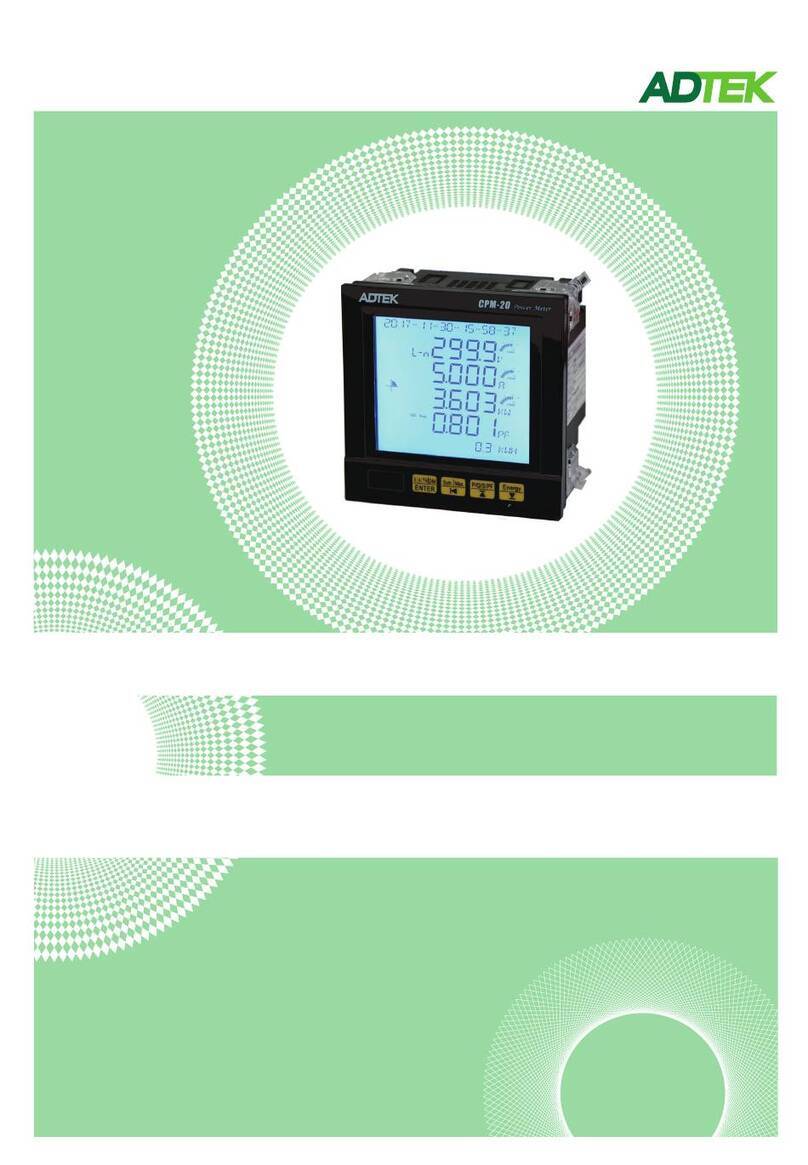
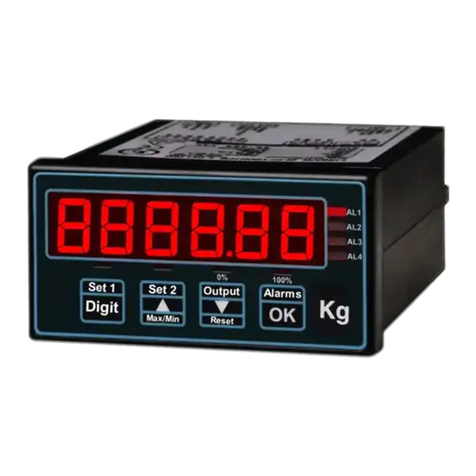
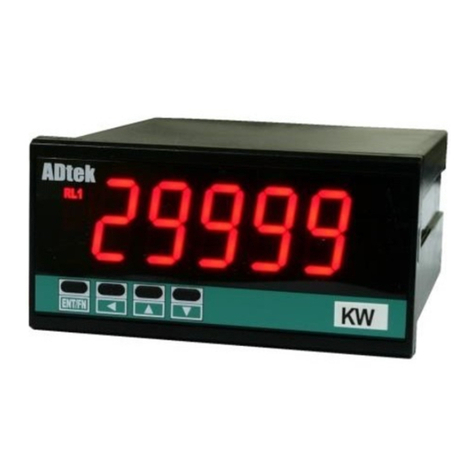
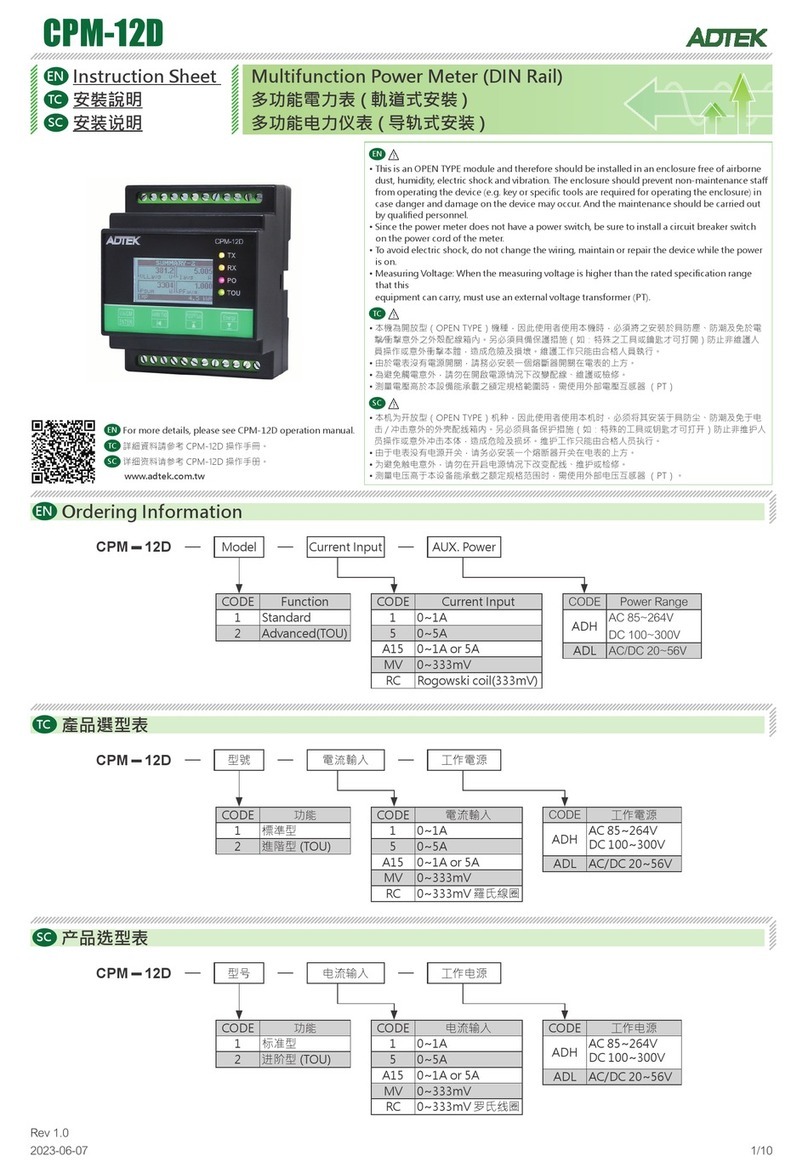
ADTEK MWH-8W User manual

Thank you for purchasing this meter, before you begin using the meter should read this Manual。
Safety Notes:
Before Installation and removal, first power off。
Do not use in direct sunlight, use the ambient temperature 0 ~ +60 degrees Celsius
MWH-8W MANUAL(Ver.1.1)Wall-mounted Electronic Energy Meter
■
Appearance of the ministries Name Description
■
DIMENSIONS ■
Fixed Hole Size
97
139
單位:mm
■
CONNECTION DIAGRAM
1 6 * 8 8
KWH
MWH-8W-12
Large LCD screen
Trip LED
Pulse output LED Alarm LED
Paging operation
buttons
Model specification
Seal screw terminal
Terminal Block
Operation cover lead
sealing screws
Screw shell seals
註:淺色字部份規格為新版預定追加功能,目前暫時無法提供。
- 1 -
L1
N
L1
N
LOAD
Power 220V
1P2W
RS485 output
A+
B-
Pulse output(3200 impulse/KWH)
+
-
L1
L2
L1
L2
LOAD
Power 110/220V
NN
RS485 output
A+
B-
Pulse output(3200 impulse/KWH)
+
-
110V
110V
220V
220V
1P3W
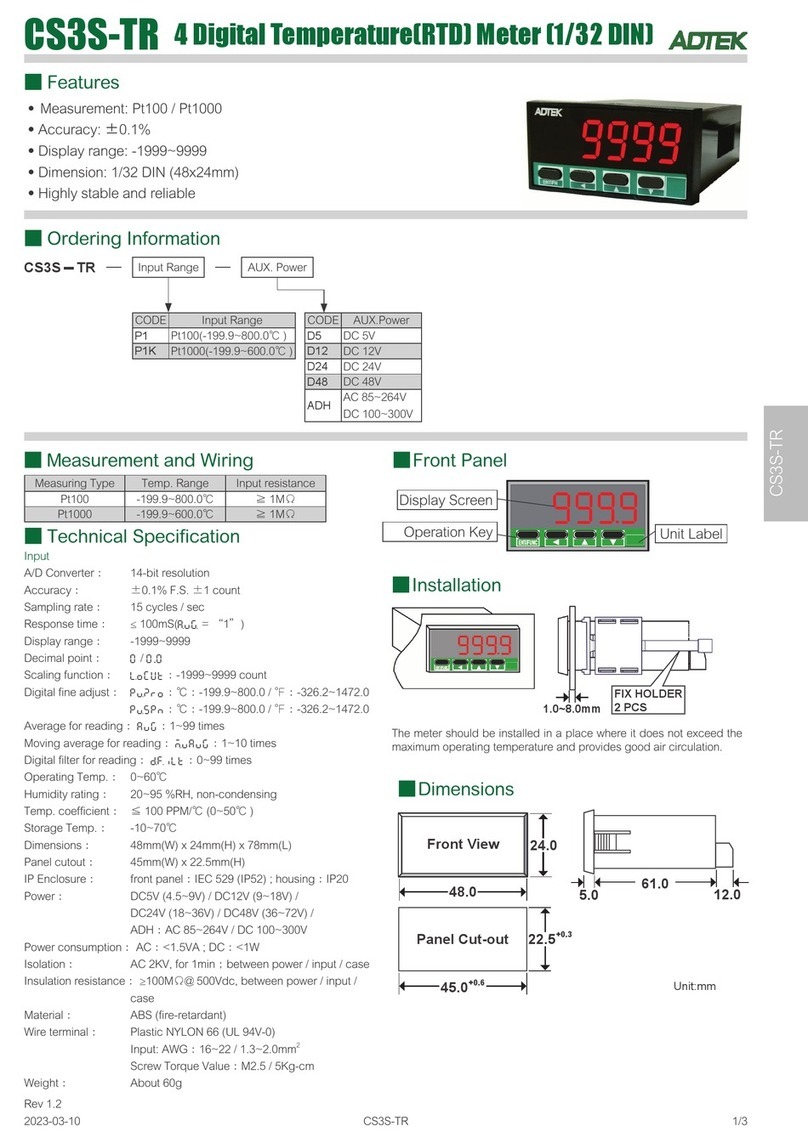
■ORDERING INFORMATION
MWH-8W - Connection
mode
CODE
12
13
1P2W
1P3W
Conn. mode
Optional
CODE
N
1
None
刷卡機
Optional
2
刷卡卡片
-

16*00KWh
Current electricity (KWh)
ver-!3
Display version:Ver-1.3
mwh-8w
Display Type MWH-8W
88888*88
LCD Display Test
21*9
VA
Total voltage value
10(5
VA
L1 Voltage
10(5
VA
L2 Voltage
1.500
VA
L2 Current
%000
VA
Total current value
3.500
VA
L1 Current
)16KWh
L2 Watts
)54
KWh
Total Watts value
)38KWh
L1 Watts
16*00KWh
Total Watt/hour value
!000
cosφ
Power factor values
add-001
Address
bd- 9600
Baud rate
prty-n82
Parity
201!0@24
Date
17:30:34
Time
ver-!3
Firmware version
displayed
Check the wiring
Power input
Press
Formal operation of the meter before you read the description of this process:
1.The instrument mainly divided into "execution parameters browse screen" and
"factory-set parameters" of two parts。
2.Please do not suggest any non-engineering personnel to enter and modify the
"factory-set parameters" inside the content, so as to avoid system anomalies
caused by improperly set or damaged.。
3.After the new meter purchase process engineers Please read this note, based
on their needs, set the appropriate parameters to fully understand these
processes can contribute to the later of the operating
Execution parameters browse screen Operation Flow
Execution parameters to browse screen process (Dotted screen for 1P3W display only)
Key position description:
This is the hidden key you want to open
window lidLook, after the seals will not be
able to operate。
Seal screws
- 2 -
Ver-1.2:1P2W
Ver-1.3:1P3W
Press Press Press
Press
Press
PressPress
Press Press
Press
Press
Press
Press Press Press
Press
PressPress

At present bus
voltage value
1P2W:L1 to L2
Line voltage
1P3W:L1 to L2
Line voltage
L1 line voltage 1P2W:None
1P3W:L1-N line voltage
L2 line voltage
L1 Current
L1 Watt value
L2 Watt value
Currently the total watt /
hour value
Currently the
total watt / hour
value
Display the total power
factor
Description step execution parameters screen
User operations level Operation and display
21*9
VA
Total voltage value
10(5
VA
NL
L1 Voltage
10(5
VA
LN
L2 Voltage
%000
VA
Total current value
3.500
VA
NL
L1 Current
1.500
VA
LN
L2 Current
)54
KWh
Total Watts value
)38KWh
NL
L1 Watt value
)16KWh
LN
L2 Watt value
16*00KWh
Total Watt/hour value
!000
cosφ
Power factor values
The current total
current value
L2 Current
Current total
Watt value
The current
power factor
values
This is the "normal display"
To view the "execution parameters browse screen"
Parameters screen Screen note Parameter Description Mode of operation
16*00KWh
Current electricity Kwh
Current
electricity
Kwh
Cumulative effective energy
function with forward,
reverse and effective way to
accumulate power by
absolute。
1P2W:None
1P3W:L2-N line voltage
1P2W:L1 to L2
Line current
1P3W:L1+L2 total current
1P2W:None
1P3W:L1-N line current
1P2W:None
1P3W:L2-N line current
1P2W:L1 to L2 total Watt
1P3W:L1+L2 total Watt
1P2W:None
1P3W:L1-N Watt value
1P2W:None
1P3W:L2-N Watt value
Press into the next parameter browse screen
- 3 -
Press into the next parameter browse screen

Baud rate Display the current
settings of the
communication Baud rate
of the meter: 9600 bps
Parity Display the current
settings of the
communication Parity of
the meter:N,8,2
Displays the current date:
2011/02/24
Date
Displays the current time:
17(H)30(M)34(S)
Firmware
version
displayed
Display the Firmware
version:
VER-1.2:1P2W
VER-1.3:1P3W
Description step execution parameters screen
User operations level Operation and display
Time
bd- 9600
Baud rate
prty-n82
Parity
201!0@24
Date
17:30:34
Time
ver-!3
Firmware version displayed
Address
add-001
Address
Display the current
settings of the
communication address
of the meter:001
- 4 -
Parameters screen Screen note Parameter Description Mode of operation
Press into the next parameter browse screen

address
Address
baud
Baud rate
parity
Parity
date
Date
rst kwh
Zero Watt/hour value
pw cut
NL
Low Cut
dspy off
Power off display time
time
Time
bk light
Backlight time
pass cod
Pass code set
fun lock
Lock Set
pcode
Password
16*00KWh
Usually display
Press
Password is correct
Set the parameters:
Press into set mode,Press Set the value
Setting:
Short press to value plus "1"
Long by 2 seconds to move the cursor to
the left 1 bit (not too early release)
Factory set parameter operation process
This key is hidden keys to be able to see
the cover open windows, seals will not
operate, so the following parameters to be
set at the factory finish。
Default:1000
Engineers parameter level Operation Flow
- 5 -
Press
Press Press Press
Press
Press
Press
Press
Press Press
Press Press

address
Address
RS485
Communication
station number
setting
1~255
baud
Baud rate
Default:1
RS485
Baud rate
setting
2400/4800/9600/19200 Press to enter setup mode, then press set the value
Short press to cycle through options:
2400/4800/9600/19200/38400
Set completed by enter to leave and go to the next
parameter
Default:9600
n81/n82/e81/o81
Programable
Press to enter setup mode, then press set the value
Short press to cycle through options:
n81/n82/E81/o81
Set completed by enter to leave and go to the next
paramete
Default:N82
parity
Parity
RS485
Parity check set
Enter Password,
Password is correct,
reset watt / hour value
Default:2100
Zero watt / hours
accumulated value
or
rst kwh
Zero watt / hour value
Press to enter the setting mode, press to set the pass
code
Short press to cycle through options: NO/YES Set
completed by enter to leave and go to the next paramete
Selected YES ,Watt/hours accumulated value is immediately
Power shutoff no/yes Programable
no=Power up
yes=Power off
Press to enter setup mode, then press set the value
Short press to cycle through options: NO/YES
Set completed by enter to leave and go to the next
paramete
If you select YES, the meter will immediately trip the internal
relay, and Breaker LED flashes
Default:NO
pw cut
Power shutoff
Date Setting
date
or
201!0#15
2011.03.05
YYYY.MM.DD
date
Date
Time setting
time
or
1%3%26
15.35.26
hh.mm.ss
time
Time
1~99 min
Default:1
Set the screen
Backlight time
bk light
Backlight time
1~6 day
Default:0
Set KWH value
display for time
after power off
dspy off
Power off display time
0000~9999
Default:1000
Set to enter the
parameter
setting levels of
pass code
pass cod
Pass code set
Unlock/Lock
Default:Unlock
Set the lock
mode function
keys
fun lock
Lock Set
Factory set parameter operation process
Engineers parameter level and display Operation flow
- 6 -
Parameters screen Screen note Parameter Description Mode of operation
rst kwh
code ent
Press to enter setup mode, then press set the value
Short press for the value added 1
Long 2 second to move cursor left 1 bit (not released too
early)
Set completed by enter to leave and go to the next
parameter
Press to enter setup mode, then press set the value
Short press for the value added 1
Long 2 second to move cursor left 1 bit (not released too
early)
Set completed by enter to leave and go to the next
parameter
Press to enter setup mode, then press set the value
Short press for the value added 1
Long 2 second to move cursor left 1 bit (not released too
early)
Set completed by enter to leave and go to the next
parameter
Press to enter setup mode, then press set the value
Short press for the value added 1
Long 2 second to move cursor left 1 bit (not released too
early)
Set completed by enter to leave and go to the next
parameter
Press to enter setup mode, then press set the value
Short press for the value added 1
Long 2 second to move cursor left 1 bit (not released too
early)
Set completed by enter to leave and go to the next
parameter
Press to enter setup mode, then press set the value
Short press for the value added 1
Long 2 second to move cursor left 1 bit (not released too
early)
Set completed by enter to leave and go to the next
parameter
Press to enter setup mode, then press set the value
Short press for the value added 1
Long 2 second to move cursor left 1 bit (not released too
early)
Set completed by enter to leave and go to the next
parameter

MWH-8W Modbus RTU Parameters address table
name Numeric format and units Length R/W
40001 Long R
Word
Word
Cumulative watt / hour KWH (High-word)
0000h
Modbus Register
40002 0001h
0~999999.99 (K WH)
More than the total value of auto-zero
40009 PT
0008h 0~19.999 (KW)
KWHT (Hi)
KWHT (Lo)
Parameter Description
Cumulative watt / hour KWH (Low-word)
Currently total effective watts (KW)
40013 VT
000Ch 176.0~265. 0 (V)
Currently the total Line voltage (V)
R
R
Word
Word
40017 AT0010h 0~15.00 0 (A)
40021 PF
0014h Currently power factor (PF)
R
R
Current total average current (A)
Word
40025 F
0018h 45.0~65.0 (Hz)
Currently frequency (F) R
Word
40029 ST
001Ch 45.0~19.999 ( KVA) R
Currently the total apparent power (KVA)
Word
40033 Addr0020h Defaul t: [1] R/W
Communication Station No.
Word
40034 Baud
0021h
Defaul t: [3]
R/W
Communication Baud rate
4=19200 bps
1=2400、2=4800、3= 9600
1 ~255
Word
40035 Parity
0022h
Defaul t: [1]
R/W
Parity check
3= O81
0=N81、1=N82、2=E 81、
Word
40036 Reset
0023h
Defaul t: [0]
R/W
Zero clearance watt / hour values
1=YES(c lear)
0=NO(No c lear)
Word
40037 Breaker
0024h
Defau lt: [1]
R/W
Relay direct power off
1=ON(Powe red)
0=OFF(Power fa ilure)
Word
40038 YYYY0025h Default: [2 010] R/W
Year 2000~ 2099
Word
40039 MM
0026h Defaul t: [1] R/W
Month 1~12
Word
40040 DD
0027h Defaul t: [1] R/W
Date 1~31
Word
40041 hh
0028h Defaul t: [0] R/W
Hour 0~23
Word
40042 mm
0029h Defaul t: [0] R/W
Minutes 0~59
Word
40043 ss
002Ah Defaul t: [0] R/W
Second 0~59
Word
40044 Back Light
002Bh Defaul t: [1] R/W
Backlight time(0=Always light ) 1~15 (min)
Word
40045 LCD off 002Ch Defaul t: [0] R/W
Off-screen display time(0=Led off 0~6 (day)
Word
40046 P.Code
002Dh Default: [1 000] R/W
Password setting function 0~9999
Word
40047 Lock002Eh R/W
Parameter lock
Defaul t: [0]
1= Lock
0=U nlock
Word
40010 P1
0009h 0~19.999 (KW)
Line 1 effective watt (KW) R
Word
40011 P2
000Ah 0~19.999 (KW)
Line 2 effective watt (KW) R
Word
40014 V1000Dh 176.0~265. 0 (V)
Line 1 voltage (V) R
Word
40015 V2000Eh 176.0~265. 0 (V)
Line 2 voltage (V) R
Word
40018 A10011h 0~15.00 0 (A) R
Line 1 current (A)
Word
40019 A20012h 0~15.00 0 (A) R
Line 2 current (A)
-1.000~+1.000 (Cosθ)
RS-485 communication parameters address table
- 7 -
immediately after power failure)
(HI)*10000+(LO)/100
Value display: calculated as follows
Table of contents
Other ADTEK Measuring Instrument manuals
Popular Measuring Instrument manuals by other brands

TA Instruments
TA Instruments DISCOVERY XENON FLASH Getting started guide

Endress+Hauser
Endress+Hauser iTEMP TMT162 Brief operating instructions

Endress+Hauser
Endress+Hauser Proline Prowirl F 200 Brief operating instructions

GF
GF Signet 2552 operating instructions

Nordson
Nordson Rhino SD2 manual

PCB Piezotronics
PCB Piezotronics J353B15 Installation and operating manual