manuals.online logo
Brands
  1. Home
  2. •
  3. Brands
  4. •
  5. Anova
  6. •
  7. Indoor Furnishing
  8. •
  9. Anova D1404 User manual

Anova D1404 User manual

anovafurnishings.com
888.535.5005 tel
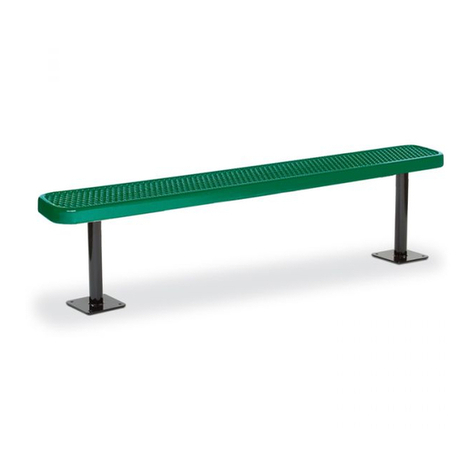
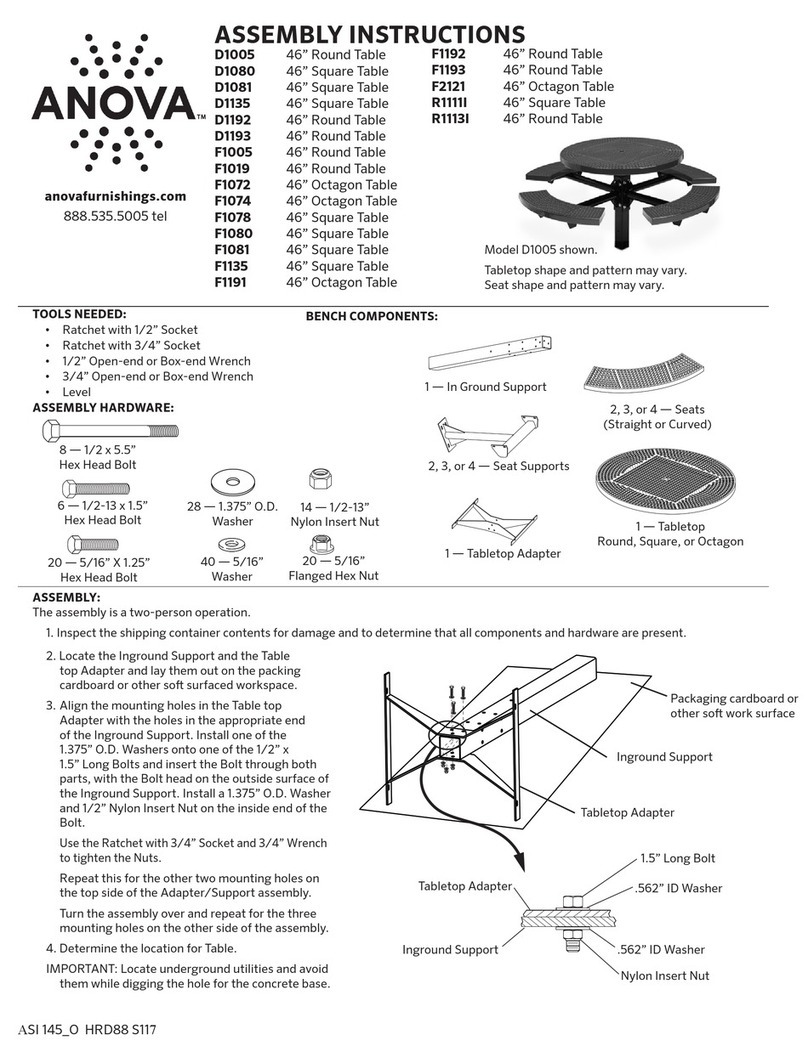
1 — In Ground Support
4 — Seats
(Straight or Curved)
TOOLS NEEDED:
Ratchet with 1/2” Socket• 
Ratchet with 3/4” Socket• 
1/2” Open-end or Box-end Wrench• 
3/4” Open-end or Box-end Wrench• 
Level• 
40 — 5/16”
Washer
20 — 5/16” X 1.25”
Hex Head Bolt
ASSEMBLY:
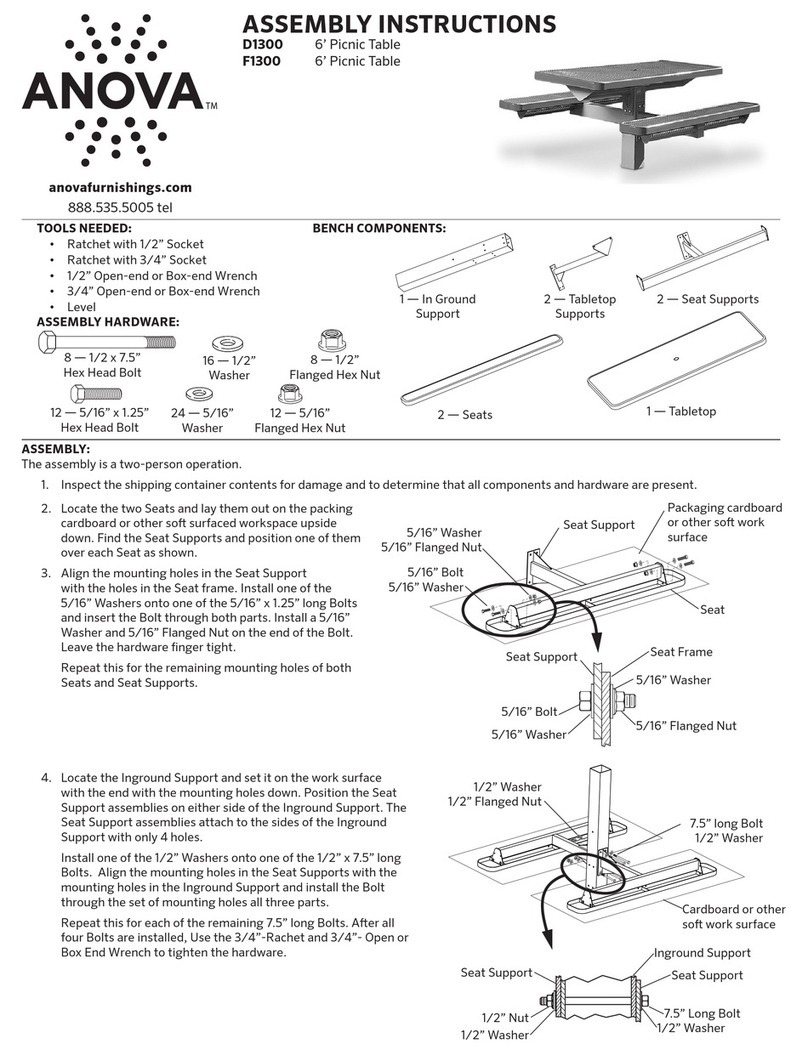
The assembly is a two-person operation.
1. Inspect the shipping container contents for damage and to determine that all components and hardware are present.
2. Locate the Surface Mount Support and the Tabletop
Adapter and lay them out on the packing cardboard
or other so surfaced workspace.
3. Align the mounting holes in the Tabletop
Adapter with the holes in the appropriate end
of the Surface Mount Support. Install one of the
1.375” O.D. Washers onto one of the 1/2” x 1.5” Long
Bolts and insert the Bolt through both parts, with
the Bolt head on the outside surface of the Surface
Mount Support. Install a 1.375” O.D. Washer and
1/2” Nylon Insert Nut on the inside end of the Bolt.
Use the Ratchet with 3/4” Socket and 3/4” Wrench to
tighten the Nuts
.
Repeat this for the other two mounting holes on the
top side of the Adapter/Support assembly.
Turn the assembly over and repeat for the three
mounting holes on the other side of the assembly.
Model F1403 shown.
Tabletop shape and pattern may vary.
Seat shape and pattern may vary.
ASSEMBLY HARDWARE:
BENCH COMPONENTS:
6 — 1/2-13 x 1.5”
Hex Head Bolt
14 — 1/2-13”
Nylon Insert Nut
28 — 1.375” O.D.
Washer
8 — 1/2 x 5.5”
Hex Head Bolt
1 — Tabletop
(Square or Round)
4 — Seat Supports
1 — Tabletop Adapter
20 — 5/16”
Flanged Hex Nut
1.375” O.D. Washer
Nylon Insert Nut
1.5” Long Bolt
1.375” O.D. Washer
Tabletop Adapter
Surface Mount Support
Tabletop Adapter
Surface Mount Support
Packaging cardboard or
other so work surface
ASSEMBLY INSTRUCTIONS
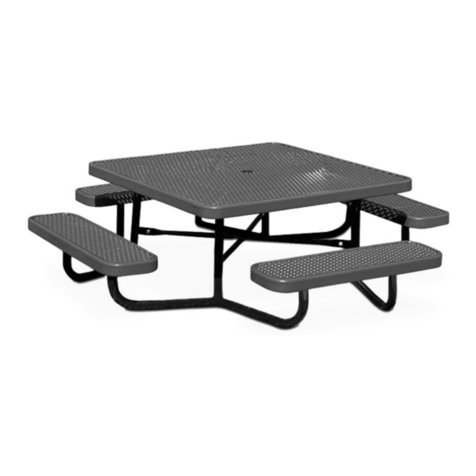
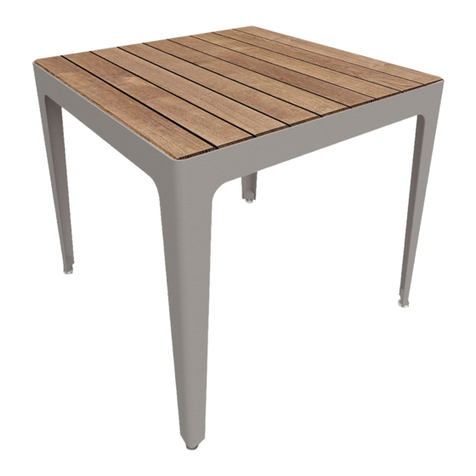
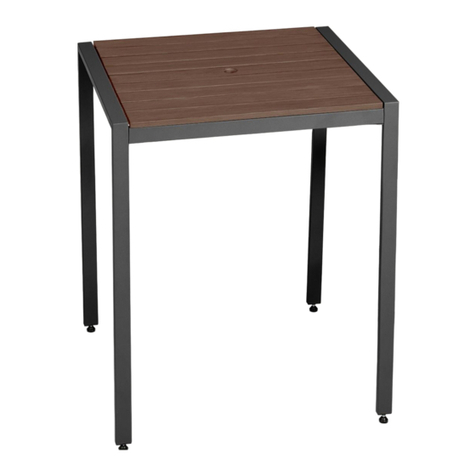
D1404 46” Square Table
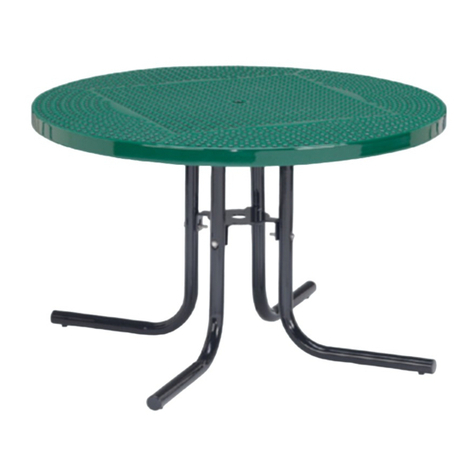
F1403 46” Round Table
F1404 46” Square Table
Do not drag the assembled unit across any surface.• 
This product requires only periodic cleaning with a sponge and a solution of mild detergent and water to• 
remove surface dirt. Do not clean with a solvent or petroleum based products.
Furniture must not be used other than for its intended purpose and should be inspected regularly for loose,• 
missing, or broken hardware, and general instability.
Furniture that is damaged or appears to be unstable must be removed from service and be repaired or replaced.• 
Repairs must be made using only factory authorized parts and methods.• 
WARNING
CARE AND
MAINTENANCE
211 North Lindbergh Blvd.
St. Louis, MO 63141
tel: 888.535.5005
web: anovafurnishings.com
10/2012
1.25” long Bolt
5/16” Washer
5/16” Washer
5/16” Nut
Cardboard
or other so
work surface
1.375” O.D. Washer
Nylon Insert Nut
5.5” Long Bolt
1.375” O.D. Washer
5/16” Washer
5/16” Nut
1.25” Long Bolt
5/16” Washer
Prepared Surface Mount Site
4. Install the Surface Mount Support to a prepared surface
mount site.
NOTE: If the Support is not secured, the assembly may tip or
fall during subsequent assembly steps.
5. Place one of the seats upside down on the packing cardboard or other so
work surface. Position one of the Seat Supports so the mounting holes in
the Seat Support line up with the mounting holes on the Seat Frame.
Place one of the 5/16” Washers on one of the 1.25” long Bolts and insert
the Bolt through the Seat Support and Seat Frame mounting holes. Apply a
5/16” Washer and 5/16” Nut to the end of the Bolt and tighten nger tight.
Repeat for the other three mounting holes. Aer all Bolts are installed, use
the Ratchet with 1/2” Socket and 1/2” Wrench to tighten the Nuts.
Attach the remaining Seats to the remaining Seat Supports in the same
manner.
6. Position two of the Seat Support assemblies on opposite sides of the Surface
Mount Support. Place a 1.375” O.D. Washer onto one of the 5.5” Long Bolts
and insert the Bolt through the mounting holes of the Surface Mount Support
and both Seat Supports. Add a 1.375” O.D. Washer and Nylon Insert Nut to
the end of the Bolt and tighten the Nut nger tight.
Repeat for the other three mounting holes in the Seat Support assemblies.
Aer all bolts are installed, use the Ratchet with 3/4” Socket and 3/4” Wrench
to tighten the Nuts. Check with a Level and adjust the seat as needed while
tightening.
Install the remaining Seat Support assemblies in the same
manner.
7. Position the Tabletop on the Tabletop Adapter so that the mounting
holes in the Frame of the Tabletop align with the mounting holes in the
Tabletop Adapter. Place one of the 5/16” Washers on one of the 1.25”
Long Bolts and insert the Bolt through the Tabletop Frame and the
Tabletop Adapter mounting holes. Apply a 5/16” Washer and 5/16” Nut
to the end of the Bolt and tighten nger tight.
Repeat for the other three mounting holes in the Tabletop and the
Tabletop Adapter.
Aer all Bolts are installed, use the Ratchet with 1/2”
Socket and 1/2” Wrench to tighten the Nuts
. Use a Level while tightening
the hardware and adjust the Tabletop as needed while tightening.
8. Aer two weeks, retighten all hardware.
This manual suits for next models

2

Other Anova Indoor Furnishing manuals

Anova D1300 Installation guide

Anova

Anova D1300 Installation guide

Anova Mixx Recycled MIX2925R User manual

Anova

Anova Mixx Recycled MIX2925R User manual

Anova Elevation ELV52T User manual

Anova

Anova Elevation ELV52T User manual

Anova D1300 User manual

Anova

Anova D1300 User manual

Anova Tuscany T2247R User manual

Anova

Anova Tuscany T2247R User manual

Anova D1147 User manual

Anova

Anova D1147 User manual

Anova D114 User manual

Anova

Anova D114 User manual

Anova D1005 User manual

Anova

Anova D1005 User manual

Anova F3118 User manual

Anova

Anova F3118 User manual

Anova T2237R User manual

Anova

Anova T2237R User manual

Anova T2237R User manual

Anova

Anova T2237R User manual

Anova MIX2930R User manual

Anova

Anova MIX2930R User manual

Anova MIX2920R User manual

Anova

Anova MIX2920R User manual

Anova PLK60C User manual

Anova

Anova PLK60C User manual

Anova T2267R User manual

Anova

Anova T2267R User manual

Anova D1110 User manual

Anova

Anova D1110 User manual

Anova F2022 User manual

Anova

Anova F2022 User manual

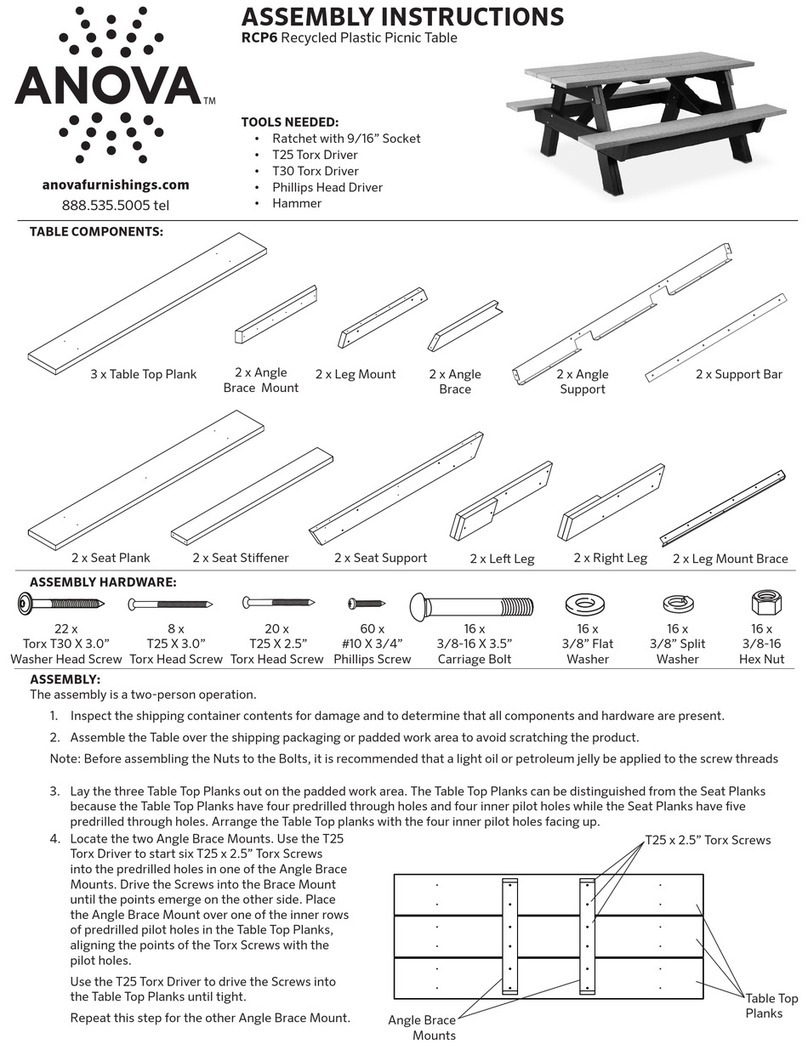
Anova rcp6 Quick setup guide

Anova

Anova rcp6 Quick setup guide

Anova PLK60T User manual

Anova

Anova PLK60T User manual

Popular Indoor Furnishing manuals by other brands

FMD Furniture ARTA 1 Assembly instruction

FMD Furniture

FMD Furniture ARTA 1 Assembly instruction

Ethnicraft NORDIC II 51224 Assembly instruction

Ethnicraft

Ethnicraft NORDIC II 51224 Assembly instruction

HJH office LIGHT 20 Assembly instructions

HJH office

HJH office LIGHT 20 Assembly instructions

Safavieh Furniture Hal FOX8501 quick start guide

Safavieh Furniture

Safavieh Furniture Hal FOX8501 quick start guide

Dowell 4012 0115 installation guide

Dowell

Dowell 4012 0115 installation guide

The Interior Gallery TIG-621072 installation guide

The Interior Gallery

The Interior Gallery TIG-621072 installation guide

Baxton Studio ETAN-003 Assembly instruction

Baxton Studio

Baxton Studio ETAN-003 Assembly instruction

OYPLA Home 4265 user manual

OYPLA Home

OYPLA Home 4265 user manual

modway MOD-6277 quick start guide

modway

modway MOD-6277 quick start guide

BLACK RED WHITE KOEN SFW1W/148 Assembly instructions

BLACK RED WHITE

BLACK RED WHITE KOEN SFW1W/148 Assembly instructions

CHIEF MSP-ECH3 installation instructions

CHIEF

CHIEF MSP-ECH3 installation instructions

Studio Designs Sew Ready ECLIPSE ULTRA 13376 Assembly instructions

Studio Designs

Studio Designs Sew Ready ECLIPSE ULTRA 13376 Assembly instructions

Lightolier AGL specification

Lightolier

Lightolier AGL specification

Humanscale NeatTech Assembly instructions

Humanscale

Humanscale NeatTech Assembly instructions

Furinno Brahms 19210 Assembly instruction

Furinno

Furinno Brahms 19210 Assembly instruction

Seconique BERGEN Assembly instructions

Seconique

Seconique BERGEN Assembly instructions

Standard Furniture 13916 Assembly instruction

Standard Furniture

Standard Furniture 13916 Assembly instruction

Meblik Scandi 90 TV.51 quick start guide

Meblik

Meblik Scandi 90 TV.51 quick start guide

manuals.online logo
manuals.online logoBrands
  • About & Mission
  • Contact us
  • Privacy Policy
  • Terms and Conditions

Copyright 2025 Manuals.Online. All Rights Reserved.