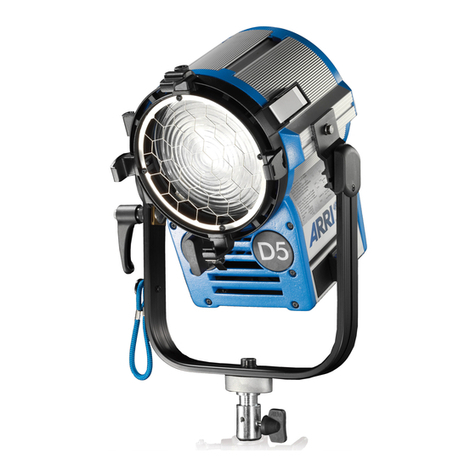
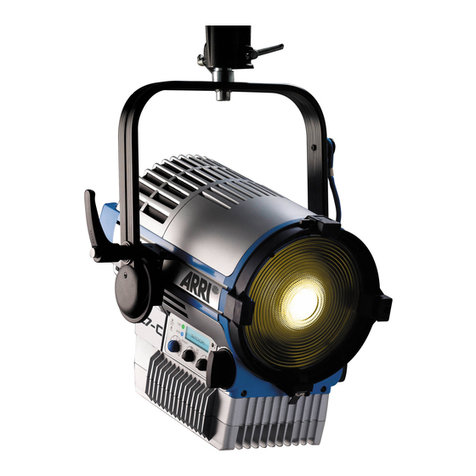
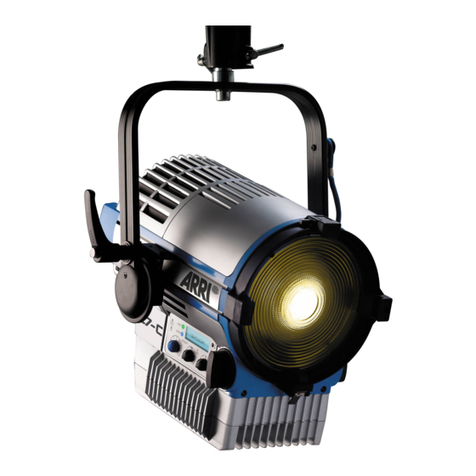
ARRI - ORBITER
Short Manual
MOUNTING LAMPHEAD:
*Always use a safety chain when mounting
above persons
**Always secure safety chain between
Optic attachment and Lamphead
***Orbiter MUST be mounted on its’ yoke in
perpendicular standing position, or hanging
position. NEVER APPLY A LATERAL LOAD
ON THE STIRRUP!!!
Lamphead must not be exposed to vibrations
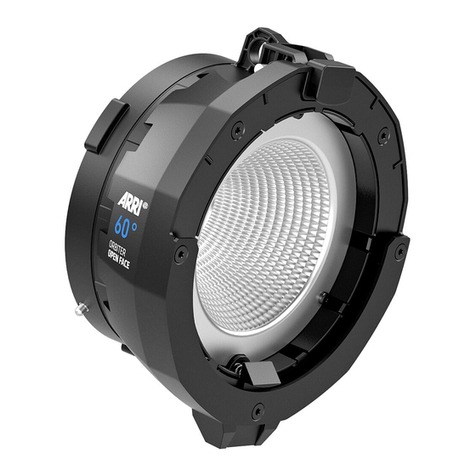
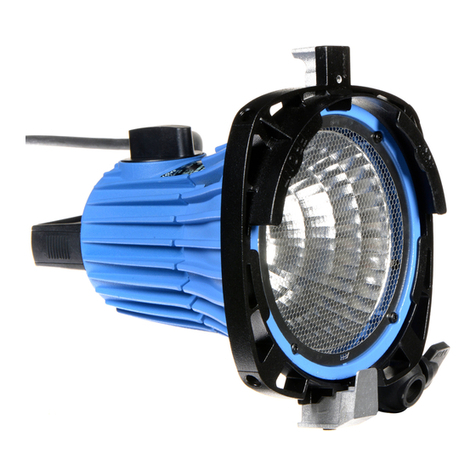
MOUNTING OPTICS:
*Lamphead will not function without an
Optic attached**
1 –Turn off Orbiter
2 –Release Optic by pressing locking slider
inwards and turn counter clockwise
3 –Mount new Optic by lining up Bayonet
Catch, turn clockwise until lockingtab
engages. Check that it is secure.
ALWAYS REPLACE PROTECTIVE CAP
WHEN NOT IN USE!!!
ORBITER CONTROL
By applying power to the mains power, the Orbiter will start lightingafter a short start-up time with
the previous settings programmed.
Orbiter can either be controlled by: DMX (Input/Throughput), Ethernet (Daisy Chain), or the
Removable Control Panel
MODES: WHITE LIGHT –Optimized Colour Rendition or High Output (Green/Magenta)
COLOURED LIGHT –Colour Tone and Saturation can be adjusted continuously
**At very low light setting, colour will revert to white**
Full Spectrum Operating Modes: WWW.ARRI.COM
ORBITER CONTROL PANEL
The Control Panel can be used directly at the Orbiter, or via a connecting cable remote from the
Orbiter. **If two Controllers are connected, the cable-connected Controller has priority**
Connecting Directly to the Orbiter: place Control Panel diagonally to the left into the recess.
Then push in the right side into the recess, then push unit to the right until it locks in place.
Control Panel will connect automatically and start up when power is on.
Control Panel uses: LiOS (Lighting Operating System)
Control Panel User Manual: WWW.ARRI.COM
