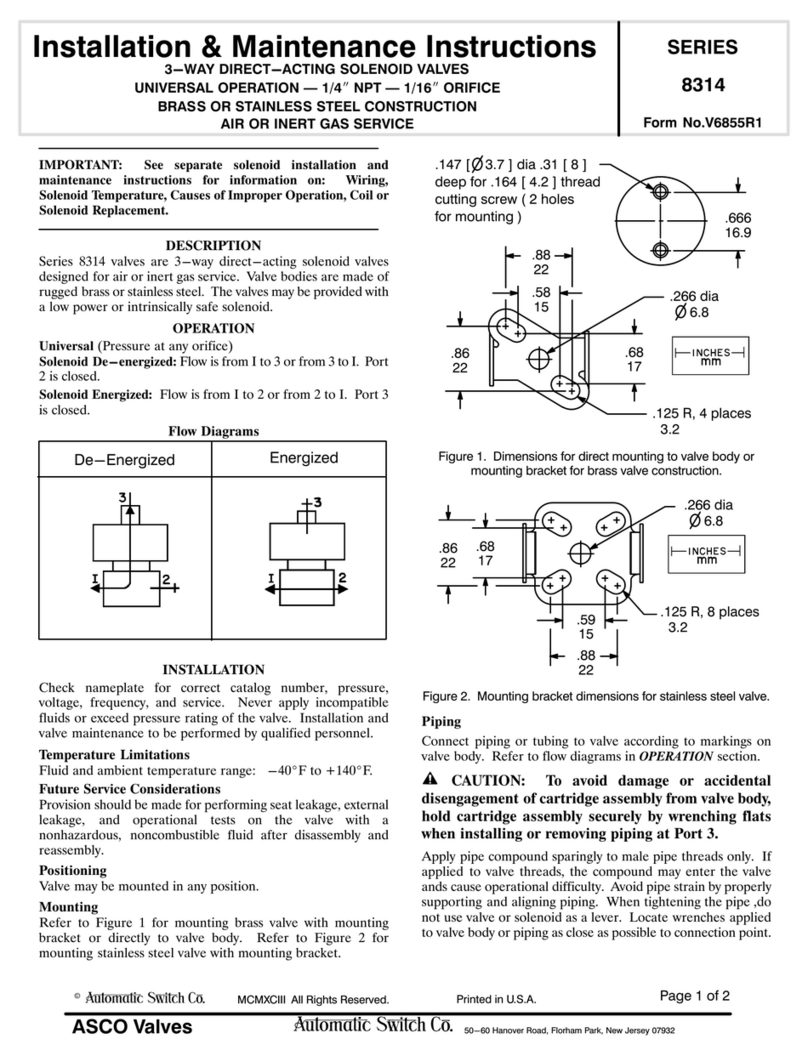
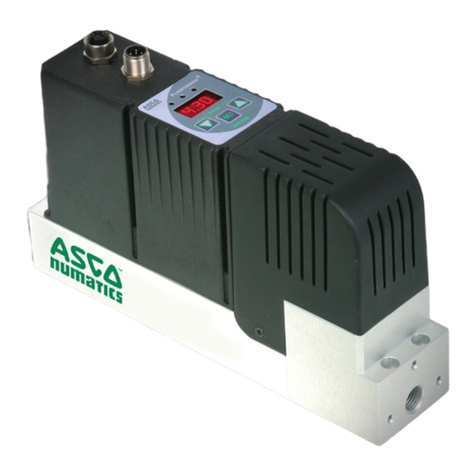
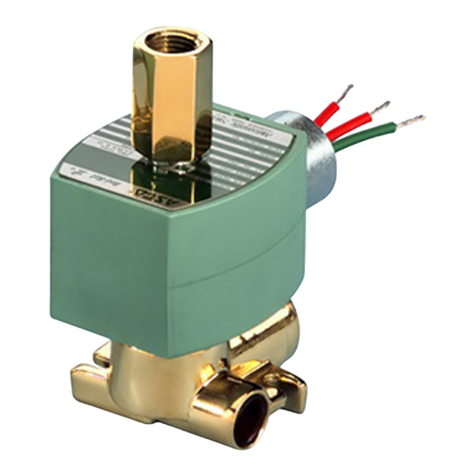
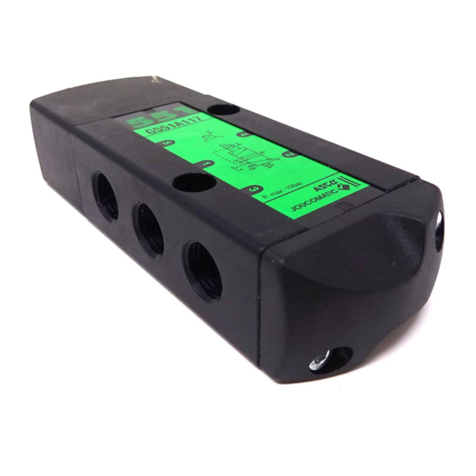
manuals.online logo
Brands
  1. Home
  2. •
  3. Brands
  4. •
  5. Asco
  6. •
  7. Control Unit
  8. •
  9. Asco 8003P Series Installation and operating instructions

Asco 8003P Series Installation and operating instructions

Page 1 of 4
50 Hanover Road, Florham Park, New Jersey 0793 www.ascovalve.com All Rights Reserved.E185 17
GENERAL PURPOSE-WATERTIGHT SOLENOIDS
Installation & Maintenance Instructions SERIES
I&M No. 7501R5
8003P
8007P
8202P
Ċ SERVICE NOTICE Ċ
ASCO solenoid valves with change letter P" in the middle
of the catalog number (ex. 8 10P001) are thermoplastic
encapsulated ASCO RedHat Next Generation Electronic
Solenoids. They are fully encapsulated using Dupontt
Zeniter Liquid Crystal Polymer Resin (LCP). Zeniter LCP
is a thermoplastic polyester resin which exhibits several
advantages over other thermoplastic encapsulants .*
* Chemical resistance of Zeniter LCP is not recommended
for all applications. Zeniter LCP is not suitable for long
term, repeated exposure to high concentrations of caustic
solutions. Consult factory for further information.
Follow these installation and maintenance instructions if
your valve or operator uses this solenoid.
The RedHat Next Generation electronic solenoid has an
integrated management circuit to provide:
SMomentary inrush current for high ratings.
SLow power consumption ( watts holding).
SLow temperature rise.
SVoltage ranging and AC/DC performance.
SBuilt in surge suppression.
See separate instructions for basic valve.
DESCRIPTION
Catalog numbers 8003P and 8007P are plastic
encapsulated pull-type solenoids. The green solenoid
with lead wires and 1/ IĂconduit connection is designed to
meet Enclosure Type 1-General Purpose, Type
-Dripproof, Types 3 and 3S-Raintight, and Types 4 and
4X-Watertight. The gray solenoid valves with catalog
numbers prefixed EE" is designed to meet Enclosure
Types 3 and 3S-Raintight, Types 4 and 4X-Watertight,
Explosionproof Class I, Division Groups A, B, C, & D
and Class II, Division Groups F & G. Operating
Temperature Code T4A (1 0_C).
ASCO Solenoid Valves with P" in the middle of the catalo
number are not suitable for steam service.
See Temperature Limitations section for solenoid
identification and see nameplate for service. When
installed just as a solenoid and not attached to an ASCO
valve, the core has a 0. 50- 8 UNF- B tapped hole, with
0.63 in[16,0 mm] minimum full thread.
Catalog number 8 0 P, is a plastic encapsulated push-type,
reverse-acting solenoid having the same enclosure type as
previously stated for Catalog numbers 8003P and 8007P.
OPERATION
Volta e Ran es: All coils are designed for industrial
operating voltages and can be used on the following voltage
ranges only:
oltage Range Minimum oltage
24-99 /50 or 60Hz/DC (1)
100-240 /50 or 60Hz/DC (1)
(1) =
( ) = Polarity sensitive / Protected: Red wire for Positive (+) and
Black wire for Negative (-). If wired incorrectly, valve will not
operate properly.
Not polarity sensitive
Maximum oltage
:
12-24/DC only (2)
85
20.4
10.4
264
109
26.4
:= As marked on coil
Note: The 100- 40 voltage range is also suitable for battery
charging circuits designed around a 1 5/DC nominal voltage
range. For wider voltage ranges then shown here or for
operating voltage ranges for specific catalog numbers, please
consult your local ASCO sales office.
Series 8003P, 8007P- Solenoid assemblies not supplied as
part of a valve. When the solenoid is energized, the core is
drawn into the solenoid base sub-assembly. IMPORTANT:
When the solenoid is de-ener ized, the initial return force
for the core, whether developed by sprin , pressure, or
wei ht, must exert a minimum force to overcome residual
ma netism created by the solenoid. Minimum return force
is 0.69lbf [3.06 N].
Series 8 0 P - When the solenoid is energized, the disc
holder assembly seats against the orifice. When the solenoid
is de-energized , the disc holder assembly returns.
IMPORTANT: Initial return force for the disc or disc holder
assembly, whether developed by sprin , pressure, or wei ht,
must exert a minimum force to overcome residual
ma netism created by the solenoid. Minimum return force
is 1.30 lbf [5.78 N].
INSTALLATION
Check nameplate for correct catalog number, service, and
wattage. Check side of solenoid for voltage and frequency.
WARNING: Electrical hazard from the
accessibility of live parts. To prevent the possibility
of death,Ăserious injury or property damage, install
the open - frame solenoid in an enclosure.
WARNING: Leakage current from solid state
controls can cause improper operation. Check for
current in the OFF-STATE from the switch with the
solenoid disconnected. Leakage current for solid
state outputs greater then 3 mA must use additional
external loads. Do not use supervisory circuits with
this solenoid.
50 Hanover Road, Florham Park, New Jersey 0793 www.ascovalve.com
Page of 4 I&M No.V7501R5
ASCO SOLENOID AL ES WITH CHANGE
LETTER P" IN THE CATALOG NUMBER WITH
GRAY SOLENOID ENCLOSURE
To prevent fire or explosion,
do not install solenoid and/or valve where
ignition temperature of hazardous atmoĆ
sphere is less then 200_C. See nameplate for
service.
CAUTION:
NOTE: These solenoids have an internal thermal fuse, which
cannot be reset, to limit solenoid temperature in the event that
extraordinary conditions occur which could cause excessive
temperatures. These conditions include high input voltage, a
jammed core, excessive ambient temperature or a shorted
solenoid, etc.
CAUTION: To protect the solenoid valve or
operator, install a strainer or filter, suitable for the
service involved, in the inlet side as close to the valve
or operator as possible. Clean periodically
depending on service conditions. See ASCO Series
8600, 8601, and 8602 for strainers.
Valve Electrical Input Requirements
1. Inrush Current: The power source, wiring and output
device used, need to have surge ratings equal to or greater
then the inrush current value (appropriate to the voltage
range) specified in the table below.
Table of Inrush Current
Peak Inrush Current Amps.
oltage Range
12-24 volt
Maximum Inrush Duration
24-100 volt
100-240 volt
3.2
1.4
0.32
72 ms
. Holdin Current: The power source, wiring and output
device used, need to have continuous current ratings equal
to or greater then the holdin current value (appropriate to
the voltage range) specified in the table below.
Table of Holdin Currents, VA
Av . Holdin
Current Amps.
oltage Range
12-24 volt
24-100 volt
100-240 volt
olts Holdin VA
12
24
24
100
100
240
0.340
0.250
0.170
0.100
0.040
0.032
4
6
4
10
4
7.5
Temperature Limitations
For maximum valve ambient temperatures, refer to chart.
Check catalog number prefix and watt rating on nameplate to
determine maximum ambient temperature. See valve
installation and maintenance instructions for maximum fluid
temperature.
Temperature Limitations For Series 8003P, 8007P or 8202P
Solenoids for use on alves Rated at 2 Watts
Watt
Rating Class of Insulation Maximum UL
Ambient Temp.
.0 H 60_C (140_F)
{Minimum ambient temperature -40_ C (-40_ F).
Positionin
This solenoid is designed to perform properly when
mounted in any position. However, for optimum life and
performance, the solenoid should be mounted vertically and
upright to reduce the possibility of foreign matter
accumulating in the solenoid base sub-assembly area.
Wirin Section
Wiring must comply with local codes and the National
Electrical Code. All conduit solenoids are provided with 4I
[0.61m] lead wires and a ground wire which is green or green
with a yellow stripe and a 1/ Iconduit connection. To
facilitate wiring, the solenoid may be rotated 360_. For the
gray watertight and explosionproof solenoid, electrical
fittings must be approved for use in the approved hazardous
locations. The external boss on the conduit connection
marked GND " is for supplementary bonding
connection where local codes or authorities permit or
require such connection.
CAUTION: Cryogenic Applications - Solenoid
lead wire insulation should not be subjected to
cryogenic temperatures. Adequate lead wire
protection and routing must be provided.
Installation of Solenoid
Solenoids may be assembled as a complete unit. Tightening
is accomplished by means of a hex flange at the base of the
solenoid.
Solenoid Temperature
Standard solenoids are designed for continuous duty
service. When the solenoid is energized for a long period,
the solenoid becomes hot and can be touched by hand only
for an instant. This is a safe operating temperature.
MAINTENANCE
WARNING: To prevent the possibility of
death, serious injury or property damage, turn off
electrical power, depressurize solenoid operator
and/or valve, and vent fluid to a safe area before
servicing.
Cleanin
All solenoid operators and valves should be cleaned
periodically. The time between cleaning will vary depending
on medium and service conditions. In general, if the voltage
to the solenoid is correct, sluggish valve operation, excessive
noise or leakage will indicate that cleaning is required.
Clean strainer or filter when cleaning the valve.
50 Hanover Road, Florham Park, New Jersey 0793 www.ascovalve.com
Page 3 of 4I&M No.V7501R5
Preventive Maintenance
SKeep the medium flowing through the solenoid
operator or valve as free from dirt and foreign material
as possible.
SPeriodic exercise of the valve should be considered if
ambient or fluid conditions are such that corrosion,
elastomer degradation, fluid contamination build up or
other conditions that could impede solenoid valve
shifting are possible. In many cases, solenoid valves are
periodically exercised during normal system use or as
part of routine maintenance or surveillance activities
and no additional exercise is necessary. The actual
frequency of exercise necessary will depend on specific
operating conditions. A successful operating history is
the best indication of a proper interval between exercise
cycles.
SDepending on the medium and service conditions,
periodic inspection of internal valve parts for damage or
excessive wear is recommended. Thoroughly clean all
parts. Replace any worn or damaged parts.
Causes of Improper Operation
SFaulty Control Circuit: Check the electrical system by
energizing the solenoid. A metallic click signifies that the
solenoid is operating. Absence of the click indicates loss
of power supply. Check for loose or blown fuses,
open-circuited or grounded solenoid, broken lead wires
or splice connections.
SBurned-Out Solenoid: Check for open-circuited
solenoid. Replace if necessary. Check supply voltage; it
must be the same as specified on nameplate/retainer and
marked on the solenoid. Check ambient temperature and
check that the core is not jammed.
SLow Volta e: Check voltage across the solenoid leads.
Voltage must be at least 85% of rated voltage.
Solenoid Replacement
1. Disconnect conduit, coil leads, and grounding wire or
cable/lead connector
NOTE: Any optional parts attached to the old solenoid must
be reinstalled on the new solenoid. For 3-way construction,
piping or tubing must be removed from pipe adapter.
. Remove retaining clip from top of solenoid base
sub-assembly by pushing down on both sides where the
clip is bent and raised by the solenoid base sub-assembly.
While pushing down, slide the clip out toward the
nameplate.
3. Remove solenoid from solenoid base sub-assembly.
4. Reassembly in reverse order of disassembly. Use
exploded views for identification and placement of parts.
Disassembly and Reassembly of Solenoids
1. Remove solenoid, see Solenoid Replacement.
. Unscrew solenoid base sub-assembly from valve body.
3. Remove internal solenoid parts for cleaning or
replacement. Use exploded views for identification and
placement of parts.
4. If the solenoid is part of a valve, refer to basic valve
installation and maintenance instructions for further
disassembly.
5. Torque solenoid base sub-assembly and adapter. See
valve Installation and Maintenance Instruction for
recommended torque. If solenoid is not part of a valve
assembly, recommended torque is 175± 5 in-lbs
[19,8± ,8 Nm].
ORDERING INFORMATION FOR ASCO
SOLENOIDS
When Ordering Solenoids for ASCO Solenoid Operators
or Valves, order the number stamped on the solenoid.
Also specify voltage and frequency.
50 Hanover Road, Florham Park, New Jersey 0793 www.ascovalve.com
Page 4 of 4 I&M No.V7501R5
Torque Chart
Part Name Torque alue Inch-Pounds Torque alue Newton-Meters
solenoid base sub-assembly & adapter 175 ± 5 19,8 ± ,8
core
Tapped hole in core
0. 50- 8 UNF- B
0.38 minimum full thread (DC)
0.63 minimum full thread (AC)
coil
retaining clip
nameplate
solenoid base
sub-assembly
Figure 1. Series 8003P solenoid
See
torque chart
above
plugnut assembly
solenoid base gasket
core(small end up)
retainer gasket
retainer
stem
disc
disc spring
bonnet washer
cutaway view to
show positioning
of retainer in
gasket recess
disc holder
adapter
adapter
gasket
disc holder
assembly
spring
solenoid base
sub-assembly
With
Adapter
Without
Adapter
spring washer
Figure . Series 800 P solenoid
coil
retaining clip
nameplate
coil
retaining clip
nameplate
solenoid base
sub-assembly
Figure 3. Series 8007P
3-Way Construction
See
torque chart
above

This manual suits for next models

2

Other Asco Control Unit manuals

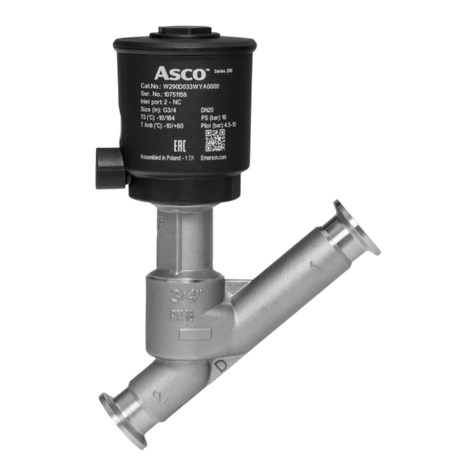
Asco 290 Series User manual

Asco

Asco 290 Series User manual

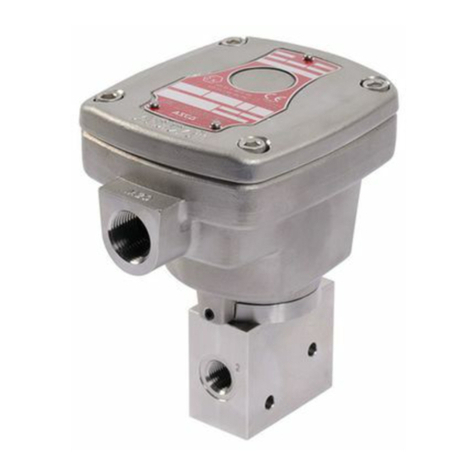
Asco 121 Series User manual

Asco

Asco 121 Series User manual

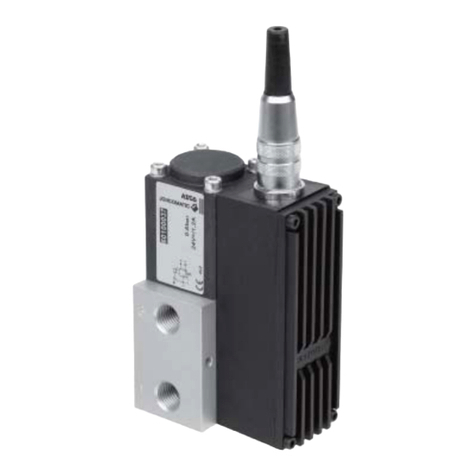
Asco JOUCOMATIC SENTRONIC 601 Series User manual

Asco

Asco JOUCOMATIC SENTRONIC 601 Series User manual

Asco 833-354 Series User manual

Asco

Asco 833-354 Series User manual

Asco JOUCOMATIC FLOWTRONICD 607 User manual

Asco

Asco JOUCOMATIC FLOWTRONICD 607 User manual

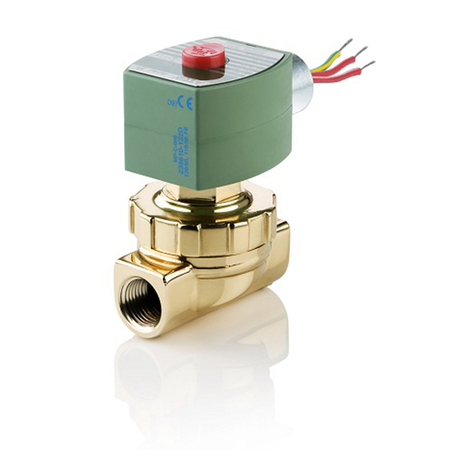
Asco 8222 Series Installation and operating instructions

Asco

Asco 8222 Series Installation and operating instructions

Asco RedHat 8314 Series Installation and operating instructions

Asco

Asco RedHat 8314 Series Installation and operating instructions

Asco 8210 series User manual

Asco

Asco 8210 series User manual

Asco 8345 Series Installation and operating instructions

Asco

Asco 8345 Series Installation and operating instructions

Asco 8030 Series Installation and operating instructions

Asco

Asco 8030 Series Installation and operating instructions

Asco 215 Series User manual

Asco

Asco 215 Series User manual

Asco 317 Series User manual

Asco

Asco 317 Series User manual

Asco 8551 Series Installation and operating instructions

Asco

Asco 8551 Series Installation and operating instructions

Asco 551 Series User manual

Asco

Asco 551 Series User manual

Asco 290 Series User manual

Asco

Asco 290 Series User manual

Asco 290 Series User manual

Asco

Asco 290 Series User manual

Asco 8267 Series Installation and operating instructions

Asco

Asco 8267 Series Installation and operating instructions

Asco 298 Series User manual

Asco

Asco 298 Series User manual

Asco 8262 series Installation and operating instructions

Asco

Asco 8262 series Installation and operating instructions

Asco 8040 Series Installation and operating instructions

Asco

Asco 8040 Series Installation and operating instructions

Asco F210 Series Installation and operating instructions

Asco

Asco F210 Series Installation and operating instructions

Asco 290 Series User manual

Asco

Asco 290 Series User manual

Asco 290 Series Instruction Manual

Asco

Asco 290 Series Instruction Manual

Asco 8042 Series Installation and operating instructions

Asco

Asco 8042 Series Installation and operating instructions

Popular Control Unit manuals by other brands

Advantech USB-4716 user manual

Advantech

Advantech USB-4716 user manual

Banner MMD-TA-11B instruction manual

Banner

Banner MMD-TA-11B instruction manual

ritm Contact GSM-5-2 quick start guide

ritm

ritm Contact GSM-5-2 quick start guide

Graco EM5 Series Instructions-parts list

Graco

Graco EM5 Series Instructions-parts list

NuTone HE Series Installation and owner's guide

NuTone

NuTone HE Series Installation and owner's guide

ABB FENA-21 Quick installation and start-up guide

ABB

ABB FENA-21 Quick installation and start-up guide

Crow CRRSI01 Installation & user guide

Crow

Crow CRRSI01 Installation & user guide

Mitsubishi Electric FX-USB-AW user manual

Mitsubishi Electric

Mitsubishi Electric FX-USB-AW user manual

Hunter ACC-COM-LTE installation guide

Hunter

Hunter ACC-COM-LTE installation guide

Vexve TERMOVAR Series Mounting and operating instructions

Vexve

Vexve TERMOVAR Series Mounting and operating instructions

H3C SecPath M9000 NSQM1MBFEA0 quick start guide

H3C

H3C SecPath M9000 NSQM1MBFEA0 quick start guide

Radio Shack Color Graphics Option installation instructions

Radio Shack

Radio Shack Color Graphics Option installation instructions

Burkert 2031 quick start

Burkert

Burkert 2031 quick start

Nordson Vantage Customer product manual

Nordson

Nordson Vantage Customer product manual

Pando PI3300 Instructions for use

Pando

Pando PI3300 Instructions for use

Moxa Technologies NPort Z2150 Quick installation guide

Moxa Technologies

Moxa Technologies NPort Z2150 Quick installation guide

BRUEL & KJAER 3660-A-20 Series Setup guide

BRUEL & KJAER

BRUEL & KJAER 3660-A-20 Series Setup guide

Vega VEGAPULS 6X operating instructions

Vega

Vega VEGAPULS 6X operating instructions

manuals.online logo
manuals.online logoBrands
  • About & Mission
  • Contact us
  • Privacy Policy
  • Terms and Conditions

Copyright 2025 Manuals.Online. All Rights Reserved.