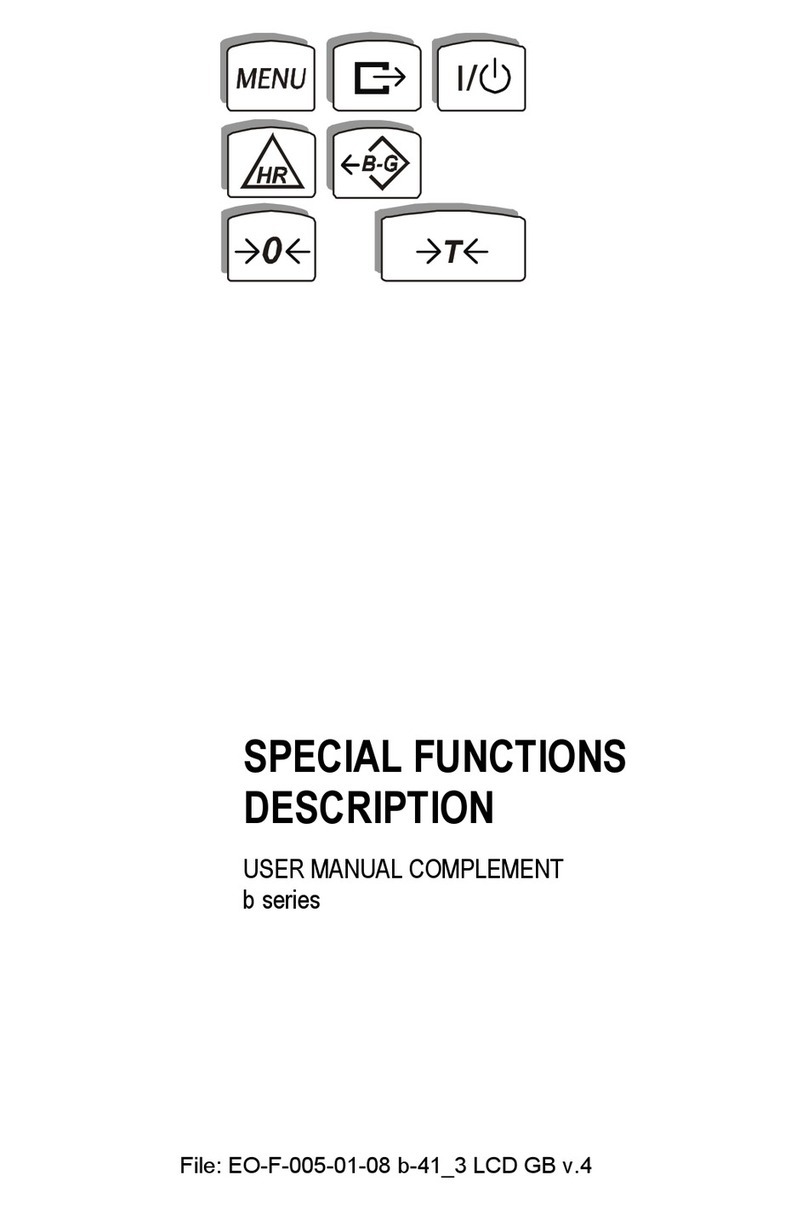
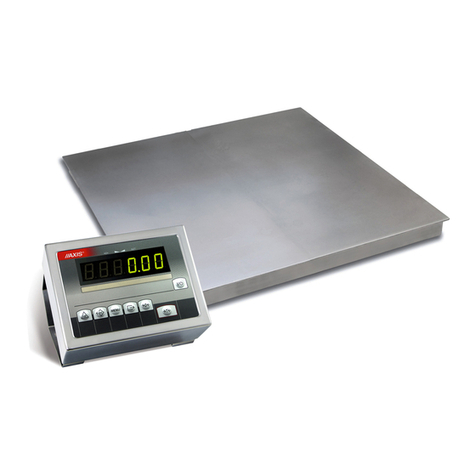
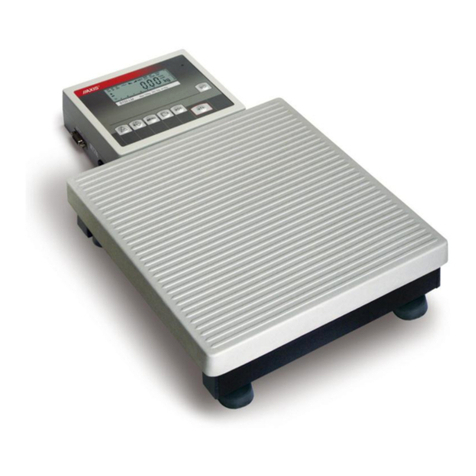
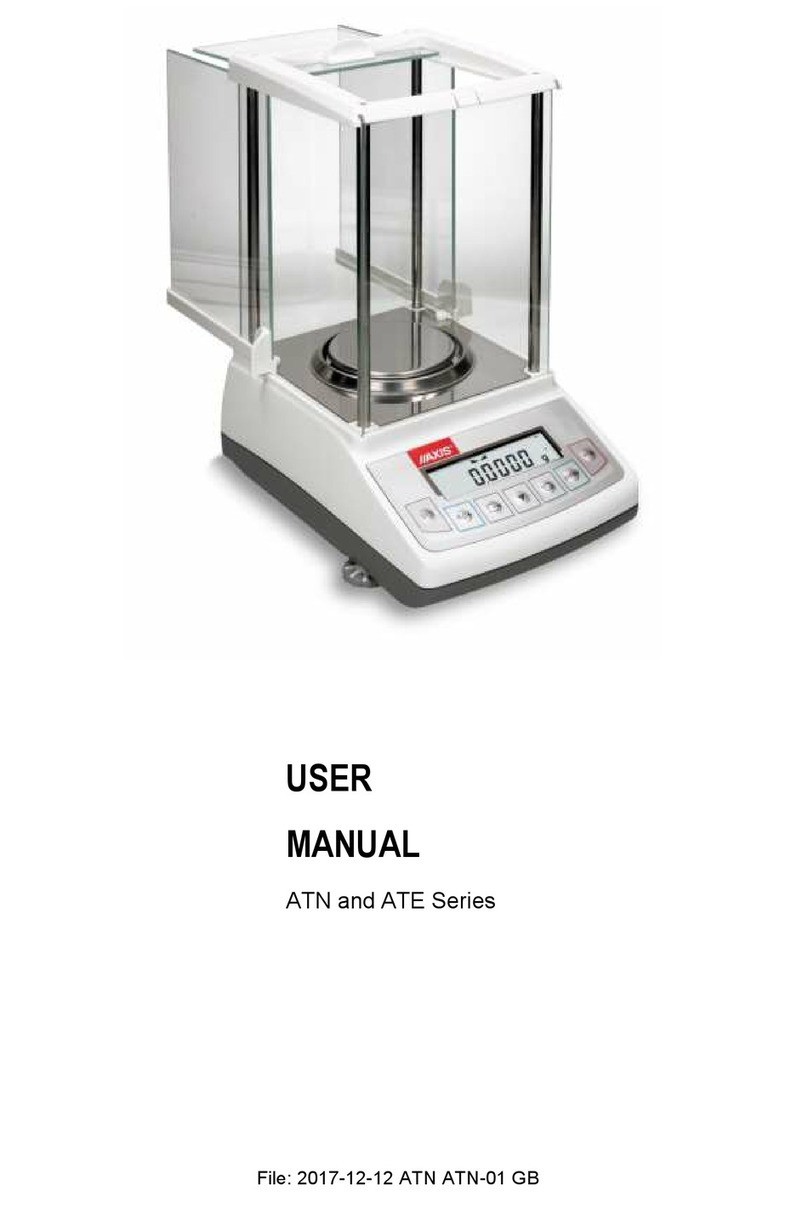
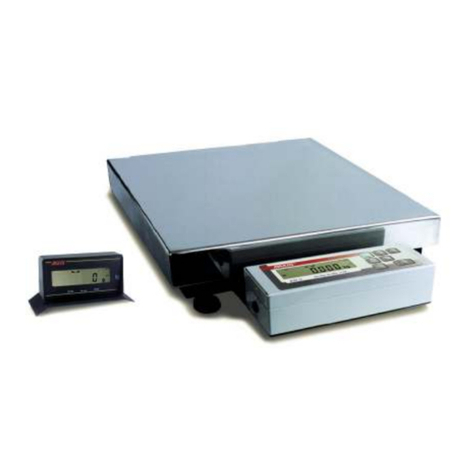
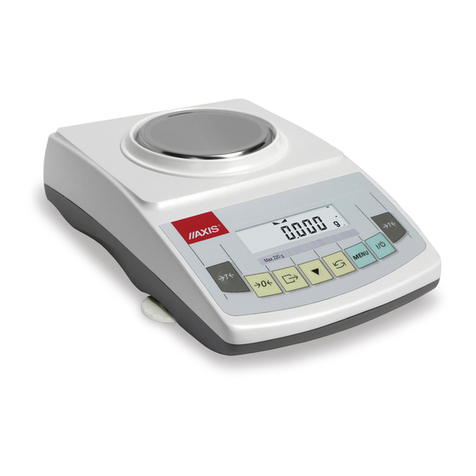
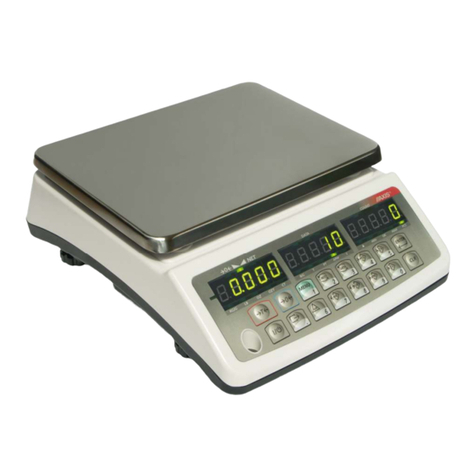
Axis BD/S series User manual

BD30S BD60S-BD150S
USER MANUAL
BD/S
FILE: 2016-04-19 BD_S bC0109 GB
AXIS, 80-125 Gdańsk, ul.Kartuska 375B, www.axis.pl

2USER MANUAL
_____________________________________________________________________________________________________________________
Contents:
1. General description................................................................................................................................................................. 3
3. Completeness ......................................................................................................................................................................... 3
4. Technical data......................................................................................................................................................................... 4
5. Security rules .......................................................................................................................................................................... 6
6. Scale connections................................................................................................................................................................... 7
6.1 Connecting a computer, printer or label printer.................................................................................................................. 7
6.2 Detailed LonG protocol description .................................................................................................................................... 8
6.3 Detailed EPL protocol description .................................................................................................................................... 10
7. Preparation of workplace ...................................................................................................................................................... 11
8. Preparation to work............................................................................................................................................................... 12
9. Balance checking and adjustment ........................................................................................................................................ 12
10. Accumulator change ........................................................................................................................................................ 12
11. General rules.................................................................................................................................................................... 13
12. Scale with ME-01 meter keys and indicators ................................................................................................................... 14
13. Start-up ............................................................................................................................................................................ 15
14. Weighing with tare............................................................................................................................................................ 16
15. Scale menu ...................................................................................................................................................................... 17
16. Menu navigation rules ...................................................................................................................................................... 18
17. Scale setup (SEtUP) ........................................................................................................................................................ 24
17.1 Scale calibration (CALIb)............................................................................................................................................. 25
17.2 Autozeroing function (AutoZEr) .................................................................................................................................. 26
17.3 Weight unit selection (UnIt) ......................................................................................................................................... 27
17.4 Serial port parameters setting (SErIAL) ..................................................................................................................... 28
17.5 Printout configuration (PrInt) ..................................................................................................................................... 29
17.6 Setting backlight function (b_LIGHt)............................................................................................................................ 31
17.7 Analog out configuration (AnALoG)............................................................................................................................. 32
17.8 Entering reference zero value (ZErO) ......................................................................................................................... 33
18. Special functions description............................................................................................................................................ 34
18.1 Products and users database (Prod i USEr) ............................................................................................................... 35
18.2 Pieces counting function (PCS).................................................................................................................................. 39
18.3 Percentage weighing function (PErC) ........................................................................................................................ 40
18.4 Label choosing function (LAbEL) ................................................................................................................................ 41
18.5 Weighing animals function (LOC)................................................................................................................................ 42
18.6 Maximum value indication function (UP)..................................................................................................................... 43
18.7 Force measuring function (nEWton)........................................................................................................................... 44
18.8 Total weight function (totAL)........................................................................................................................................ 45
18.9 Checkweighing function (thr)....................................................................................................................................... 47
18.10 Setting date and time function (dAtE).......................................................................................................................... 50
18.11 Radio communication channel choice function (rF CHn) ............................................................................................ 51
18.12 Charging accumulators function (bAttErY)- option ...................................................................................................... 52
18.13 Automatic switching off the scale function (AutoOFF)................................................................................................. 53
18.14 Statistical calculations function (StAt) ......................................................................................................................... 54
18.15 Paperweight calculation (PAP).................................................................................................................................... 57
Maintenance and repairs of small defects ...................................................................................................................................... 57
Declaration of Conformity......................................................................................................................................................... 58
Appendix A ..................................................................................................................................................................................... 59
USER MANUAL 3
_____________________________________________________________________________________________________________________
1. General description
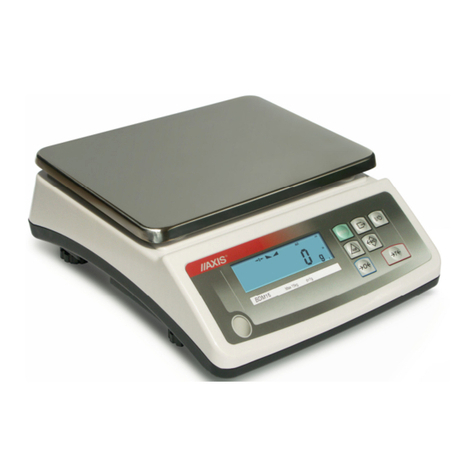
BD/S series platform scales are destined for general use.
All scales are metrologically tested - calibration or legal verification on demand.
Scales have following verification features:
- a seal protecting scale casing against opening,
-notified body stamps and green metrological marking placed on the balance name plate.
Legal verification is valid for 3 years unless the seal is broken.
NACE classification: 29.24.23.
2. Certificates:
Approval Certificate
Type nr T7950
AXIS management System
Certificate
DIN EN ISO 9001:2009
nr AC 090/1141/2245/2011
3. Completeness
Standard set consist of:
1. Scale
2. Feeder 12V/1,2A
3. Suspension components:
- BA1530: shekel, 2 carabiners + swivel
- BA3060: shekel, hook
4. User Manual
5. Guarantee card

4USER MANUAL
_____________________________________________________________________________________________________________________
4. Technical data
Scale type
BD30S
BD60S
BD150S
BD200S
Maximum loading
30kg
60kg
150kg
200kg
Minimum loading
200g
400kg
1kg
2kg
Reading unit (d)
10g
20g
50g
100g
Verification unit (e)
10g
20g
50g
100g
Accuracy class
III
Working temperature
-10 ÷+40°C
Tare range
-30kg
-60kg
-150kg
-200kg
Weighing time
<3s
Scale base dimensions
192x140x64mm
Total height
400mm
342mm
Scale weight
1,8kg
2,3kg
Internal feeding (accumulator)
NIMH (size AA) –4 pcs.
External feeding
~230V 50Hz 6VA / =12V 1,2A
Accumulator working time
About 6 h with backlighting
About 16 h without backlighting
Automatic scale switch off time
>5 min (AutoOFF function)
Automatic backlighting off
>30 s (b_LIGHt function)
Max, d and e values for two-range scales are in appendix A.

USER MANUAL 5
_____________________________________________________________________________________________________________________
Dimensions BD15-30S:
Dimensions BD60-150S:

6USER MANUAL
_____________________________________________________________________________________________________________________
5. Security rules
To avoid electrical shock or damage of the scale or
connected peripheral devices, it is necessary to follow the
security rules below.
All repairs and necessary regulations can be made by authorised personnel only.
To avoid fire risk use a feeder of an appropriate type (supplied with the scale).
Pay attention that supply voltage is compatible with specified technical data.
Do not use the scale when its cover is opened.
Do not use the scale in explosive conditions.
Do not use the scale in high humidity.
If the scale seems not to operate properly, unplug it from the mains and do not
use until checked by authorised service.
According to legal regulations it if forbidden to dispose
wasted electronic equipment in waste containers.
Please return wasted scale to the point of purchase or other company specialised
in recycling of wasted electronic components.

USER MANUAL 7
_____________________________________________________________________________________________________________________
6. Scale connections
12V 1,2A
RxD (receive)
TxD (send)
gnd
housing
RS232C
1
2
3
4
5
6
7
8
9
P2 (thr 2)
P1 (thr I)
P3 (thr 3 )
gnd
housing
WY (option)
1
2
3
4
5
6
7
8
9
Feeder
6.1 Connecting a computer, printer or label printer
The scale is equipped with RS232C, which can be used to connect external devices such as computer or
a printer.
When cooperating with computer, the scale sends weighing result after initialize signal from computer or
after pressing key on the scale.
When cooperating with a printer data is send automatically after result stabilisation, but next transmission is
possible after removing previously weighted sample.
When cooperating with label printer after pressing key, the scale sends instructions set for the label
printer. Label number 0001, hour, data (if the clock is installed and on) and nett weight. During transmission
LabEL communicate is displayed.
The way of sending data and transmission parameters is set using SErIAL special function.
Set of send data is set using special function PrInt.
The following data can be send:
-Header (scale type, Max, d, e, serial number),
-Operator identification number,
-Successive printout number (measurement),
-Identification number or product bar code,
-Number of pcs (PCS function only),
-Single detail mass (PCS function only),
-Nett weight,
-Tare (package mass),
-Gross weight,
-Total mass (Total function only).

8USER MANUAL
_____________________________________________________________________________________________________________________
If the scale is equipped with two serial joints Print function is set independently for both interfaces.
Computer must have a special program for cooperation with data from a scale.
Dedicated programs are also offered by AXIS.
Except RS232C joint, the scale can be equipped with USB or Wi-Fi interface.
Needed controllers and instruction can be found on a CD supplied with Axis scales.
6.2 Detailed LonG protocol description
Standard communication parameters: 8 bits, 1 stop bit, no parity, baud rate 9600bps,
After using key, measurement data is send together with text description (NET, TARE, GROSS) –all
set by using Print option. If Print isn’t set then only scale indication is send (as below).
Data exchange (communication):
Readout of scale indication
ComputerScale: SI CR LF (53h 49h 0Dh 0Ah)
ScaleComputer: scale response according to description below (16 bytes):
Byte
1
-
sign „-” or space
Byte
2
-
space
Byte
34
-
digit or space
Byte
5÷9
-
digit, decimal point or space
Byte
10
-
digit
Byte
11
-
space
Byte
12
-
k, l, c, p or space
Byte
13
-
g, b, t, c or %
Byte
14
-
space
Byte
15
-
CR
Byte
16
-
LF
Readout of actual indication
ComputerScale: Sx1 CR LF –initiaton signal
ScaleComputer: scale sends 16 bytes (the same as SI commad)
Readout of stabilization indicator and actual indication
ComputerScale: Sx3 CR LF –initiaton signal
ScaleComputer: scale send indicator S (stable) or U (unstable) + 16 bytes (the same as SI
command).
Attention:
Network number different than zero (SErIAL / nr function) changes scale working mode: communication
with a computer is possible after logging the scale in with 02h scale number command. To log the scale out
use 03h command.
For example: Using a program to test RS232 interface ( program is available in www.axis.pl / programy
komputerowe ) for scale number 1 please write: $0201 to log in, then SI, and write: $03 to close
communication.
Asking about scale presence in system (testing scale connection with computer):
ComputerScale: SJ CR LF (53h 4Ah 0Dh 0Ah),
ScaleComputer: MJ CR LF (4Dh 4Ah 0Dh 0Ah),

USER MANUAL 9
_____________________________________________________________________________________________________________________
Displaying a inscription on scale’s display (text communicate from computer):
ComputerScale: SN n n X X X X X X CR LF, nn-displaying time in seconds; XXXXXX-6 signs to
display
ScaleComputer: MN CR LF (4Dh 4Eh 0Dh 0Ah),
Scale tarring (calling
T
key press) :
ComputerScale: ST CR LF (53h 54h 0Dh 0Ah),
ScaleComputer: without response,
Scale zeroing (calling
0
key press):
ComputerScale: SZ CR LF (53h 5Ah 0Dh 0Ah),
Scale Computer: without response,
Scale turning on / off (calling I/ key press):
ComputerScale: SS CR LF (53h 53h 0Dh 0Ah),
Scale Computer: without response,
Entering to special function menu (calling MENU key press):
ComputerScale: SF CR LF (53h 46h 0Dh 0Ah),
Scale Computer: without response,
Setting threshold 1 value (option):
ComputerScale: SL D1...DN CR LF (53h 4Ch D1...DN 0Dh 0Ah)
D1...DN –threshold value, maximum 8 characters („-” –negative value, digits, dot –decimal
separator), number of digits after dot should be the same as on scale display,
Scale Computer: without response,
Example:
in order to set low threshold 1000g in scale B1.5 (d=0.5g) the following order should be sent:
S L 1 0 0 0 . 0 CR LF (53h 4Ch 31h 30h 30h 30h 2Eh 30h 0Dh 0Ah),
in order to set low threshold 100kg in scale B150 (d=50g) the following order should be sent:
S L 1 0 0 . 0 0 CR LF (53h 4Ch 31h 30h 30h 2Eh 30h 30h 0Dh 0Ah),),
Setting threshold 2 value (option):
ComputerScale: SH D1...DN CR LF (53h 48h D1...DN 0Dh 0Ah),
D1...DN –threshold value, maximum 8 characters
Scale Computer: without response.
Setting threshold 3 value (option):
KomputerWaga: SM D1...DN CR LF (53h 4Dh D1...DN 0Dh 0Ah),
gdzie: D1...DN –threshold value, maximum 8 characters
WagaKomputer: without response.
Connecting cable WK-1 (scale –computer / 9-pin interface):
`
SCALE
COMPUTER

10 USER MANUAL
_____________________________________________________________________________________________________________________
Connection cable WD-1 (connects scale with AXIS printer):
Setting of internal switches of AXIS printer:
SW-1
SW-2
SW-3
SW-4
SW-5
SW-6
SW-7
SW-8
on
off
on
off
off
on
off
off
6.3 Detailed EPL protocol description
Transmission parameters: 8 bits, 1 stop bit, no parity, baud rate 9600bps,
After using key in scale:
ScaleLabel printer : set of instruction in EPL-2 language that initialize label printing:
US
-
Steering instruction
FR"0001"
-
Label number define instruction
?
-
Instruction that starts list of variable signs
mm:gg
-
5 signs: minutes:hour
rrrr.mm.dd
-
10 signs: year.month.day
masa
-
10 signs: scale indication+ mass unit
P1
-
Steering instruction
Attention:
1. Except variable signs constant signs can also be inscribed e.g. factory name, product name and so on.
2. In standard only one label pattern is possible to printout (number 0001). Using bigger amount of
patterns (other label numbers) is possible thanks to LAbEL special function.
3. To achieve label printout, label printer must have inscribed label pattern (label pattern is created on
computer and using computer it is saved to label printer memory). Label pattern is designed by ZEBRA
DESIGNER program which is supplied together with label printer.
4. Scales parameters and transmission protocol must corespond to label printer type.
SCALE
KAFKA PRINTER

USER MANUAL 11
_____________________________________________________________________________________________________________________
7. Preparation of workplace
-10°C
+40°C
The workplace should be carefully chosen in order to keep to minimum influence of external factors that
can disturb balance work. Proper temperature and work space is crucial. Balance should stand on stable
foundation made of non-magnetic impact material.
Violent air movements, vibrations, dustiness, violent temperature changes or air density bigger than 90%
is not allowed. Scale should work away from heat sources and devices that emit strong electromagnetic
field or radiation.

12 USER MANUAL
_____________________________________________________________________________________________________________________
8. Preparation to work
1. Take the scale out of the package and remove protective foils.
2. Hang the scale in the way which exclude mounting’s break or load’s fall down (mounting should
hold at least 200% of maximum load).
Improper mounting of the scale can be dangerous for Your life or health.
3. If the battery is discharged, plug the feeder plug to a connector on a right side of a panel, plug a
feeder to the mains (~230V). Charging should last at least 3 hours. It is possible to use the scale
while the battery is charging.
9. Balance checking and adjustment
It is advised to check scale indication accuracy before and after series of measurement using any load with
known weight.
To check the scale with legal verification use a calibration weight with valid calibration certificate. In case
permissible error is exceeded it is advised to contact the nearest service to calibrate the scale.
Adjusting (calibration) scale should be made if the scale precision is not sufficient. A standard of mass should be
used with Max value taken from scale technical data table. In case of legalized scales with inaccessible
calibration (secure seal) contact with service is recommended.
10. Accumulator change
1. Remove screws 11 and
hold plate 12, remove the plate.
Take out container with
accumulators 13 and place 4 AA
format accumulators. The way of
packing accumulators into the
container is shown on the figure on
the left and is also shown on the
container.
12
11 13

USER MANUAL 13
_____________________________________________________________________________________________________________________
11. General rules
1. Before each measurement make sure that zero indicator is displayed. If zero indicator does not
displayed or “----“ communicate appears, press 0key and wait until zero indication and zero
indicator appears.
2. The scale is equipped with a tare equal to its range. To tare the scale press Tkey (left or right).
Storing a tare value does not extend measuring range, but only subtracts it from a load placed on a pan.
To make weight control easier and to avoid range overdrawing, the scale is equipped with a load
indicator (graduated in percentages).
3. Weighing result should be read when the indicator " " lights, which signalises stabilisation of a result.
4. When the scale is not used but it is necessary to be ready to work immediately, it can be switched off by
pressing I/ key. The scale reading system is then switched off to "standby" mode (signalled by the
indicator "OFF" in version with the LCD display). To switch the scale on press I/ key. The scale is
immediately ready to operate maximum accuracy (after self tests).
5. Protect the scale against dust, aggressive dusts and liquids. To clean the scale wash it with water with
soap and dry it afterwards.
6. A scale equipped with lead-acid accumulator automatically controls accumulator state, signalises its
discharge on LCD display and after around 1h scale switches itself off to avoid discharging the
accumulator below threshold voltage.
Do not completely discharge an accumulator because it can be damaged.
After discharge signalising appears an accumulator should be charged as quickly as possible by
connecting external feeder. Charging is more effective when scale is turned off with I/ key - charging time
is about 10 hours.
It is also possible to connect accumulator directly to PA6V charger leaving accumulator in a scale or take it
out if needed. In order to take accumulator out take off a pan, disconnect accumulator wire and unscrew
mounting screws.
Do not overload the scale more than 20% of maximum load (Max).

14 USER MANUAL
_____________________________________________________________________________________________________________________
12. Scale with ME-01 meter keys and indicators
LCD display version:
Keys:
I/
-switch-on / switch-off (standby),
"
T
-tare, menu position confirmation, next digit (when inscribing),
"
0
-zeroing, scrolling menu, increasing digit (when inscribing),
"
-result printout, decimal point (when inscribing),
"
MENU
-menu,
"
-function switch: special function/weighing,
"
HR
-temporary high resolution indication,
Indicators:
0
-zero indicator (unloaded scale),
"
-result stabilization indicator,
"
NET
-net weight (after using Tkey),
"
MODE
-special function menu turning on indicator
"
B/G
-gross weight (after using TARE and
key)
"
AUT
-autotare function on,
"
T
-tare memory function on,
"
TOTAL, FILTER, SUM
-special functions indicators,
"
%, ct, n, g/m2, lb,mg
-unit indicators,
"
pcs
-pieces counting indicator,
"
n
-measurements quantity indicator (total function),
"
OFF
-scale turned off (standby)
"
MIN
-weighing result under threshold I (thr function),
"
OK
-weighing result between threshold I and II,
"
MAX
-weighing result above threshold II,
BAT
-battery discharge indicator,
, O
-ACtIV function indicator,
bar
indicator
-scale load indicator (0-100%)
0
kg
scale
keys
weighing
result
bar
indicator
metrological
data
zero
indicatorstabilization
indicator net weight
indicator
Max= d=

USER MANUAL 15
_____________________________________________________________________________________________________________________
13. Start-up
Turn on the scale with I/ key.
Attention: If the accumulator is discharged, plug the
scale to the mains.
The scale proceeds with following start-up actions:
Display test.
Meter type displaying
Program version
The scale is now ready to work.
Attention:
Displaying program version means positive result of all tests.
0
0
kg
kg

16 USER MANUAL
_____________________________________________________________________________________________________________________
14. Weighing with tare
If the scale is not loaded and
0
indicator
doesn’t indicate, press
0
key.
Zero indication and
0
indicator mean that
the scale is ready to work.
After putting container (package) tare the scale
using
T
key. NET indicator will show up.
Put on weighted object and readout net weight
(NET indicator shows that scale indicates net
weight).
In order to readout gross weight press
key
(B/G indicator shows that scale indicates gross
weight). Press again
key in order to come
back to net indications.
00
kg
kg
kg
kg
kg
kg
kg

USER MANUAL 17
_____________________________________________________________________________________________________________________
15. Scale menu
All scales except for basic metrological functions: weighing and taring, have many special functions and
configuration options.
In order to ease using functions user can create
his own (personalized) menu.
Creating personalized menu:
In „out of the box” scale after pressing MENU
key only SEtuP option (it contains all
configuration options) is available.
One of the configuration options is Menu that is
used to create personalized menu.
To add a function to personalized menu press
T
key when the function is indicating.
Chosen function is indicated with „o” sign on the
left side of display.
After adding all necessary functions press out in
order to come back to weighing mode. User now
after pressing MEnu key has access to selected
earlier functions and to SEtuP option.
dEFAULt option is used to set factory settings.
0
kg

18 USER MANUAL
_____________________________________________________________________________________________________________________
16. Menu navigation rules
Choosing menu options:
First position of scale menu shows up after
pressing Menu key. The position is displayed for
about 7 seconds and then the scale sequentially
displays next menu positions.
Choosing menu position (option) is done by
pressing
T
key when it is displayed on the
screen.
After choosing position (option) usually several
options show up:
on –turning on selected option,
OFF - turning off,
out –out to menu.
Accelerated working with menu:
Menu first position is displayed for about 7s.
During this time user can view next positions by
using
key (or
0
).
Immediate out to previous menu level is done by
using Menu key.
0
kg
0
kg

USER MANUAL 19
_____________________________________________________________________________________________________________________
key working method:
During standard weighing
key is used to
switch between net and gross indication.
When special function e.g. PCS is turned on,
using
key enables to go back to standard
weighing mode.
Sign „o” on the left side signalizes that special
function is turned on and user can go back to
function mode by pressing
key.
0
0
0
kg
0
0
0
kg
kg
kg

20 USER MANUAL
_____________________________________________________________________________________________________________________
HR key working method:
During normal weighing temporary (5s) readout
resolution increase is possible.
Return to normal indication is made
automatically.
Inscribing numerical values:
Inscribing numerical values is needed in some
special functions e.g. tArE function requires to
inscribe tare values.
Keys:
0- increasing digit value,
- decimal point,
T
- next digit position,
MENU - end of inscribing.
0
0
kg
kg 5s.
0
kg
This manual suits for next models
4
Table of contents
Other Axis Scale manuals

Axis
Axis BLM Series User manual

Axis
Axis BA/LG Series User manual

Axis
Axis AKA/G Series User manual

Axis
Axis BTA Series User manual

Axis
Axis ATN Series User manual

Axis
Axis BD2P User manual

Axis
Axis BD/TL Series User manual

Axis
Axis SE-12 Operator's manual

Axis
Axis AG Series User manual

Axis
Axis B/P Series User manual

Axis
Axis LCD GB V4 User manual

Axis
Axis ATA1200 User manual

Axis
Axis 4BA SERIES User manual

Axis
Axis B Series User manual

Axis
Axis ACG Series User manual

Axis
Axis 4BA/T Series User manual

Axis
Axis BTA 2100 User manual

Axis
Axis AGN50 User manual

Axis
Axis BDM Series User manual

Axis
Axis AGN/C Series User manual