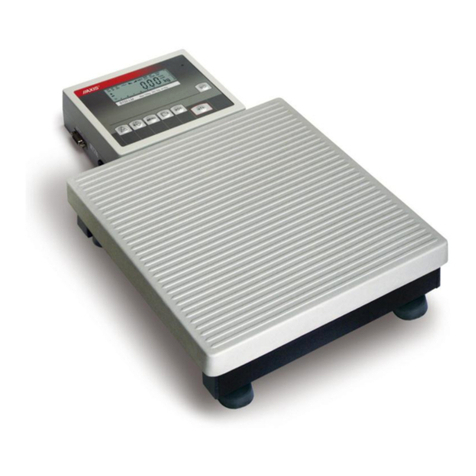
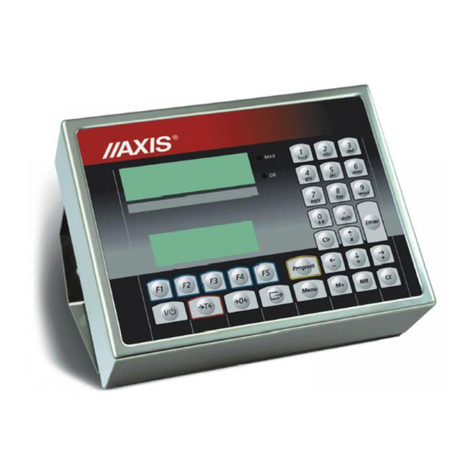
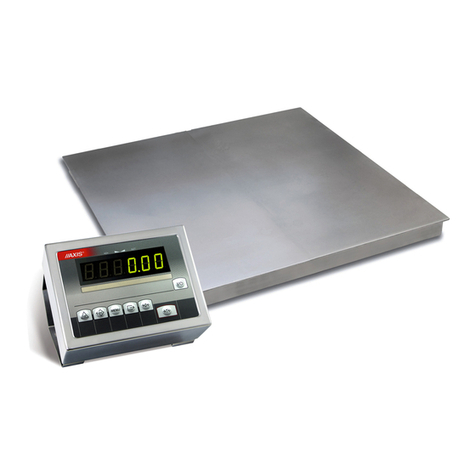
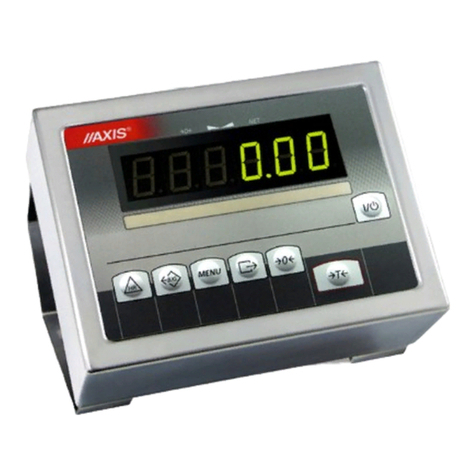
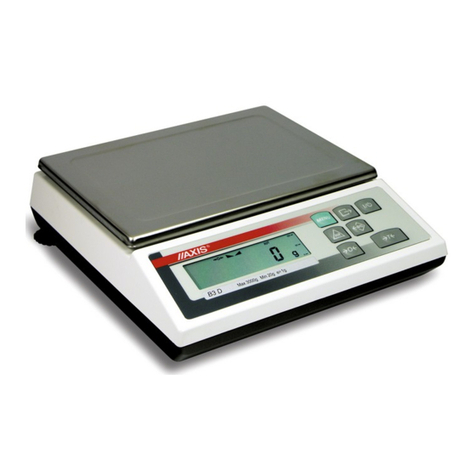
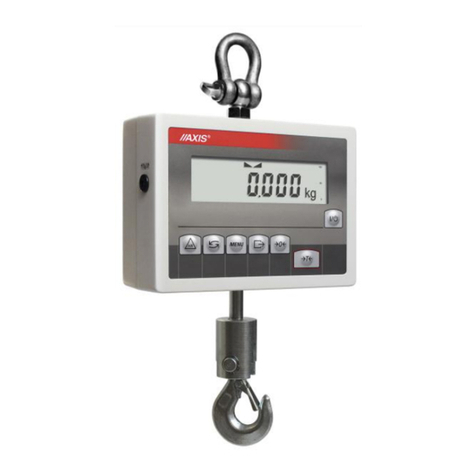
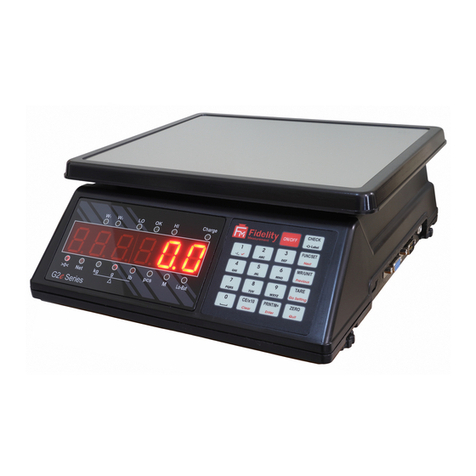
Axis B Series User manual

USER MANUAL
B SERIES
File: R-B-043-04-09 B42_0 GB

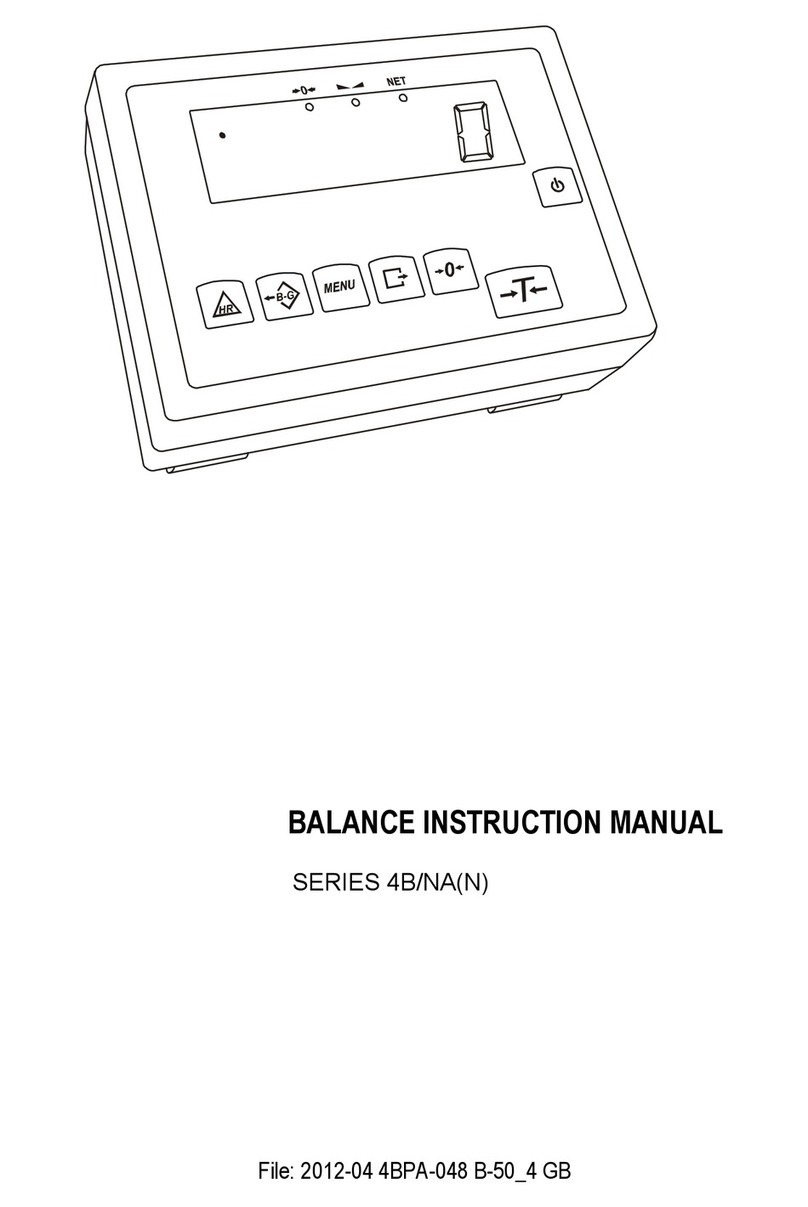
2
USER MANUAL
_____________________________________________________________________________________________________________________
Contents:
1. General description....................................................................................................... 3
2. Completeness............................................................................................................... 3
3. Technical data............................................................................................................... 4
4. Keys and indicators....................................................................................................... 5
5. Security rules ................................................................................................................ 6
6. Environment protection ................................................................................................. 6
. Preparation ...................................................................................................................
8. Start-up......................................................................................................................... 8
9. General rules ................................................................................................................ 9
10. Balance checking .................................................................................................... 11
11. Scale adjustment..................................................................................................... 11
12. Connecting a computer or a printer (optional) ......................................................... 11
13. Special functions description................................................................................... 14
14. Normal weighing...................................................................................................... 15
15. Weighing with tare................................................................................................... 15
16. Increased readability ............................................................................................... 15
1 . Autozero (F..-AUt) ................................................................................................... 16
18. Funkcja liczenia sztuk (F..-PCS).............................................................................. 1
19. Printer cooperation settings (F..-LPt)....................................................................... 18
20. Serial port parameters setting (F..-rS) ..................................................................... 19
21. Constant tare (F..-tAr) ............................................................................................. 20
22. Function Menu customisation (F..-ACt) ................................................................... 22
23. Maintenance and repairs of small defects ............................................................... 23
Declaration of Conformity................................................................................................... 24
USER MANUAL
3
_____________________________________________________________________________________________________________________
1. General description
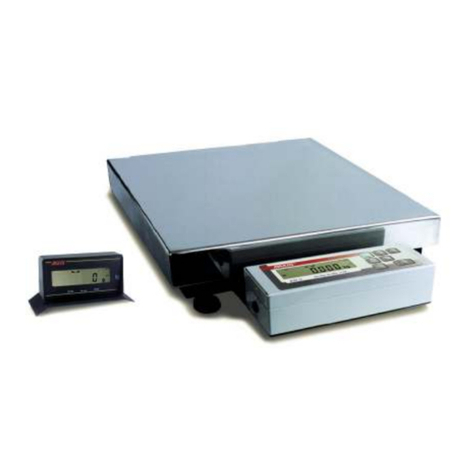
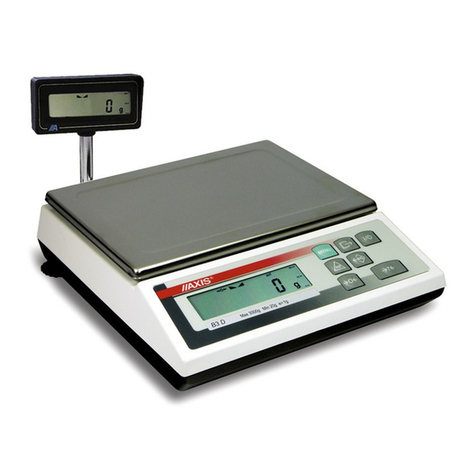
B series platform scales are destined for general use.
All scales are metrologically tested - calibration or legal verification on demand.
B series scales are made in two main versions: with L D display (basic) and with
LCD display (option).
Standard indicator may be changed by indicator with additional keys – see
appendix B.
Scales have following verification features:
- a seal protecting scale casing against opening,
- notified body stamps and green metrological marking placed on the balance
name plate.
Legal verification is valid for 3 years unless the seal is broken.
NAC classification: : 29.24.23.
Certificates:
C Type
Approval Certificate
No. PL 04 022
Health Quality
Certificate
No. Hś/06458/01
AXIS management System
Certificate
DIN N ISO 9001:2000
No. 78 100 6386
2. Completeness
Standard set consist of:
1. Scale
2. User Manual
3. Guarantee card
4. Feeder ZN12V/500mA (option)
5. Charger PA6V (option)

4
USER MANUAL
_____________________________________________________________________________________________________________________
3. Technical data
Scale type B15W
B30
B60
B120 B150
B200
B300
Maximum loa ing 15kg
30kg
60kg
120kg
150kg
200kg
300kg
Minimum loa ing 100g
200g
400g
1kg
1kg
1kg
2kg
Rea ing unit ( ) 5g
*1g
10g
*5g
*1g
20g
*10g
*5g
*2g
50g
*10g
50g
*10g
50g
*10g
100g
*10g
Verification unit (e) 5g
10g
20g
50g
50g
50g
100g
Accuracy class III
Working temperature -10 ÷ +40°C
Tare range -15kg
-30kg
-60kg
-120kg
-150kg
-200kg
-
300kg
Weighing time <4s
Pan imensions 380x380mm 400x500mm 400x400mm
600x500mm
Scale base imensions 400x540x100 400x650x125mm 400x550x130
600x650x150mm
Scale height 585mm 740mm
Power supply 230V, 50Hz, 8VA
Internal fee ing (option) accumulator 6V/12Ah
Accumulator working time ok. 50 go z.
Scale weight 13kg
23kg
23kg
21kg
35kg
35kg
35kg
EC Verification
Scale type B33
B63
B151
B152
B301
Maximum loa ing 30kg
60kg
150kg
150kg
300kg
Minimum loa ing 200g
400g
1kg
1kg
2kg
Rea ing unit ( ) 10g
*5g
*1g
20g
*10g
*5g
*2g
50g
*10g
50g
*10g
100g
*10g
Verification unit (e) 10g
20g
50g
50g
100g
Accuracy class III
Working temperature -10 ÷ +40°C
Tare range -30kg
-60kg
-150kg
-150kg
-300kg
Weighing time <4s
Pan imensions 600x500mm 800x800mm
400x400mm 800x800mm
Scale base imensions 600x650x150mm 800x950
x160mm
400x550
x130mm
800x950
x160mm
Scale height 35kg 50kg
21kg
60kg
Power supply 740mm
Internal fee ing (option) 230V, 50Hz, 8VA
Accumulator working time accumulator 6V/12Ah
Scale weight ok. 50 go z. (opcja)
EC Verification
* increased readability for non-EC verification applications

USER MANUAL
5
_____________________________________________________________________________________________________________________
4. Keys and indicators
key I/ - switch-on / switch-off (standby),
key
→
T
←
- tare (subtract package weight from weighed mass),
key
→
0
←
- zeroing (when the platform is empty),
key - result printout,
key MENU - special function menu,
key B/G - gross,
key HR - high resolution,
indicator →
→→
→0←
←←
← - zero indicator,
indicator - result stabilization indicator,
indicator NET - net weight indicator (indication with subtracted tare)
indicator
- gross mass (after use of B/G key),
indicator
- indicator of pieces counting (indications in pieces)
LCD option:
indicator
MODE - special function setting,
bar indicator
- total load indicator (graduated 0-100%)
indicator OFF - standby,
indicator B/G - gross mass (key B/G),
indicator pcs - pieces counting
Max, Min, d, e, III - metrological parameters and accuracy class.
I/
metrological data

6
USER MANUAL
_____________________________________________________________________________________________________________________
5. Security rules
To avoid electrical shock or damage of the scale or
connected peripheral devices, it is necessary to follow
the security rules below.
• All repairs and necessary regulations can be made by authorised personnel
only.
• To avoid fire risk use a feeder of an appropriate type (supplied with the
scale). Pay attention that supply voltage is compatible with specified
technical data.
• Do not use the scale when its cover is opened.
• Do not use the scale in explosive conditions.
• Do not use the scale in high humidity.
• If the scale seems not to operate properly, unplug it from the mains and do
not use until checked by authorised service.
6. En ironment protection
According to legal regulations it if forbidden to dispose
wasted electronic equipment in waste containers.
• Please return wasted scale to the point of purchase or other company
specialised in recycling of wasted electronic components.

USER MANUAL
7
_____________________________________________________________________________________________________________________
7. Preparation
1. Take the scale out of the package
removing protective foils.
2. Take a pan off and remove protective
elements from below the pan.
3. Place the scale on a stable ground not
affected by mechanical vibrations and
airflows.
4. Level the scale with the rotating rear legs
so that the air bubble in the water-level at
the back of the scale is in the middle. Lock
the legs with the nut.
5. Put on the pan.
6. Remove everything from a pan and plug a
scale to the mains with a ground contact.
After self-tests and result stabilisation, the
scale displays zero indication.
7. In scales with external feeder connect feeder plug to a connector on a display post.
Plug a feeder to the mains (~230V, ground connector is not necessary).
To feed a scale use only socket with a ground connector.
Correct Wrong

8
USER MANUAL
_____________________________________________________________________________________________________________________
8. Start-up
Leave the pan empty, plug a scale to the mains with a ground contact The scale
proceeds with following start-up actions:
Display test.
Basic electronic components tests: C1,
C-2, ... C-6.
Program version.
The scale is now ready to work.

USER MANUAL
9
_____________________________________________________________________________________________________________________
9. General rules
1. Before each measurement make sure that zero indicator is displayed. If zero
indicator does not displayed or “----“ communicate appears, press →0← key
and wait until zero indication and zero indicator appears.
2. The scale is equipped with a tare equal to its range. To tare the scale press
→T← key (left or right). Storing a tare value does not extend measuring range,
but only subtracts it from a load placed on a pan. To make weight control easier
and to avoid range overdrawing, the scale is equipped with a load indicator
(graduated in percentages).
3. Weighing result should be read when the indicator " " lights, which signalises
stabilisation of a result.
4. When the scale is not used but it is necessary to be ready to work immediately, it
can be switched off by pressing I/ key. The scale reading system is then
switched off to "standby" mode (signalled by the indicator "OFF" in version
with the LCD display). To switch the scale on press I/ key. The scale is
immediately ready to operate maximum accuracy (after self tests).
5. Weighed sample should be placed in the centre of the pan.
6. Protect the scale against dust, aggressive dusts and liquids. To clean the scale
wash it with water with soap and dry it afterwards.
7. A scale equipped with lead-acid accumulator automatically controls accumulator
state, signalises its discharge on LCD display and after around 1h a scale
switches itself off to avoid discharging the accumulator below threshold voltage.
Do not discharge an accumulator because it can be damaged.
Place the scale on a platform to avoid dropping weighed objects
on the pan.
Do not overload the scale more then 20% of ma imum load (Ma ).

10
USER MANUAL
_____________________________________________________________________________________________________________________
After discharge signalising appears an accumulator should be charged as quickly as
possible by connecting external feeder. Charging is more effective when scale is
turned off with I/ key, then charging time is about 10 hours.
It is also possible to connect accumulator directly to PA6V charger leaving
accumulator in a scale or take it out if needed. In order to take accumulator out
take off a pan, disconnect accumulator wire and unscrew mounting screws.
Charging an accumulator through scale feeder:
230V
feeder
scale
Charging an accumulator directly through charger:
230V charger
feeder
scale

USER MANUAL
11
_____________________________________________________________________________________________________________________
10. Balance checking
It is advised to check scale indication accuracy before and after series of
measurement using any load with known weight.
To check the scale with legal verification use a calibration weight with valid
calibration certificate. In case permissible error is exceeded it is advised to contact
the nearest service to calibrate the scale.
11. Scale adjustment
To adjust a balance it is necessary to break protective marks, therefore
to calibrate the scale please contact the nearest service.
12. Connecting a computer or a printer (optional)
The scale is equipped with RS232C or
RS485 (optional), which can be used to
connect external devices such as a computer
or a printer.
When cooperating with a printer data is send
automatically after result stabilisation, but
next transmission is possible after removing
previously weighted sample.
The scale sends following information:
successive number of weighing and
weighing result (see: printer cooperation
mode setting).
The scale may be equipped with the second
interface (optional) used for example for
continuous weighing result transmission to
an additional, external display.
When cooperating with the scale,
a computer should be equipped with
a program which enables processing data
from the scale – available in AXIS with
extra charge.
RS485
(option
RxD (receiver)
TxD (transmitter)
GND
Case
1
2
4
5
6
7
8
9
RS
-
232C
A
Input
Output
A
B
B
Case
1
2
4
5
6
7
8
9
}
}

12
USER MANUAL
_____________________________________________________________________________________________________________________
Computer cooperation protocol:
A scale sends data with following settings:
Communication parameters: 8 bits, 1 stop bit, no parity, baud rate 4800bps.
Available orders and scale responses:
initialising signal (data send order):
Computer→Scale: S I CR LF (53h 49h 0Dh 0Ah),
Scale→Computer: scale response according to description below (16 bytes),
Description of response bytes:
Byte 1 - sign or space
Byte 2 - space
Byte 3÷4 - digit or space
Byte 5÷9 - digit, decimal point or space
Byte 10 - digit
Byte 11 - space
Byte 12 - k, l, c, p or space
Byte 13 - g, b, t, c or %
Byte 14 - space
Byte 15 - CR
Byte 16 - LF
scale tarring (calling
→
T
←
key press):
Computer→Scale: S T CR LF (53h 54h 0Dh 0Ah),
Scale→Computer: without response,
scale turning on / off (calling
I/
key press):
Computer→ Scale: S S CR LF (53h 53h 0Dh 0Ah),
Scale →Computer: without response,
scale zeroing (calling
→
0
←
key press):
Computer→ Scale: S Z CR LF (53h 5Ah 0Dh 0Ah),
Scale →Computer: without response,
entering to special function menu (calling MENU key press):
Computer→ Scale: S F CR LF (53h 46h 0Dh 0Ah),
Scale →Computer: without response,
setting low threshold value:
Computer→ Scale: S L D1...DN CR LF (53h 4Ch D1...DN 0Dh 0Ah)
D1...DN – threshold value, maximum 8 characters („-” – negative value, digits,
dot – decimal separator), number of digits after dot should be the same as on

USER MANUAL
13
_____________________________________________________________________________________________________________________
scale display,
Scale →Computer: without response,
xample:
⋅ in order to set low threshold 1000g in scale B1.5 (d=0.5g) the following order
should be sent:
S L 1 0 0 0 . 0 CR LF (53h 4Ch 31h 30h 30h 30h 2 h 30h 0Dh 0Ah),
⋅ in order to set low threshold 100kg in scale B150 (d=50g) the following order
should be sent:
S L 1 0 0 . 0 0 CR LF (53h 4Ch 31h 30h 30h 2 h 30h 30h 0Dh 0Ah),
setting high threshold value:
Computer→ Scale: S H D1...DN CR LF (53h 48h D1...DN 0Dh 0Ah),
D1...DN – threshold value (see )
Scale →Computer: without response.
Note:
Network number different than zero (F..-rS / nr function) changes scale working
mode: communication with a computer is possible after logging the scale in with
02h scale_number command. To log the scale out use 03h command.
Connecting cable WK-1 (scale – computer / 9-pin interface :

14
USER MANUAL
_____________________________________________________________________________________________________________________
13. Special functions description
All scales, beside basic functions like weighing and tare, are equipped with the set
of additional functions.
Basic set of user special functions consists of:
- autozero (AUt),
- pieces counting (PCS),
- constant tare (tAr),
- serial port working mode setting (LPt),
- serial port parameters setting (rS),
- menu customisation (ACt).
Other special functions can be enabled as an option on customer request (all
functions are described in additional brochure when ordered).
Press MENU key to enter the function menu. Functions are displayed successively
with consecutive numbers: F1-PCS, F2-AUt, etc.
To customise the function menu with most frequently used functions
use Menu Customisation function (ACt).
When switching between special functions MODE indicator is displayed.
To make clear how to manage with each function, in further part of instruction
descriptions are replaced with pictures. very time the picture of a hand appears,
press the indicated key.
Legend:
- put a load on the pan
- remove the load from the pan
-
press the key when indication is
displayed
- forced change
- automatic change
2. 0
T

USER MANUAL
15
_____________________________________________________________________________________________________________________
14. Normal weighing
→0←
key, which zeros the scale,
operates only when the pan is empty.
Weighing result should be read when
the indicator " " lights.
15. Weighing with tare
The scale is equipped with tare equal
to its range.
To display gross weight press B/G
key.
Note:
Press B/G key to return to net weight
indication..
16. Increased readability
Press HR key to display the weighing
result (for 5s.) with the highest
readability possible. This function is
especially helpful in scales with legal
verification with d=e.
The weighing result with increased
readability can be used for
informational purposes only and
cannot be printed or sent to a
computer with key.
0.00
2. 0
0
2. 0
2.29
2. 0
2. 0
0.00
40.01
42. 1
T
NET
NET

16
USER MANUAL
_____________________________________________________________________________________________________________________
17. Autozero (F..-AUt)
When F..-Aut function is activated,
the scale automatically ensures stable
zero indication if the pan is empty or
if zero indication was acquired by
pressing
→
T
←
key.
To leave the function press MENU
key, then with
→
T
←
key chose
F..-AUt and F..-0.
Note: Autozeroing function is
activated automatically for 10 min.
after switching-on.
0.01
F.. -AUT
F.. -1
F.. -0
0.00
T
T

USER MANUAL
17
_____________________________________________________________________________________________________________________
18. Pieces counting (F..-PCS)
This function enables to count
identical pieces, e.g. turnbuckles or
buttons.
A measurement is performed in two
phases:
- first phase - single piece weight
calculation on the basis of defined
pieces amount (5, 10, 20, 50, 100,
200 or 500 pieces),
- second phase – pieces counting.
It is advised that single piece weight
is not less than one reading unit and
sample weight used in first phase is
bigger than 100 reading units.
To leave function press MENU key
and then with
→Τ←
key chose
F..-PCS and F..-0.
Notes:
1. Err-3 communicate signalises that
a sample was not put on the pan.
The same communicate appears
if single piece weight is less than
one reading unit (it is possible to
count pieces but measuring error
is bigger .
2. To chose previously used pieces
amount select “..” in first phase
(in case no value was chosen,
error communicate appears .
3. During pieces counting
→
T
←
key
function does not change.
4.In scales equipped with LCD
display, weighing unit is visible
and "
" sign is replaced with
"pcs".
0
0.00
2 .40
F.. -PCS
F.. -0
F.. -1
F.. - --
5
5
12
12
T
T
T
T

18
USER MANUAL
_____________________________________________________________________________________________________________________
19. Printer cooperation settings (F..-LPt)
Activate the function for automatic
serial port working mode
(cooperation with a printer).
After activation the scale prints
a header. Weighing result with
a successive measurement number is
printed automatically after result
stabilisation (without using key).
To select computer cooperation mode
( key activated and weighing
results without successive numbers)
press MENU key, then with
→
T
←
key chose F..-LPt and F..-0.
0.00
F.. -LPt
F.. -1
F.. -0
0.00
T
T

USER MANUAL
19
_____________________________________________________________________________________________________________________
20. Serial port parameters setting (F..-rS)
The function enables to set the
following transmission parameters
(standard parameters underlined):
- transmission speed (bAud: 1200,
4800, 9600),
- the number of bits in a byte (bit: 7,
8),
- parity control (PArItY: 0, 1; Odd: 0,
1),
- network number when working in
multistand computer system (when
working as a single scale the value
should be “0”)
- continuous transmission – without
using key, approx. 10 results per
second (SEnd: 0, 1).
Default parameters underlined.
To set desired transmission
parameters activate F.._rS function,
choose appropriate parameter and
press
→
T
←
key to accept needed
parameter value. The example at the
left presents how to set transmission
speed value to 9600bps.
To leave the function choose out
option.
0.00
F.. -rS
F.. -1
F.. -0
baud
-9600
-4800
bIt
nr
out
Odd
PArItY
Send
T
T
T
T
T
T
T
T
T
T

20
USER MANUAL
_____________________________________________________________________________________________________________________
21. Constant tare (F..-tAr)
This function enables to measure gross weight of a sample placed in a container of
a known weigh value (stored in the memory) and to display calculated net weight
of the sample. Tare value is recalled from the memory with
→
0
←
key when the
pan is empty. Tare value may be entered using the keypad or by sampling
container weight from the pan.
Operation sequence:
The following options are possible:
- F-0 – leave the function,
- F-1 – activate the function with
the previous tare value,
- F-2 – sample tare value from the
pan,
- F-3 – enter tare value with keys:
→
0
←
,
,
→
T
←
and MENU,
If the function is active, NET
indicator is displayed.
Options F-1 enables to activate the
function with previous tare value
after leaving the function with F-0
option.
Note:
Tare value is stored in memory also
after unplugging the scale from the
mains.
-
1.7
0.00
F.. -tAr
1.
1
F.. -
1.0
T
T
T
NET
...
...
1.70
Table of contents
Other Axis Scale manuals

Axis
Axis BTA Series User manual

Axis
Axis BD/S series User manual

Axis
Axis BA/LG Series User manual

Axis
Axis B0.6D User manual

Axis
Axis AGN/C Series User manual

Axis
Axis BDM Series User manual

Axis
Axis B/U Series User manual

Axis
Axis B/P Series User manual

Axis
Axis AD Series User manual

Axis
Axis BLM Series User manual

Axis
Axis LCD GB V4 User manual

Axis
Axis 4B/NA Series User manual

Axis
Axis ACG Series User manual

Axis
Axis 4BA SERIES User manual

Axis
Axis 4B/F Series User manual

Axis
Axis SE-12 Operator's manual

Axis
Axis AGN50 User manual

Axis
Axis BD2P User manual

Axis
Axis 4BA/T Series User manual

Axis
Axis AG Series User manual