5
CAUTION - To reduce the risk of personal injury or
product/property damage:
•
This kit is not intended for contraceptive use�
•
This kit is intended solely to predict the most fertile days of
a woman’s menstrual cycle� Do not use this kit for any other
purpose�
•
While this mobile app notifies you of the best days to
conceive, that does not mean those days are the only days
in which pregnancy is possible� Frequent sexual intercourse
during fertile days is recommended to maximize your chances
of getting pregnant�
•
This mobile app is not for use when performing hormonal
contraception, as hormonal contraception aects the natural
course of events to achieve pregnancy�
•
Use the mobile app only with the test strips included with this
kit� Other test strips will produce inaccurate results�
•
Using this mobile app with the included test strips is limited
to countries where this kit is sold� Do not use mobile app with
test strips in other countries�
•
If you experience irregular cycles and use this mobile app
and test strips, make sure you have enough test strips to
cover the maximum length of your cycle� The kit is designed
to cover cycles greater than 21 and up to 35 days� Longer
cycles may require an additional set� If you have conditions,
especially those that aect your natural hormone balance or
cycle, please consult your doctor before using the kit�
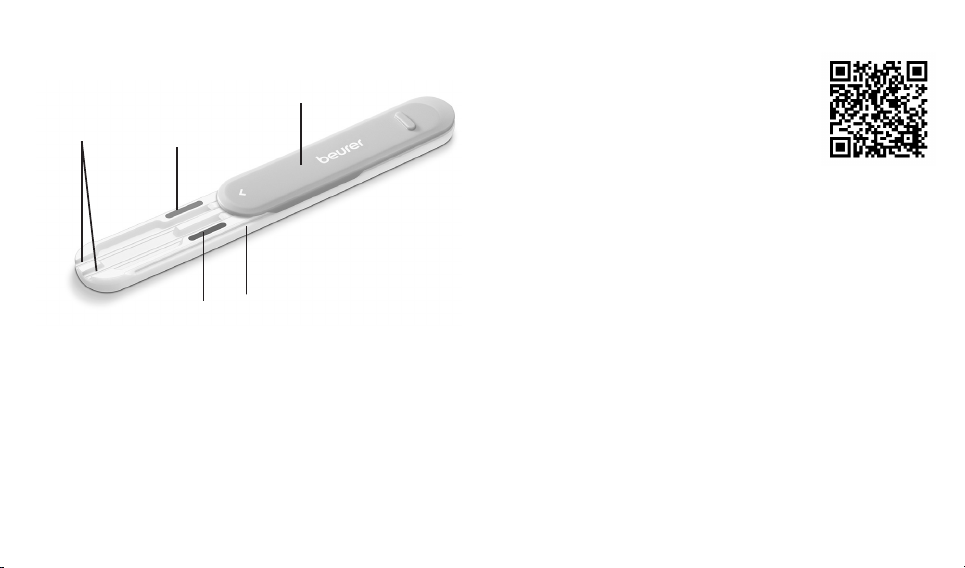
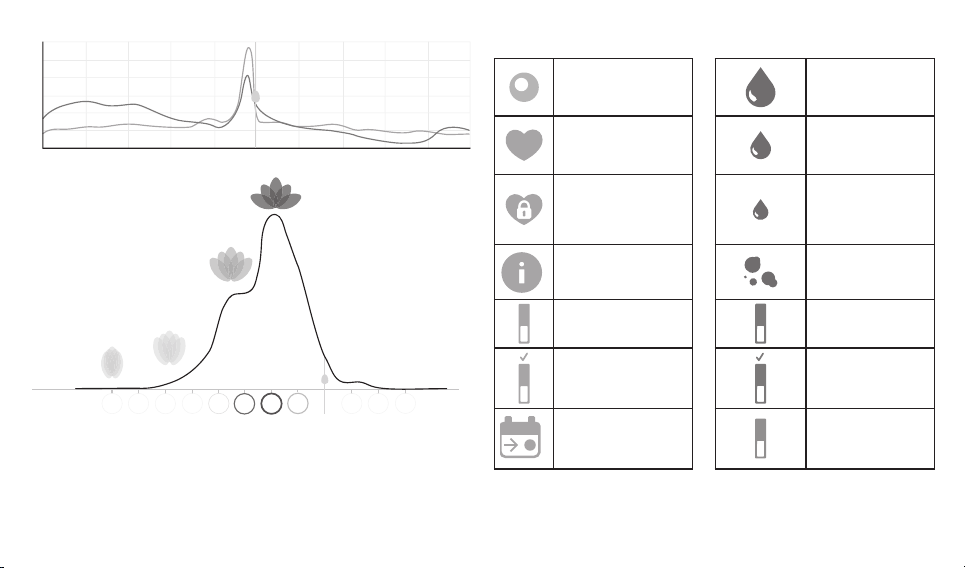
2. Getting to know your instrument
This kit is a self-test system consisting of a mobile application
that is to be used with the included FSH and LH hormonal test
strips� These are designed to estimate the most fertile days
of a woman’s menstrual cycle� The App tracks factors of this
cycle based on user input� The hormonal test strips have their
own instructions for use and must be read carefully before use�
These instructions for use are for this system (app and strips)
only and may refer to the test strip instructions for guidance
only� The App is NOT to be used for contraceptive purposes;
nor alone, nor in combination with the test strips� If you are
seeking natural family planning, consult a medical professional�
3. Package Contents
1 x reusable stripholder OT 80
1 x activation QR code for the Pearl Fertility app
15 x Pearl Fertility test strips - FSH
15 x Pearl Fertility test strips - LH
2 x Pearl Fertility test strips - hCG (pregnancy tests)
1 x Instructions for use (system)
1 x Instructions for use (test strips)