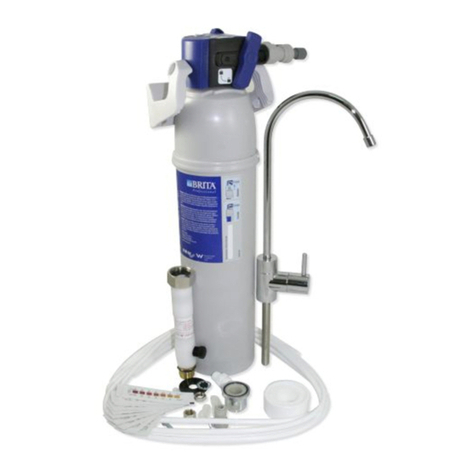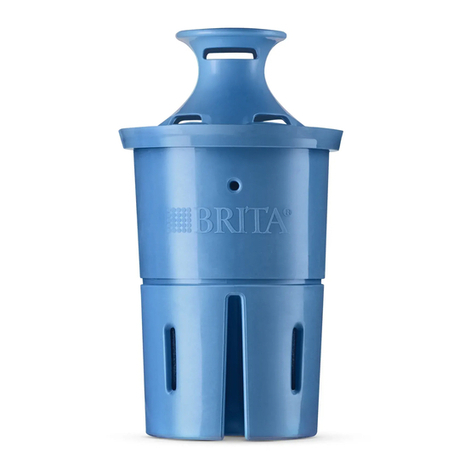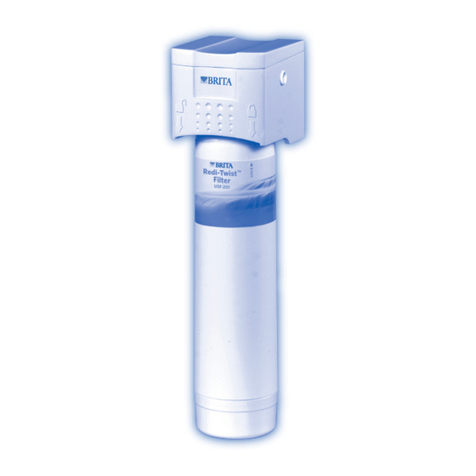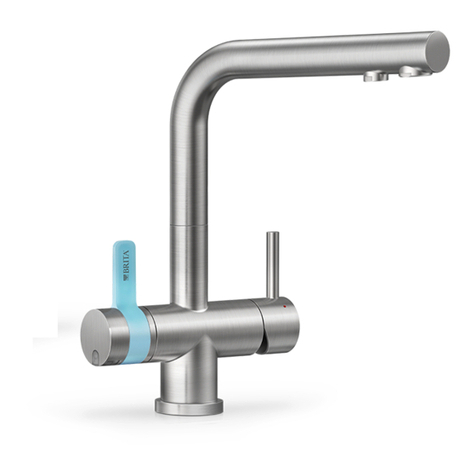
BRITA PURITY HEAD PLV
INSTALLATION INSTRUCTIONS
PART # PURITYHEADPLV
3. Plumbing in Your System
1. Turn OFF the cold water connecon tap and vent any excess water from an available downstream outlet unl the water has stopped owing.
2. Using the Thread Seal Tape (f) provided, wrap the male thread from the cold water line with 3-4 revoluons of tape, ensuring that there is
approximately 2-3mm of clearance at the p of the ng. (This clearance helps to align the two opposing threads).
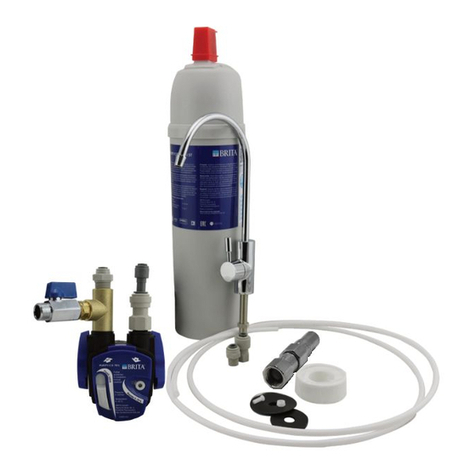
3. Thread the PLV (e) on the cold water supply line by turning the valve an-clockwise unl hand-ght and then complete an addional half turn
using a shier.
4. Using the Thread Seal Tape (f) wrap the male thread of the Hose Quick-Connect Fing (d) with 3-4 revoluons of tape.
5. Thread the male end of the Hose Quick-Connect Fing (d) into the female end of the PLV (e) with your hand unl ght and then complete the
last half turn with a shier. NOTE: Do not overghten. This may cause ngs to snap. Locate a suitable posion in your undersink area and
place the grey bracket from the Filter Head Assembly (b) against the side wall and mark out the two scewholes with a pencil. Pre-drill two, 3mm
holes and then screw in two self-tapping screws (not provided). Remember to leave at least 100mm of clearance beneath the base of the lter
cartridge.
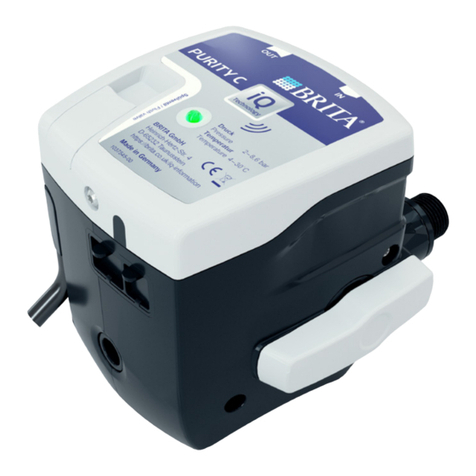
6. Using the Thread Seal Tape (f) wrap the male thread located on the inlet side of the Filter Head Assembly (b) with 3-4 revoluons of tape.
7. Thread the female end of the Filter Head Inlet (a) onto the male end of the Filter Head Assembly (b) inlet with your hand unl ght and then
complete the last half turn with a shier. NOTE: Do not overghten. This may cause ngs to snap.
8. Measure a length of Polypropylene Tube (c) to run from the boom of the Hose Quick-Connect Fing (d) at the base of the PLV (e) to the 3/8”
BSP Quick-Connect Fing on the Filter Head Inlet (a). Ensure that you measure the length accurately and allow for tubing to be run neatly
through the cupboard. Push the tubing rmly into each ng, ensuring it is fully sealed. NOTE: Do not pull or ghtly bend tubing where it con-
nects to Quick-Connect ngs. This may cause leaks.
9. Using the Thread Seal Tape (f) wrap the male thread located on the outlet side of the Filter Head Assembly (b) with 3-4 revoluons of tape.
10. Mount the Filter Head Assembly (b) on to the grey bracket that is xed to the wall using the two female holes on each side of the Filter Head
Assembly (b). Connect your exisng 3/8” female braided hose connecon (not provided) and ghten with your hand and then complete the last
half turn with a shier. NOTE: Do not overghten. This may cause ngs to snap.
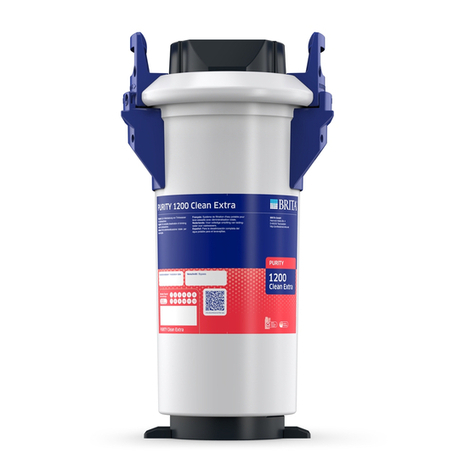
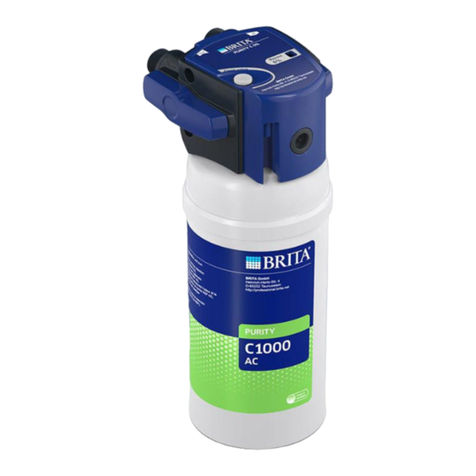
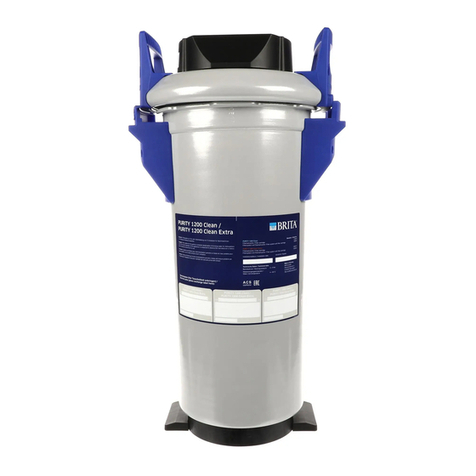
11. Insert your lter cartridge (not provided) vercally into the Filter Head Assembly (b) and turn the blue locking handle on the sides of the Filter
Head Assembly (b) unl you hear it click. Once the braided hose is connected to your faucet, coee machine, or other downstream equipment,
turn ON the water supply and check all connecons for leaks.
12. Operate the ush valve located on the top of the Filter Head Assembly (b) and run water through the lter system unl the ltered water runs
clear without carbon nes or bubbles. This can take up to 2-5 minutes. If your water appears ‘milky’, run the water a lile longer. This is caused by
ny air bubbles and is harmless.
13. Re-check for any leaks at all connecon points.
HANDY HINT: To alter tubing, or if a leak occurs at tubing connecons, remove tubing from Quick-Connect ngs by holding back the oat-
ing collet around the tube where it enters the Quick-Connect Fing and pulling gently on the tubing to remove. Make sure the end of the
tube is cut square and not distorted. Ret and test.
4. Warranty Informaon
The PURITYHEADPLV Water Filter System is designed to operate at a maximum pressure of 900kPa (130psi) and at a maximum temperature of 38°C.
Bombora Supplies warrants this system to be free from defects in material and workmanship for a period of Two (2) Years from the date of purchase.
Warranty period excludes cartridges which are consumable.
This warranty is expressly limited to repair or replacement at our premises of any part or parts proving defecve, providing that the purier has been
installed in accordance with our Installaon Instrucons, and that pressure and temperature do not exceed limits stated herein. This warranty does
not extend to mechanical damage. This warranty is given in lieu of all other expressed or implied warranes or condions and Bombora Supplies will
not be held liable for damages or delays caused by defects. Bombora Supplies will not be held responsible for any unauthorised repairs. Any damage
caused by an unauthorised repairer will void this warranty.
Register your 2-year warranty now by calling 1300 742 249 or log on to our website noted below. Quote the replacement part number of your lter.
Once registered, we will send you a friendly 12-month reminder.
