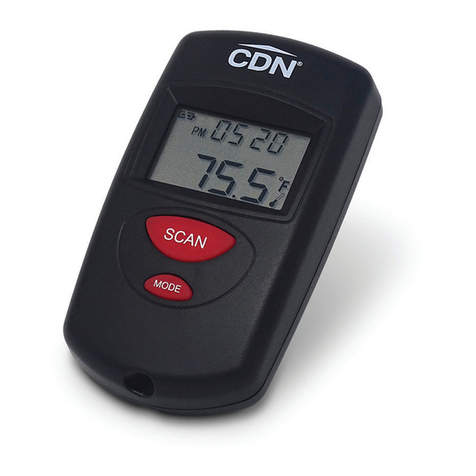
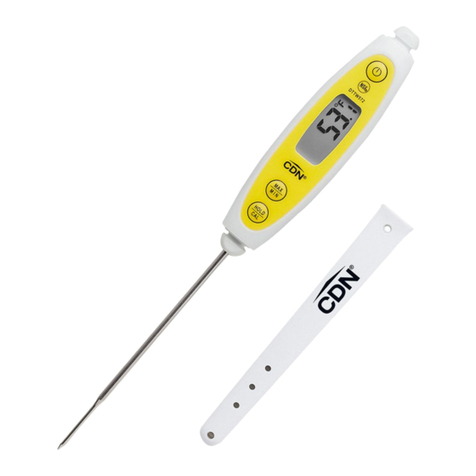
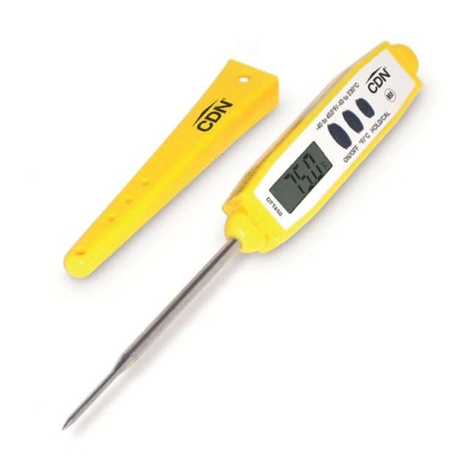
CDN IN428 User manual

Perfect For
• Non-contact surface temperature measurement
without risk of cross contamination
Easy To Use
• 1-second response
• Data-hold
• One-button operation
Features
• Shatterproof
• Maximum, minimum and lock for continuous
scanning
• Distance:spot = 1:1
• Battery status indication
• Food-safe ABS plastic
• Auto-off
• Mounting: rope
• Battery and instructions included
Get Professional Results
Every Time!
Monitoring surface temperature is essential to
keeping food safe. The handy IN428 is perfect for
any application. Simply point the sensor lens toward
the target and press SCAN to get a quick reading of
surface temperatures.
Minimum, Maximum and Lock
The IN428 also offers Minimum, Maximum, and
Lock modes. Minimum mode displays the lowest
temperature among multiple targets. Maximum mode
displays the highest temperature among multiple
targets. While Lock mode continuously displays the
temperature for up to 60 minutes. This is particularly
useful for continuous temperature monitoring.
Note: Remove sticker from display before use.
Note: In the following instructions, names of the control
buttons are shown in CAPS. Function information that appears
on the display is shown in BOLD CAPS.
Battery Installation
Power off the unit before installing the battery.
A malfunction may occur if the power is on when
the battery is installed. If a malfunction occurs,
restart the device.
1. Holding the device on the outside
edges (do not press buttons), loosen
the screw on the back by turning
counter clockwise.
2. Remove the back housing, bottom
edge rst.
3. Gently pry the battery out using the
screwdriver.
4. Install the CR2032 battery
observing polarity by hooking it
into the left side of the battery
housing. Press the battery down
until it clicks.
5. Replace the back cover, top edge
rst.
6. Fasten the screw on the back
housing.
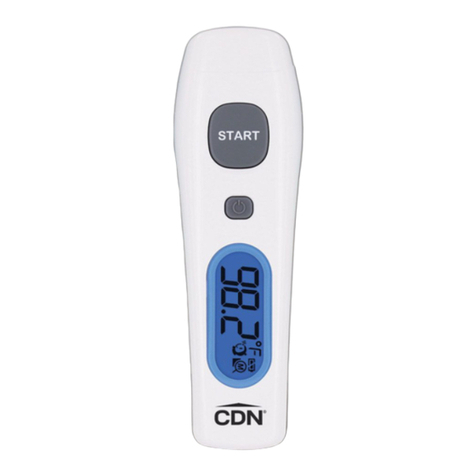
Model: IN428
Infrared Thermometer
-67 to +428°F/-55 to +220°C
3
4
5
6
1
2

Operating Instructions
A. Temperature Scale
To select temperature reading in Fahrenheit
or Celsius:
1. Press the SCAN button to turn the
thermometer on.
2. Press the MODE button four times.
The °F or °C symbol ashes on the display.
3. Press the SCAN button to change the scale.
B. Infrared Thermometer
1. Infrared Scanning
a. Distance:Spot = 1:1
For example, if the surface area being
measured is 10" in diameter, then the
thermometer must be within 10" of the target
for an accurate reading.
b. Aim the thermometer at the target and press
the SCAN button to display the surface
temperature.
2. Minimum Mode
a. Press the SCAN button to turn the
thermometer on.
b. Press the MODE button once. The MIN icon
ashes on the display.
c. Press and hold the SCAN button to conrm
the Minimum Mode and display the lowest
temperature among multiple targets.
3. Maximum Mode
a. Press the SCAN button to turn the
thermometer on.
b. Press the MODE button twice. The MAX
icon ashes on the display.
c. Press and hold the SCAN button to conrm
the Maximum Mode and display the highest
temperature among multiple targets.
4. Lock Mode
This is particularly useful for continuous
temperature monitoring.
a. Press the SCAN button to turn the
thermometer on.
b. Press the MODE button three times.
The LOCK icon ashes on the display.
c. Press the SCAN button to conrm the Lock
Mode. The IN428 will continuously display
the temperature for up to 60 minutes or until
the SCAN button is pressed again.
5. Emissivity
Everything gives off a certain amount of
radiation. Emissivity is the measure of this
thermal radiation. The infrared thermometer is
supplied with a default emissivity of 0.95, which
standard for most uses. The emissivity of the
thermometer can be changed from 0.05 (5E) to
1 (100E). Only experienced personnel should
attempt to make changes. For information
relating to the emissivity of specic materials,
please contact CDN.
a. Press the SCAN button to turn the
thermometer on.
b. Press the MODE button ve times to enter
Emissivity Mode. 95E ashes on the display.
c. Press the SCAN button to adjust the
emissivity value in 0.01 (1E) increments.
d. Press the MODE button again to exit
Emissivity Mode.
Note: Infrared thermometers are not recommended
for use in measuring the temperature of shiny or
polished metals.
6. Error Messages
The IN428 incorporates visual diagnostic
messages as follows:
a. HI or LO is displayed when the temperature
being measured is outside of the range of the
thermometer.
1. HI indicates that the temperature
is higher than 428°F/220°C.
2. LO indicates that the temperature
is lower than -67°F/–55°C.
b. Allow a minimum 30 minutes for the
thermometer to stabilize to the working/
room temperature.
1. ER2 is displayed when the thermometer
is exposed to rapid changes in the
ambient temperature.
2. ER3 is displayed when the ambient
temperature exceeds 14°F/-10°C OR
+122°F/+50°C.
c. For all other error messages
it is necessary to reset the IN428.
1. Wait for the thermometer to power off.
2. Remove the battery and wait for a
minimum of one minute.
3. Reinstall the battery (see Battery
Installation).
4. Press the SCAN button to turn the
thermometer on.
5. If the error message remains, please
contact CDN for further assistance.
EMC/RFI
Readings may be affected if the unit is operated within a radio
frequency electromagnetic eld strength of approximately
3 volts per meter, but the performance of the instrument will
not be permanently affected.

C. Battery Status
The thermometer incorporates visual battery
status indication:
1. Battery OK: measurements are possible
2. Battery Low: replace battery with a
CR2032 lithium cell; measurements are
possible
3. Battery Exhausted: replace battery;
measurements are not possible
Care of Your Product
• The sensor lens is the most delicate part of the
thermometer and should be kept clean at all times.
Take care when cleaning the lens. Use only a soft
cloth or cotton swab with water or rubbing alcohol.
Allow the lens to fully dry before using
the thermometer.
• Do not submerge any part of the thermometer
in water. Wipe clean with a damp cloth.
• Store the thermometer at room temperature
between -4 to +149°F/–20 to +65°C.
Precautions
• Dispose of used battery promptly and keep away
from children.
• Do not clean the case with abrasive or corrosive
compound, which may scratch the plastic and
corrode the electronic circuits.
• Do not subject the unit to excessive force shock,
dust, temperature or humidity, which may result in
malfunction, shorter electronic life span, damaged
battery and distorted parts.
• Do not tamper with the unit’s internal components.
Doing so will invalidated the warranty on the unit
and may cause unnecessary battery damage and
distorted parts.
• Do not subject the unit to excessive exposure to
direct sunlight. The unit is not waterproof — do
not immerse it into water or expose to heavy rain.
• To avoid deformation, do not place the unit in
extreme temperatures.
• Always read the users manual thoroughly before
operating.
Specications
Measurement Range -67 to +428°F/-55 to +220°C
Operating Range 14 to +122°F/-10 to +50°C
Resolution 0.1°F/°C (selectable)
Response Time 1 second
Accuracy ±1.1°F/±0.6°C
(Tobj=59~95°F/15~35°C,
Tamb=77°F/25°C)
Accuracy ±2% of reading or 4°F/2°C
(Tobj=-27~428°F/-33~220°C, whichever is greater
Tamb=73±37.4°F/23±3°C)
Distance:Spot 1:1 optics ratio
Emissivity Range 0.95 default;
adjustable 0.05 to 1 step .01
Battery Life Typ. 40 hr, min 30 hr
(auto power off after
15 seconds)
Power Supply 1 CR2032 lithium battery
Dimensions 1.5 W x 3.0 H x 0.75 D
(inches)/
39.0 W x 76.8 H x 19.3 D
(mm)
Weight 1.12 oz/32 g
(including battery)
CAUTION: Avoid keeping the thermometer too close to objects
that continuously generate high heat for long periods (i.e., hot
plate). This can cause the thermometer to overheat.
© 2006 Component Design Northwest, Inc. Made in China CD9999187en - 11/06 EHC 614 885 -2497
The information in this document has been reviewed and is
believed to be accurate. However, neither the manufacturer nor
its afliates assume any responsibility for inaccuracies, errors
or omissions that may be contained herein. In no event will
the manufacturer or its afliates be liable for direct, indirect,
special, incidental or consequential damages arisen by using
this product or resulting from any defect/omission in this
document, even if advised of the possibility of such damages.
The manufacturer and its afliates reserve the right to
make improvements or changes to this document and the
products and services described at any time, without notice
or obligation.
1-Year Limited Warranty: Any instrument that
proves to be defective in material or workmanship
within one year of original purchase will be repaired
or replaced without charge upon receipt of the
unit prepaid at: CDN, PO Box 10947, Portland, OR
97296-0947. This warranty does not cover damage
in shipment or failure caused by tampering, obvious
carelessness or abuse
*USDA does not endorse any product, service or organization.
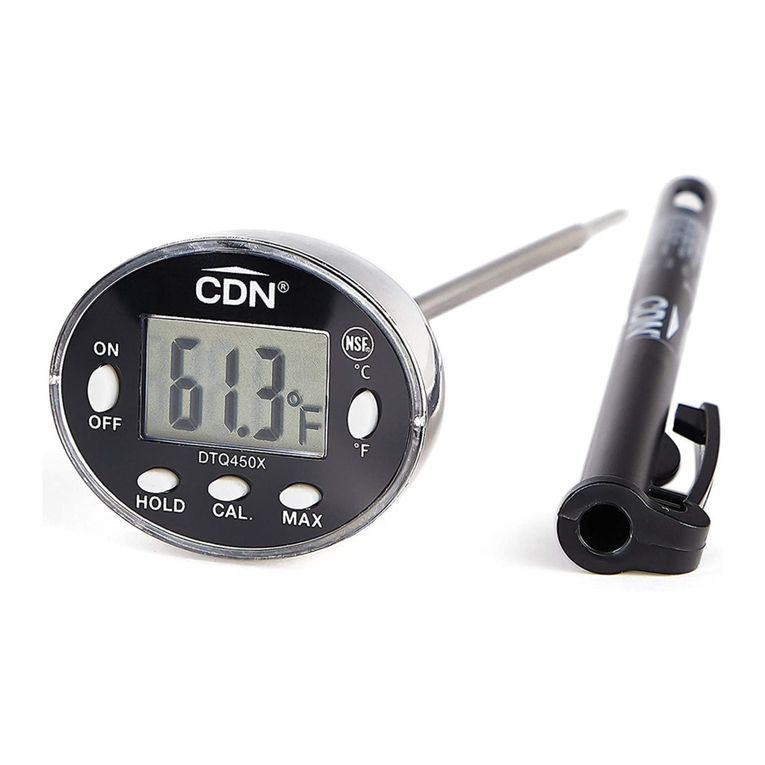
Table of contents
Other CDN Thermometer manuals

CDN
CDN DW428 User manual

CDN
CDN DTP482 User manual

CDN
CDN ProAccurate DTQ450X User manual

CDN
CDN ProAccurate Q2-450X User manual

CDN
CDN Infrared Gun User manual

CDN
CDN IRM200 User manual

CDN
CDN ProAccurate Insta-Read IRB220-F-6.5 User manual

CDN
CDN DSP1 User manual

CDN
CDN IRT220 User manual

CDN
CDN ProAccurate INTP662 User manual