manuals.online logo
Brands
  1. Home
  2. •
  3. Brands
  4. •
  5. Cisco
  6. •
  7. IP Phone
  8. •
  9. Cisco 8800 Series User manual

Cisco 8800 Series User manual

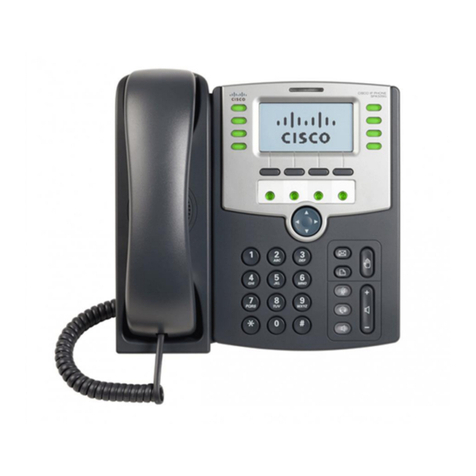
Cisco IP Phone 8800 Series Quick Start Guide
redgap
Red Gap and the Red Gap logo are trademarks or registered trademarks of Red Gap Communications, Inc. in the United States. Cisco and the Cisco logo are trademarks or registered trademarks of Cisco Systems, Inc. and / or its aliates in the United States and certain other countries. Page 1 of 2
DOCV09
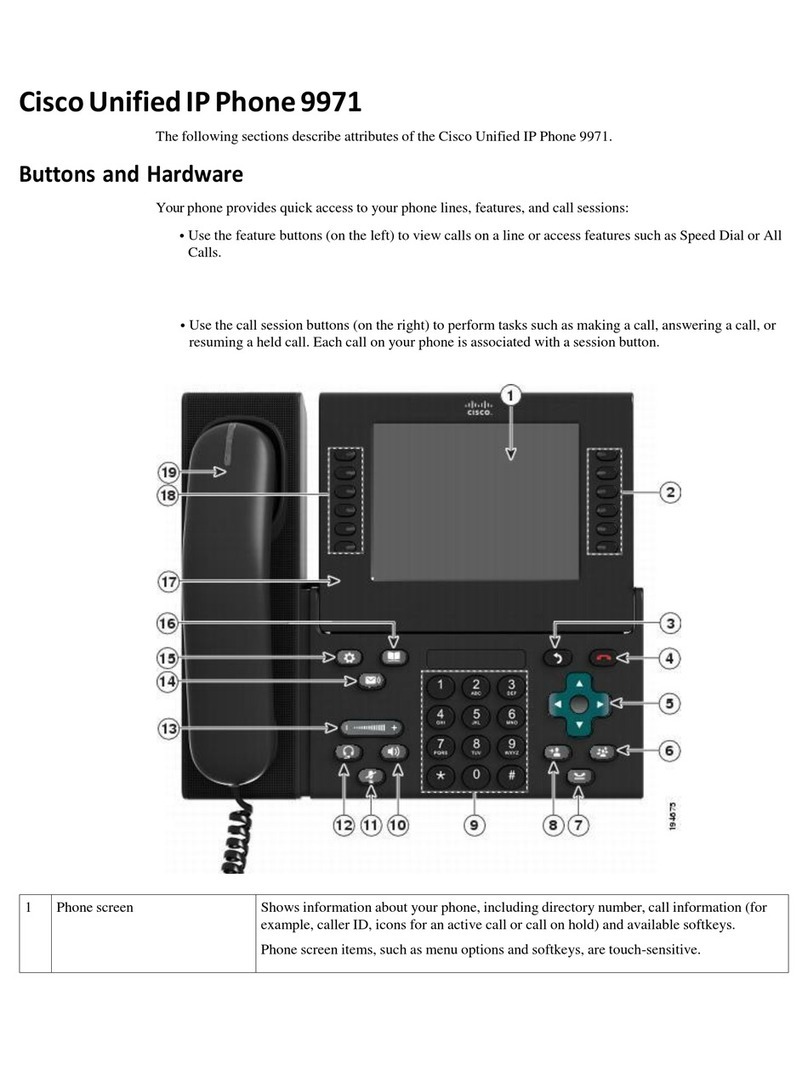
Settings Directory
Voicemail
Back
Labels and
Soft Keys
Line, Busy Lamp, or
Feature Buttons
Mute
SpeakerphoneHeadset
Transfer Conference
Hold
Volume
Incoming Call or
Voicemail Indicator
Keypad
Display
Release
N
a
v
i
g
a
t
i
o
n
R
i
n
g
Select
Line and Busy Lamp, and Feature Buttons
Use the line and feature buttons to view calls on a line, access
features such as Speed Dial, and to perform tasks such as
resuming a held call.
Buttons illuminate to indicate status. For a line:
Green - steady: Line is idle
Red - steady: Line in use
Red - ashing: Line in use by someone else
Amber - steady: Line is unregistered
For lines monitored by a Busy Lamp:
Green - steady: Line is idle
Red - steady: Line in use
Red - ashing: Incoming or held call
Setting Up Your Voicemail
You have been given a temporary password, but you will
need to think of a new password that is at least 6 digits long
and does not contain repeated digits (111111) or sequential
digits (123456) digits and does not contain your extension
number forward or reverse.
You will record your name, and up to 3 dierent greetings.
1. Press the Messages button and follow the prompts.
2. Enter your temporary password followed by the #key.
3. Enter your new password followed by the #key. Repeat to
conrm.
4. Record your name.
5. Your voicemail greetings are inside your voice mailbox,
access this by pressing 1.
6. Record your busy greeting for when you are on the phone
by pressing 2.
7. Record your no answer greeting for when you are away
by pressing 3.
8. If you are going on vacation and you want to let people
know you are gone, but not let them leave a message,
you can record an extended away greeting by pressing 4.
Place a Call
Enter a number using the Keypad rst and then pick up the
handset. There is no need to dial 9; just dial the 10 digit num-
ber. If international dialing is enabled, dial 011 + the country
code + the number. For internal calls dial the extension.
Answer a Call
Pick up the handset, or press the Speakerphone button ,
or the Headset button .
Put a Call on Hold
1. Press the Hold button or the Hold soft key.
2. To resume a call from hold, press the Hold button
again or the Resume soft key.
View Your Recent Calls
1. Select which line’s recent calls you’d like to see using the
navigation ring .
2. Press the rightmost soft key to go to the next set
of soft keys.
3. Press the Recents soft key.
Or
2. Press the Settings button .
3. Scroll to select Recents.
4. Scroll to choose All, Missed, Received, or Placed calls.
Cisco IP Phone 8800 Series Quick Start Guide
redgap
Red Gap and the Red Gap logo are trademarks or registered trademarks of Red Gap Communications, Inc. in the United States. Cisco and the Cisco logo are trademarks or registered trademarks of Cisco Systems, Inc. and / or its aliates in the United States and certain other countries. Page 2 of 2
DOCV09
Transfer a Call to Another Person Immediately
1. From a call that is not on hold, Press the rightmost soft
key to go to the next set of soft keys.
2. Press the BlindXFer soft key.
3. Enter the other person’s phone number and press the Call
soft key.
Transfer a Call to Another Person Announced
1. From a call that is not on hold, press the Transfer button
.
2. Enter the other person’s phone number and press the Call
soft key.
3. Wait for the other person to answer and then announce
the call.
4. Press the Transfer button again or the Transfer
soft key to complete the transfer and connect
the other two people.
5. If you announce the call and the person does not want
the transferred call, press the white End Call
(not the red End Call if they hung up rst) and then the
Resume soft key to return to the original caller.
Transfer a Call Directly to Voicemail
1. From a call that is not on hold, press the Transfer button
.
2. Dial *55
3. Dial the other person’s extension and press #.
Add Another Person to a Call
Up to 3 people can be added to a call.
1. From an active call, press the Conference button .
2. Enter the number you want to join and press the Call
soft key.
3. Once the call is connected, press the Conference button
again.
Place a Call with a Headset
1. Plug in a headset.
2. Enter a number using the Keypad.
3. Press the Headset button .
Place a Call with the Speakerphone
1. Enter a number using the Keypad.
2. Press the Speakerphone button .
3. Picking up the handset will shift the call o of the speaker.
Mute Your Audio
1. Press the Mute button (will be red when muted).
2. Press the Mute button again to turn mute o.
Listen to Voice Messages
Press Messages button and follow the voice prompts.
To check messages for a specic line, use the navigation ring
to select the line.
Forward All Calls
1. Press the rightmost soft key to go to the second
set of soft keys.
2. Press the Forward soft key.
3. Enter the number that you want to forward to. If it was an
extension, press the Call soft key to nish.
4. Where it is forwarded will appear in the upper left below
your number.
5. When you return, press the Clr fwd soft key on
the second set of soft keys to disable this forwarding.
Adjust the Volume in a Call
Press Volume control left or right to separately ad-
just the handset, headset, or speakerphone volume as each is
in use. Each setting is stored separately.
Adjust the Ringtone Volume
Press Volume control left or right to adjust the
ringer volume when the phone is not in use.
Change Ringtone
1. Press the Settings button .
2. Select User preferences > Ringtone > Ext # - Ring tone,
where # = extension number.
3. Scroll through the list of ringtones and press the
Play soft key to hear a sample.
4. Press the Select soft key and the Set
soft key to save a selection.
5. Press the Back button several times to exit.
Adjust the Screen Brightness
1. Press the Settings button .
2. Select User preferences > Screen preferences > Display
brightness.
3. Use the navigation button left or right to adjust the
brightness.
4. Press the Save soft key to save your setting.
5. Press the Back button several times to exit.
Other manuals for 8800 Series

47

Other Cisco IP Phone manuals

Cisco Cisco Unified IP Phone 7960G User manual

Cisco

Cisco Cisco Unified IP Phone 7960G User manual

Cisco 7821 User manual

Cisco

Cisco 7821 User manual

Cisco Unified 7912G User manual

Cisco

Cisco Unified 7912G User manual

Cisco 7945 Series User manual

Cisco

Cisco 7945 Series User manual

Cisco 6851 User manual

Cisco

Cisco 6851 User manual

Cisco Unified 8961 User manual

Cisco

Cisco Unified 8961 User manual

Cisco 8945 User manual

Cisco

Cisco 8945 User manual

Cisco 88 Series User manual

Cisco

Cisco 88 Series User manual

Cisco 7905 User manual

Cisco

Cisco 7905 User manual

Cisco Unified 6921 User manual

Cisco

Cisco Unified 6921 User manual

Cisco OL-18696-01 User manual

Cisco

Cisco OL-18696-01 User manual

Cisco 8831 Owner's manual

Cisco

Cisco 8831 Owner's manual

Cisco Cisco 7960 Service manual

Cisco

Cisco Cisco 7960 Service manual

Cisco 7975G - Unified IP Phone VoIP User manual

Cisco

Cisco 7975G - Unified IP Phone VoIP User manual

Cisco SPA525G - Small Business Pro IP Phone VoIP User manual

Cisco

Cisco SPA525G - Small Business Pro IP Phone VoIP User manual

Cisco 7945 Series User manual

Cisco

Cisco 7945 Series User manual

Cisco Cisco 7960 User manual

Cisco

Cisco Cisco 7960 User manual

Cisco 8800 Series Quick reference guide

Cisco

Cisco 8800 Series Quick reference guide

Cisco Webex 840 User manual

Cisco

Cisco Webex 840 User manual

Cisco 8841 How to use

Cisco

Cisco 8841 How to use

Cisco 7800 Series User manual

Cisco

Cisco 7800 Series User manual

Cisco Unified 6921 User manual

Cisco

Cisco Unified 6921 User manual

Cisco Small Business SPA 301 Instruction Manual

Cisco

Cisco Small Business SPA 301 Instruction Manual

Cisco 7945 Series User manual

Cisco

Cisco 7945 Series User manual

Popular IP Phone manuals by other brands

Teldat elmeg IP130 user guide

Teldat

Teldat elmeg IP130 user guide

Polycom SoundPoint IP 430 SIP user guide

Polycom

Polycom SoundPoint IP 430 SIP user guide

Nortel M5208 Meridian manual

Nortel

Nortel M5208 Meridian manual

Hanlong UC804(P) user guide

Hanlong

Hanlong UC804(P) user guide

Polycom VVX 250 quick reference

Polycom

Polycom VVX 250 quick reference

NEC DT750 user guide

NEC

NEC DT750 user guide

Avaya one-X 9621G user guide

Avaya

Avaya one-X 9621G user guide

Gigaset C450 IP manual

Gigaset

Gigaset C450 IP manual

Avaya E129 manual

Avaya

Avaya E129 manual

Grandstream Networks GXP2160 user guide

Grandstream Networks

Grandstream Networks GXP2160 user guide

Nortel IP Phone 2004 user guide

Nortel

Nortel IP Phone 2004 user guide

Nemsys Yealink 46G manual

Nemsys

Nemsys Yealink 46G manual

Escene Sayhi HS108 user manual

Escene

Escene Sayhi HS108 user manual

Digium Digium user guide

Digium

Digium Digium user guide

MicroNet SP5100/S user manual

MicroNet

MicroNet SP5100/S user manual

Avaya 4600 Series installation guide

Avaya

Avaya 4600 Series installation guide

Polycom VVX 450 manual

Polycom

Polycom VVX 450 manual

Polycom SoundStation IP 7000 Setup guide

Polycom

Polycom SoundStation IP 7000 Setup guide

manuals.online logo
manuals.online logoBrands
  • About & Mission
  • Contact us
  • Privacy Policy
  • Terms and Conditions

Copyright 2025 Manuals.Online. All Rights Reserved.