manuals.online logo
Brands
  1. Home
  2. •
  3. Brands
  4. •
  5. Yealink
  6. •
  7. IP Phone
  8. •
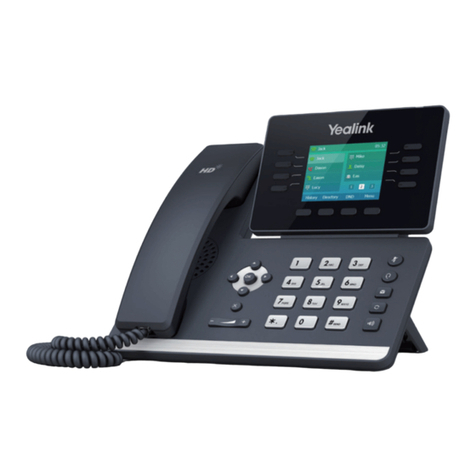
  9. Yealink SIP-T32G Instruction manual

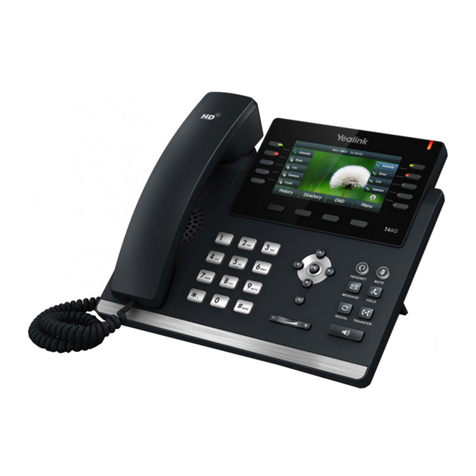
Yealink SIP-T32G Instruction manual

Star2Star Yealink SIP-T32G Quick User Guide
Copyright ©2012, Star2Star Communications, LLC. All rights reserved. Star2Star is a registered Trademark of Star2Star Communications.
Page 1 of 2
For detailed information please consult the
Star2Star Phone and Features Guide,
available for view/download via the
Star2Star Knowledge Base at:
!
https://support.star2star.com/
!
BASIC FEATURES
MAKING A CALL
You can make a phone call via the following
devices:
1. Pick up the handset, icon will be
shown in the idle screen.
2. Press the Speaker button, icon will
be shown in the idle screen.
3. Press the Headset button if the headset is
connected to the Headset port in advance.
In the dial-up interface, the icon will be
shown in the idle screen.
Dial Number Directly: Dial the number.
Press Send soft key.
Dial from Pool: In dial-up interface, press
Pool soft key. Use the Navigation keys to
highlight your choice. Choose the
corresponding option. Select a record, then
press the Send/Dial button.
Redial: Press Redial button to enter the
Dialed Calls interface and choose a record
to dial out. During the call, you may
alternate between Headset, Handset and
Speakerphone by pressing the
corresponding buttons or picking up the
handset.
If you have registered more than one
account, you can choose a certain account
to make your call:
1. Press the Left/Right navigation key to
choose a default account when your phone
is in idle status.
2. In the dial-up interface, press the Line
soft key to choose an account. Then press
the Select soft key to confirm.
3. Press the three line keys on the keypad
to activate the chosen account.
ANSWERING A CALL
To answer an incoming call, lift the
handset.
To answer using the speakerphone, press
the Speaker button.
To answer using the headset, press the
Headset button.
If you are on an active call, the LCD screen
will display “Incoming Call: #”. Press the
Answer soft key to answer the call or
Reject soft key to refuse the call.
MUTING A CALL
Press the button to mute the call during
conversation. The icon will be shown in
the LCD screen. Press button again to
unmute the call.
VOLUME ADJUSTMENT
During the call you can adjust the volume by
pressing the Volume Adjustment bar
.
PUTTING A CALL ON HOLD
Press the Hold button or Hold soft key to put
an active call on hold. The corresponding
line will blink.
If there is only one call on hold, press the
Resume soft key or Hold button to retrieve
the call.
If there is more than one call on hold, press
the SWAP soft key to switch the
conversation.
To hold all calls, press the Line key which
you pre-set as Hold, then press the
Up/Down navigation key to highlight the
call. Press the corresponding Line key pre-
set as Hold to retrieve the call. You may
also press the Line key to establish a new
call and all current calls will be held.
TRANSFERING A CALL
You may customize your phone so that
incoming calls are transferred directly to the
third party (another extension, mobile phone
number, etc.) There are three ways to
transfer the call: Blind Transfer, Attended
Transfer and Semi-Attended Transfer.
Blind Transfer via phone interface:
1. Press the TRAN Button or Tran soft key
to put the caller on hold. Dial the new
telephone number and press the Tran soft
key to call out. Your call will turn to hold
status and the LCD will display as
Transferred.
2. After the call is answered, press the
Cancel soft key to complete the transfer.
3. You will be disconnected from the call
and the other parties will be able to talk.
Attended Transfer via phone interface:
1. Press the TRAN Button or Tran soft key
to put the caller on hold. Dial the new phone
number and press the OK or SEND button
to call out.
2. After the call is answered you will be able
to talk to the new party without the caller on
hold being able to hear the conversation.
Press the TRAN button to complete the
transfer. You will be disconnected from the
call and the caller on hold will be able to talk
to the transferred party.
Semi-Attended Transfer via phone
interface:
1. Press the TRAN button or Tran soft key
to put the caller on hold. Dial a new number
and press the OK or SEND button to call
out.
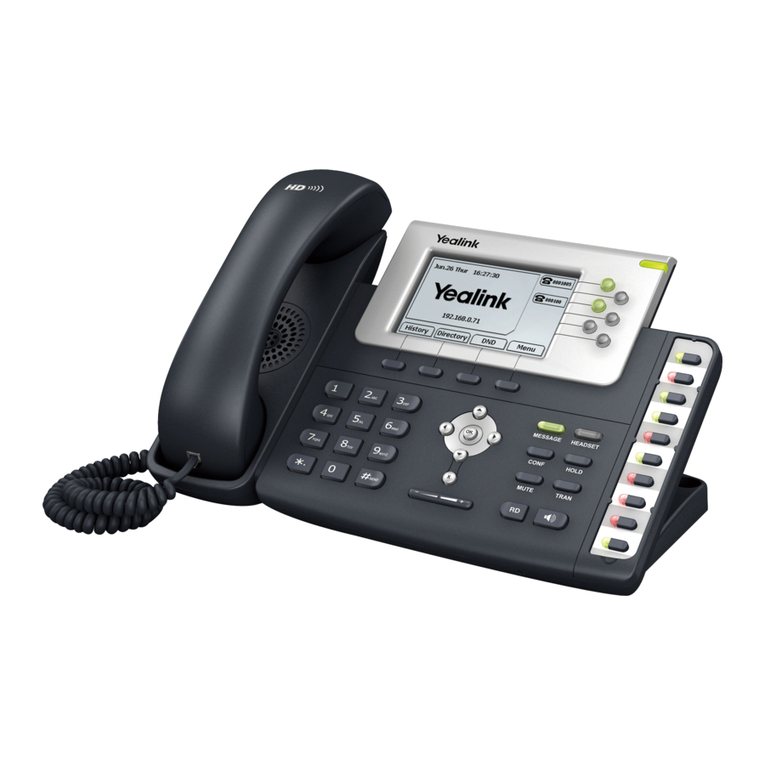
Gigabit Color IP
Phone SIP-T32G
Quick User Guide
Star2Star Yealink SIP-T32G Quick User Guide
Copyright ©2012, Star2Star Communications, LLC. All rights reserved. Star2Star is a registered Trademark of Star2Star Communications.
Page 2 of 2
2. While the new number is ringing, hang up
or press the Transfer soft key. Your call will
turn to hold status and the LCD will display
as Transferred.
3. You will be disconnected from the call
when the new caller answers the call. The
on hold caller and new caller will be able to
talk.
FORWARDING A CALL
Calls may be forwarded to another phone
number, cell phone or voicemail.
Call forwarding can be configured in the
following ways:
Always: Incoming calls are immediately
forwarded.
Busy: Incoming calls are immediately
forwarded when the phone is busy.
No Answer: Incoming calls are forwarded
when the phone is not answered after a
specific period.
To configure Forward option via the phone
interface:
1. Press Menu soft key > Features > Call
Forward to enter the configure page.
2. Select one of three options: Always
Forward, Busy Forward and No Answer
Forward and enter the phone number you
want to forward.
3. If you select No Answer Forward, you
must also select “After Ring Times” option.
4. Press Save soft key to save the changes.
STAR2STAR CALL PARK AND
RETRIEVE
1. Perform an Attended transfer to the park
code 7000.
2. Listen to the system retrieval code
announcement e.g. 7001
3. Press Transfer.
4. The caller is now parked.
5. The caller will hear music or message on
hold if configured on your system.
6. Dial the system retrieval code e.g. 7001
on any local extension to retrieve the call.
FIND-ME / FOLLOW-ME
Use the Star2Star Find-Me / Follow-Me
feature in the Star2Star Web portal to
forward calls from your extension.
Follow Me (Immediate) -- Calls to your
extension will be sent automatically to the
number you define.
Find Me (Sequential) -- Calls to your
extension will ring your extension and any
other numbers that you define, in order.
Find Me (All) -- Calls to your extension will
ring your extension and any other numbers
that you define, all at once.
VOICE MAIL
Press Menu > Messages > Voice Mail >
View Voice Mail. (Use navigation keys to
move between features) A stuttered dial
tone will sound.
Alternatively you may dial 1000 to access
the Voicemail system at any time. The
system will prompt for your password.
Note: when accessing the voice mail
system for the first time your password is
your extension #. Change this to a 4-digit
number you can easily recall.
CONTACT DIRECTORY
Note: The Star2Star Company Directory is
automatically downloaded.
To access the company directory, press the
Directory soft key when the phone is idle,
then select Remote Phonebook >
Company Directory.
Adding a contact:
1. Press Directory > Local Directory
2. Choose a group and press the Enter soft
key.
3. Press Add soft key, enter Name, Office,
Mobile, Other phone number. Use the abc
soft key to choose an input method like
Numeric, Upper/Lower Case Alphanumeric.
4. If you want to assign a contact to a
specific account, you can use the navigation
key to select desired account.
5. Choose and set a special ring tone for the
contact.
6. Use the navigation key to select the
group you want to assign.
7. Choose photo and then press Enter soft
key to enter into the edit page. Use the
navigation key to select a photo for this
contact. Press OK soft key to confirm and
return to the previous screen.
8. Press Save soft key to add the record to
contacts or Back soft key to cancel.
(Note): If your phone firmware is
updated, contacts entered in this manner
will be lost. However, the company
directory uploaded by Star2Star will
remain intact.
Editing a contact:
1. Press Directory > Local Directory
2. Choose a group and press the Enter soft
key.
3. Use the navigation key to highlight the
contact you want to edit. Press Option >
Detail and enter into the edit page.
4. Make the desired change. Press Save
soft key to save the change or press
Back soft key to return to the directory.
Deleting a contact:
1. Press Directory > Local Directory
2. Choose a group, and press the Enter soft
key.
3. Use the navigation key to highlight the
contact you want to delete. Press Option
soft key and scroll to Delete. Press OK soft
key.
4. A warning window will pop up asking
whether confirm to delete the contact.
5. Press OK soft key to confirm the
operation or press the Cancel soft key to
return to the directory.
LOCAL CONFERENCE CALL
1. Press the Conf soft key during an active
call.
2. The first call is placed on hold. You will
hear a dial tone. Dial the number to
conference in, then press the Send soft key.
3. When the call is answered, you may have
a private conversation at first and then press
the CONF button. The conference call will
include you and the other two parties.
4. During the conference, press the Split
soft key to split the conference into two hold
lines and press the Resume soft key to
resume the chosen call respectively.
5. When you press the Hold key, the
conference will be on hold.
6. When you hang up, the other parties will
remain connected.
Call Pickup
1. To pick up a call ringing a specific phone
that is not ringing as part of a Ring
Group, dial *8xxx (xxx
being the extension of the ringing phone).
2. For example your neighbor’s phone
extension 112 is ringing. You would dial
*8112 to pickup that call.
3. To pick up a call on any ringing phone
dial *8.
Other manuals for SIP-T32G

9

Other Yealink IP Phone manuals

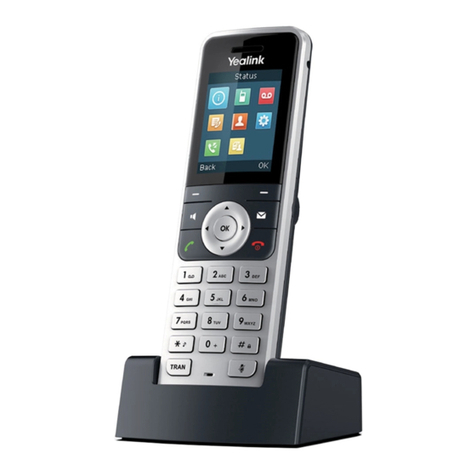
Yealink One Talk W78B User manual

Yealink

Yealink One Talk W78B User manual

Yealink W53H User manual

Yealink

Yealink W53H User manual

Yealink W60P Telesystem User manual

Yealink

Yealink W60P Telesystem User manual

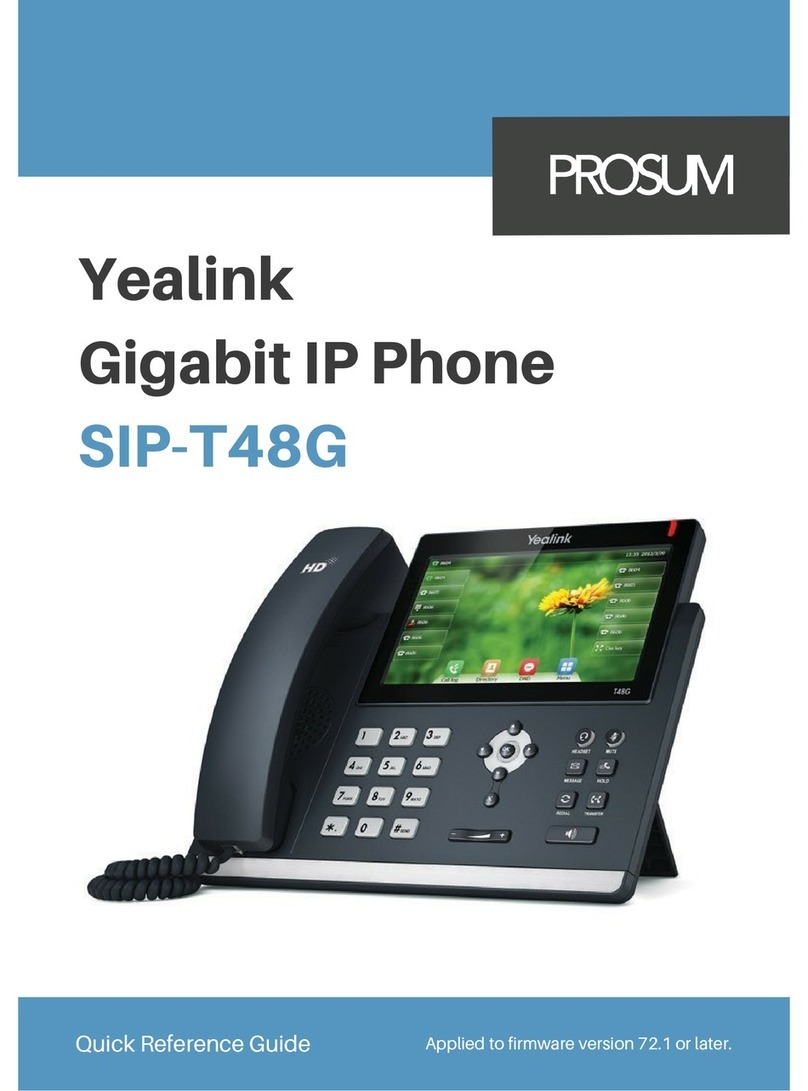
Yealink Yealink SIP-T48G User manual

Yealink

Yealink Yealink SIP-T48G User manual

Yealink SIP-T27G User manual

Yealink

Yealink SIP-T27G User manual

Yealink T46G Skype For Business Edition User manual

Yealink

Yealink T46G Skype For Business Edition User manual

Yealink Yealink SIP-T46G User manual

Yealink

Yealink Yealink SIP-T46G User manual

Yealink SIP-T2XP Service manual

Yealink

Yealink SIP-T2XP Service manual

Yealink T41P-Skype User manual

Yealink

Yealink T41P-Skype User manual

Yealink SIP-T23G User manual

Yealink

Yealink SIP-T23G User manual

Yealink SIP-T23P User manual

Yealink

Yealink SIP-T23P User manual

Yealink SIP-T54W User manual

Yealink

Yealink SIP-T54W User manual

Yealink Yealink SIP-T21P User manual

Yealink

Yealink Yealink SIP-T21P User manual

Yealink T53 User manual

Yealink

Yealink T53 User manual

Yealink T46G Skype For Business Edition User manual

Yealink

Yealink T46G Skype For Business Edition User manual

Yealink SIP-T2XP User manual

Yealink

Yealink SIP-T2XP User manual

Yealink T41 User manual

Yealink

Yealink T41 User manual

Yealink T58A Teams User manual

Yealink

Yealink T58A Teams User manual

Yealink Telkom W52P User manual

Yealink

Yealink Telkom W52P User manual

Yealink SIP-T58A User manual

Yealink

Yealink SIP-T58A User manual

Yealink SIP-T38G User manual

Yealink

Yealink SIP-T38G User manual

Yealink Yealink SIP-T22P User manual

Yealink

Yealink Yealink SIP-T22P User manual

Yealink SIP- T28P User manual

Yealink

Yealink SIP- T28P User manual

Yealink Enterprise User manual

Yealink

Yealink Enterprise User manual

Popular IP Phone manuals by other brands

Aastra Ascotel IntelliGate Office 35 user guide

Aastra

Aastra Ascotel IntelliGate Office 35 user guide

THOMSON ST 2030 SIP Administrator's guide

THOMSON

THOMSON ST 2030 SIP Administrator's guide

Cisco Linksys WIP310 user guide

Cisco

Cisco Linksys WIP310 user guide

ACN IRIS 3000 user manual

ACN

ACN IRIS 3000 user manual

Grandstream Networks DP750 user guide

Grandstream Networks

Grandstream Networks DP750 user guide

Avaya IP Office 4601 Quick reference guide

Avaya

Avaya IP Office 4601 Quick reference guide

Patton SL4050/B12/E quick start guide

Patton

Patton SL4050/B12/E quick start guide

Cisco 7941G - Unified IP Phone VoIP user guide

Cisco

Cisco 7941G - Unified IP Phone VoIP user guide

Grandstream Networks GRP2636 Quick installation guide

Grandstream Networks

Grandstream Networks GRP2636 Quick installation guide

Avaya IP Office 9640 Quick reference guide

Avaya

Avaya IP Office 9640 Quick reference guide

Akuvox VP-R47P user manual

Akuvox

Akuvox VP-R47P user manual

AudioCodes 450HD quick guide

AudioCodes

AudioCodes 450HD quick guide

Allnet ALL7950 Quick user guide

Allnet

Allnet ALL7950 Quick user guide

Mitel 6865i quick start guide

Mitel

Mitel 6865i quick start guide

Grandstream Networks GXV324 Resident User Guide

Grandstream Networks

Grandstream Networks GXV324 Resident User Guide

Panasonic KX-TGP500 manual

Panasonic

Panasonic KX-TGP500 manual

Crexendo CX275 quick start guide

Crexendo

Crexendo CX275 quick start guide

D-Link DPH-850S user manual

D-Link

D-Link DPH-850S user manual

manuals.online logo
manuals.online logoBrands
  • About & Mission
  • Contact us
  • Privacy Policy
  • Terms and Conditions

Copyright 2025 Manuals.Online. All Rights Reserved.