manuals.online logo
Brands
  1. Home
  2. •
  3. Brands
  4. •
  5. COMPRO
  6. •
  7. Security Camera
  8. •
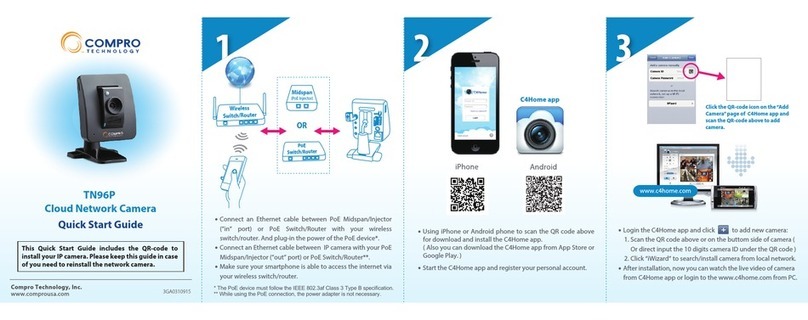
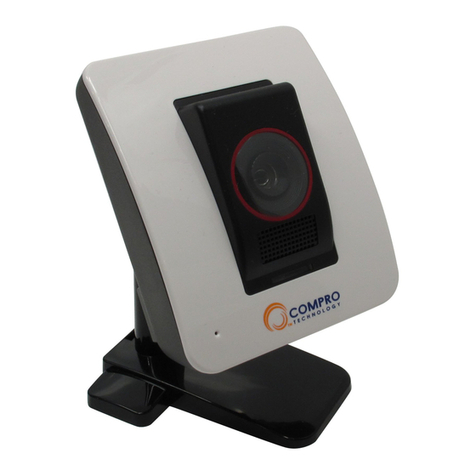
  9. COMPRO TN80 User manual

COMPRO TN80 User manual

This manual suits for next models

1

Other COMPRO Security Camera manuals

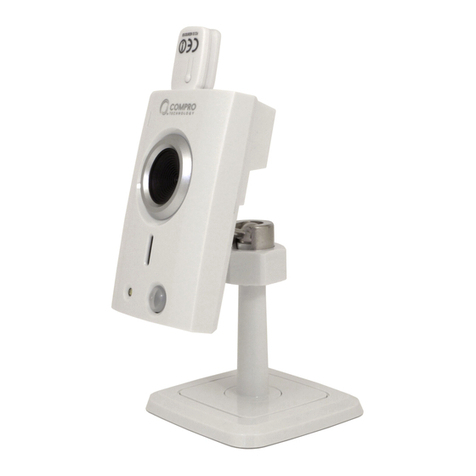
COMPRO TN4230 User manual

COMPRO

COMPRO TN4230 User manual

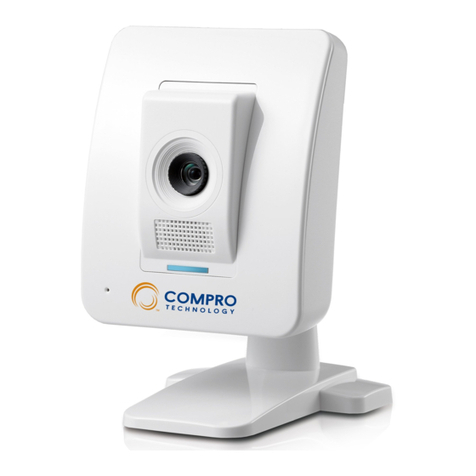
COMPRO CS530 User manual

COMPRO

COMPRO CS530 User manual

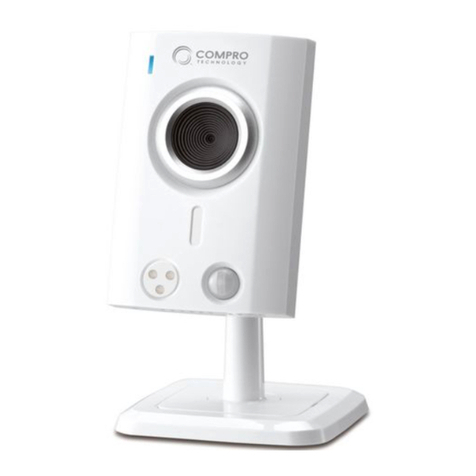
COMPRO TN30 User manual

COMPRO

COMPRO TN30 User manual

COMPRO VideoMateIP50 User manual

COMPRO

COMPRO VideoMateIP50 User manual

COMPRO TN50 User manual

COMPRO

COMPRO TN50 User manual

COMPRO IP70 User manual

COMPRO

COMPRO IP70 User manual

COMPRO IP55 User manual

COMPRO

COMPRO IP55 User manual

COMPRO TN900R User manual

COMPRO

COMPRO TN900R User manual

COMPRO TN65 User manual

COMPRO

COMPRO TN65 User manual

COMPRO VideoMate IP50 User manual

COMPRO

COMPRO VideoMate IP50 User manual

COMPRO TN1500 User manual

COMPRO

COMPRO TN1500 User manual

COMPRO NC3230 User manual

COMPRO

COMPRO NC3230 User manual

COMPRO IP540 User manual

COMPRO

COMPRO IP540 User manual

COMPRO NC420 User manual

COMPRO

COMPRO NC420 User manual

COMPRO IP60 User manual

COMPRO

COMPRO IP60 User manual

COMPRO IP55 User manual

COMPRO

COMPRO IP55 User manual

COMPRO TN900R User manual

COMPRO

COMPRO TN900R User manual

COMPRO TN3230 User manual

COMPRO

COMPRO TN3230 User manual

COMPRO TN920P User manual

COMPRO

COMPRO TN920P User manual

COMPRO IP55 User manual

COMPRO

COMPRO IP55 User manual

COMPRO TN900 User manual

COMPRO

COMPRO TN900 User manual

COMPRO TN96P User manual

COMPRO

COMPRO TN96P User manual

COMPRO TN70 User manual

COMPRO

COMPRO TN70 User manual

Popular Security Camera manuals by other brands

ADEMCO RapidDome Owners Operating & Installation Guide

ADEMCO

ADEMCO RapidDome Owners Operating & Installation Guide

EverFocus EBA2880 user manual

EverFocus

EverFocus EBA2880 user manual

Honeywell OptiCAM-IR Installation and setup guide

Honeywell

Honeywell OptiCAM-IR Installation and setup guide

Uniq UC-600 user manual

Uniq

Uniq UC-600 user manual

OPTICOM NVD-120-S datasheet

OPTICOM

OPTICOM NVD-120-S datasheet

Steren CCTV-221 instruction manual

Steren

Steren CCTV-221 instruction manual

Arm Electronics C420BCDNVFIR Features

Arm Electronics

Arm Electronics C420BCDNVFIR Features

Eneo PLD-2036PTZ installation guide

Eneo

Eneo PLD-2036PTZ installation guide

Axis AXIS M20 Series installation guide

Axis

Axis AXIS M20 Series installation guide

Panasonic KX-HCM230 operating instructions

Panasonic

Panasonic KX-HCM230 operating instructions

COP-USA CC15NV-SL Specifications

COP-USA

COP-USA CC15NV-SL Specifications

Active Silicon HARRIER H.264 quick start guide

Active Silicon

Active Silicon HARRIER H.264 quick start guide

Motorola Avigilon 1.3C-H5SL-BO1-IR installation guide

Motorola

Motorola Avigilon 1.3C-H5SL-BO1-IR installation guide

INSTEON 2864-232 user manual

INSTEON

INSTEON 2864-232 user manual

Wisenet XNB-6002 quick start guide

Wisenet

Wisenet XNB-6002 quick start guide

Axis M5525-E user manual

Axis

Axis M5525-E user manual

Vitek VTC-IR62NZ922 user guide

Vitek

Vitek VTC-IR62NZ922 user guide

Panasonic WV-SF342 Specifications

Panasonic

Panasonic WV-SF342 Specifications

manuals.online logo
manuals.online logoBrands
  • About & Mission
  • Contact us
  • Privacy Policy
  • Terms and Conditions

Copyright 2025 Manuals.Online. All Rights Reserved.

Android
˙
Connect an Ethernet cable between IP camera and your
network switch/router. ( If you have purchased a Compro USB
wireless adapter, please plug into the USB port of IP camera. )
˙
Attach the power adapter to the camera’s power connector
and connect the power plug to a power outlet.
˙
Make sure your smartphone is able to access the internet via
your switch/router.
˙
Using iPhone or Android phone to scan the QR code above
for download and install the C4Home app.
( Also you can download the C4Home app from App Store or
Google Play. )
˙
Start the C4Home app and register your personal account.
Technical Support Information
For any problems you may encounter, please refer to the user's manual on the
installation CD. If you need further assistance, you can fill out the online form
(www.comprousa.com/feedback/) or email us at [email protected].
Compro Technology, Inc. www.comprousa.com
Tel. +886 2 2918 0169 | Fax +886 2 2915 2389
3GA0310935
iPhone
www.c4home.com
1
2
3
C4Home app
TN80/TN80W Cloud Network Camera
Quick Start Guide
This Quick Start Guide includes the QR-code to
install your IP camera. Please keep this guide in case
of you need to reinstall the network camera.
Copyright © 2013. Compro Technology, Inc. Compro, and the Compro logo are trademarks of Compro Technology, Inc. C4Home and C4Home logo are registered
trademarks of AVSecur Technology, Inc. Microsoft, Windows Vista, Windows and the Windows logo are trademarks of the Microsoft group of companies. SD, SDHC
and microSDHC Logos are trademarks of SD-3C, LLC. Apple, Apple Logo, MAC, MAC OS, iPad, iPhone are trademarks of Apple Inc., registered in the U.S. and other
countries. Android is a registered trademark of Google, Inc. Other names and marks are trademarks of their respective owners. Features, pricing, availability, and
specifications are subject to change without prior notice.
Click the QR-code icon on the “Add
Camera”page of C4Home app and
scan the QR-code above to add
camera.
˙
Login the C4Home app and add new camera:
1. Scan the QR code above or on the back side of camera ( Or
direct input the 10 digits camera ID under the QR code )
2. Click “iWizard” to search/install camera from local network
˙
After installation, now you can watch the live video of camera
from C4Home app or login to the www.c4home.com from PC.
8
76
54
321
Mount the CameraName of Each Part
4
1
2
3
5
Wireless Setup
31mm
31mm
2.5mm
Bracket Base
Base
Cover
Fastening Nut
One-click the RESET button to setup WPS
If desired, you can mount the camera on a wall or ceiling.
The following section explains how to mount your camera.
Drill 2 mounting holes on the mounting surface. While
you are at it, bear in mind that there will have to be a
minimum space of 2.5 mm (0.098 inch) between the
screw head and the mounting surface. Also, the 2
mounting holes on the wall or ceiling should be spaced
exactly 31 mm (1.22 inch) apart to correspond to the
position of screw holes on the camera's bracket base.
Then, if you're mounting on a concrete wall, insert a
screw anchor into each of the mounting holes.
Loosen the fastening hex nut to detach the bracket
from the camera.
Remove the base cover by inserting a at blade
screwdriver into the small hole on the bracket base and
then pressing the screwdriver downward.
Put a screw into each of the mounting holes. Then
secure the bracket to the mounting surface.
Finally, click the base cover back into position. After
that, attach the camera body back to the bracket and
then adjust the camera to the desired viewing angle.
1. LED status indicator
2. Lens
3. Ethernet port
4. Power connector
5. USB wireless adapter port
6. Microphone pinhole
(on the bottom)
7. Connection status indicator
8. Reset button
9. Network speed indicator
Search for available Wi-Fi access points and enter the passphrase manually
˙Make sure the IP camera is connected to the local network via network cable.
˙If you have the wireless adaptor for TN80, make sure it is plugged into the IP
camera.
˙The smartphone must be in the same local network in order to successfully
search and congure the camera.
˙Start C4Home app and enter "iWizard" on the "Add Camera" page to search
your camera and set up wireless connection.
˙After the wireless connection is successfully set up, you can remove the
ethernet cable.
Using WPS setup
˙Make sure your Wi-Fi router supports WPS, press the WPS button on the router
and one-click the RESET button on the IP camera. The blue LED will be blinking
during the WPS setup process and resume to steady lighting when the setup
is completed.
9