manuals.online logo
Brands
  1. Home
  2. •
  3. Brands
  4. •
  5. COMPRO
  6. •
  7. Security Camera
  8. •
  9. COMPRO TN96P User manual

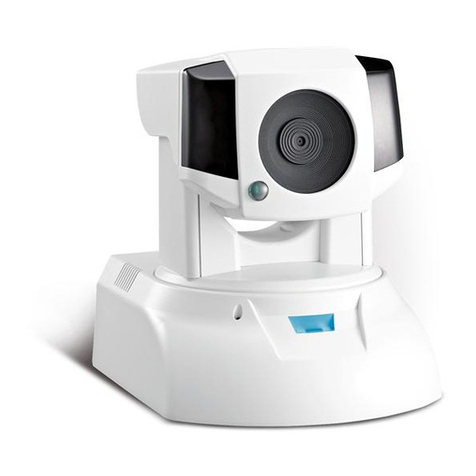
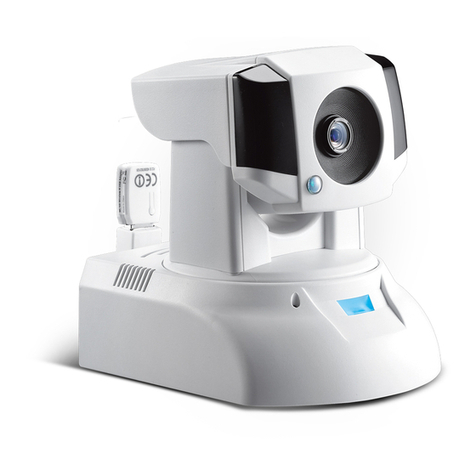
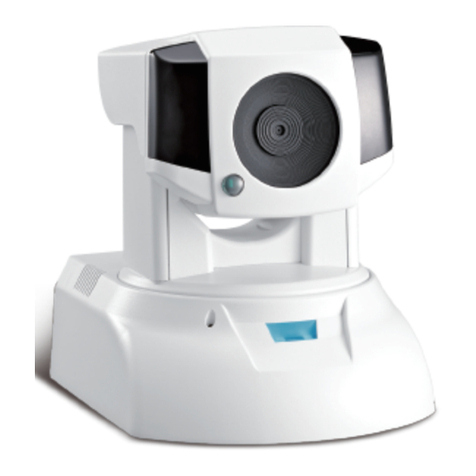
COMPRO TN96P User manual

˙
Using iPhone or Android phone to scan the QR code above
for download and install the C4Home app.
( Also you can download the C4Home app from App Store or
Google Play. )
˙
Start the C4Home app and register your personal account.
Compro Technology, Inc.
www.comprousa.com
3GA0310915
TN96P
Cloud Network Camera
Quick Start Guide
This Quick Start Guide includes the QR-code to
install your IP camera. Please keep this guide in case
of you need to reinstall the network camera.
Click the QR-code icon on the “Add
Camera”page of C4Home app and
scan the QR-code above to add
camera.
˙
Login the C4Home app and click to add new camera:
1. Scan the QR code above or on the buttom side of camera (
Or direct input the 10 digits camera ID under the QR code )
2. Click “iWizard” to search/install camera from local network.
˙
After installation, now you can watch the live video of camera
from C4Home app or login to the www.c4home.com from PC.
˙
Connect an Ethernet cable between PoE Midspan/Injector
(”in” port) or PoE Switch/Router with your wireless
switch/router. And plug-in the power of the PoE device*.
˙
Connect an Ethernet cable between IP camera with your PoE
Midspan/Injector (”out” port) or PoE Switch/Router**.
˙
Make sure your smartphone is able to access the internet via
your wireless switch/router.
Midspan
(PoE Injector)
Wireless
Switch/Router
PoE
Switch/Router
OR
* The PoE device must follow the IEEE 802.3af Class 3 Type B specification.
** While using the PoE connection, the power adapter is not necessary.
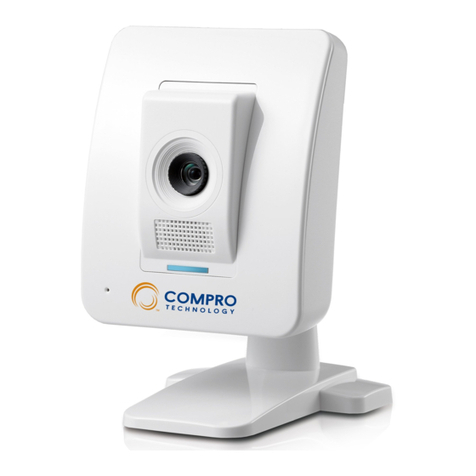
Name of Each Part
Wired Setup (Without PoE) Mount the Camera Compro Technical Support Information
For any problems you may encounter, please refer to the user's manual on the
installation CD. If you need further assistance from Compro technology, you can
fill out the online help form (www.comprousa.com/feedback/) or direct email us
at [email protected].
Trademark
Compro Technology is the registered logo of Compro Technology,
Inc. C4Home and C4Home logo are registered trademarks of AVSecur
Technology, Inc. SD, SDHC and microSDHC Logos are trademarks of SD-3C, LLC.
Apple, Apple Logo, MAC and MAC OS are trademarks of Apple Inc., registered in
the U.S. and other countries. Other names and marks may be trademarks of their
respective owners.
Restriction & Disclaimer
No part of this document may be copied or reproduced in any form or by any
means without the prior written consent of Compro Technology, Inc. Compro
Technology makes no warranties with respect to this documentation and
disclaims any implied warranties of merchantability, quality, or fitness for any
particular purpose. The information in this document is subject to change
without prior notice.
Regulatory Notice
FCC Information: This device complies with Part 15 of the FCC Rules. Operation
is subject to the following two conditions: (1) This device may not cause harmful
interference, and (2) This device must accept any interference received,
including interference that may cause undesired operation.
Compro Technology, Inc.
www.comprousa.com
Tel. +886 2 2918 0169 | Fax +886 2 2915 2389
4F, No.12, Alley 6, Lane 45, Pao Shin Road, Hsintien District, New Taipei City 231,
Taiwan
© 2013 Compro Technology, Inc. All rights reserved.
OK
2
1
When necessary, follow the steps below to mount the
camera on a at surface. Then adjust the camera to the
desired viewing angle.
Detach the metal mounting plate from the bracket
by inserting a at blade screwdriver into the rectangular
hole on the wide end of the bracket base and then
pressing the screwdriver downward.
Place the side of the mounting plate that has
protruding screw holes against the mounting surface.
Screw the mounting plate into the mounting holes on
the mounting surface. And fasten the bracket to the
mounting plate by clicking the plate into position.
Note: When dismounting the camera, follow step 1 to
detach the camera from the mounting plate. Do not pull
the camera o the mounting surface by force, as doing
so may damage the bracket base permanently and
render future camera mounting impossible.
1
2
˙
Connect an Ethernet cable between IP camera and your
wireless switch/router.
˙
Attach the power adapter to the camera’s power
connector and connect the power cable to a power
outlet.
˙
Make sure your smartphone is able to access the
internet via your switch/router. Then follow the step 2
and 3 to setup your camera.
If you don’t have PoE device, you also can use the Ethernet
cable and power adapter/cable to setup your IP camera .
Wireless
Switch/Router
1. Light Sensor
2. Lens
3. IR LEDs x6 (inside)
4. Microphone
5. LED status indicator
6. Speaker
7. Focus adjustment ring
8. USB wireless adapter
port
9. Audio Output
10. Reset/WPS button
11. microSD card slot
12. Microphone Input
13. Power connector
14. Digital I/O and
RS-485 port
15. Ethernet port
16. Video out
54
1098
7
2 31
15 161413
11
12
6
Other COMPRO Security Camera manuals

COMPRO VideoMateIP50 User manual

COMPRO

COMPRO VideoMateIP50 User manual

COMPRO IP55 User manual

COMPRO

COMPRO IP55 User manual

COMPRO TN70 User manual

COMPRO

COMPRO TN70 User manual

COMPRO TN65 User manual

COMPRO

COMPRO TN65 User manual

COMPRO VideoMate IP50 User manual

COMPRO

COMPRO VideoMate IP50 User manual

COMPRO IP60 User manual

COMPRO

COMPRO IP60 User manual

COMPRO IP540 User manual

COMPRO

COMPRO IP540 User manual

COMPRO TN920P User manual

COMPRO

COMPRO TN920P User manual

COMPRO TN900R User manual

COMPRO

COMPRO TN900R User manual

COMPRO NC420 User manual

COMPRO

COMPRO NC420 User manual

COMPRO IP55 User manual

COMPRO

COMPRO IP55 User manual

COMPRO IP70 User manual

COMPRO

COMPRO IP70 User manual

COMPRO TN900 User manual

COMPRO

COMPRO TN900 User manual

COMPRO IP55 User manual

COMPRO

COMPRO IP55 User manual

COMPRO CS530 User manual

COMPRO

COMPRO CS530 User manual

COMPRO NC3230 User manual

COMPRO

COMPRO NC3230 User manual

COMPRO TN80 User manual

COMPRO

COMPRO TN80 User manual

COMPRO TN1500 User manual

COMPRO

COMPRO TN1500 User manual

COMPRO TN30 User manual

COMPRO

COMPRO TN30 User manual

COMPRO TN3230 User manual

COMPRO

COMPRO TN3230 User manual

COMPRO TN50 User manual

COMPRO

COMPRO TN50 User manual

COMPRO TN900R User manual

COMPRO

COMPRO TN900R User manual

COMPRO TN4230 User manual

COMPRO

COMPRO TN4230 User manual

Popular Security Camera manuals by other brands

Ability AI-Vue VS1NL70 quick start guide

Ability

Ability AI-Vue VS1NL70 quick start guide

Axis P1355-E installation guide

Axis

Axis P1355-E installation guide

Avigilon H3-BO1-IR installation guide

Avigilon

Avigilon H3-BO1-IR installation guide

Lorex SG6115X Quick setup guide

Lorex

Lorex SG6115X Quick setup guide

SC2000 CMQ1692X instruction manual

SC2000

SC2000 CMQ1692X instruction manual

Axis AXIS P3354 user manual

Axis

Axis AXIS P3354 user manual

Ikegami ICD-879 instruction manual

Ikegami

Ikegami ICD-879 instruction manual

Axis Q16 Series installation guide

Axis

Axis Q16 Series installation guide

Honeywell ScanDome II HSDN-251NS/PS Operation & programming manual

Honeywell

Honeywell ScanDome II HSDN-251NS/PS Operation & programming manual

Sony DFW-V500 user guide

Sony

Sony DFW-V500 user guide

LevelOne FCS-4102 user manual

LevelOne

LevelOne FCS-4102 user manual

Huviron SK-N611 quick guide

Huviron

Huviron SK-N611 quick guide

Vivotek IB8381 -E user manual

Vivotek

Vivotek IB8381 -E user manual

Bosch NBN-63023-B Quick installation guide

Bosch

Bosch NBN-63023-B Quick installation guide

Axis M4317-PLVE user manual

Axis

Axis M4317-PLVE user manual

DELTA GROUP VIVOTEK SD9394-EHL Quick installation guide

DELTA GROUP

DELTA GROUP VIVOTEK SD9394-EHL Quick installation guide

D-Link DCS-6410 user manual

D-Link

D-Link DCS-6410 user manual

Ness 104-588 user manual

Ness

Ness 104-588 user manual

manuals.online logo
manuals.online logoBrands
  • About & Mission
  • Contact us
  • Privacy Policy
  • Terms and Conditions

Copyright 2025 Manuals.Online. All Rights Reserved.