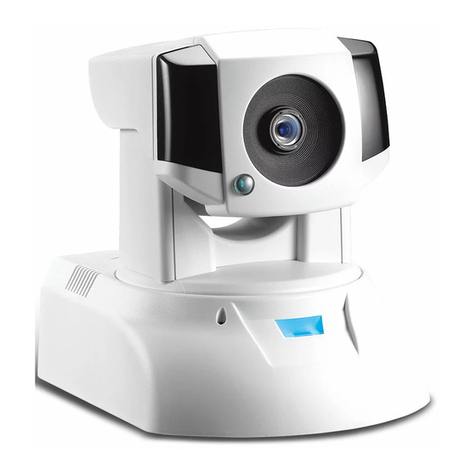
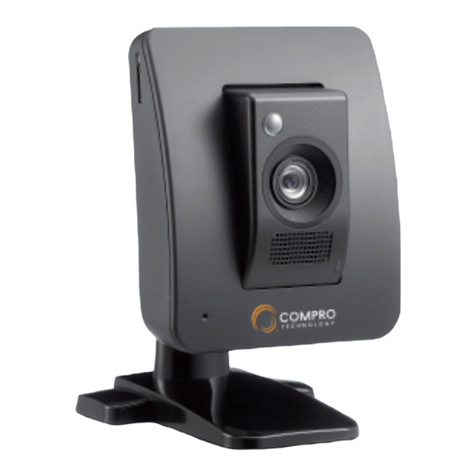
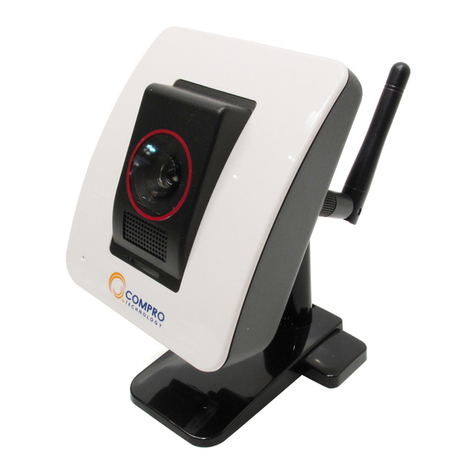
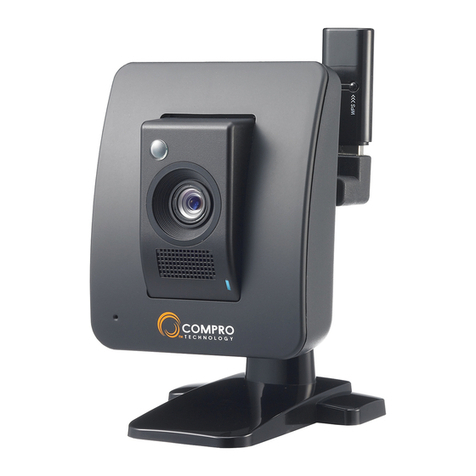
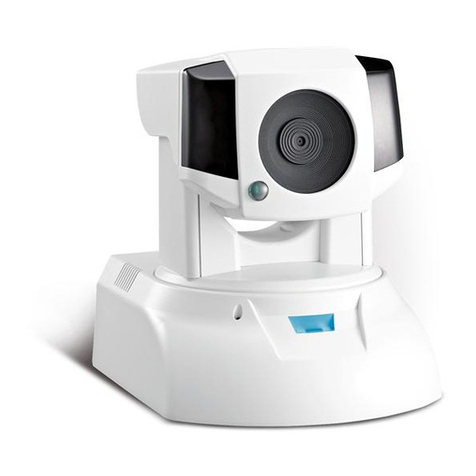
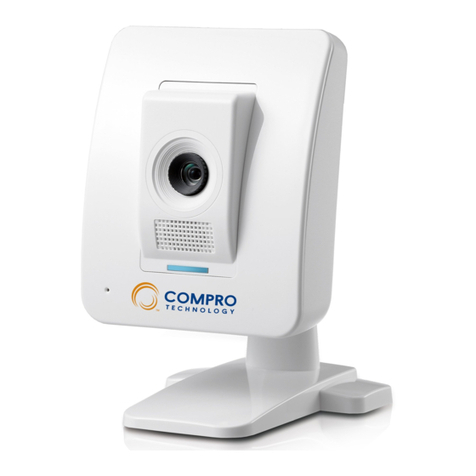
COMPRO VideoMateIP50 User manual

VideoMate IP50/50W
Indoor Fixed Network Camera
Installation Guide
Compro Technology, Inc.
www.comprousa.com

2
Copyright © 2001-2010. Compro Technology, Inc. No part of this document may
be copied or reproduced in any form or by any means without the prior written
consent of Compro Technology, Inc.
Compro, VideoMate, Poladyne, Play with Power, and the Compro logo are
trademarks of Compro Technology, Inc. Other names and marks are trademarks
of their respective owners.
COMPRO makes no warranties with respect to this documentation and disclaims
any implied warranties of merchantability, quality, or fitness for any particular
purpose. The information in this document is subject to change without notice.
COMPRO reserves the right to make revisions to this publication without
obligation to notify any person or entity of any such changes.
Compro Technology, Inc. www.comprousa.com
Tel. +886 2 2918 0169, Fax +886 2 2915 2389
4/F, No.12, Alley 6, Lane 45, Pao Shin Road Hsintein City, Taipei, Taiwan.

3
Table of Contents
IP50 / 50W Network Camera Hardware Layout ................... 4
Package Contents ................................................................. 4
Assembly and Disassembly the Stand................................... 5
Mounting on the Ceiling........................................................ 6
Cable Connections ................................................................. 6
Wireless Connection............................................................... 7
IP50(W) Digital I/O Connector Block ................................... 7
Web Browser Access (Internet Explorer) ........................... 20
The Internet Setting ........................................................... 22
Access the IP Camera via 3GPP Mobile Phone .................... 23
Access the IP Camera via iPhone/mobile device ................ 24
Start ComproView ................................................................25
Firmware Update ................................................................ 30
Troubleshooting.................................................................. 31
Initial Hardware / Software Setup ..........................................31
Installation ........................................................................31
iWizard .............................................................................32
Hardware wiring check........................................................32
Camera Reset ....................................................................33
Trouble with the ActiveX Client ..............................................34
Trouble with ComproView ......................................................36
Remote Viewing via Internet Explorer .....................................38

4
IP50 / 50W Network Camera Hardware Layout
Package Contents
* IP50/IP50W indoor network IP camera
* Quick Installation Guide
* Software CD (Includes ComproView software and manual file)
* DC adapter AC100V-240V in / DC12V
* Screws for ceiling mount
* Screw mount
* LAN cable
*Wireless antenna (IP50W only)

5
Assembly and Disassembly the Stand
Assembly
Disassembly

6
Mounting on the Ceiling
If user wants to set IP50(W) on the wall, please use the screws to fix
the bracket on the flat surface. After the bracket is fixed on the wall,
please try to adjust the angle to the desire position.
Cable Connections
If user connects the IP camera on the intranet, then the same group
of user can share that IP camera to use.
1. Plug in the power adapter to camera.
2. Use the standard RJ-45 network cable to connect with the Compro
IP 50(W).
Important!
If the power cable (IP50W) and the network cable (IP50) are not
securely fastened, it could lead to unstable connection.

7
Wireless Connection (IP50W only):
On the IP50W model, you also have the option of using the wireless
connection method. Please keep in mind that you can only have one
active connection only, via LAN or wireless.
If user connects the IP camera on the intranet, then the same group
of user can share that IP camera to use. Please ensure that the
wireless antenna had been securely fastened, otherwise it could lead
to unstable connection.
Important!
1. The operation of the IP50W wireless network may be interfered
should there be other 2.4GHz devices working in the vicinity, e.g.
microwave oven, digital cordless camera, etc. You may experience
slow frame rate or drops in connection; up on such situation, we
suggest that you try to move the IP camera around the area or try
to shut off other appliances.
2. Since wireless cameras cause interferences during transmission,
you may encounter erratic behaviors when there are more than
10x operating in close proximity.
3. The default wireless connection method is via 802.11g standard
and you should experience a stable connection of up to 20 meters
between the access point and the camera unit. Your wireless
performance may vary depending on the operating environment,
building material, etc.
IP50(W) Digital I/O Connector Block
The I/O connector on the back of the IP50W provides a central
interface between your home security system and various output
devices.
The two digital inputs are normally used with security sensors, e.g.
passive infrared sensor (PIR), smoke detector, door/window open
sensor, etc. This input works by detecting a change in the state, open
and closed circuit. You can check the status of the circuit by going to
the Setup > Event Setup > I/O Status.
8
The output port is normally used to trigger external audio or visual
indicators, e.g. sirens or strobe lights, etc.
Pin
Name
Specification
Note
1 –4
Digital Input
Ports 1 & 2
Max 5VDC,
60mA
Floating, TTL
5 - 7
Digital Output
Port
Max 24VDC, 1A
or
Max 125VAC,
1A
You can only use
either the normally
open (NO) or
normally closed
(NC) at any given
time.
Note: The above output scenario is where the siren will only sound
when it the input had been triggered. Should you wish to use the
other way where the output device is always on when it had not been
triggered, please use NC.

9
Hardware and Software Installation
Before Compro software installation, user has to make sure the IP
Camera is beside you. The installer on the software CD will help you to
step-by-step install IP camera hardware and software on your
system.
1. Insert the Compro software installation CD to CD-ROM drive, it will
automatic start the program for installation, please select your
language at first.
2. Please click “IP Camera Setup”and “Start”to install your IP
camera. Also, you can select other icons to open the related
documents, browse CD contents, or exit.

10
3. Step1: Connect your camera as the picture shown, or you can click
to watch the tutorial video. After connect all the network and
power cables, please click “Next”.
4. Check the LED light of IP camera is working properly. And click
“Next”to searching your camera.

11
5. If you see the Windows Security Alert while searching your camera,
please click “Unblock”.
6. Step2: Now it will searching all the available cameras from your
local network.
7. You can select your camera from the list on the left side, and it will
display video live view and camera information on the right side.
Video Preview

12
8. Step3: We recommend you input the new password to protect
your system. Or you can click “Next”to pass this process.
(The default password is “admin”)
9. Please check the camera name, date and time settings.
10. Select your IP address configuration by DHCP (Obtain IP address
automatically) or you can manually input IP address information,
allows iWizard to auto configuration your firewall, setup
connection port, and frequency of your local power.

13
11. If you want to use wireless (only for IP50W), please click
“Yes”and it will search for the available SSID, please select the AP
you want.
12. Select the encryption method and input passphrase, then select
the IP address configuration.
13. Step4: If you want to use iDDNS service, please click “Yes”and
input the address name you desire, then click “Check Availability”
to check the input address name is not being used by others.
When success, you can click “Create Shortcut”to create the
shortcut on your desktop for more convenient use.

14
Note: The iDDNS is a free DDNS service from Compro. If you are
using floating IP, you need to apply the DDNS (Dynamic Domain
Name Server) service to create a hostname that points to your home
or office IP address, and provides easy-to-remember URL for quick
access in anytime, anywhere. After succeeded create the iDDNS
address name, you only need to using http://xxx (input by
yourself).iddns.org to access your IP camera from browser.
If your local LAN and router have setup firewall to prevent attack from
outside, you have to setup the http port from your router.
For example, if you are setting the http port “2001”for your IP
camera, your IP camera address will be
http://xxx (input by yourself).iddns.org:2001
14. Step6: Here will display the old and new settings, if ok,
please click “Next”, or click ”Previous”back to previous
settings.
15. Step7: System will saving and reload the new settings
on your camera.

15
16. Step8: The iWizard will running network diagnostics on your
network settings and warning the inappropriate settings. (In the
picture below shows the RTSP port is not correct setup, you have to
setup the same port as your router for using the RTSP service.)
17. Step9: You can click the link on the screen to direct access the
web page of your IP camera, and if you want to setup another IP
camera, please click “Yes”, or click “No”to install the ComproView
software.
18.You can click “Install ComproView”to install
ComproView software on your system or you can click “Main
Menu”to exit installation.

16
19.Select your language for setup.
20.Please read the license agreement, then select “I accept the
terms of the license agreement”, and then press the “Next” button
to continue the install process.
21.Please enter the user name and the company name.

17
22.Depends on user’s demand to choose the “Complete” or “Custom”
selection, and then press the “Next” button to continue the install
process.
23.If user chooses the “Custom” selection, user could choose the
specific file folder to install the program.
24.After all the setting is ready, please press the “Install” button to
start the installation.

18
25.After installation, the program will ask you want to setup to start
the ComproView when Windows start.
26.After the install process completed, the ComproView system is
finished the installation. Please click “Yes”to restart your system.
27.After restart your system, you will see the iWizard and
ComproView icons on your desktop. You can click the “iWizard”to
search and change your camera setup and click “ComproView”to
execute the ComproView program.

19
Using the IP Camera
Compro Technology provides a range of access method to access and
using the IP camera that you’ve just installed.
1. Accessing a single camera via the Internet Explorer which is found
on all Windows system. This is the easiest way of using the IP
camera and requires little learning of the software.
2. Accessing a single camera via web browser of your iphone,
BlackBerry, PDA, MID or other mobile devices with web browser. It
support Motion-JPEG video watching on your mobile devices in
anytime, anywhere.
3. Accessing a single camera via 3GPP capable phone over the
internet. This is the preferred way of monitoring your camera when
you are out of the house and have no access to a computer.
However, due to the limitation of the technology, only video stream
is provided in this mode.
Do keep in mind that your mobile phone network service provider
will be charging a pre-determined rate for using this service.
4. Access a single camera or multiple cameras via the bundled
ComproView software. ComproView is comprehensive software
encompassing the monitoring, recording and detection of the set
area. For the full function of the ComproView, please refer to the
electronic manual included on the CD.
1
2
3
4

20
Web Browser Access (Internet Explorer)
User can monitor the current condition of the monitor area via
Internet Explorer which is found on all Windows based machine.
Please refer the following steps:
1. Open the Internet Explorer.
2. Enter the IP 50 / 50W’s IP address.
3. User will see the dialog to request the user name and password;
please enter the valid username and password of IP camera, and
then press OK.
The default user name and password is “admin”.
4. After enter the valid username and password, Internet will show up
the message to warning user to install the ActiveX selection.
This manual suits for next models
1
Table of contents
Other COMPRO Security Camera manuals