manuals.online logo
Brands
  1. Home
  2. •
  3. Brands
  4. •
  5. Crux
  6. •
  7. Automobile Accessories
  8. •
  9. Crux RVCCH-75 User manual

Crux RVCCH-75 User manual

TO FACTORY
HARNESS
22-PIN
(male plug)
8-PIN
(male plug)
22-PIN
(female plug)
WHITE/ 12V REVERSE OUTPUT
VIDEO-IN
(female plug)
TO FACTORY
DISPLAY
22-PIN
(female plug)
22-PIN
(male plug)
WHITE
WHITE
WHITE
GRAY
VIDEO HARNESS
CAMERA POWER
VIDEO RCA
(SIGNAL FROM CAMERA)
*Camera not provided
CAMERA
INCLUDED
TAP GROUND
ON BLACK WIRE OF
8-PIN CONNECTOR
TAP BLACK WIRE HERE
8-PIN CONNECTOR
4 5 6
ON
1 2 3
STATUS LED’S
work. Following these instructions from “Start” to” Finish” will ensure a
smooth and hassle free installation.
822-1348. We are here to help.
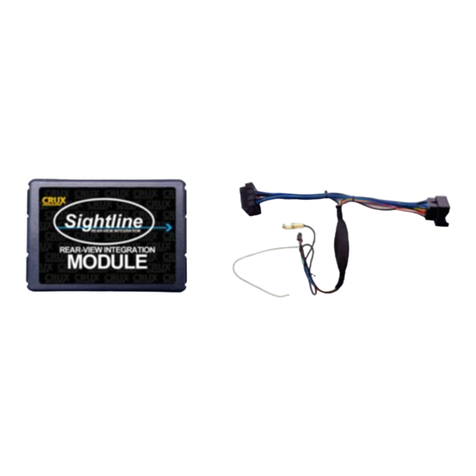
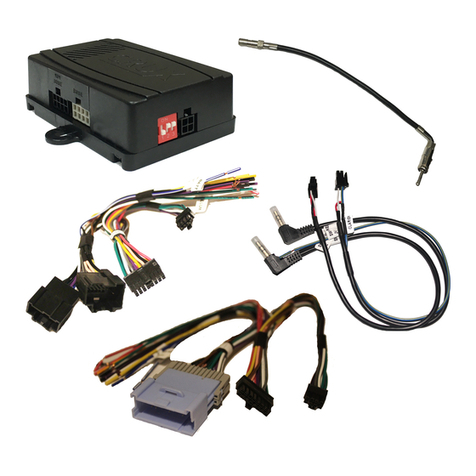
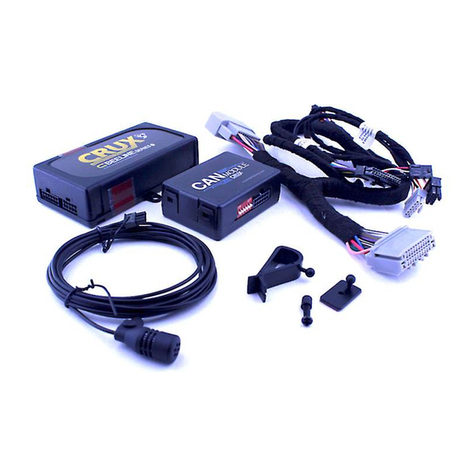
PARTS INCLUDED:
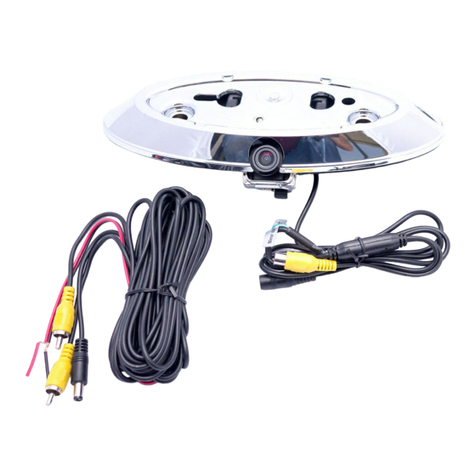
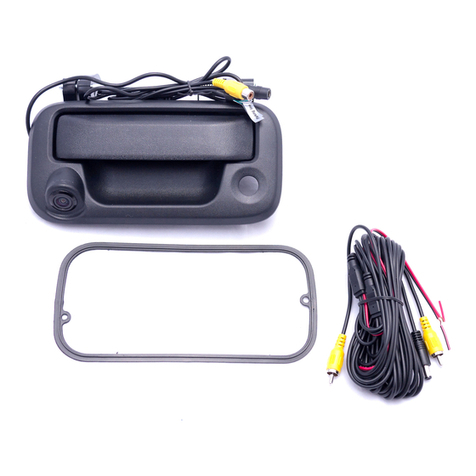
(1) Universal Bullet Camera
(1) 15 ft. Extension
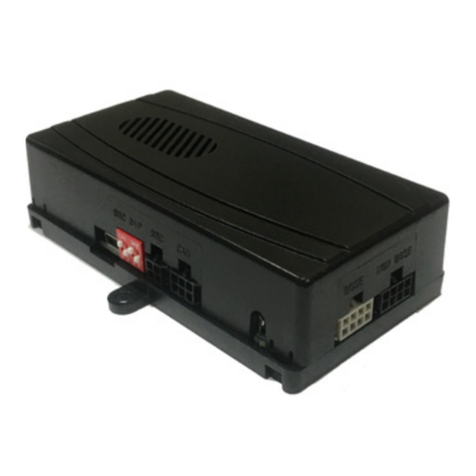
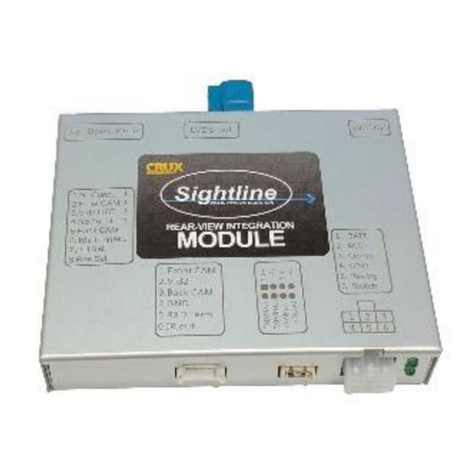
(1) CH-75E Interface
(2) CH-75E Harness
(1) Instruction
- Lens Angle 170 Degrees
- Resolution 420 TV Lines
- Min. Illumination 0.2Lux
- Voltage 12v
- Operating TLTWá-á-
- NTSC
- Reference Lines
:O\[[LY:WLLKZ\Z
- Waterproof
7P_LSZ_ 
PRECAUTIONS:
- Remove the negative side of the battery to avoid any short circuits
during the installation.
- Do not install the interface near any major components or near the
HVAC system. This may cause damage or overheating to the vehicle.
Please read the entire manual before installing this interface.
Chrysler
2011 - 2015 300
Dodge
2011 - 2015 Charger
2011 - 2015 Journey*
Notes:
*Dodge Journey requires different
camera (not included in kit), available
upon customer request.
Important Note: Not compatible in
vehicles with Manual Transmission.
IMPORTANT:
Compatible Radio Type:
U-CONNECT 8.4” SCREEN
RVCCH-75EC CONNECTIONS OVERVIEW
The parking lines are there to assist you while reversing.
What the lines mean:
Yellow Line: CLEAR
Green Line: GETTING CLOSE
Red Line: WARNING - VERY CLOSE
RED
GREEN
YELLOW
INSTALLING THE CAMERA AND INTERFACE
1. From inside the trunk, remove the third brake light from the trunk lid.
2. Drill a whole on the old brake light as shown on page two, then
route your power and video wiring towards the front. (See page 3)
3. Remove the factory radio to gain access to the factory
connectors. Connect behind the radio not behind the display.
5. Route the wires from the camera towards the radio and make the
power and video connections. For powering up the camera,
use the WHITE 12v output wire from the Can-Bus interface.
We recommend using the BLACK wire from the 8-Pin molex
connector. See below.
REAR-VIEW INTEGRATION FOR CHRYSLER & DODGE VEHICLES 2011-2015 w/ 2-PIECE RADIO
PARKING LINE
Rev. 032015
MAKE SURE TO TEST THE CAMERA ANGLE BEFORE
RE-INSTALLING THE TAILGATE COVER.
U-CONNECT 8.4” SCREEN
(2-PIECE RADIO)
Dip 1: Not Used.
Dip 2: Activates the Rear-View Camera image when the vehicle is in
reverse gear.
Dip 3: Not Used
Dip 4: Not Used
Dip 5 & 6: Varies, these switches are defaulted both to OFF.
If the radio is having turn-on issues please try the following:
([[LTW[6UL!:L[IV[O[V[OL65WVZP[PVU
Attempt T^V!:L[[V6UHUK[V6-F.
Attempt ThrLL!:L[[V6--HUK[V65
If none of the above solutions work out for your vehicle please
contact tech support.
SETTING THE DIP SWITCHES
4 5 6
ON
1 2 3
TAP HERE/
BLACK WIRE
USING THE 8-PIN FOR GROUND
We recommend using the BLACK wire on the 8-Pin connector.
See picture below for where to tap.
LED STATUS:
RED LED
BLUE LED:
Pulsing = No BUS, Pending DATA
OFF = Complete Power Down
Solid = BUS Recognized

Chrysler
2011 - 2015 300
Dodge
2011 - 2015 Charger
2011 - 2015 Journey*
Notes:
*Dodge Journey requires different
camera (not included in kit), available
upon customer request.
Important Note: Not compatible in
vehicles with Manual Transmission.
IMPORTANT:
Compatible Radio Type:
U-CONNECT 8.4” SCREEN
RVCCH-75EC
REAR-VIEW INTEGRATION FOR CHRYSLER & DODGE VEHICLES 2011-2015 w/ 2-PIECE RADIO
Rev. 032015
U-CONNECT 8.4” SCREEN
(2-PIECE RADIO)
COMPATIBLE RADIOS:
8.4” SCREEN
(SEPARATE CD PLAYER)
Chrysler
2011 - 2015 300
Dodge
2011 - 2015 Charger
2011 - 2015 Journey*
Notes:
*Dodge Journey requires different
camera (not included in kit), available
upon customer request.
Important Note: Not compatible in
vehicles with Manual Transmission.
IMPORTANT:
Compatible Radio Type:
U-CONNECT 8.4” SCREEN
RVCCH-75EC
REAR-VIEW INTEGRATION FOR CHRYSLER & DODGE VEHICLES 2011-2015 w/ 2-PIECE RADIO
Rev. 032015
U-CONNECT 8.4” SCREEN
(2-PIECE RADIO)
Step 4. Clean and clear the hole for the camera to be inserted.
Step 5. Insert the cables and camera through the drilled hole but DO NOT
FULLY INSERT, this will allow you to rotate and camera and position it when
testing the camera view from the 4.3” display in the car.
Step 6. Route your power and RCA cable towards the front of the vehicle
See installation video on our website!
Step 1. After you have removed the 3rd brake light from the trunk lid, use
the supplied drilling template to begin drilling the hole on the back side of the
brake light.
Step 2. Continue drilling through the back and into the front side of that
brake light. This will allow you a guide hole when you begin drilling on the
front side.
Step 3. Turn over the brake light and continue clearing the hole on the
front side of the brake light. Be very careful when drilling, take your time and
cleanly drill.
HOW TO DRILL THE WHOLE: USING THE NON-CAMERA THIRD BRAKE LIGHT

Other Crux Automobile Accessories manuals

Crux BEEBG-25 User manual

Crux

Crux BEEBG-25 User manual

Crux DKGM-49 User manual

Crux

Crux DKGM-49 User manual

Crux MRVFD-79Q User manual

Crux

Crux MRVFD-79Q User manual

Crux ACPAD-01W User manual

Crux

Crux ACPAD-01W User manual

Crux Sightline PCM-3 User manual

Crux

Crux Sightline PCM-3 User manual

Crux BEECR-35D User manual

Crux

Crux BEECR-35D User manual

Crux VIMBM-86B User manual

Crux

Crux VIMBM-86B User manual

Crux Sightline RVCAD-81B Instruction Manual

Crux

Crux Sightline RVCAD-81B Instruction Manual

Crux RVCMZ-72D User manual

Crux

Crux RVCMZ-72D User manual

Crux SWRTY-61N User manual

Crux

Crux SWRTY-61N User manual

Crux SWRGM-49 User manual

Crux

Crux SWRGM-49 User manual

Crux Sightline RVCCH-75E User manual

Crux

Crux Sightline RVCCH-75E User manual

Crux SOOGM-15 User manual

Crux

Crux SOOGM-15 User manual

Crux RVCTY-71L User manual

Crux

Crux RVCTY-71L User manual

Crux RVCCH-75F User manual

Crux

Crux RVCCH-75F User manual

Crux Sightline VIMCF-93C User manual

Crux

Crux Sightline VIMCF-93C User manual

Crux SWRGM-51 User manual

Crux

Crux SWRGM-51 User manual

Crux RVCCH-75 User manual

Crux

Crux RVCCH-75 User manual

Crux BEECR-35P User manual

Crux

Crux BEECR-35P User manual

Crux RVCCH-75E User manual

Crux

Crux RVCCH-75E User manual

Crux RVCCH-75W User manual

Crux

Crux RVCCH-75W User manual

Crux Sightline RVCAD-81 User manual

Crux

Crux Sightline RVCAD-81 User manual

Crux Logic ACPBM-77Y User manual

Crux

Crux Logic ACPBM-77Y User manual

Crux CFD-03E User manual

Crux

Crux CFD-03E User manual

Popular Automobile Accessories manuals by other brands

Lund 82992 Original instructions

Lund

Lund 82992 Original instructions

Reimo TOUR EASY 4 936550 quick start guide

Reimo

Reimo TOUR EASY 4 936550 quick start guide

HAKR A 50 NZK 4 installation instructions

HAKR

HAKR A 50 NZK 4 installation instructions

LAMAX C5.1 Dual user manual

LAMAX

LAMAX C5.1 Dual user manual

Malone AutoLoader MPG106M Installation and loading instructions

Malone

Malone AutoLoader MPG106M Installation and loading instructions

Stealthbox SB-D-DRNGO3/13TW5 installation guide

Stealthbox

Stealthbox SB-D-DRNGO3/13TW5 installation guide

Brink 4453 Fitting instructions

Brink

Brink 4453 Fitting instructions

ARP Fridge Defend General Install Guide

ARP

ARP Fridge Defend General Install Guide

Axxess AXDSPL-GL10 installation instructions

Axxess

Axxess AXDSPL-GL10 installation instructions

Thule 1091 Fitting instructions

Thule

Thule 1091 Fitting instructions

Whelen Engineering Company SA314 installation guide

Whelen Engineering Company

Whelen Engineering Company SA314 installation guide

Sno-Way 28V Series owner's manual

Sno-Way

Sno-Way 28V Series owner's manual

Kuat VAGABOND-X user guide

Kuat

Kuat VAGABOND-X user guide

Roadmaster Invisibrake 8700 installation instructions

Roadmaster

Roadmaster Invisibrake 8700 installation instructions

Curt Group ARIES 2051132 installation manual

Curt Group

Curt Group ARIES 2051132 installation manual

Heyner capsula JR4X manual

Heyner

Heyner capsula JR4X manual

BD Diesel Performance 1037135 installation manual

BD Diesel Performance

BD Diesel Performance 1037135 installation manual

Superwince EX1 owner's manual

Superwince

Superwince EX1 owner's manual

manuals.online logo
manuals.online logoBrands
  • About & Mission
  • Contact us
  • Privacy Policy
  • Terms and Conditions

Copyright 2025 Manuals.Online. All Rights Reserved.