ACTIVATING THE VIDEO IN-MOTION
To activate the Video In-Motion please dothe following.
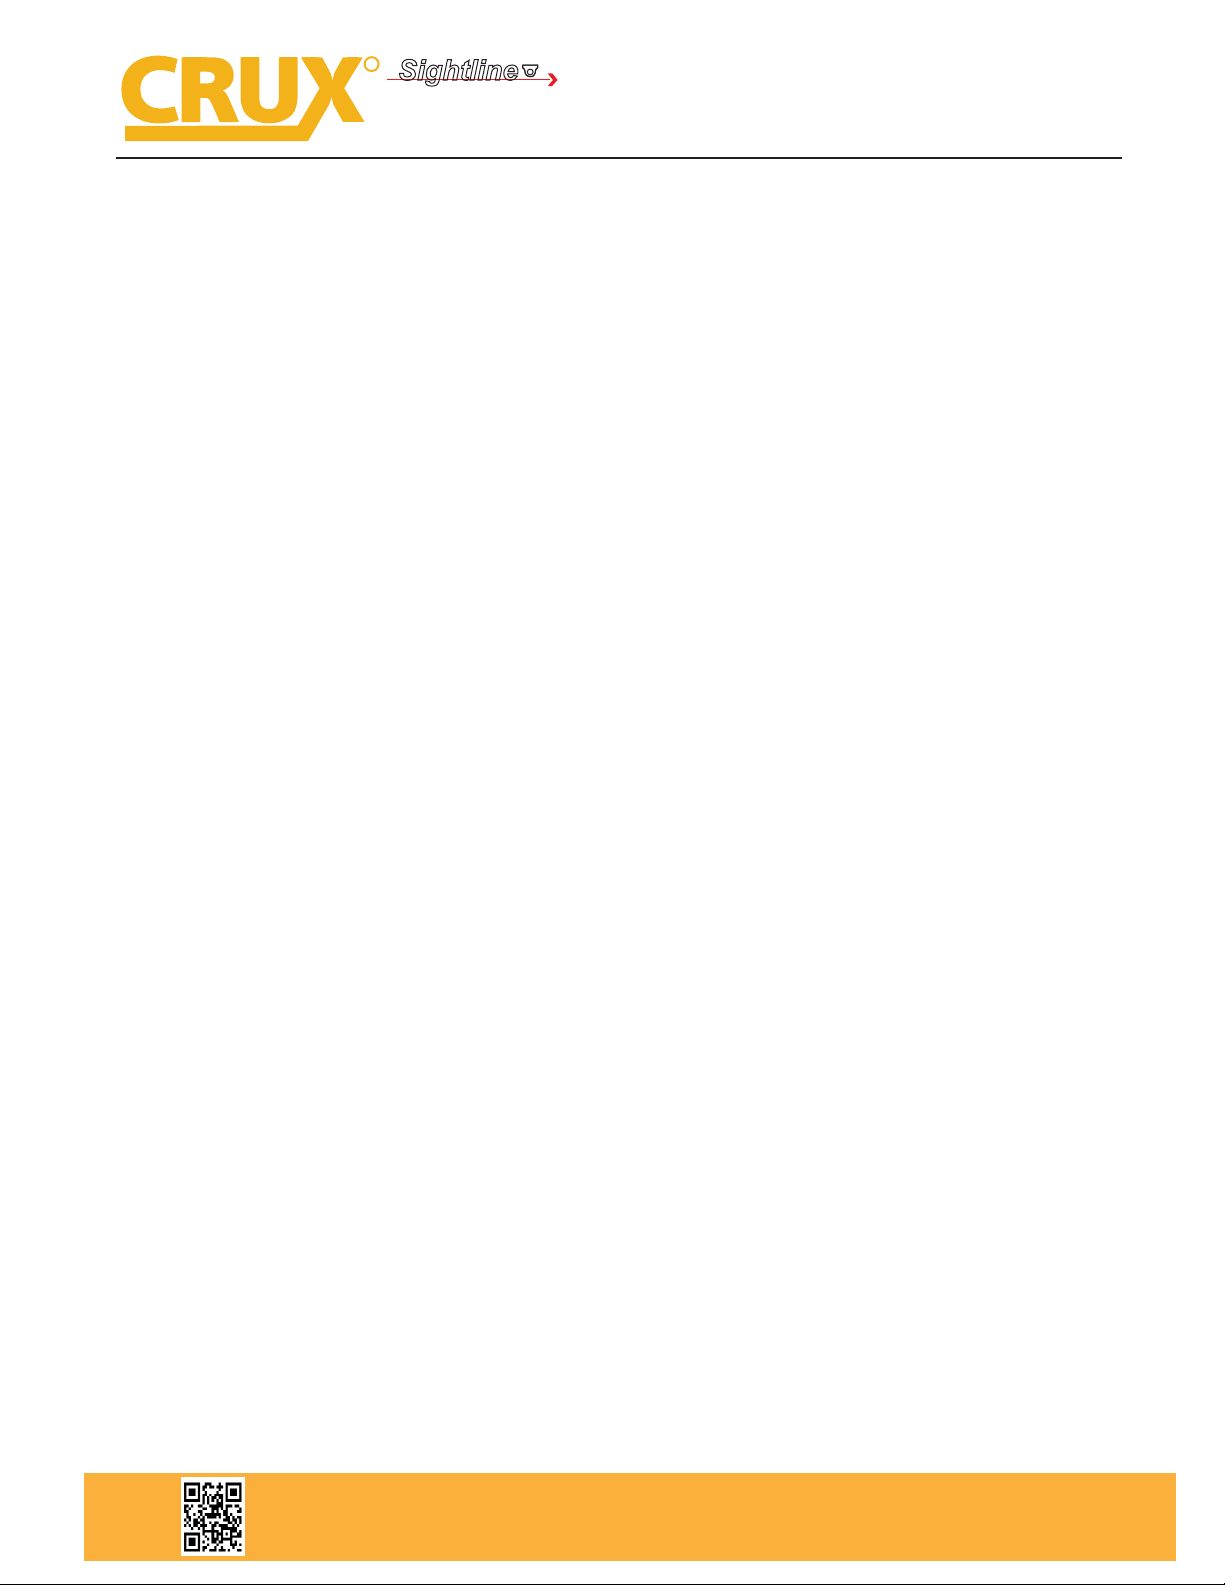
Option 1 - Permanent Activation: By activating dip switch number “1” to the “ON” position the Video In-Motion is permanently active.
Note: Having the Video In-Motion active will not a ect the GPS performance.
CODING AND DECODING OPTIONS
You must code the park assist in order to retain.
CODING THE PARK ASSIST
Its necessary to code the vehicle in order to activate
the factory Park-Assist, if equipped from the factory.
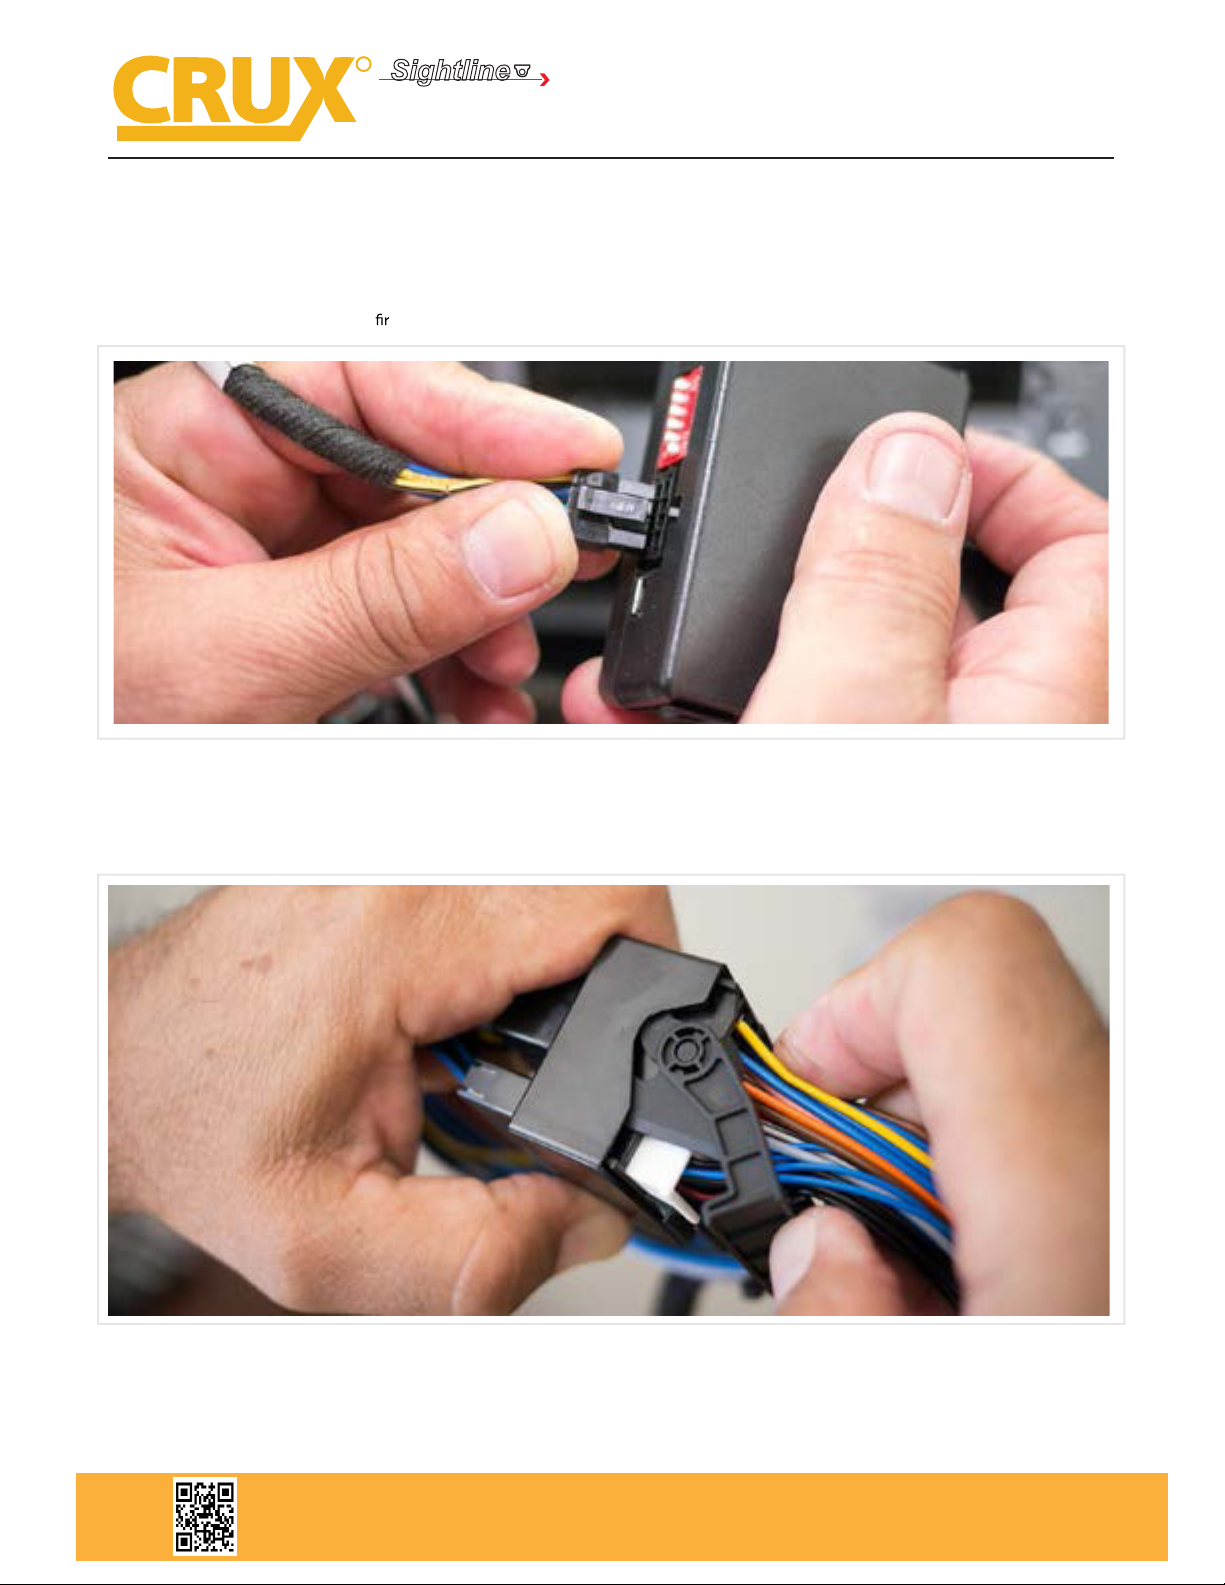
Step 1 - With the T-Harness and interface module properly
connected, turn the ignition to the “ON” position.
Wait for the head unit to power on then proceed
to the following steps.
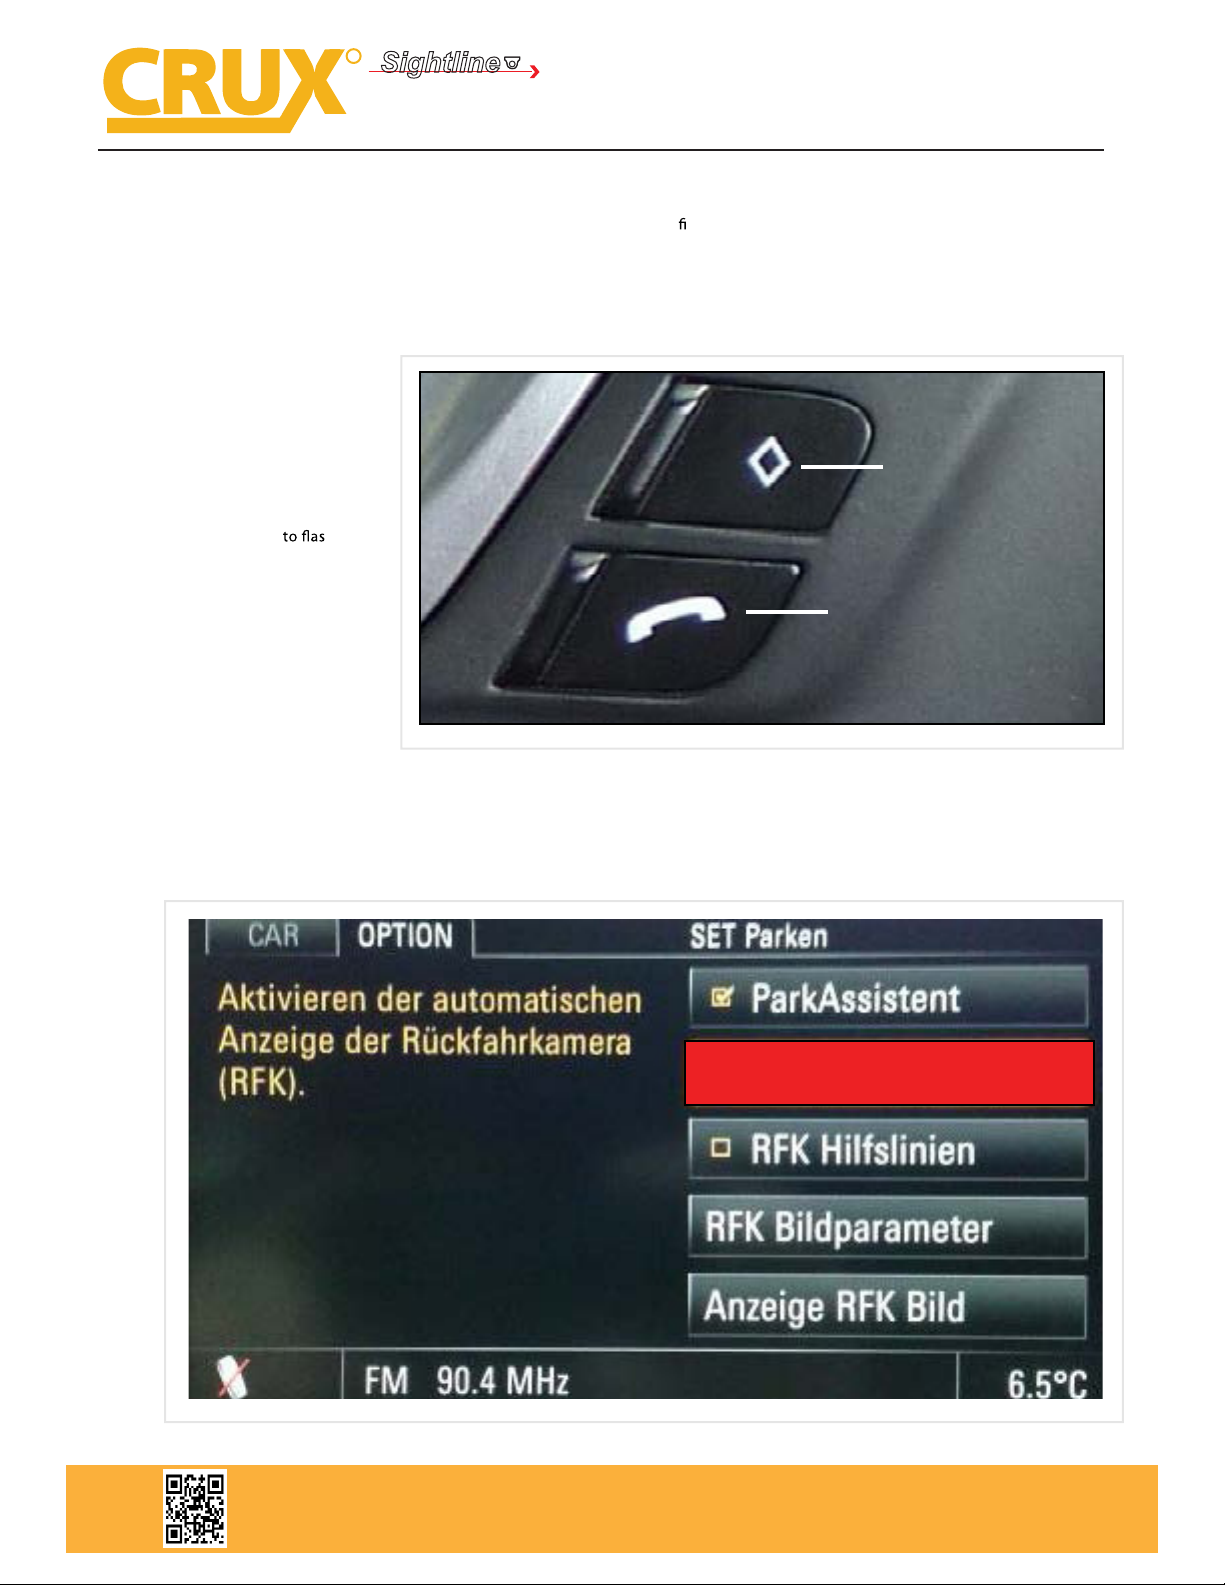
On the steering wheel:
1. Press and Hold both the “BACK”
and “ANSWER” buttons for 10 approx.
10 seconds.
During the coding process, the Red
and Blue LED will begin to sh.
2. After the head unit has began to reset,
release both buttons.
The Red and Blue LED’s will glow solid
to identify the coding has been
completed.
ON
1 2 3 4 5 6
8-PIN
(male plug)
WHITE/ ALTERN
ATIVE CODING
CAN
INTERFACE
TAP BLACK/ CAMERA GROUND
4 5 6
ON
1 2 3
CAN
INTERFACE
SWITCH DIP 1 TO THE “ON”
POSITION FOR PERMANENT
ACTIVATION
DECODING THE PARK ASSIST
In case you may need to remove the interface, here is how
you decode the Park-Assist.
Step 1 - With the T-Harness and interface module properly
connected, turn the ignition to the “ON” position.
Wait for the head unit to power on then proceed
to the following steps.
On the steering wheel:
1. Press and Hold both the “BACK”
and “END CALL” buttons for 10 approx.
10 seconds.
During the coding process, the Red
and Blue LED will begin sh.
2. After the head unit has began to reset,
release both buttons.
The Red and Blue LED’s will glow solid
to identify the coding has been
completed
THE PARK ASSIST OPTION WILL NO LONGER
BE AVAILABLE ON THE MENU.
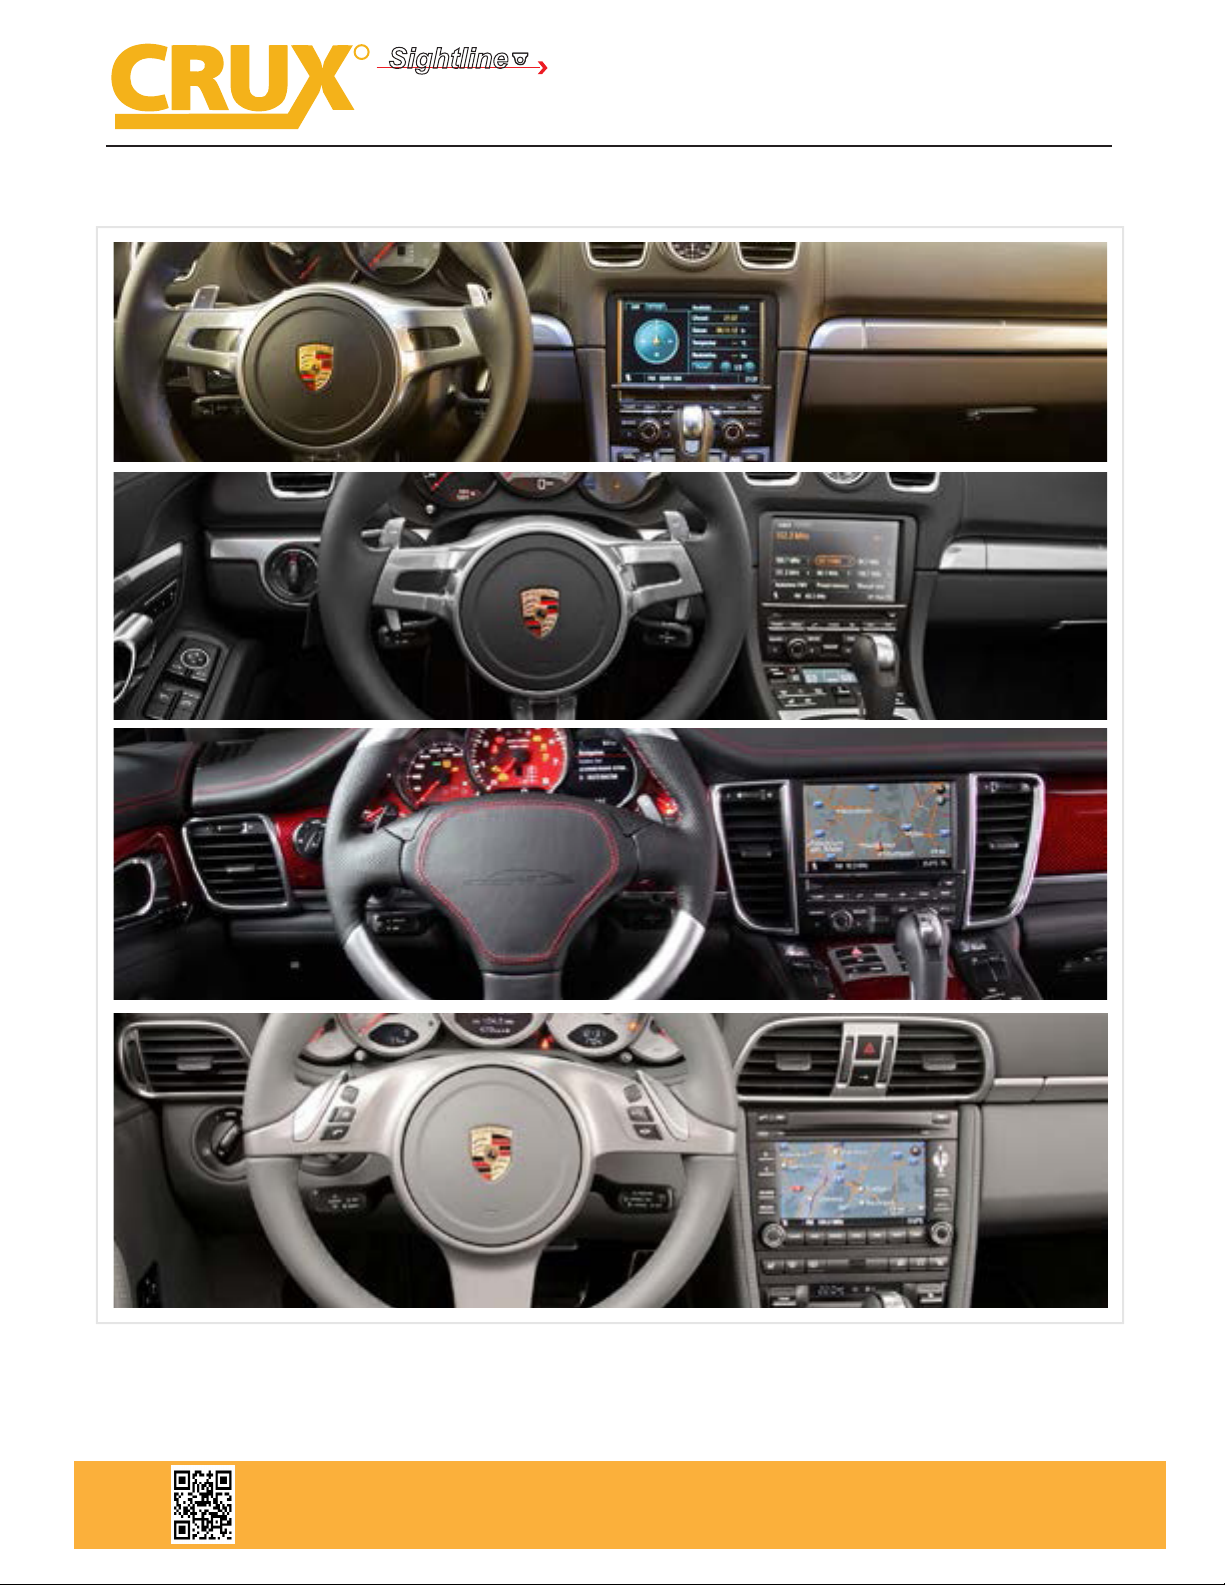
Rear-View Integration Interface for
PORSCHE Vehicles with PCM-3 or PCM-3.1 Systems
PCM-3
R
INTERFACING SOLUTIONS
Sightline
REAR-VIEW INTEGRATION
Crux Interfacing Solutions • 6860 Canby Ave., Suite 116, Reseda, CA 91335
phone: (818) 609-9299 • fax: (818) 996-8188 • www.cruxinterfacing.com
8 of 10 rev.051718