manuals.online logo
Brands
  1. Home
  2. •
  3. Brands
  4. •
  5. Crux
  6. •
  7. Automobile Accessories
  8. •
  9. Crux Sightline RVCVW-73 User manual

Crux Sightline RVCVW-73 User manual

Other Crux Automobile Accessories manuals

Crux AVICH-03 + VCIP5 User manual

Crux

Crux AVICH-03 + VCIP5 User manual

Crux BEECR-35D User manual

Crux

Crux BEECR-35D User manual

Crux RVCGM-80I User manual

Crux

Crux RVCGM-80I User manual

Crux RVCCH-75B User manual

Crux

Crux RVCCH-75B User manual

Crux WVI-X User manual

Crux

Crux WVI-X User manual

Crux Sightline RVCCH-75E User manual

Crux

Crux Sightline RVCCH-75E User manual

Crux DKGM-51 User manual

Crux

Crux DKGM-51 User manual

Crux RVCCH-75 User manual

Crux

Crux RVCCH-75 User manual

Crux Sightline VIMFD-95 User manual

Crux

Crux Sightline VIMFD-95 User manual

Crux ACPAD-01 User manual

Crux

Crux ACPAD-01 User manual

Crux RVCCH-75E User manual

Crux

Crux RVCCH-75E User manual

Crux CFD-03E User manual

Crux

Crux CFD-03E User manual

Crux F Series User manual

Crux

Crux F Series User manual

Crux RVCMZ-72D User manual

Crux

Crux RVCMZ-72D User manual

Crux RVCAD-81T User manual

Crux

Crux RVCAD-81T User manual

Crux BEECR-35P User manual

Crux

Crux BEECR-35P User manual

Crux Logic ACPBM-77Y User manual

Crux

Crux Logic ACPBM-77Y User manual

Crux RVCAD-81M Use and care manual

Crux

Crux RVCAD-81M Use and care manual

Crux Sightline VIMGM-94 User manual

Crux

Crux Sightline VIMGM-94 User manual

Crux BEECR-35 User manual

Crux

Crux BEECR-35 User manual

Crux RVCCH-75W User manual

Crux

Crux RVCCH-75W User manual

Crux BTI-ISO User manual

Crux

Crux BTI-ISO User manual

Crux MG-3 User manual

Crux

Crux MG-3 User manual

Crux ACPAD-01W User manual

Crux

Crux ACPAD-01W User manual

Popular Automobile Accessories manuals by other brands

James Baroud Odyssey user guide

James Baroud

James Baroud Odyssey user guide

Motorola i50sx owner's manual

Motorola

Motorola i50sx owner's manual

Yakima 9MM STANDARD BIKE MOUNT instructions

Yakima

Yakima 9MM STANDARD BIKE MOUNT instructions

Feniex T3 instruction manual

Feniex

Feniex T3 instruction manual

Kia E8300-4D000 manual

Kia

Kia E8300-4D000 manual

Brink 756843 installation instructions

Brink

Brink 756843 installation instructions

Whispbar K085W Fitting instructions

Whispbar

Whispbar K085W Fitting instructions

v.link CI-VL2-PC-HSD manual

v.link

v.link CI-VL2-PC-HSD manual

Viking Stack-Rack Assembly and use instructions

Viking

Viking Stack-Rack Assembly and use instructions

Aries 203015 installation manual

Aries

Aries 203015 installation manual

Choetech AT0005 user manual

Choetech

Choetech AT0005 user manual

ZZ2 ZZAIR-PRO instruction manual

ZZ2

ZZ2 ZZAIR-PRO instruction manual

Holman 4A80L installation guide

Holman

Holman 4A80L installation guide

Thule 2075 parts manual

Thule

Thule 2075 parts manual

Motorola T325 quick start guide

Motorola

Motorola T325 quick start guide

TAUBENREUTHER 16-3950 FITTING INSTRUCTION

TAUBENREUTHER

TAUBENREUTHER 16-3950 FITTING INSTRUCTION

DV8 FBJL-02 Product installation manual

DV8

DV8 FBJL-02 Product installation manual

Prorack K1163 manual

Prorack

Prorack K1163 manual

manuals.online logo
manuals.online logoBrands
  • About & Mission
  • Contact us
  • Privacy Policy
  • Terms and Conditions

Copyright 2025 Manuals.Online. All Rights Reserved.

RVCVW-73
Rear View Integration Interface for Select
Volkswagen Vehicles with MFD3 RNS315 & RNS510 Navigation System
R
INTERFACING SOLUTIONS
Sightline
Multi View Integration
Crux Interfacing Solutions • Chatsworth, CA 91311
phone: (818) 609-9299 • fax: (818) 996-8188 • www.cruxinterfacing.com
rev.0205211 of 3
- Automacally switches to Rear-view when car is in Reverse mode.
- Aermarket Rear-view Camera included.
- OBD coder for single acvaon included.
- Plug & Play Installaon.
PRODUCT FEATURES:
PARTS INCLUDED:
RVCVW-73 Module RVCVW-73 Harness OBD II Coder
Power Down Circuit CUL-03 Camera
GROUND
RED Wire Tape O
(Not Used)
FACTORY
RADIO
12-PIN
(male plug)
26-PIN
(female plug)
NAV
MUTE
SETUP
BAND
MEDIA
PHONE
i
VIDEO
CONNECTION
INTERFACE
THIN RED
WIRE
LIP MOUNT
CAMERA
(included in kit)
Power Down
Circuit
BLACK Wire
RED Wire
GREEN Wire
Reverse Power Output
(+12V 2 Amps)
To +12V Constant
(behind radio)
Ground
BLACK Wire
Factory Reverse
Light +12V
YELLOW Wire
RED Wire
Reverse Trigger input
INSTALLATION DIAGRAM:
SPECIAL NOTE:
In the event this unit is to be returned for any reason, the customer must “decode” the radio before
doing so to receive a replacement or refund. See instructions on page 2 on how to decode the radio.
Crux Interfacing Solutions • Chatsworth, CA 91311
phone: (818) 609-9299 • fax: (818) 996-8188 • www.cruxinterfacing.com
rev.0205212 of 3
R
INTERFACING SOLUTIONS
Sightline
Multi View Integration
RVCVW-73
Rear View Integration Interface for Select
Volkswagen Vehicles with MFD3/RNS315/RNS510 Navigation System
INSTALLATION INSTRUCTIONS:
CODING THE RADIO FOR A BACKUP CAMERA
1. Locate the vehicle’s OBD II port usually located under the steering column.
2. Enter the vehicle and CLOSE ALL DOORS.
3. Turn the key to the ON posion.
4. Plug in the OBD coder from the RVCVW-73 kit to the ODB II port.
5. Wait for the OBD coder to nish coding the radio and give a solid GREEN LED. (See chart below)
6. The radio may ash a few me during this process. It can take around 5 seconds to complete the
coding process. If an error occurs, retry the coding procedure.
7. A solid RED LED means that the radio has been decoded. Repeat the process to get a solid GREEN LED.
8. Aer the coding is complete, disconnet the OBD coder and store in a safe place. This OBD coder is VIN
specic and will only work on this vehicle.
9. Unplug the radio power connector for 5 seconds and plug it back in.
10. Put the gear in reverse to test for camera funconality.
In order for the vehicle to recognize the camera and engage it when in reverse gear, the vehicle must be
coded. Use the ODB II coder included in the RVCVW-73 kit.
Reading the LED color paern:
Flashing LED Coding Vehicle
Solid Green LED Acvated
Solid Red LED Deacvated
Solid Red & Green LED Error
INTERFACE
GREEN LED
RED LED
8-PIN
(male plug) LED
(indicator)
OBD CODER
DECODING THE RADIO
To decode the radio, repeat the steps above.
INSTALLING THE CAMERA
1. Remove the trunk lid panel.
2. Use the hole saw included in the kit to drill a hole on the lip of the trunk handle area.
3. Fish the camera cable through the hole and connect to the extension cable.
4. Connect the black wire of the camera to chassis ground. The red wire will not be used. Insulate it with tape.
5. Run the extension cable towards the radio.
6. Make the video and power connecons to the RVCVW-73 harness.
7. Connect the power down circuit (below) then test the camera for funconality before reinstalling the radio.
Crux Interfacing Solutions • Chatsworth, CA 91311
phone: (818) 609-9299 • fax: (818) 996-8188 • www.cruxinterfacing.com
rev.0205213 of 3
R
INTERFACING SOLUTIONS
Sightline
Multi View Integration
RVCVW-73
Rear View Integration Interface for Select
Volkswagen Vehicles with MFD3/RNS315/RNS510 Navigation System
VEHICLE APPLICATIONS:
MFD3 RNS315 Navigaon Radios
2011 – 2014 CC
2011 – 2014 Golf
2011 – 2014 GTI
2011 – 2014 Jea
2011 – 2014 Jea SportWagen
2012 – 2014 Passat*
2011 – 2014 Tiguan
USING THE POWER DOWN CIRCUIT
The power down circuit is designed to extend the life of the camera. NOTE: Green wire is only used to power the
camera and module.
1. Tap the GREEN wire to 2 Red wires, one coming from the camera cable and one from the module.
2. Locate the reverse light trigger wire in the vehicle and connect it to the RED wire. This will trigger the 12V input.
3. Connect the YELLOW wire to any available 12V constant source in the car.
4. Connect the BLACK wire to a good chassis ground source.
MFD3 RNS510 Navigaon Radios**
2007 – 2009 Eos
2007 – 2009 Golf
2007 – 2009 Passat
2008 – 2009 Tiguan
2008 – 2010 Touareg
VOLKSWAGEN
IMPORTANT NOTES:
*On the 2012 Passat radio (RNS315), the rear-view camera will start to funcon aer the car goes to sleep/power down mode. Aer
the coding process, turn key o and remove key. Open and close doors then lock the car. Wait for 3 minutes. Start the car and put
the gear in reverse and conrm that the camera image shows on the screen.
**Certain U.S. version RNS-510 Radios (late 2009-up) may not have camera input capability. Please verify feature prior to purchase.
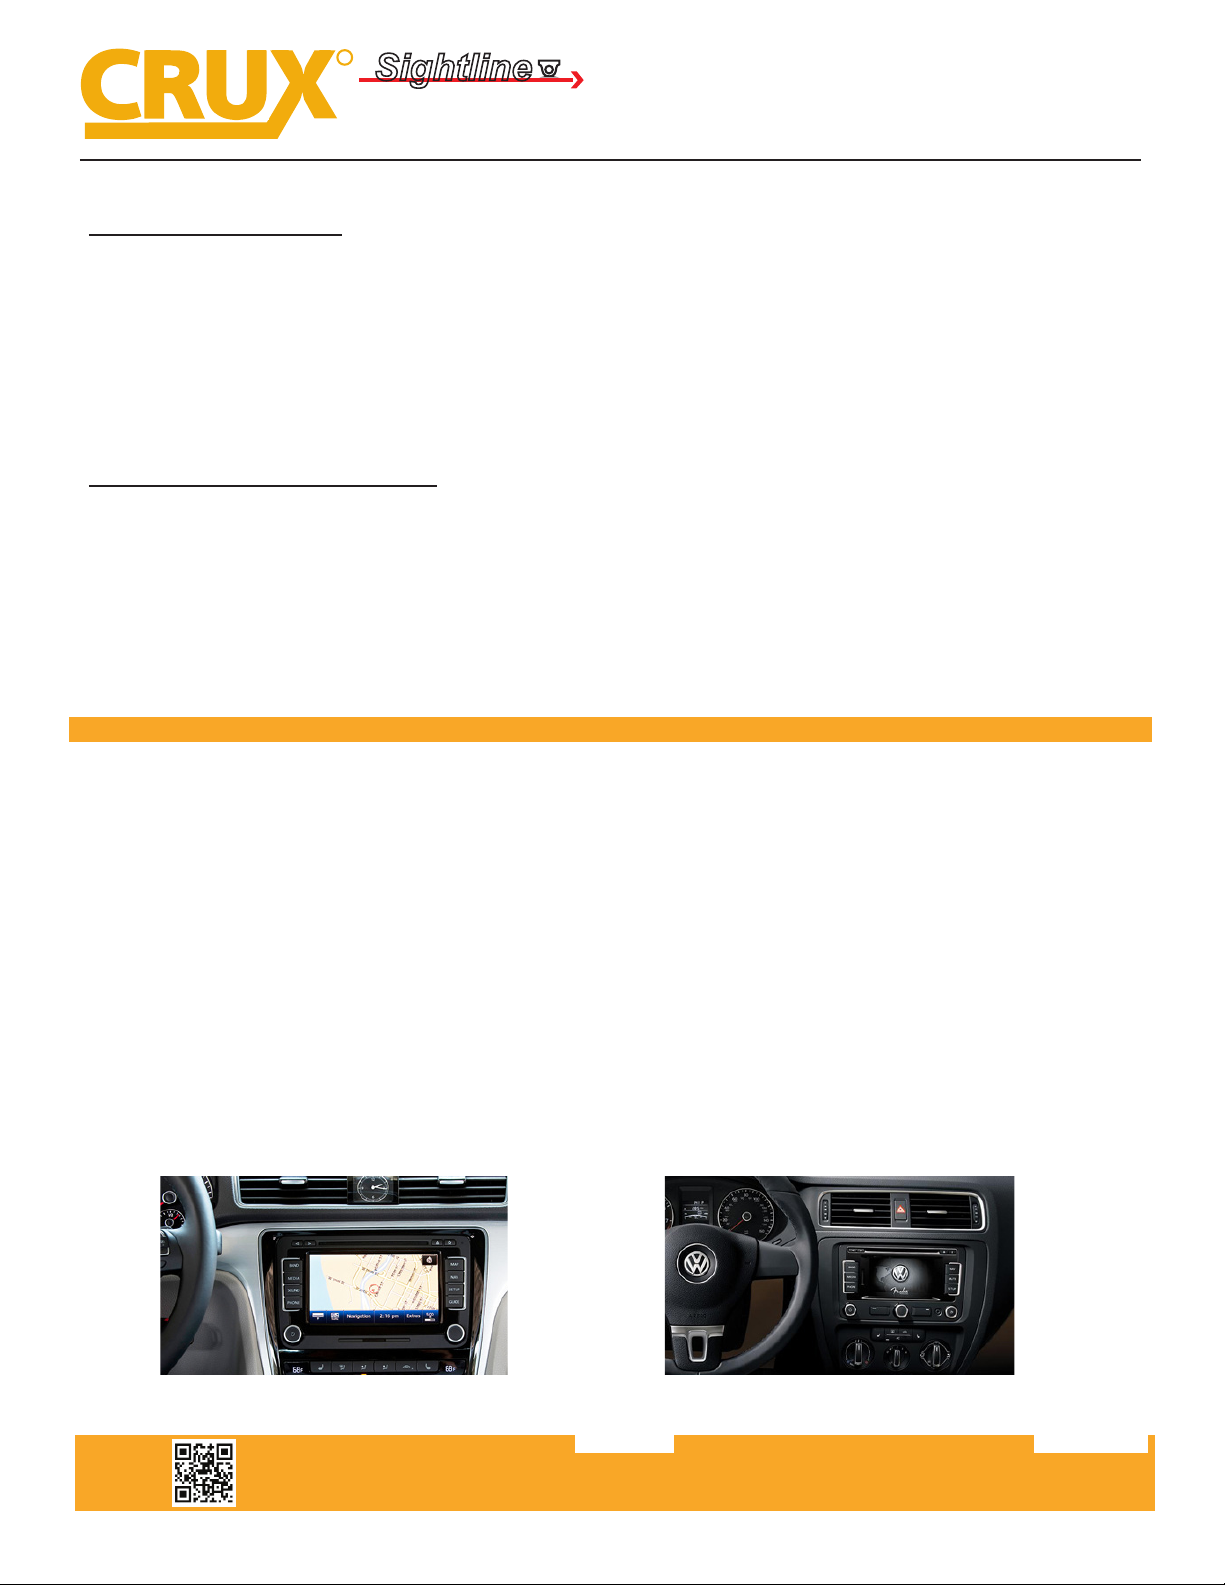
MFD3 / RNS315 Radio RNS510 Radio