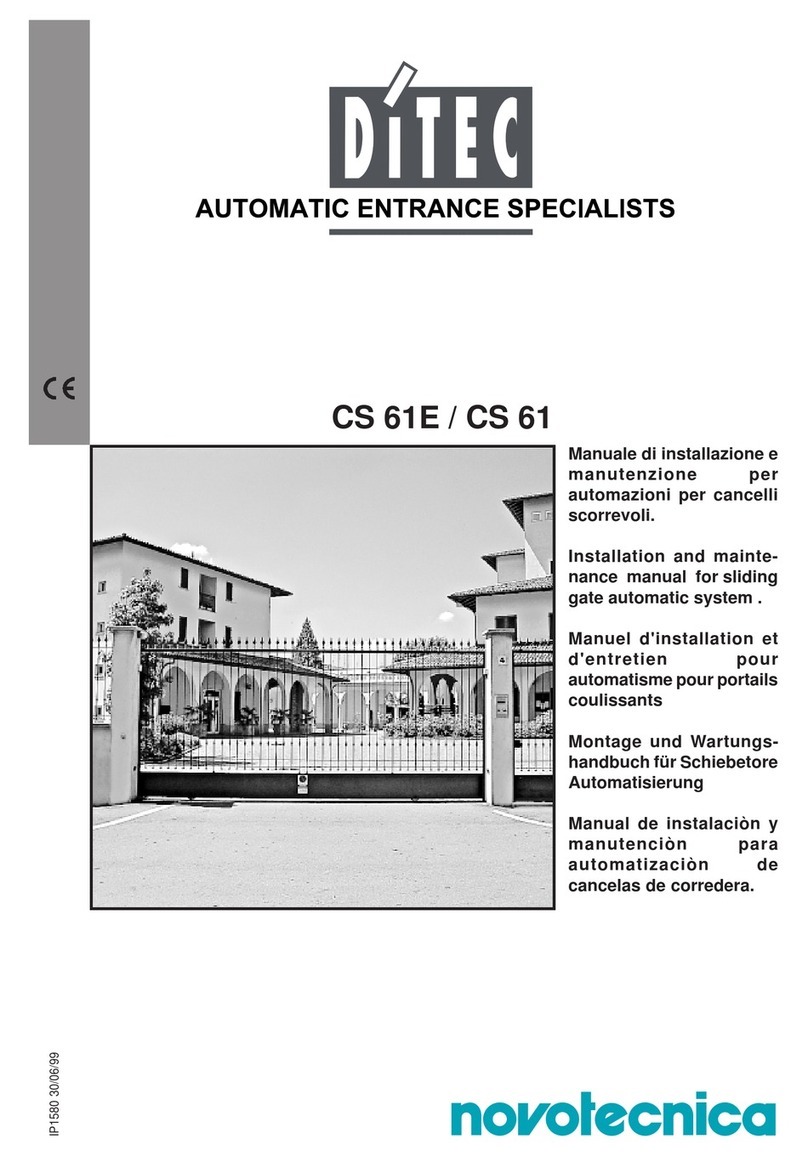
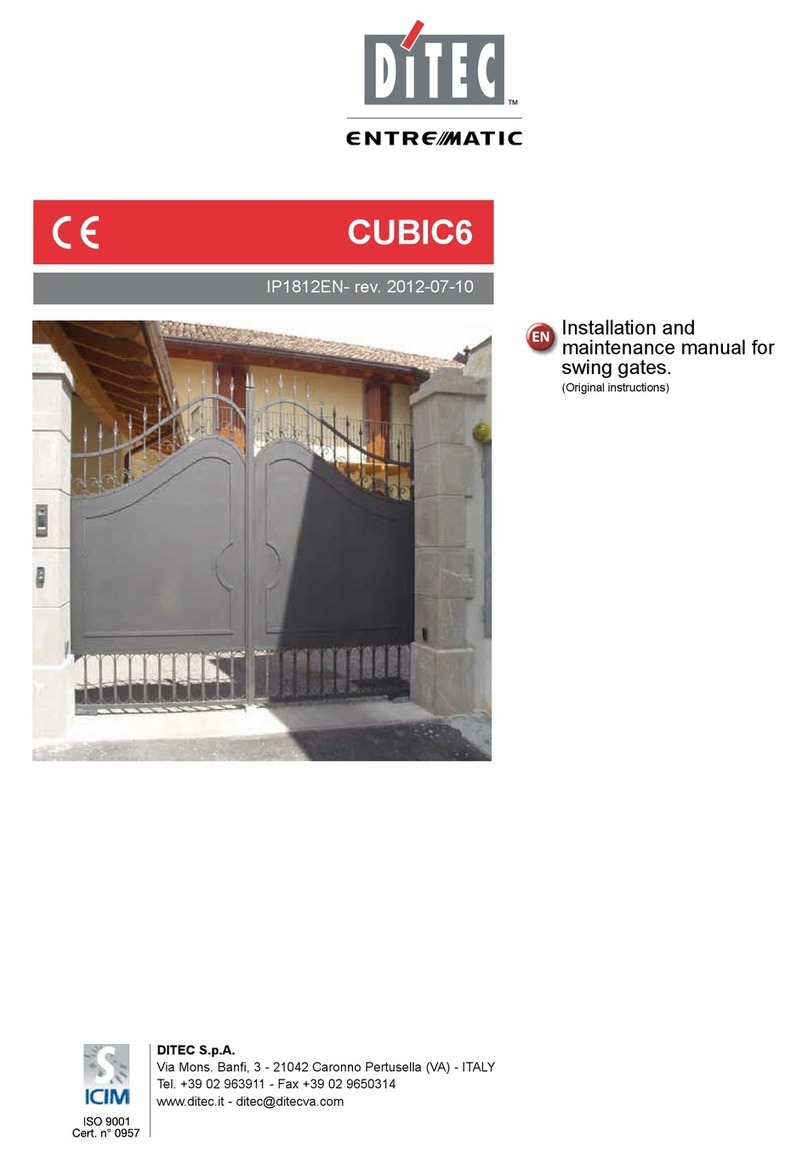
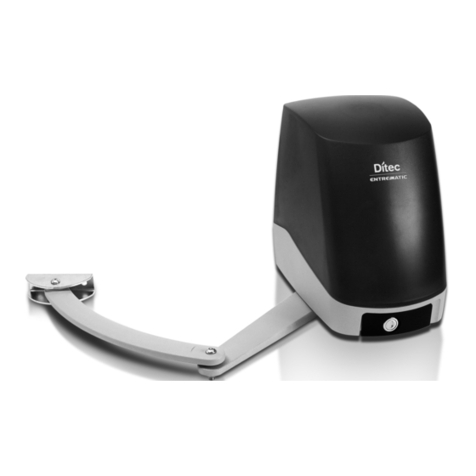
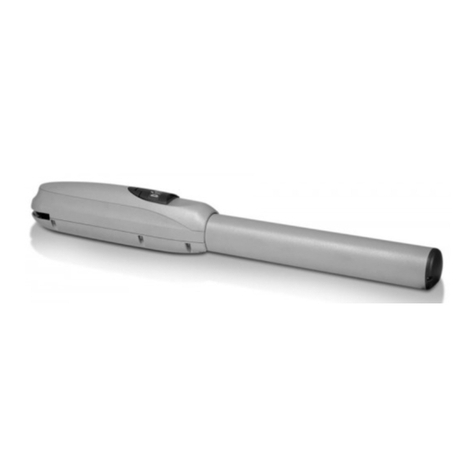
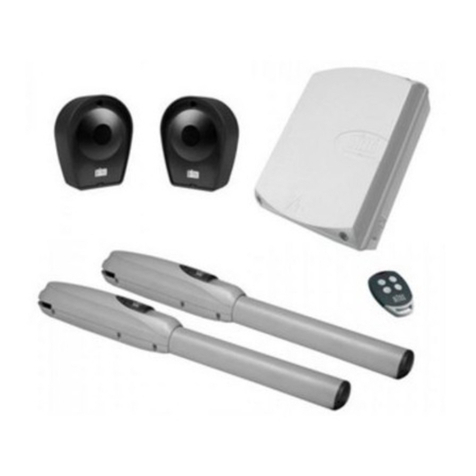
DITEC TS35 User manual

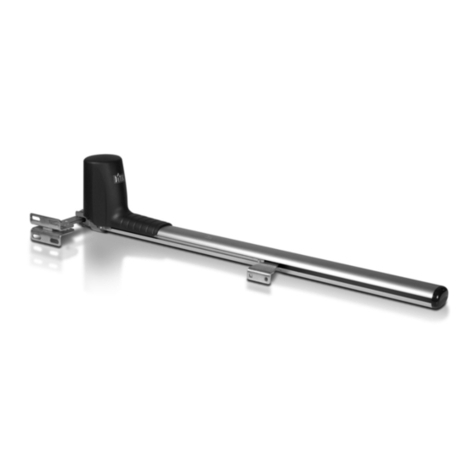
Ditec TS35
Automation for swing gates
(Translation of the original instructions)
Technical Manual
IP2373EN • 2022-02-14
Last version of this manual
www.ditecautomations.com

2
IP2373EN
Key
i
This symbol indicates instructions or notes regarding safety, to which special atten-
tion must be paid.
This symbol indicates useful information for the correct operation of the product.
Contents
General safety precautions ..................................................................................................3
EC Declaration of Incorporation ..................................................................................................5
1. Technical specifications ..................................................................................................6
1.1 Machinery Directive ..................................................................................................6
1.2 Gearmotor dimensions ..................................................................................................7
2. Standard installation ..........................................................................................8
3. Installation ..........................................................................................................9
3.1 Preliminary checks ..................................................................................................9
3.2 Fastening the brackets ..................................................................................................10
3.3 Electrical connections ..................................................................................................12
4. Release instructions ..................................................................................................13
5. Routine maintenance plan ..................................................................................................13
6. Troubleshooting ......................................................................................................14
7. Disposal .......................................................................................................14

3
IP2373EN
This installation manual is intended for qualified personnel only •Instal-
lation, electrical connections and adjustments must be performed by
qualified personnel, in accordance with Good Working Methods and in
compliance with the current regulations • Read the instructions carefully
before installing the product. Wrong installation could be dangerous •
Before installing the product, make sure it is in perfect condition •
The packaging materials (plastic, polystyrene, etc.) should not
be discarded in the environment or left within reach of children,
as they are a potential source of danger • Do not install the product
in explosive areas and atmospheres: the presence of inflammable
gas or fumes represents a serious safety hazard • Make sure that
the temperature range indicated in the technical specifications is
compatible with the installation site • Before installing the motori-
zation device, make sure that the existing structure, as well as all the
support and guide elements, are up to standards in terms of strength
and stability. Verify the stability and smooth mobility of the guided
part, and make sure that no risks of fall or derailment subsist. Make
all the necessary structural modifications to create safety clearance
and to guard or isolate all the crushing, shearing, trapping and ge-
neral hazardous areas • The motorization device manufacturer is
not responsible for failure to observe Good Working Methods when
building the frames to be motorized, or for any deformation during
use • The safety devices (photocells, safety edges, emergency stops,
etc.) must be installed taking into account the applicable laws and
directives, Good Working Methods, installation premises, system
operating logic and the forces developed by the motorized door or
General safety precautions
ATTENTION! Important safety instructions.
Please follow these instructions carefully. Failure to observe
the information given in this manual may lead to
severe personal injury or damage to the equipment.
Keep these instructions for future reference.
This manual and those for any accessories can be
downloaded from www.ditecautomations.com.
4
IP2373EN
gate • The safety devices must protect against crushing, cutting,
trapping and general danger areas of the motorized door or gate.
Display the signs required by law to identify hazardous areas. Each
installation must bear a visible indication of the data identifying the
motorized door or gate • Before connecting the power supply, make
sure the plate data correspond to those of the mains power supply.
An omnipolar disconnection switch with a contact opening distance
of at least 3mm must be fitted on the mains supply. Check that the-
re is an adequate residual current circuit breaker and a suitable
overcurrent cutout upstream of the electrical installation in accor-
dance with Good Working Methods and with the laws in force • When
requested, connect the motorized door or gate to an effective earthing
system that complies with the current safety standards • Before
commissioning the installation to the end user, make sure that the
automation is adequately adjusted in order to satisfy all the functio-
nal and safety requirements, and that all the command, safety, and
manual release devices operate correctly •
During installation, maintenance and repair operations, cut
off the power supply before opening the cover to access the
electrical parts • The protection cover of the operator must be
removed by qualified personnel only.
The electronic parts must be handled using earthed antista-
tic conductive arms. The manufacturer of the motorization
declines all responsibility if component parts not compatible with
safe and correct operation are fitted • Only use original spare parts
for repairing or replacing products • The installer must supply all
information concerning the automatic, manual and emergency
operation of the motorized door or gate, and must provide the user
with the operation and safety instructions.

5
IP2373EN
EC Declaration of Incorporation
We:
ASSA ABLOY Entrance Systems AB
Lodjursgatan 10
SE-261 44 Landskrona
Sweden
Declare under our sole responsibility that the type of equipment with name:
Ditec TS35AC Automation for swing gates
Comply with the following directives and their amendments:
2006/42/EC Machinery Directive (MD) for the following essential health and safety
requirements: 1.1.2, 1.1.3, 1.2.1, 1.2.2, 1.2.3, 1.2.4.2, 1.2.6, 1.3.9, 1.4.3, 1.7.2,
1.7.3, 1.7.4, 1.7.4.1, 1.7.4.2.
2014/30/EU Electromagnetic Compatibility Directive (EMCD)
2011/65/EU Restriction of hazardous substances (RoHS 2)
2015/863/EU Restriction of hazardous substances (RoHS 2 Amendment)
Harmonized European standards that have been applied:
EN 61000-6-3:2007 + A1:2011 + AC:2012
EN 60335-1:2012 + AC:2014 + A11:2014 + A13:2017 + A1:2019 + A14:2019 + A2:2019
Other standards or technical specifications that have been applied:
IEC 60335-1:2010 + C1:2010 + C2:2011 + A2:2013 + C1:2014 + A2:2016 + C1:2016
EN 12453:2017
The manufacturing process ensures the compliance of the equipment with the technical file.
The equipment must not be used until the final installed automatic entrance system has been
declared in compliance with the Machinery Directive 2006/42/EC.
Responsible for technical file:
Matteo Fino
Business Area PGA
Ditec S.p.A.
Largo U. Boccioni, 1
21040 Origgio (VA)
Italy
Signed for and on behalf of ASSA ABLOY Entrance Systems AB by:
Place Date Signature Position
Origgio 2022-02-14 Matteo Fino President B.A. PGA
Mat
teo
Fi
no
o
o
o
o
o
o
o
o
o
o
o
o
o
o
o
o
o
o
o
o
o
o
© ASSA ABLOY, All rights reserved

6
IP2373EN
1. Technical specifications
Usage limits (gate wing weight and width)
1
0
50
100
150
200
250
300
350
400
450
2
(m)
(Kg)
2,51,5 3 3,5
i
To prevent forced entry, the use of an elec-
tric lock is recommended with gate wings
measuring more than 2.5 m in length.
Power supply 230 V~ - 50 / 60 Hz
Max absorption 1,5 A
Power absorbed 330 W
Capacitor 8 µF
Max thrust 3500 N
Maximum stroke 400 mm
Opening time 18-22 s / 90°
Intermittence S2= 10min / S3= 30%
Lifespan 100000 cycles
Operating temperature -20°C / +55°C
Degree of protection IP33
Dimensions (mm) 1182x93x174
Weight (kg) 4,00
1.1 Machinery Directive
Pursuant to the Machinery Directive (2006/42/EC), the installer who motorises a door or gate has
the same obligations as the manufacturer of machinery and as such must:
- prepare the technical data sheet which must contain the documents indicated in Annex V of the
Machinery Directive;
- (the technical data sheet must be kept and placed at the disposal of competent national author-
ities for at least ten years from the date of manufacture of the motorised door or gate);
- draw up the EC Declaration of Conformity in accordance with Annex II-A of the Machinery Di-
rective and deliver it to the customer;
- affix the EC marking on the motorised door or gate, in accordance with point 1.7.3 of Annex I of
the Machinery Directive.

7
IP2373EN
1.2 Gearmotor dimensions
124 7,5
8
93
86
21
1141
1182
617 402
47
20
35 7,5
ø10,4
70
30
12
6
6
57
10
8
ø10
90 50
ø12,4
60
48
130
115
25
ø12

8
IP2373EN
2. Standard installation
Ref. Description Cable
1Transmitter /
2Flashing light 2 x 1mm²
Antenna (integrated in the flashing light)
RG58 50Ω
3Key selector switch 4 x 0,5mm²
Digital combination wireless keypad /
4Actuator 4 x 1,5mm²
5Photocells 4 x 0,5mm²
6Control panel 3G x 1,5 mm²
A
Connect the power supply to a type-approved omnipolar switch (not supplied), with a
contact opening distance of at least 3mm. Connection to the mains must be via an independent channel,
separated from the connections to the command and safety devices.
Left wing (TS35ACS) Right wing (TS35ACD)
iThe gearmotors are left and right and are different from each other.
1
4
6
A
32
5
5
4
5
1

9
IP2373EN
3. Installation
The declared operating and performance features can only be guaranteed with the use of Ditec
accessories and safety devices.
3.1 Preliminary checks
Make sure the gate structure is sturdy and the hinges are lubricated and smooth.
Install a stop in the open and closed positions (the mechanical structural elements must be com-
pliant with the requirements of the standard EN12604).
Check that the installation measurements are correct in relation to the distance between the
hinge of the wing and the corner of the pillar [C] and the desired opening angle [D].
i
The automation fastening point varies according to the space available and the gate
to be automated. The installer must therefore choose the best solution to ensure
that the system works correctly in each individual situation.
The installation measurements indicated in the table allow you to choose the values of [A] and [B] on
the basis of the required opening angle and in relation to the on-site spaces and overall dimensions.
Increasing measurement [A], you reduce the opening approach speed.
Reducing measurement [B], you increase the gate opening angle.
Measurements [A] and [B] must, however, be compatible with the effective piston stroke
Tab. 3.1
A B C S D E L P min
150 130 15 115 110°
46 1120
170
160 120 30 90 105° 180
160 160 45 115 100° 180
100 165 50 115 90° 120
130 160 70 90 95° 150
120 200 85 115 95° 140
150 200 85 115 90° 170
130 190 100 90 95° 150
130 220 105 115 90° 150
D
E
L
min 60 with 90° opening
A
P min
B
C
S
i
Unless otherwise specified, all measurements are expressed in mm.

10
IP2373EN
3.2 Fastening the brackets
- Fasten the tail bracket , en-
suring that the measurements
[A] and [B] are correct for the
desired opening angle [D] (see
tab. 3.1).
400mm min
screws M10 - not
supplied
- Fasten the piston to the tail
bracket with the pin Fin-
cluded.
- With the gate closed, extend the actuator tube completely 3, unscrewing it to reach its maxi-
mum length, and then re-tighten by one complete turn as shown in the figure.
M4
F
10mm
CLOSE
OPEN
STOP!
15mm
STOP!
1 x 360°
3

11
IP2373EN
- Fit the head bracket and fasten the piston to the head bracket with the pin Fincluded.
- Unlock the gear motor and check, by moving the gate manually, that the gate moves freely
400mm min
1°
- Install the gear motor so that it is inclined by an angle of approximately 1°.
throughout its entire stroke without impediment.
M4
F
i
i
To work correctly, the gear motors must be assembled with the motor casing at the
bottom.
Slightly lubricate the front and rear
articulated joints.

12
IP2373EN
3.3 Electrical connections
The gear motors TS35AC may be connected to the LCA70 and LCA80 electronic control panels.
The electrical connections and the procedure for setting up Ditec TS35 gear motors are illustrated in the
figure and in the installation manuals of the LCA70 (-> link) and LCA80 (-> link) electronic control panels.
M1 Gearmotor with closure delay
M2 Gearmotor with opening delay
CU Control unit
V/Y BLACK
U/X BROWN
W/Z GREY
YELLOW/GREEN
M2
M1
LN
XZY
UW V
M2
M1
CU
230V~ - 50/60 Hz
W= com M1
Z= com M2

13
IP2373EN
NOTE: for spare parts, refer to the spares price list.
5. Routine maintenance plan
Carry out the following operations and checks every 6 months or 36.000 cycles.
Disconnect the 230V~ power supply:
- Clean and lubricate the gate rotation pins, hinges and drive screw with neutral grease.
- Check the resistance of the fixing points.
- Check the electrical connections are in good condition.
Reconnect the 230V~ power supply:
- Check the power adjustment.
- Check all the commands and safety functions (photocells) are operating correctly.
- Check the release system is working correctly.
i
4. Release instructions
In the event of a fault or a power failure, open the window, insert the key in the relative lock and
turn it counterclockwise (as indicated by the arrow). Release the electric lock (if present).
Manually open the gate. To lock the gate again, close the hatch, turn the key anticlockwise and
remove the key.
WARNING: the gate lock and
release operations must be
performed with the motor idle.
Do not enter within the operating
range of the gate.

IP2373EN
ASSA ABLOY Entrance Systems AB
Lodjursgatan 10
SE-261 44, Landskrona
Sweden
© ASSA ABLOY
6. Troubleshooting
Problem Possible cause Operation
The gate doesn’t
open or close.
No power supply. Make sure the mains supply is active.
Gearmotor released. See the release instructions.
Photocells occupied. Check the photocells are clean and op-
erating correctly.
Permanent STOP command. Check the STOP command or the con-
trol panel.
Faulty selector. Check the selector or control panel.
Faulty remote control. Check the condition of the batteries.
Electric lock not working. Check the lock is positioned and work-
ing correctly.
Il cancello apre ma
non chiude. Photocells occupied. Check the photocells are clean and op-
erating correctly.
7. Disposal
The packaging components (cardboard, plastic, etc.) must be separated out for recycling.
Refer to the local disposal regulations before proceeding.
The packaging materials must not be discarded in the environment or left within reach of
children, as they are a potential source of danger.
All the rights concerning this material are the exclusive property of ASSA ABLOY Entrance Systems AB.
Although the contents of this publication have been drawn up with the greatest care, ASSA ABLOY Entrance
Systems AB cannot be held responsible in any way for any damage caused by mistakes or omissions. We
reserve the right to make changes without prior notice.
Copying, scanning or changing in any way is expressly forbidden unless authorised in writing by ASSA ABLOY
Entrance Systems AB.
The crossed-out wheeled bin symbol indicates that the product should be disposed of separately from
household waste. The product should be handed in for recycling in accordance with local environmental
regulations for waste disposal. By separating a marked item from household waste, you will help reduce
the volume of waste sent to incinerators or landfill and minimize any potential negative impact on human
health and the environment.
Other manuals for TS35
1
Table of contents
Other DITEC Gate Opener manuals

DITEC
DITEC Cross14 Manual

DITEC
DITEC OBBI3BH-E2H User manual

DITEC
DITEC 0DT869 User guide

DITEC
DITEC CUBIC6 Manual

DITEC
DITEC DAS802LOKA User manual

DITEC
DITEC PAS024AMR User manual

DITEC
DITEC FACIL3EH E2H User manual

DITEC
DITEC E1HBOX User manual

DITEC
DITEC CROSS18 User manual

DITEC
DITEC SECTOR RESET User manual
Popular Gate Opener manuals by other brands

Bircher Reglomat
Bircher Reglomat InTra6 3 operating instructions

Chamberlain
Chamberlain UL 325 Safety Check Instruction

Centurion
Centurion R3 user guide

Mighty Mule
Mighty Mule FM350 installation manual

Viking Access Systems
Viking Access Systems K-2 installation instructions

SOMFY
SOMFY Dexxo Smart 800 io installation guide