8
© 2016 DJI All Rights Reserved.
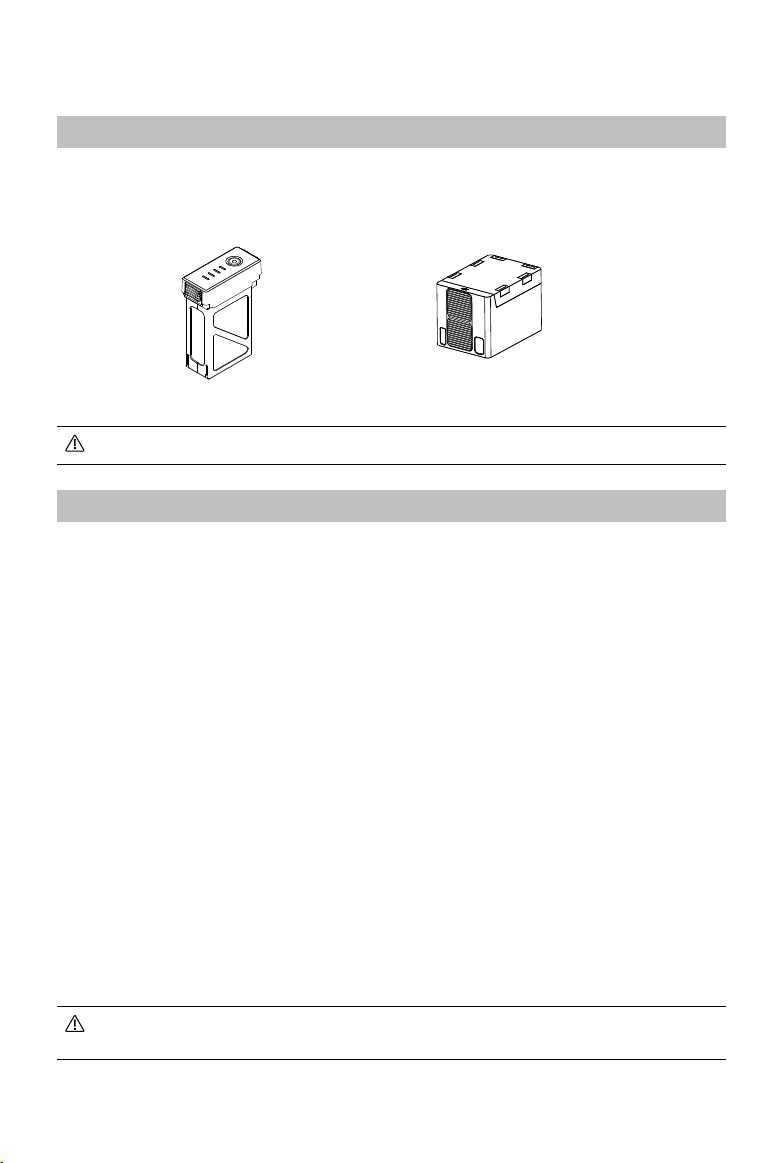
Intelligent Flight Battery
Prole
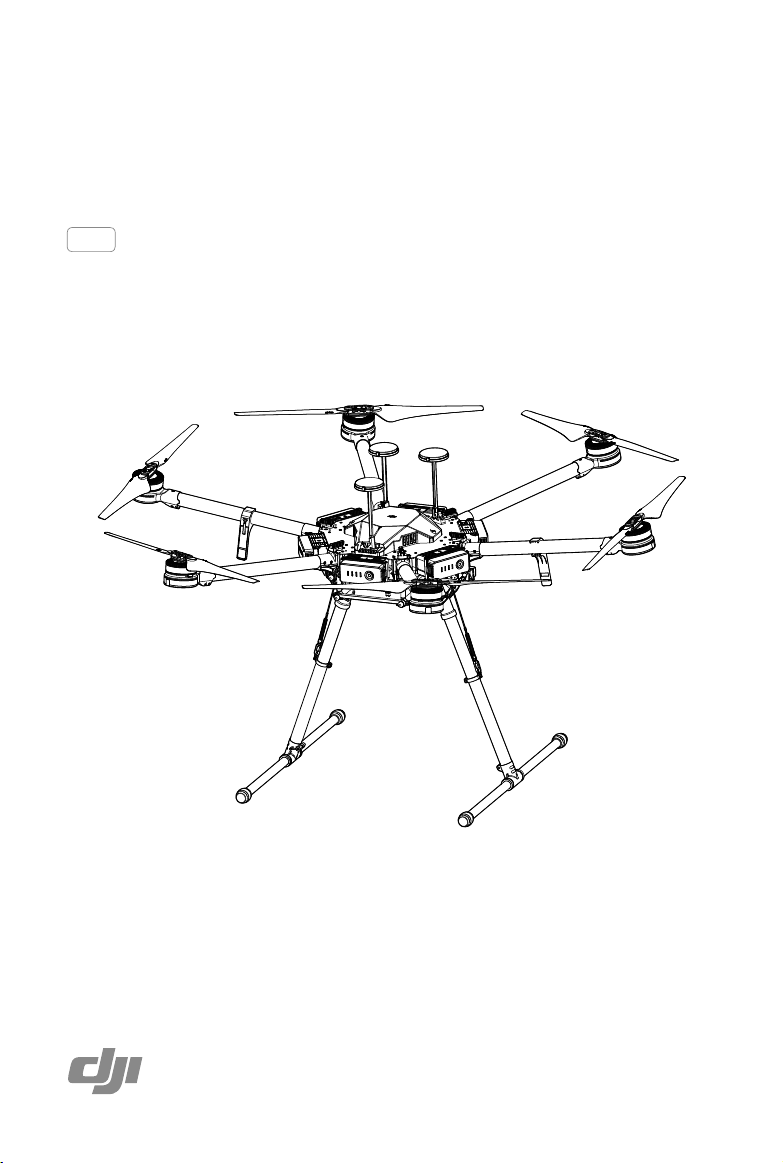
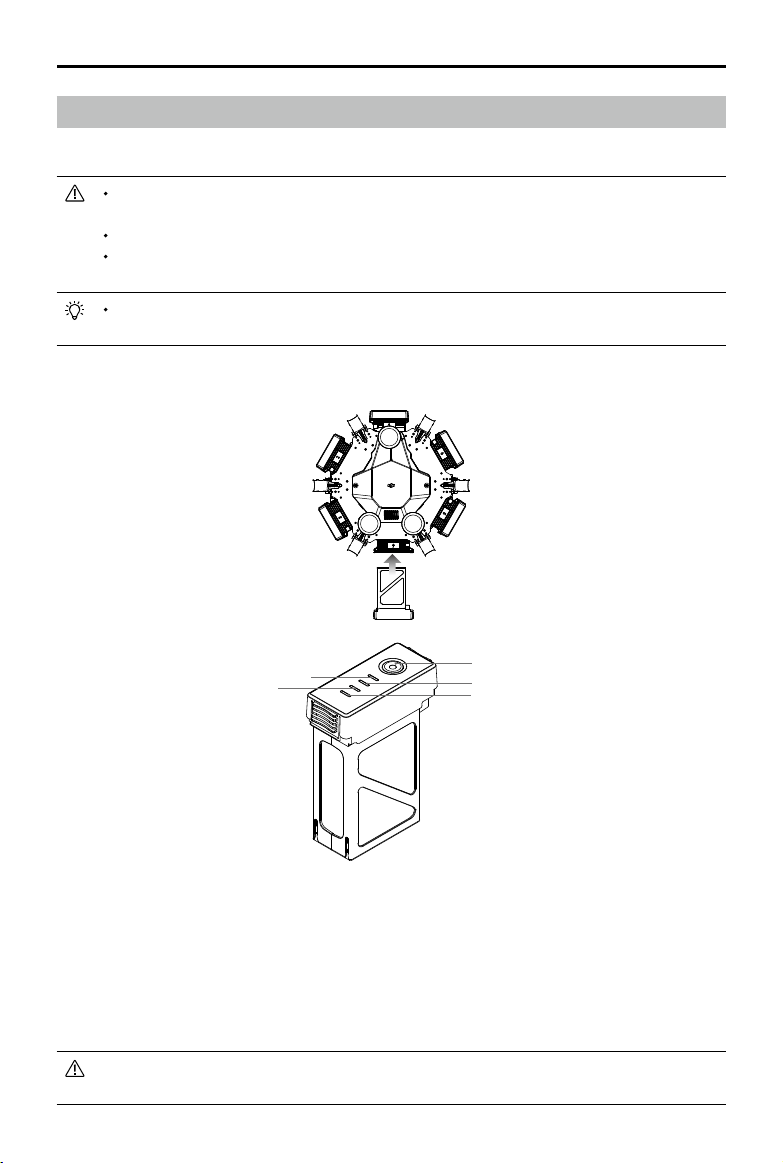
The Matrice 600 Pro has six battery compartments and six Intelligent Flight Batteries to extend the
ight time. The standard Intelligent Flight Battery has a capacity of 4500mAh, voltage of 22.2V, and
built-in smart charge-discharge function. It can only be charged with an appropriate DJI approved
charger.
The Intelligent Flight Battery must be fully charged before rst-time use.
Intelligent Flight Battery Functions
1. Battery Level Display: LEDs display the current battery level.
2. Battery Life Display: LEDs display the current battery life.
3. Auto-discharging Function: The battery automatically discharges to below 65% of total power
when it is left idle (pressing the power button will cause the battery to exit idle state) for more than
10 days to prevent swelling. It takes about two days to discharge the battery from 100% to 65%,
and it is normal to feel moderate heat emitting from the battery during the discharge process. The
discharge thresholds can be adjusted in the DJI GO app.
4. Balanced Charging: Automatically balances the voltage of each battery cell when charging.
5. Overcharge Protection: Automatically stops charging the battery when it is fully charged.
6. Temperature Detection: The battery will only charge when its temperature is between 5°C (41°F)
and 40°C (104°F).
7. Overcurrent Protection: The battery stops charging when the maximum current of 10A is exceeded.
8. Over-Discharge Protection: The battery stops discharging when the battery voltage reaches 18V to
prevent damage from over-discharge.
9. Short Circuit Protection: Automatically cuts the power supply when a short circuit is detected.
10. Battery Cell Damage Detection: The DJI GO app shows a warning message if a damaged battery
cell is detected.
11. Battery Log: Show the last 32 entries of battery information including the warning messages.
12. Sleep Mode: The battery enters sleep mode after 10 minutes of inactivity to save power.
13. Communication: The battery voltage, capacity, current, and other relevant information is sent to
the ight controller.
Read the
Disclaimer and Safety Guidelines
and
Intelligent Flight Battery Safety Guidelines
before use. Users take full responsibility for all operations and usage.
Intelligent Flight Battery DJI Hex Charger


 user manual")