manuals.online logo
Brands
  1. Home
  2. •
  3. Brands
  4. •
  5. Dorma
  6. •
  7. Lock
  8. •
  9. Dorma ARCOS Studio User manual

Dorma ARCOS Studio User manual

ARCOS Studio
Montageanleitung Schloss / Gegenkasten
Sie erhalten die Schlossgarnitur für DIN rechts zusam-
mengebaut. Bitte halten Sie die Klemmflächen für das
Schloss und den Gegenkasten auf dem Glas fettfrei.
Montage Schloss
1. Kunststoff-Drückerführung (3) auf der hohen Kappe
mit beiligendem schwarzen Kunsstoffschlüssel (4)
herausdrehen.
2. Kappe (5) abnehmen.
3. Senkschrauben (6) mit 4 mm Inbusschlüssel heraus-
drehen und Schloss (9) von Gegenplatte (12) abnehmen.
4. Folienstreifen (13) an der Vorderkante auf die Zwi-
schenlage (11) kleben und überstehende Ecken umklap-
pen oder abschneiden. Schutzfolie von Klebestreifen (10)
entfernen. Schloss auf die Zwischenlage setzen, so dass
die gewünschte DIN-Richtung lesbar ist.
Klemmplatte (7) auf das Schloss setzen, beide Senk-
schrauben (6) durch Klemmplatte und Schloss in Gegen-
platte (12) verschrauben.
Anzugsmoment der Schrauben = 5 Nm
5. Bei Einsatz für DIN links:
Falle (14) umstecken und wieder festschrauben (15).
ACHTUNG:
Schräge der Falle muss immer zum Glas liegen!
6. Federkraftreduzierung bei Verwendung von Knopf-Gar-
nituren einstellen: Bolzen (16) mit Schraubendreher um
90° drehen.
7. Bei PZ-Schlössern nun Profil-Zylinder einbauen. Nur
beiliegende Senkschrauben M5x35 (8) verwenden, da
eine längere Schraube den Schlossmechanismus blockiert
(gilt auch für Rundzylinder - Schweizer Norm).
8. Kappe (5) aufsetzen.
9. Kunststoff-Drückerführungen (3) mit Kunststoff-
Schlüssel (4) eindrehen und Drückerführungsringe (2)
auf den Drücker setzen.
10. Drückerpaar (1) montieren (3 mm Inbusschlüssel)*.
Um eine spätere Demontage eines Rosettendrückers zu
gewährleisten, sollte eine evtl. Klipsnase an der Drücker-
unterrosette möglichst zur Türmitte (bei Schlossversion
„UV, Drücker vorn“ zur Schlossstulp) zeigen.
Montage Gegenkasten
11. Schlauchabschnitte (19) in Glasbohrungen stecken.
Klemmplatte (20) und Gegenplatte (18) mit Senkschrau-
ben (21) durch Glasbohrungen verschrauben. Folie von
Selbstklebeband abziehen und Abdeckkappen (7) und
(22) aufkleben.
* Drückerstiftteil immer auf der hohen Kappenseite
(Schlossseite) und Drückerlochteil auf der flachen Kap-
penseite montieren
ARCOS Studio
Mounting instructions lock / strike box
You receive a lock set, premounted for right hand doors.
Please make sure that the clamping surface of the glass
is grease free for the lock and the strike box.
Mounting lock
1. Loosen the plastic guide piece for the lever handles
(3) on the high cap with enclosed black plastic key (4).
2. Remove cap (5).
3. Loosen the countersunk screws (6) with 4 mm Allan
key and remove the lock (9) from the counterplate (12).
4. Stick foil strip (13) to the protective strip (11) at
the leading edge and fold back or cut overhanging foil.
Remove protection foil from bonding sticker (10). Set
lock onto the protective strip so that the desired DIN
direction is visible.
Set clamp plate (7) onto the lock and fasten both
countersunk screws (6) through clamp plate and lock
against counterplate (12).
Tightening torque of screws = 5 Nm
5. For use with left hand doors: Loosen and turn latch
(14), retighten with (15).
ATTENTION: Bevelled side of latch must always point to
the glass!
6. Adjust spring-strength-reduction when using
knob-handles: Turn bolt (16) 90° with screwdriver.
7. If lock for profile cylinder is supplied, now mount
cylinder. Use enclosed countersunk screw M5x35 (8)
only. A longer screw would block the lock mechanism.
(The same applies to round cylinders, Swiss standard.)
8. Set cover cap (5).
9. Fasten plastic handle guide piece (3) with plastic key
(4) and set handle guide rings (2) onto lever handle.
10. Mount lever handles (1) (3 mm Allan key)*. To
ensure a later dismantling of a rose lever, a clipping
catch should if possible be seen either facing the middle
of the door or facing latch side (non-locking latch, lever
forward).
Mounting strike box
11. Put the tube sections (19) into drilled glass holes.
Screw through drilled hole with countersunk screw (21)
clamp plate (20) and counterplate (18) together. Remove
protection foil from adhesive tape and attach on cover
cap (17) and (22).
*Always mount lever handle with square spindle onto
high side of caps (side of lock) and lever handle with
square hole on flat side of caps
DORMA-Glas 800.52.056.6.32 Stand/Issue 09/04 Seite/Page 1/2
ARCOS Studio
Montageanleitung Band
Bitte halten Sie die Klemmflächen für die Bänder auf
dem Glas fettfrei.
1. Ganzglasflügel in Türrahmen auf 7 mm Platten stellen
(untere Türluft) und seitlich ausrichten.
2. Band (6) auf Rahmenteil (7) stecken. (Bolzen ohne
Kunststoffummantelung vorher fetten. Bolzen mit Kunst-
stoffummantelung sind wartungsfrei.)
Hinweis:
Beim Aufschraubrahmenteil (7c) dürfen die Befesti-
gungsschrauben nicht überstehen!
3. Von der Bandgegenseite Kunststoff-Schlauchabschnitte
(4) in Glasbohrungen stecken. Klemmplatte (3) mit Senk-
schrauben M6x22 (2) (4 mm Inbusschlüssel) mit Band
(6) lose verschrauben.
Band und Klemmplatte ausrichten und fest verschrauben.
Anzugsmoment der Schrauben = 12 Nm
4. Folie von Doppelklebeband abziehen und Kappe (1)
auf Klemmplatte (3) drücken.
5. Kunststoff-Abdeckkappe (5) in Bandbohrung drücken
und Abdeckhülse (8) auf Rahmenteil schieben.
Legende zu den Abbildungen
(C) Abbildung zeigt Band DIN links
(D) Abbildung zeigt Band DIN rechts
(E) Glasbohrungen
(I) Band, DIN links
(M) Rahmenteile
Pflege allgemein:
Die Oberflächen der Beschläge sind nicht wartungsfrei
und sollten gemäß ihrer Ausführung gereinigt werden.
- Für metallische Oberflächen (Eloxaltöne, Edelstahl)
bitte nur geeignete Reiniger ohne Scheuermittelanteil
verwenden.
- Für lackierte Oberflächen bitte nur entsprechende
lösemittelfreie Reiniger verwenden.
- Messing Oberflächen (ohne Oberflächenschutz)
müssen von Zeit zu Zeit mit geeignetem Pflegemittel
behandelt werden, um ein Anlaufen zu vermeiden.
ARCOS Studio
Mounting instructions hinge
Please make sure that the clamping surface of the glass
is grease free for the hinges.
1. Place door panel in the door frame onto 7 mm spacer
plates (lower clearance) and align sides.
2. Slide hinge (6) onto frame portion (7). (First grease
bolt if not plastic covered. Plastic covered bolts are
maintenance-free.)
Please notice:
Screws must not exceed edge of screw-on frame
portion (7c)!
3. Insert the plastic rings (4) into the glass holes from
the exterior side of the panel. Fasten clamp plate (3) with
countersunk screws M6x22 (2) (4 mm Allan key) loosely
against hinge (6).
Align hinge and clamp plate, and screw tightly.
Tightening torque of screws = 12 Nm
4. Remove protection foil from adhesive tape and press
cap (1) onto clamp plate (3).
5. Press plastic cover cap (5) into hinge hole and slide
cover bush (8) onto frame portion.
Legend for illustrations
(C) Illustration shows hinge DIN left hand
(D) Illustration shows hinge DIN right hand
(E) drilled glass hole
(I) hinge, DIN left hand
(M) frame pivots
General care instructions:
The surface finishes of the fittings are not maintenance-
free and should be cleaned according to their material
and design.
- For metallic surfaces (anodised finishes, stainless
steel) please use appropriate cleaning agents without
abrasive additives only.
- For varnished surfaces please use appropriate solvent-
free cleaning agents only.
- Brass surfaces (without surface protection) have to be
treated with an appropriate maintenance agent on
occasion, to avoid tarnishing.
DORMA-Glas 800.52.056.6.32 Stand/Issue 09/04 Seite/Page 2/2
7c

Other Dorma Lock manuals

Dorma M9000 User manual

Dorma

Dorma M9000 User manual

Dorma EM 7500-D AM User manual

Dorma

Dorma EM 7500-D AM User manual

Dorma ARCOS Office User manual

Dorma

Dorma ARCOS Office User manual

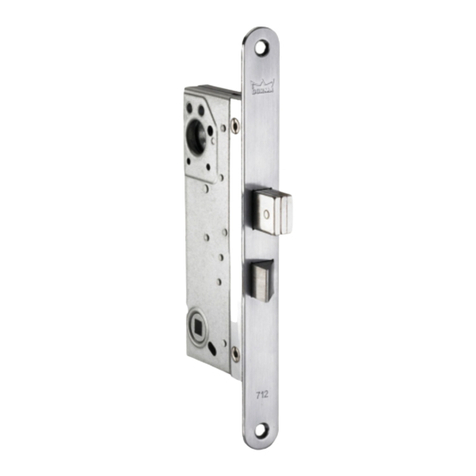
Dorma Duo OFFICE 712 User manual

Dorma

Dorma Duo OFFICE 712 User manual

Dorma EM Series User manual

Dorma

Dorma EM Series User manual

Dorma EM Series User manual

Dorma

Dorma EM Series User manual

Dorma EM 15000-D AM User manual

Dorma

Dorma EM 15000-D AM User manual

Dorma SVP 22 Series User manual

Dorma

Dorma SVP 22 Series User manual

Dorma Studio Classic User manual

Dorma

Dorma Studio Classic User manual

Dorma DB600 Series Guide

Dorma

Dorma DB600 Series Guide

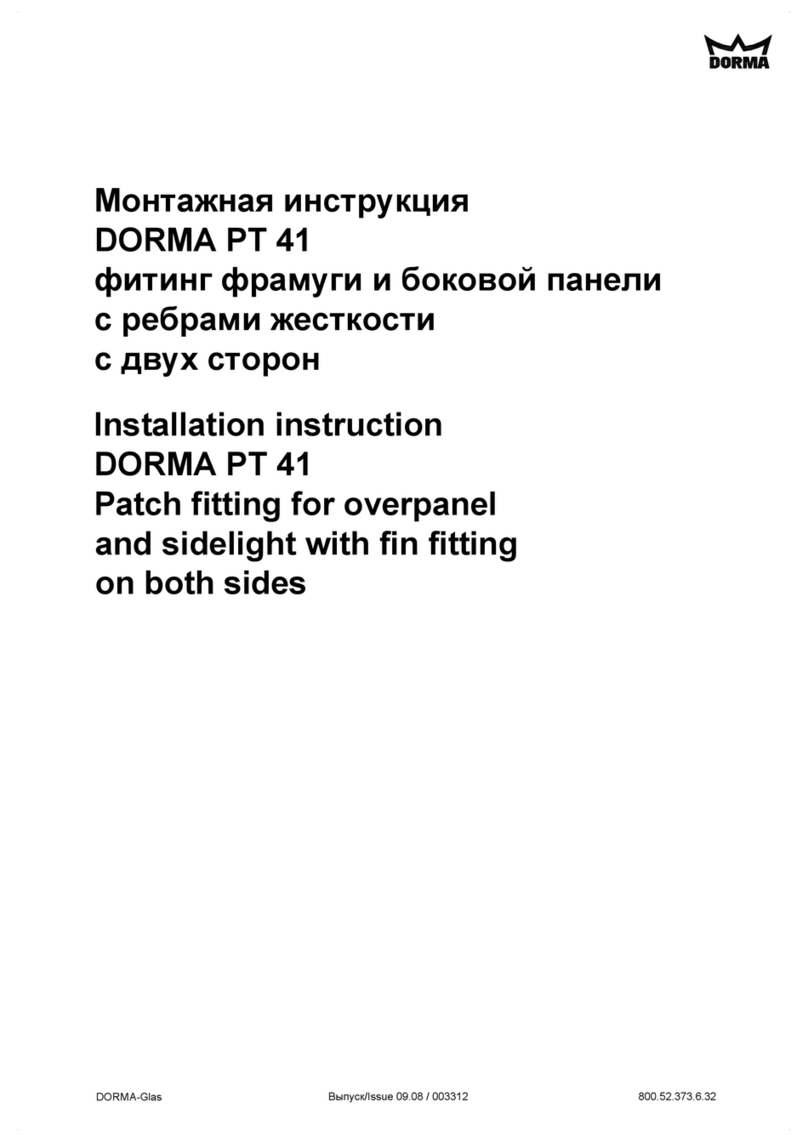
Dorma PT 41 User manual

Dorma

Dorma PT 41 User manual

Dorma EM Series User manual

Dorma

Dorma EM Series User manual

Dorma G-EMF Manual

Dorma

Dorma G-EMF Manual

Dorma C500 User manual

Dorma

Dorma C500 User manual

Dorma CL700 User manual

Dorma

Dorma CL700 User manual

Dorma C300 User manual

Dorma

Dorma C300 User manual

Dorma EML320 User manual

Dorma

Dorma EML320 User manual

Dorma ARCOS Office User manual

Dorma

Dorma ARCOS Office User manual

Dorma EM Series User manual

Dorma

Dorma EM Series User manual

Dorma CL853 User manual

Dorma

Dorma CL853 User manual

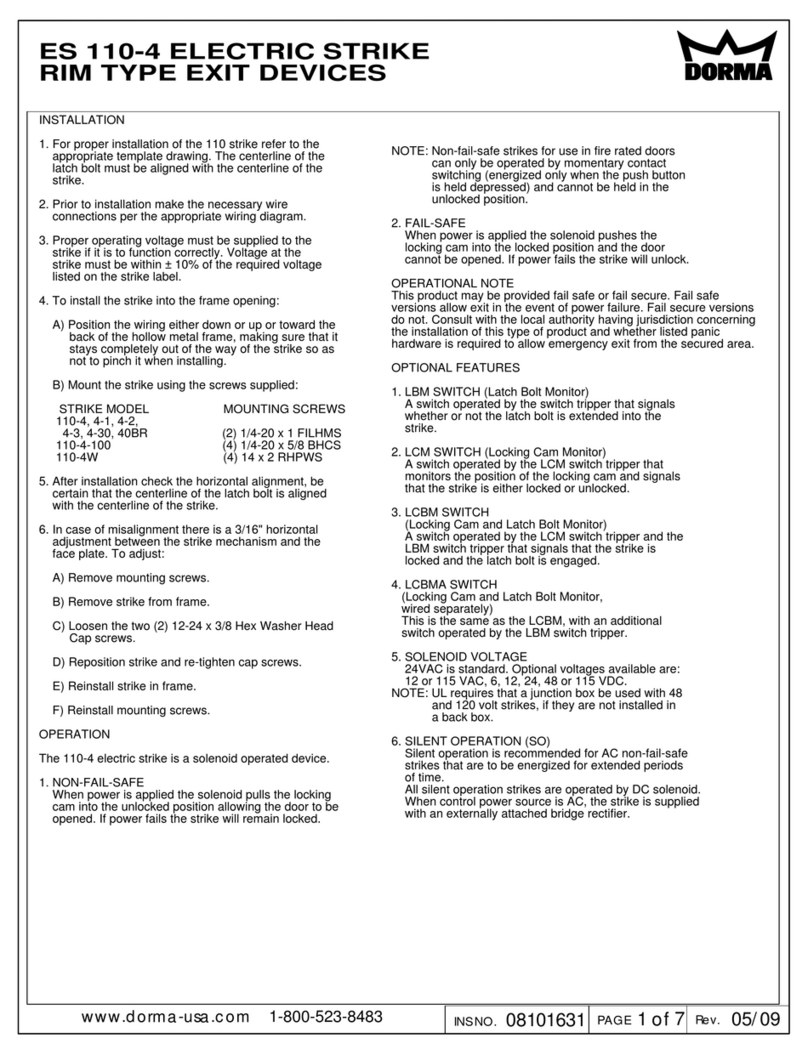
Dorma ES 110-4 Series User manual

Dorma

Dorma ES 110-4 Series User manual

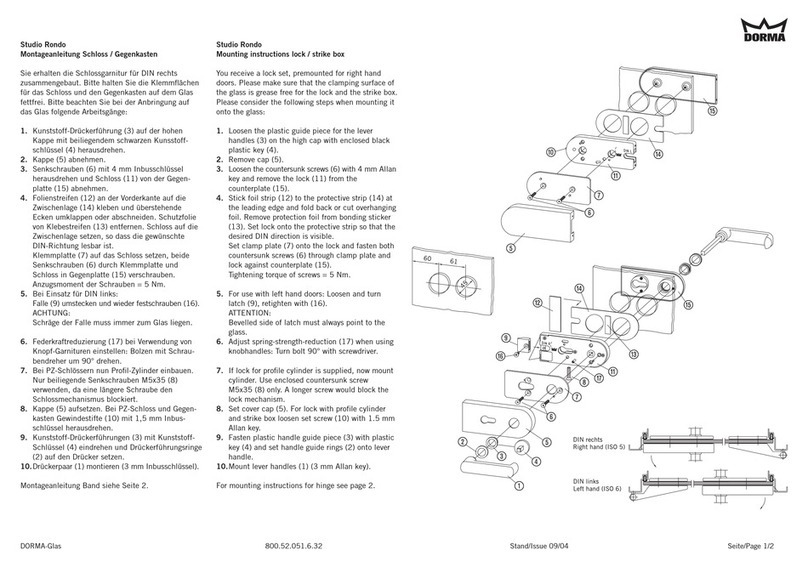
Dorma Studio Rondo User manual

Dorma

Dorma Studio Rondo User manual

Dorma EM 3000-EW AH User manual

Dorma

Dorma EM 3000-EW AH User manual

Popular Lock manuals by other brands

Holtz 303LRK2 quick start guide

Holtz

Holtz 303LRK2 quick start guide

EntraPass GL-1 Installation instructions and operating manual

EntraPass

EntraPass GL-1 Installation instructions and operating manual

Siegenia GENIUS 2.2 PANIC Assembly instructions

Siegenia

Siegenia GENIUS 2.2 PANIC Assembly instructions

Logiflex E2 user guide

Logiflex

Logiflex E2 user guide

Nexia BE369 installation instructions

Nexia

Nexia BE369 installation instructions

iLoq H50S.31.HC Series Mounting and care instructions

iLoq

iLoq H50S.31.HC Series Mounting and care instructions

National Cabinet Lock C8163 Dimensional drawing

National Cabinet Lock

National Cabinet Lock C8163 Dimensional drawing

AYR int LOCK BT user manual

AYR

AYR int LOCK BT user manual

Targus universal security DEFCON VPCL user manual

Targus

Targus universal security DEFCON VPCL user manual

Rahrbach ERGO 6188 Series manual

Rahrbach

Rahrbach ERGO 6188 Series manual

Wittkopp ANCHOR user manual

Wittkopp

Wittkopp ANCHOR user manual

Mesa MSL-50 operating instructions

Mesa

Mesa MSL-50 operating instructions

Salto A i 650 Series installation guide

Salto

Salto A i 650 Series installation guide

Smart Keeper PC Lock user guide

Smart Keeper

Smart Keeper PC Lock user guide

Siegenia AS 3600 operating instructions

Siegenia

Siegenia AS 3600 operating instructions

Targus DEFCON ASP04EUX user guide

Targus

Targus DEFCON ASP04EUX user guide

Steren COM-225 quick start guide

Steren

Steren COM-225 quick start guide

Stock Loks C8717 instruction sheet

Stock Loks

Stock Loks C8717 instruction sheet

manuals.online logo
manuals.online logoBrands
  • About & Mission
  • Contact us
  • Privacy Policy
  • Terms and Conditions

Copyright 2025 Manuals.Online. All Rights Reserved.