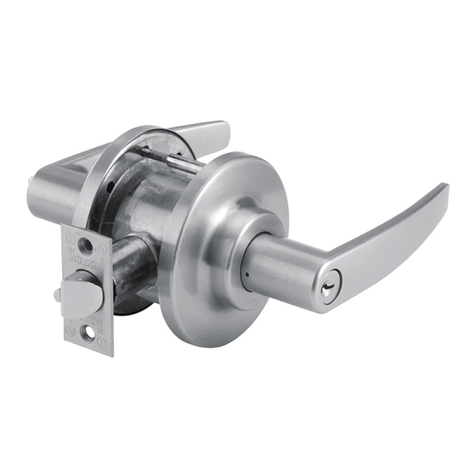
Installation Instructions
76013499 07/2015 www.dorma.com
Reversing direction of latch
5. Install strikes
5.1 Insert the dust box then strike.
5.2 Secure each with two 12-24x1”
combo-screws.
Strike part list
1 - Dust box
2 - Strike plate
3 - 12-24x1” combo-screws
5
1.1 Remove the latch bolt
set screw with the
provided 3/32 allen key.
1
32
Handing instructions
1.1 Remove the two handing
screws above and
below the spindle hub.
1.2 Flip the chassis over and
reinstall the two screws
into the same location
on the opposite side.
Be sure to alternate
tightening each screw so
the locking slide does not
bind.
Hinge Hinge
Exterior side of door
Interior side of door
Left hand door (LH)
Left hand reverse
door (LHR)
Right hand reverse
door (RHR)
Right hand door (RH)
Handing reference
1.2 Remove the latch from the
mortise lock.
1.3 Rotate the latch 180° and
reinstall into the lock.
Orient the latch as seen in
the images.
Be sure the foot is raised
when reinserting the latch.
1.4 Reinstall the latch bolt set
screw and tighten securely.
Latch
foot
Latch bolt
set screw
Latch bolt
set screw
4. Install armor plate
4.1 Secure the armor plate using two
8-32x¼” screws.
8-32x¼”
NOTE: Test door function and proper
installation prior to securing the
armor plate or closing the door.
NOTE: Anchor screws will press
against the edge of the cylinder
to hold it in place.
Cylinder
Cylinder
Cylinder
retainer
3
3. Install outside escutcheon or rose
Outside escutcheon trim
3.1A Place the outside escutcheon against the face of
the door.
NOTE: Ensure that the spindle engages the mortise
chassis.
3.2A Thread the cylinder into the outside escutcheon,
oriented with the plug at bottom center.
NOTE: Ensure the cylinder face is flush with the
escutcheon.
3.3A Tighten the cylinder in place using the cylinder
retainer screws. See FIGURE 1 in this step.
Conventional
mortise cylinder/
IC core
(At bottom center of
cylinder when installed)
Outside rose trim
3.1B Slide the wave washer and cylinder ring over the cylinder.
NOTE: Ensure that the spindle engages the mortise chassis.
3.2B Thread the cylinder into the face of the door, oriented
with the plug at bottom center.
NOTE: Ensure the cylinder face is flush with the cylinder
ring.
3.3B Place the outside lever/rose assembly into the face of the
door.
3.4B Tighten the cylinder in place using the cylinder retainer
screws. See FIGURE 1 in this step.
Wave
washer
Cylinder
ring
Outside
lever/rose
assembly
Spindle
Conventional
mortise cylinder/
IC core
(At bottom center of
cylinder when installed)
FIGURE 1
4
Handing
screws
