manuals.online logo
Brands
  1. Home
  2. •
  3. Brands
  4. •
  5. Dorma
  6. •
  7. Lock
  8. •
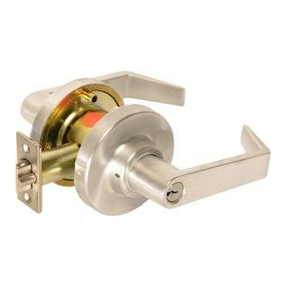
  9. Dorma C300 User manual

Dorma C300 User manual

Other Dorma Lock manuals
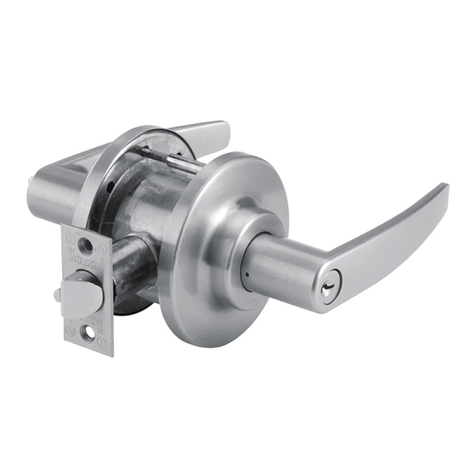
Dorma EM Series User manual

Dorma

Dorma EM Series User manual

Dorma ARCOS Office User manual

Dorma

Dorma ARCOS Office User manual

Dorma EM 15000-D AM User manual

Dorma

Dorma EM 15000-D AM User manual

Dorma Duo OFFICE 712 User manual

Dorma

Dorma Duo OFFICE 712 User manual

Dorma ARCOS Studio User manual

Dorma

Dorma ARCOS Studio User manual

Dorma EM Series User manual

Dorma

Dorma EM Series User manual

Dorma Studio Classic User manual

Dorma

Dorma Studio Classic User manual

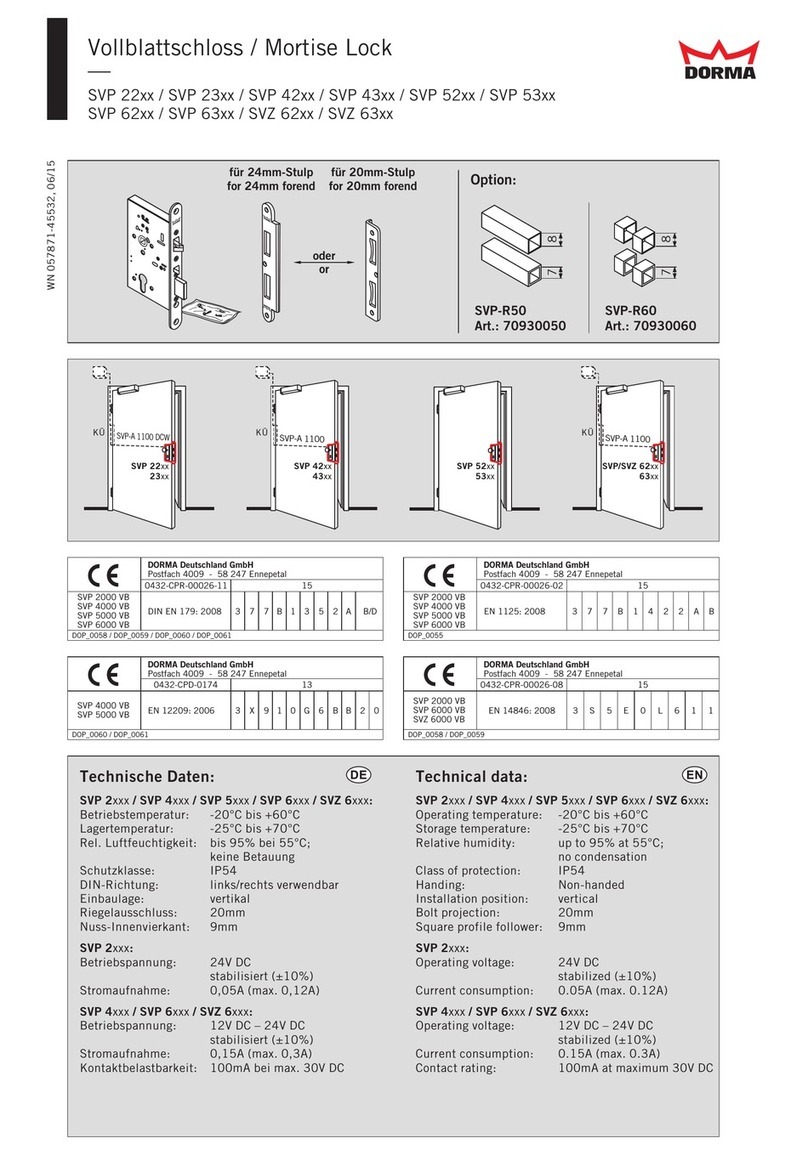
Dorma SVP 22 Series User manual

Dorma

Dorma SVP 22 Series User manual

Dorma EM 3000-EW AH User manual

Dorma

Dorma EM 3000-EW AH User manual

Dorma Studio Rondo User manual

Dorma

Dorma Studio Rondo User manual

Dorma ARCOS Office User manual

Dorma

Dorma ARCOS Office User manual

Dorma EM 7500-D AM User manual

Dorma

Dorma EM 7500-D AM User manual

Dorma G-EMF Manual

Dorma

Dorma G-EMF Manual

Dorma C500 User manual

Dorma

Dorma C500 User manual

Dorma ES 110-4 Series User manual

Dorma

Dorma ES 110-4 Series User manual
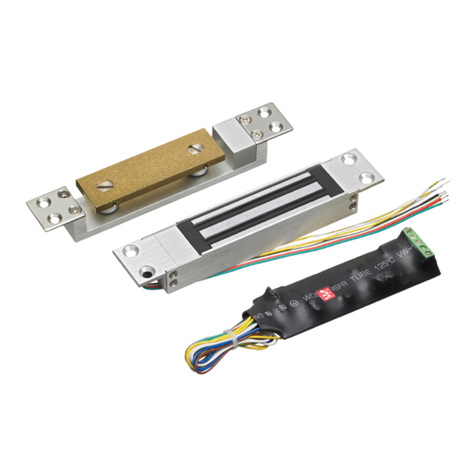
Dorma EM Series User manual

Dorma

Dorma EM Series User manual
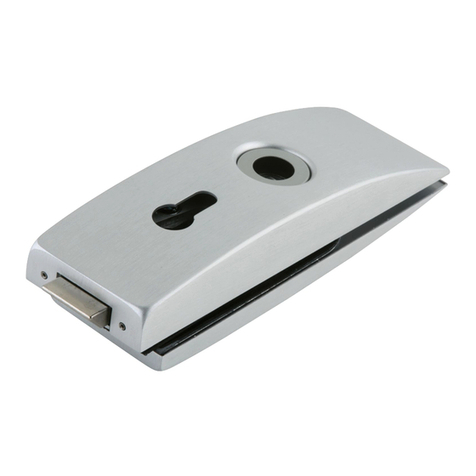
Dorma PT 41 User manual

Dorma

Dorma PT 41 User manual

Dorma EML320 User manual

Dorma

Dorma EML320 User manual

Dorma CL700 User manual

Dorma

Dorma CL700 User manual

Dorma EM Series User manual

Dorma

Dorma EM Series User manual

Dorma DB600 Series Guide

Dorma

Dorma DB600 Series Guide

Dorma CL853 User manual

Dorma

Dorma CL853 User manual

Dorma M9000 User manual

Dorma

Dorma M9000 User manual
Popular Lock manuals by other brands

Magic 105 manual

Magic

Magic 105 manual

Gantner GAT NET.Lock 7020 System Installation, configuration & operation

Gantner

Gantner GAT NET.Lock 7020 System Installation, configuration & operation

Securam ECSL-601 quick start guide

Securam

Securam ECSL-601 quick start guide

Sudhaus 3003 operating manual

Sudhaus

Sudhaus 3003 operating manual

Safety 1st 48517 user guide

Safety 1st

Safety 1st 48517 user guide

Pado FDS-10 user manual

Pado

Pado FDS-10 user manual

Esco systeQ Series installation instructions

Esco

Esco systeQ Series installation instructions

COMPX National D8951 instruction sheet

COMPX

COMPX National D8951 instruction sheet

secureo Key Box instruction manual

secureo

secureo Key Box instruction manual

Stock Loks C8713 instruction sheet

Stock Loks

Stock Loks C8713 instruction sheet

COMPX 1T-058 Information

COMPX

COMPX 1T-058 Information

Auslock T11 user manual

Auslock

Auslock T11 user manual

Stealth SAFES ShadowVault Instructions & Troubleshooting

Stealth SAFES

Stealth SAFES ShadowVault Instructions & Troubleshooting

Knox KeySecure 5 Admin & user guide

Knox

Knox KeySecure 5 Admin & user guide

Kwikset 48334/01 Quick installation guide

Kwikset

Kwikset 48334/01 Quick installation guide

Metra Electronics Door Access Terminal Combo Technical manual

Metra Electronics

Metra Electronics Door Access Terminal Combo Technical manual

Kilitronik miniK10m operating manual

Kilitronik

Kilitronik miniK10m operating manual

Ingersoll-Rand SCHLAGE Everest Service manual

Ingersoll-Rand

Ingersoll-Rand SCHLAGE Everest Service manual

manuals.online logo
manuals.online logoBrands
  • About & Mission
  • Contact us
  • Privacy Policy
  • Terms and Conditions

Copyright 2025 Manuals.Online. All Rights Reserved.

C300 CYLINDRICAL LEVERSET
—
Installation Instructions
76019327 12/14
www.dorma.com
Part List
1 - Inside lever
2 - Rose
3 - 10-32 x 1-⅜” screws (x2)
4 - Inside rose insert
5 - Latch
6 - 8-32 x ¾” combo-screws (x2)
7 - Lock assembly 1
1. Install latch
1.1 Place the latch into the door
edge.
Orient such that the beveled
edge of the latch faces the door
jamb.
1.2 Secure with two 8-32 x ¾”
combo-screws.
2. Install lock assembly
Remove inside lever, rose & rose insert
2.1 Pull the inside lever off the assembly and
remove the tag.
2.2 Remove the rose.
2.3 Remove the rose insert.
3. Install inside rose insert
3.1 Hold the lock assembly in place.
Orient the rose insert such that
the rose insert notch faces the
door.
3.2 Secure the rose insert to the
chassis using two
10-32 x 1-⅜” screws.
d
door
Beveled edge
chassis usi
ng
two
1
0
-
3
2
x
1
-
⅜
” s
cre
ws.
Rose
insert
Adjust for door thickness
NOTE: Lock comes adjusted for 1-¾”
door from the factory.
2.4 To adjust the lock assembly for
door thickness, align chassis such
that the center of the chassis is in
line with the center line of the
latch.
2.5 Rotate the outside rose assembly to
adjust for proper door thickness.
Install chassis
2.6 Slide the lock assembly into the
face of the door.
Be sure to line up the inner
mechanism of the chassis with the
back of the latch as shown.
Chassis
3
2
Latch
Tools required for installation
#2 Phillips screwdriver
Rose
insert
notch
adjust
for
proper
door
thickness.
Center
of latch
Overall Exploded View
P
a
r
t
Li
st
1
-
Inside leve
r
Tools requ
i
red
f
or
i
nstallat
i
o
n
#
2 Phillips screwdriver
Overall
Exploded
Vie
w
15
4
3
2
}
3
6
7
Chassis
Outside rose
assembly
Installation Instructions
76019327 12/14 www.dorma.com
1. Remove the outside lever by inserting the key, turn clockwise and
hold at 90°. Using the pick, depress the lever catch through the pick
hole and remove the lever. Remove the key.
6. Install strike
6.1 Insert the strike as
shown.
6.2 Secure with two
8-32 x ¾” combo
screws.
5. Install inside lever
5.1 Push the inside lever onto the
spindle until it clicks into place.
Inside
lever
1
2
4. Install rose
4.1 Place the rose onto the rose
insert oriented such that the
rose dimples line up with the
rose insert notches, and the rose
notch is towards the bottom of
the rose. (See figure for exact
placement).
4.2 Push the rose in place against
the face of the door.
654 Spindle
pg
the face of the door.
4
Rose
Rose
insert
notch
Dimple
Cylinder
Lever
insert
Tailpiece
(horizontal)
hole
and
remove
the
lever
.
Remove
the
key
.
2. Remove the lever insert and cylinder
from. Replace with the new cylinder
and reinstall the lever insert.
3. Insert the key in the cylinder.
DO NOT turn the key.
Pick
Rose notch
Pick
hole
T
a
ilpi
ece
(
hor
i
zont
al)
Lever
catch
Steps to install new cylinder Be sure the tailpiece is horizontal.
4. Press the outside lever onto the spindle until the lever contacts the
lever catch.
5. Insert the key into the core, turn clockwise and hold at 90°. Press the
lever fully onto the spindle until it clicks into place. Release the key.
90°
90°
2
Strike part list
1 - Strike
2 - 8-32 x 3/4” combo
screws (x2)
Lever
catch