manuals.online logo
Brands
  1. Home
  2. •
  3. Brands
  4. •
  5. Dorma
  6. •
  7. Lock
  8. •
  9. Dorma CL700 User manual

Dorma CL700 User manual

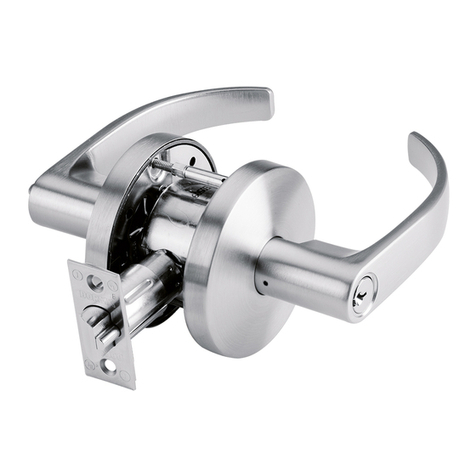
CL700 CYLINDRICAL LEVERSET
—
Installation Instructions
76002003 07/15www.dorma.com
Tools required for installation
#2 Cross drive screwdriver
1. Install latch
1.1 Place the latch into the door edge.
Orient such that the beveled edge of the latch
faces the door jamb.
1.2 Secure with two 8-32 x ¾” combo screws.
NOTE: Latch sleeve to be used for doors with
1-1/8” face plate prep and 1” latch bore.
2. Install lock assembly
Adjust for door thickness
NOTE: Lock comes adjusted for 1-¾”
door from the factory.
2.1 To adjust the lock assembly for
door thickness, align so the center
of the chassis is in line with the
center of the latch.
3. Install inside rose mounting plate
3.1 Hold the lock
assembly in place.
3.2 Thread the inside
rose mounting
plate onto the
chassis until snug
against the door
and tighten using
the included
spanner wrench.
Be sure holes in
plate are aligned
with the holes in
the door.
3.3 Secure the
mounting plate
using two
10-32 x 1-½”
screws.
2.2 Slightly separate the thru-bolt
retainer from the outside rose.
2.3 Rotate the outside rose assembly
to adjust for proper door thickness.
2.4 Realign the thru-bolt retainer with
the outside rose.
Install chassis
2.5 Slide the lock assembly into the face of the
door.
Be sure to engage the inner latch mechanism
of the chassis with the back of the latch as
shown.
1
432
Center of
latch
Chassis
Latch
Overall Exploded View
of
the
chassis
with
the
back
of
the
latch
as
s
h
own
.
4. Install rose
4.1 Push the inside rose
onto the inside rose
mounting plate
oriented such that the
rose notch is
facing downward.
NOTE: Be sure the lever
insert is inserted into
the inside lever prior to
installation.
4.2 Push the inside lever
onto the spindle until
it clicks into place.
Part List
1 - IC core
2 - Outside IC lever
3 - Conventional cylinder
4 - Inside conventional
cylinder lever
5 - Lock assembly
6 - Inside rose mounting plate
7 - 10-32 x 1-½” screws (x2)
8 - Inside rose
9 - Lever insert
10 - Inside lever
11 - 8-32 x ¾” combo screws (2)
12 - Latch
13 - Latch sleeve
14 - Outside rose assembly
Beveled
edge
Spanner
wrench
Inside rose
mounting
plate
facin
g d
own
war
d.
Chassis
Outside rose
assembly
Thru-bolt
retainer
Inside
lever
Inside
rose
Spindle
Inside
rose
mounting
plate
Rose
notch
location
5. Install strike
5.1 Insert strike as shown, and secure with two
12-24 x 1” combo screws.
Strike part list
1 - Strike plate
2 - 12-24 x 1” combo-screws
5
2
1
2
1
9
8
7
6
5
4
3
12
11
10
13
14
Supplementary Instructions
76002003 07/15 www.dorma.com
Removal
1. Remove the outside lever by inserting
the key, turn clockwise and hold at 45°.
Using the pick, depress the lever catch
through the pick hole and remove the
lever. Remove the key. (Figure 1a & 1b)
2. Remove the lever insert and cylinder.
Reinstallation
3. Replace with new cylinder and lever
insert, and reinstall the lever insert.
(Figure 2)
Be sure the tailpiece is horizontal.
4. Press the outside lever onto the
spindle until it contacts the lever catch.
(Figure 3)
5. Insert the key into the cylinder, turn
clockwise and hold at 45°. Press the
lever fully onto the spindle until
it clicks into place. Release the
key. (Figure 3)
II. Removing & reassembling interchangeable core lever
III. Removing & reassembling standard cylinder lever (cylinder changes)
Removal
1. Insert the control key into the IC core,
rotate the key 15° clockwise, and remove
the core and tail piece from the lever.
2. Using a flathead screwdriver, retract the
lever catch inside the spindle and remove
the lever.
Reinstallation
3. Press the lever onto the spindle until it
snaps into place.
4. Install the tail piece on the core.
Insert the control key into the core,
rotate the key 15° clockwise, push the
core fully into the lever and turn counter
clockwise 15 ° (home position), and
remove the key.
IV. C701 Dummy trim installation
1. Using the pick, depress the
lever catch through the pick
hole and remove the lever.
2. Remove the rose from the
dummy mounting plate.
3. Position the dummy
mounting plate on the door with
the lever catch facing towards
the door edge.
4. Secure to the door using four
8-32 x
¾” combo screws.
5. Push the rose onto the
mounting plate oriented with
the rose notch facing
downward.
6. Push the inside lever onto the
spindle until it clicks into
place.
Single dummy trim
h
.
IC
core
IC core lever
Dummy
mounting
plate
Rose
notch
location
Lever
catch
Door
edge
Rose
I. C770 - Timing instructions
TIMING INSTRUCTIONS: Install lock on door. Remove outside
lever and cylinder (for Interchangeable Core locks, leave levers in
place and remove cores and tail pieces)
OUTSIDE OF DOOR:
Rotate key spindle fully counter-clockwise.
Install cylinder and lever.
(See steps 4 & 5 in section III.)
Key spindle
45° Figure 1a
Figure 1b
Figure 2
Pick hole
Cylinder
Lever
insert
Tailpiece
(horizontal)
Lever
catch
45° Figure 3
IC
core
IC core lever
Lever catch

Other Dorma Lock manuals

Dorma EML320 User manual

Dorma

Dorma EML320 User manual

Dorma Studio Classic User manual

Dorma

Dorma Studio Classic User manual
Dorma Studio Rondo User manual

Dorma

Dorma Studio Rondo User manual

Dorma C500 User manual

Dorma

Dorma C500 User manual

Dorma G-EMF Manual

Dorma

Dorma G-EMF Manual

Dorma ARCOS Studio User manual

Dorma

Dorma ARCOS Studio User manual

Dorma C300 User manual

Dorma

Dorma C300 User manual
Dorma EM Series User manual

Dorma

Dorma EM Series User manual

Dorma ARCOS Office User manual

Dorma

Dorma ARCOS Office User manual

Dorma EM Series User manual

Dorma

Dorma EM Series User manual

Dorma ARCOS Office User manual

Dorma

Dorma ARCOS Office User manual

Dorma PT 41 User manual

Dorma

Dorma PT 41 User manual

Dorma EM Series User manual

Dorma

Dorma EM Series User manual

Dorma CL853 User manual

Dorma

Dorma CL853 User manual

Dorma Duo OFFICE 712 User manual

Dorma

Dorma Duo OFFICE 712 User manual

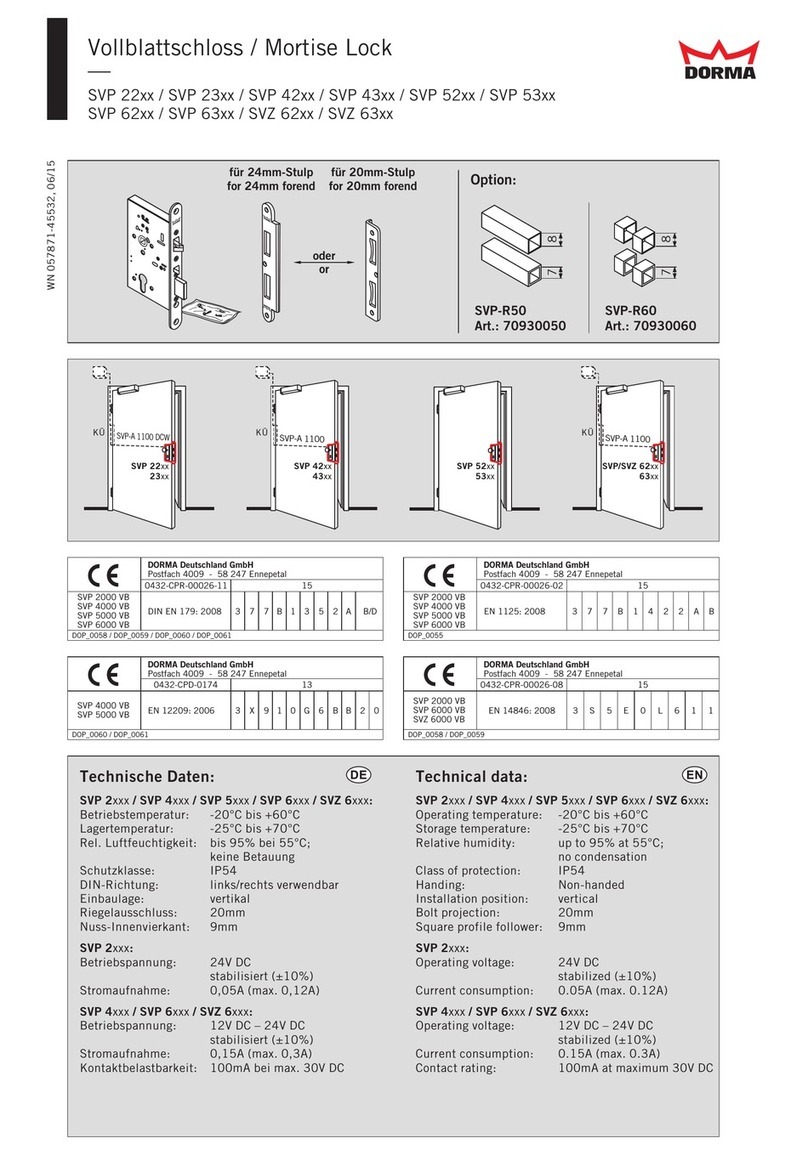
Dorma SVP 22 Series User manual

Dorma

Dorma SVP 22 Series User manual

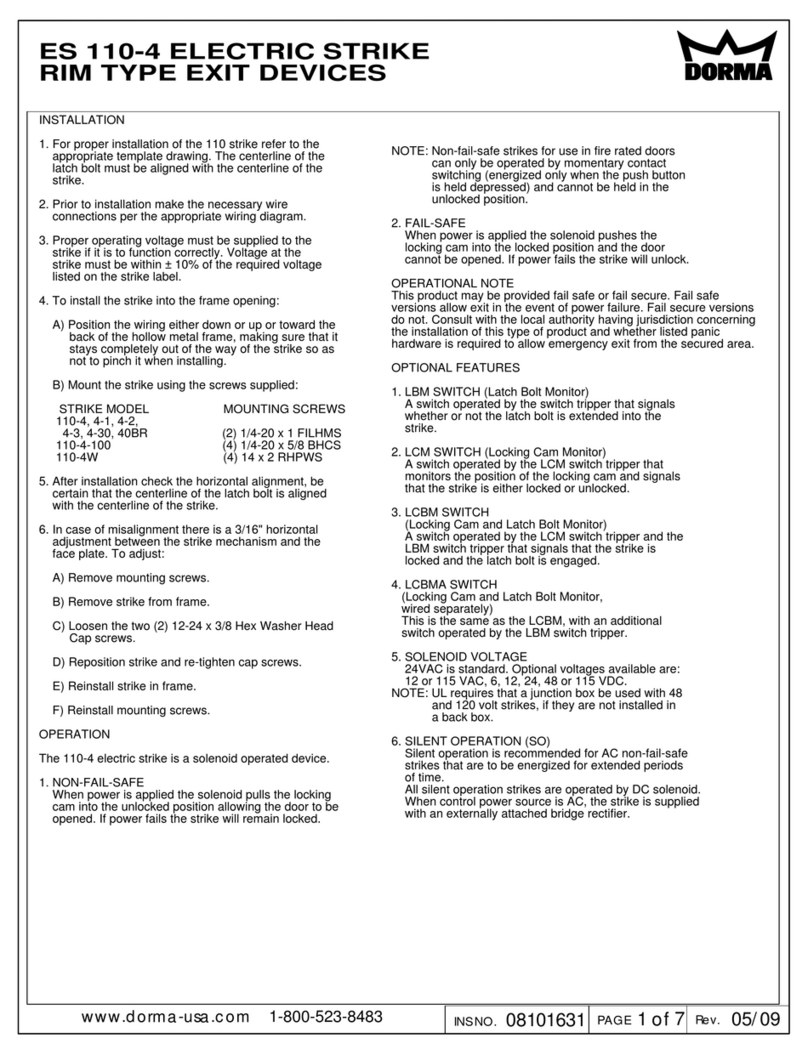
Dorma ES 110-4 Series User manual

Dorma

Dorma ES 110-4 Series User manual
Dorma EM 3000-EW AH User manual

Dorma

Dorma EM 3000-EW AH User manual

Dorma EM Series User manual

Dorma

Dorma EM Series User manual
Dorma DB600 Series Guide

Dorma

Dorma DB600 Series Guide

Dorma EM 7500-D AM User manual

Dorma

Dorma EM 7500-D AM User manual

Dorma EM 15000-D AM User manual

Dorma

Dorma EM 15000-D AM User manual

Dorma M9000 User manual

Dorma

Dorma M9000 User manual
Popular Lock manuals by other brands

Opera PRIMA installation instructions

Opera

Opera PRIMA installation instructions

eGeeTouch GT1000 quick start guide

eGeeTouch

eGeeTouch GT1000 quick start guide

LOX CL0002 installation manual

LOX

LOX CL0002 installation manual

Janus Nokē ONE quick start guide

Janus

Janus Nokē ONE quick start guide

Stock Loks CB-097 instruction sheet

Stock Loks

Stock Loks CB-097 instruction sheet

Cal-Royal M SERIES installation guide

Cal-Royal

Cal-Royal M SERIES installation guide

Cruz 932-014 Assembly instructions

Cruz

Cruz 932-014 Assembly instructions

AMSEC ESL20XL operating instructions

AMSEC

AMSEC ESL20XL operating instructions

Salto XS4 Mini installation guide

Salto

Salto XS4 Mini installation guide

COMPX Timberline CB-234 instruction sheet

COMPX

COMPX Timberline CB-234 instruction sheet

Gianni Industries EM-NH300 specification

Gianni Industries

Gianni Industries EM-NH300 specification

ADAMS RITE RITE Touch user guide

ADAMS RITE

ADAMS RITE RITE Touch user guide

Salsbury Industries 3090 Operation & Programming Instructions

Salsbury Industries

Salsbury Industries 3090 Operation & Programming Instructions

Kramer KT-107-OWLK quick start guide

Kramer

Kramer KT-107-OWLK quick start guide

iglooworks Padlock 2E user guide

iglooworks

iglooworks Padlock 2E user guide

Videosec Cl-19 user manual

Videosec

Videosec Cl-19 user manual

KSQ K1603BP-MK quick start guide

KSQ

KSQ K1603BP-MK quick start guide

Waferlock L701 user manual

Waferlock

Waferlock L701 user manual

manuals.online logo
manuals.online logoBrands
  • About & Mission
  • Contact us
  • Privacy Policy
  • Terms and Conditions

Copyright 2025 Manuals.Online. All Rights Reserved.