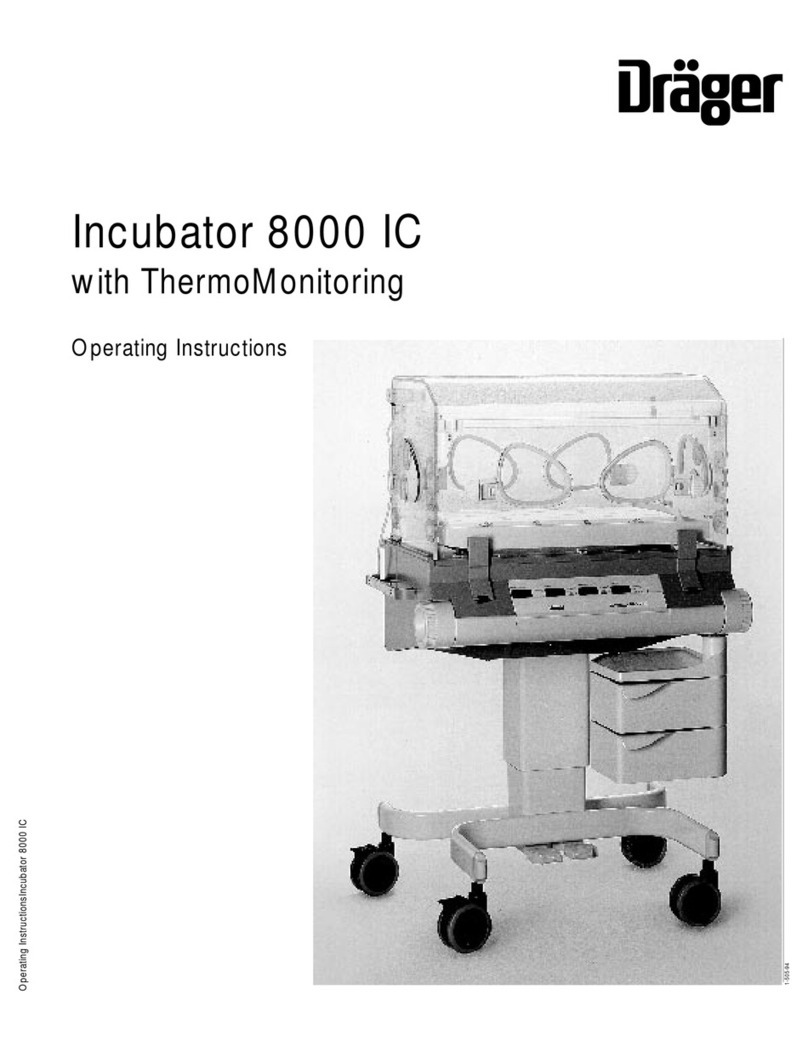
Dräger Incubator 8000 IC User manual

D
Incubator 8000 IC
Instructions for Use
– Software 21.n –
1-505-94

Contents
Page
For Your Safety and that of Your Patients................. 3
Intended Use............................................................. 4
Preparation................................................................ 5
Before using for the first time....................................... 5
Doors, ports and bed ................................................. 5
Connecting climate sensor.......................................... 8
Fitting accessories...................................................... 9
Preparing oxygen therapy accessories........................12
Routing cables and hoses.......................................... 13
Checking Readiness for Operation.......................... 14
Before using for the first time..................................... 14
Before each use.........................................................14
Operation..................................................................17
Precautions................................................................17
Controlling air temperature.........................................20
Using skin temperature control................................... 23
ThermoMonitoring......................................................28
Using humidity control................................................29
Using oxygen control..................................................31
Supplying oxygen manually.........................................34
Using electronic baby scales...................................... 35
Using vacuum mattress.............................................. 35
Using phototherapy unit..............................................36
Using "BabyLink Incubator" interface ........................ 36
Care.......................................................................... 37
Stripping down...........................................................37
Cleaning/disinfecting/sterilizing.................................. 38
Before re-using ......................................................... 40
Page
Fault, Cause, Remedy...............................................41
Maintenance Intervals...............................................46
Disposal of NiCd batteries..........................................46
What's What..............................................................47
Technical Data..........................................................52
Description............................................................... 54
Design....................................................................... 54
Alarm hierarchy.......................................................... 55
Order List..................................................................56
Index......................................................................... 58
Contents
2

For Your Safety and that of Your
Patients
For correct and effective use of the apparatus and to
avoid hazards it is essential to read the following recom-
mendations and to act accordingly1):
Strictly follow the Instructions for Use
Any use of the apparatus requires full understanding and
strict observation of these instructions. The apparatus is
only to be used for purposes specified here.
Maintenance
The apparatus must be inspected2) and serviced2) regu-
larly by trained service personnel at six monthly intervals
(and a record kept).
Repair2) and general overhaul of the apparatus may only
be carried out by trained service personnel.
We recommend that a service contract be obtained with
DrägerService and that all repairs also be carried out by
them. Only authentic Dräger spare parts may be used for
maintenance2).
Observe chapter "Maintenance Intervals".
Power connection
The apparatus is to be used only in rooms with mains
power supply installations complying with national safety
standards (such as in F. R. of Germany: VDE 0107).
The requirements laid down in IEC 601-1 "Safety of
Medical Electrical Equipment" are applicable for
electrically powered equipment.
Not for use in areas of explosion hazard
This apparatus is neither approved nor certified for use in
areas where combustible or explosive gas mixtures are
likely to occur.
Safe connection with other electrical equipment
Electrical connections to equipment which is not listed in
these Instructions for Use should only be made following
consultations with the respective manufacturers or an
expert.
Liability for proper function or damage
The liability for the proper function of the apparatus is
irrevocably transferred to the owner or operator to the
extent that the apparatus is serviced or repaired by
personnel not employed or authorized by DrägerService
or if the apparatus is used in a manner not conforming to
its intended use.
Dräger Medizintechnik GmbH cannot be held responsible
for damage caused by non-compliance with the
recommendations given above. The warranty and liability
provisions of the terms of sale and delivery of Dräger
Medizintechnik GmbH are likewise not modified by the
recommendations given above.
Dräger Medizintechnik GmbH
1)
Insofar as reference is made to laws, regulations or standards, these
are based on the legal system of the Federal Republic of Germany.
2)
Definitions according to DIN 31 051:
Inspection = examination of actual condition
Service = measures to maintain specified condition
Repair = measures to restore specified condition
Maintenance = inspection, service, repair
3
For Your Safety and that of Your Patients

Intended Use
Intensive care for premature babies with a body weight of
less than 1500 g and for sick neonates.
With control for:
– air temperature
– relative humidity
–O2concentration
– skin temperature (optional)
The incubator must only be used by properly trained
staff under the supervision of qualified medical staff
who have up-to-date knowledge of the risks and
benefits of the use of incubators.
Do not use the skin temperature control on babies
who are in shock or who have high temperatures.
The air in the incubator should only be enriched with
oxygen when prescribed by a doctor. It is absolutely
essential that such oxygen enrichment is controlled
on the basis of the arterially-measured oxygen partial
pressure in the patient's blood. If this is not done
there is a risk of hyperoxaemia (damage to the eyes)
and hypoxaemia (damage to the brain).
Do not nebulize any medicaments or similar
substances in the patient's room. If nebulized
substances fall onto the incubator this may impair its
functioning.
Mobile telephones must not be used within 10 metres
of the incubator.
Mobile telephones may interfere with the functioning of
electro-medical equipment.
Only connect incubator to a mains power socket.
Do not use a mains distribution board.
If there is a circuit breaker in the supply to the
distribution board the permitted limit for leakage currents
might be exceeded. There could then be an electrical risk
for patient and staff.
Maximum load must not exceed 25 kg.
Intended Use
4

Preparation
The incubator is supplied fully assembled.
Before using for the first time
●Check that all packaging material has been
removed.
Doors, ports and bed
Front door
To open front door:
1 Squeeze catches together with thumb and index
finger and at the same time lower front door until it
rests on housing.
To close front door:
●Lift up front door.
1Squeeze catches together on both sides, push front
door forward and release catches. Push firmly on
front door to ensure that catches fully engage. Red
mark on catches should no longer be visible.
Divided front door, optional
To open front door:
●Squeeze catches on both sides together, and at the
same time fold upper section back until it rests on
sloping surface of canopy. It is then possible to attend
to the patient.
If necessary:
●Pull lower section down, pulling gently against pivots
to do so, and lower until it rests on housing.
To close front door:
●First lift up lower section and push back into place –
until it engages.
●Then fold upper section down and, while squeezing
catches on both sides together, push door back into
place – until it engages.
Red mark on catch should not be visible any more.
Flap with Brief Instructions
●Fold flap down when:
– switching on incubator,
– entering or confirming set values
Then
●Fold flap back up again to prevent set values being
altered accidentally.
To switch off repeated alarm sound when flap is folded
up:
●Press Gkey on flap.
5
Preparation
Before using for the first time
Doors, ports and bed
11
°CFEUCHTE/HUMID. °CLUFT/AIR
°CLUFT/AIR °CHAUT/SKIN/PEAU/PIEL
Control

Hand ports
To open hand ports:
1Press catch on serrated area to open hand port.
To close hand ports:
●Push hand ports back into place until catch is
safely engaged.
Canopy
To lift up canopy:
●Open front door.
●Tip canopy back as far as it goes.
Taking out the bed
●Open front door.
●Pull bed out forwards as far as it goes.
●After completing care procedure, push bed back as
far as it will go and close front door.
Tilting the bed
●Turn left handwheel to lift left end of bed.
●Turn right handwheel to lift right end of bed.
6
Preparation
Doors, ports and bed
11

Re-positioning bed end
Can be used at right or left end of bed, as required.
●Open front door.
1Push middle of bed end outwards until it is
released from the groove and
●re-position at other end of bed.
●Close front door.
Replacing double walls
Left side wall and front door
e.g. when cleaning the incubator
●Open front door.
2Disengage double wall from upper bracket and
fold down.
●After cleaning refit the double wall by gently
folding back up until it engages again; close the
front door.
Removable double walls
When larger babies are being treated, their greater heat
production may cause the incubator temperature to rise,
and, if so, the double walls should be removed.
●Open front door.
●Disengage double walls from upper bracket and remove.
To put back:
●Fit double wall to clips provided, raise and
●engage in upper bracket.
●Close front door.
Bed extension
Required when the rear double wall is not being used
to reduce risk of patient being trapped.
●Open front door and pull out bed.
3Push both ends of bed extension out slightly and
4click on the rear side of the bed.
Make sure that the bed extension is securely atteched.
●Replace bed in incubator.
Do not use bed extension when the rear double wall is in
place as the incubator temperature may be affected.
Preparation
Doors, ports and bed
7
1
2
4
3 3

Adjusting working height
●Connect to mains power supply.
1Press right foot pedal to raise incubator.
2Press left foot pedal to lower incubator.
●Adjust to comfortable working height.
Hoses and cables must be the right length so that they
do not kink, tear or become squashed.
Do not store anything under the swivel cupboard.
Folding down back panel
●Disengage back panel and fold down.
For instance, in order to
replace water bottles,
replace filter
connect climate sensor
●Lift back panel up again and engage catch.
Connecting climate sensor
The climate sensor measures
air temperature
relative humidity and
O2concentration
●Pull climate sensor out and take off.
●Unscrew retaining ring, fit O2sensor capsule and
then screw retaining ring back into position.
[
Use two O2sensor capsules with the same expiry
date. Only use Dräger original sensor capsules.
See Order List on page 57.
●Refit climate sensor and push back into place.
●Disengage back panel and fold down.
●Push sensor plug through slot between incubator
housing and back panel, from below.
3Connect sensor plug to socket and screw safety
screws on firmly.
4Route sensor cable through cable clips.
●Lift back panel up again and engage.
8
Preparation
Doors, ports and bed
Connecting climate sensor
21
4
4
3

Fitting accessories
Support for ventilation hoses
●Fold down front door.
●Raise bed and lift out of incubator.
●Push mattress to one side a little.
Push hose support into appropriate hole, right or left.
●Screw knurled screws on from below and tighten.
●Replace bed in the incubator and close front door.
Bronchial suction equipment
See also relevant Instructions for Use.
To mount on incubator
●Screw holder to left or right end face of trolley at
front, using holes provided.
●Hang bottle holder on it.
●Attach ejector to rail with rail clamp.
●Connect hose.
Instrument tray
(for small items)
●Attach tray to rail and tighten clamp.
Maximum load must not exceed 2 kg.
9
Preparation
Accessories

Mounting plate
For monitors and ventilators with latching system for
standard Dräger housings 1/2B, e.g. Babylog 8000.
Maximum load must not exceed 20 kg.
●Attach plate to rail and tighten clamp.
Fixing equipment to mounting plate
Example: Babylog 8000
●Remove foot strips from Babylog.
●Tilt Babylog forward by about 45°.
1Insert front latches into slots in mounting plate.
2Lower Babylog, insert the rear latches into slots in
mounting plate and secure at back with knurled
screws.
BabyScreen
Optional for ThermoMonitoring
●Attach holder to rail.
●Engage BabyScreen in holder.
●Follow relevant assembly instructions.
Infusion stand
●Attach stand to rail with rail clamp and tighten.
Preparation
Accessories
10
1
2
D

Fitting pillar
For mounting accessories, such as
infusion pumps
instrument trays
infusion stand
●Fit according to assembly instructions.
Set to low working height before transport.
Swivel table
For small items, maximum load 3 kg
●Attach clamp on swivel table to pillar and tighten
screw.
Make sure that swivelling area is clear.
Swivel cupboard
To move swivel cupboard on right of incubator to left
or
to fit an additional swivel cupboard:
●Push Allen screw up through unit from below and
screw firmly to unit mounting.
●Insert extra trays.
●Store whatever is needed in them.
Do not store anything under the swivel cupboard.
The maximum load on the incubator must not exceed
25 kg.
11
Preparation
Accessories

Preparing oxygen therapy accessories
Oxygen enrichment of incubator air with oxygen control
1Screw O2 connecting hose underneath incubator.
●Connect probe to terminal of medical gas pipeline
O2supply in "parking position".
Oxygen enrichment without O2control
If oxygen control module is faulty
●Follow Instructions for Use of equipment being used.
●Monitor O2concentration.
O2flowmeter
●Attach O2flowmeter to rail.
●Fit hose to connector on O2flowmeter and
2to O2connector underneath incubator.
●Push probe on O2connecting hose into the medical
gas terminal unit, only as far as "parking position"
initially.
Oxygen limiter
If an oxygen limiter is going to be used:
●Unscrew connector on O2flowmeter and screw
oxygen limiter on.
●Connect hose.
Preparation
Preparing oxygen therapy accessories
12
2
1

O2meter
Monitor O2 concentration with O2meter which has
alarm limits, e.g. Dräger Oxydig:
●Attach O2Oxydig meter to rail with meter bracket.
●Place sensor capsule in incubator.
●Route sensor cable through one of the flexible hose
seals. Push sensor plug into socket on Oxydig until it
clicks into place.
Oxygen distributor
●Attach oxygen distributor, order no. 2M 18 810,
to rail.
Routing cables and hoses
●Route hoses and cables through the flexible hose
seals.
●Push ventilation hoses and cables into clip at end of
hose support.
13
Preparation
Oxygen therapy accessories
Cables and hoses

Checking Readiness for Operation
Before using for the first time
●Check that the mains voltage corresponds to the
specification on the rating plate.
Before each use
●Check that the equipment has been disinfected.
●Check that the calibration seals on the front of the
equipment and on the skin temperature sensor are still
valid (only required in Germany).
●Check that an adequate gas supply is available for the
equipment to be used.
●Check that the accessories and therapy equipment
required are to hand and in perfect condition.
Check readiness for operation in accordance with
relevant Instructions for Use.
●Check that the incubator canopy has no cracks or
sharp, chipped edges.
●Check that the hinges and catches on the canopy are
in proper working order.
●Check that the cables and hoses are routed correctly
and safely.
●Check that two O2sensor capsules are installed.
●If the rear double wall has been removed: Check that
the bed extension is provided. See page 7.
●Connect to mains power supply.
[
Do not use a mains distribution board.
If there is a protective circuit breaker in the supply
to the mains distribution board, the permitted limit
value for leakage currents might be exceeded.
There could then be an electrical risk for patient and
staff.
Checking height adjustment
●Press both foot pedals, one after the other, to raise
and lower incubator.
Then adjust to comfortable working height.
Checking Readiness for Operation
Before using for the first time
Before each use
14
21

Checking that hand ports will stay closed
●Open each hand port and then close carefully until
catch engages.
1Grip rim of closed hand port and pull outwards – it
should not open.
If the hand port does not remain engaged:
●Call DrägerService.
Checking that front door will stay closed
●Open front door.
●Lift up front door again.
2Squeeze catches together on both sides, push front
door forward and release catches. Push firmly on
front door to ensure that catches fully engage. Red
mark on catches should no longer be visible.
If the front door does not engage:
●Call DrägerService.
Checking air filter
●Fold down back panel.
3Open filter cover plate downwards.
If a filter is fitted:
●Remove filter and check fitting date; label is on edge
of filter.
If filter is more than 2 months old:
●Replace with a new filter.
●Write fitting date on new filter label and stick to edge
of filter.
●Press filter firmly into the seal.
Make sure that the direction of flow through filter is
correct. Arrow on filter has to point into incubator.
●Close cover plate and lift back panel up again.
Testing tilting mechanism for bed
4Raise left end of bed to maximum height.
5Push down on raised bed with hand – bed must not
drop down.
If bed does drop down:
●Call DrägerService.
●Check tilting mechanism at right end of bed in the
same way.
15
Checking Readiness for Operation
Before each use
11
3
4
5
1
2 2

Activating incubator self-test
●Fold down flap with brief instructions.
1Push on / off switch in – until it engages = on.
Functioning of incubator is self-tested.
2Green LED is lit.
3Display of actual values shows dashes.
If Err is displayed = error, see p. 41 to 45.
Checking mains power failure alarm and NiCd
batteries
●Disconnect from mains.
4Red
NN
NN
LED is lit. Continuous sound commences.
The volume should remain constant for at least
30 seconds.
If the volume decreases too soon:
●Leave incubator connected to mains and switched
on for 24 hours for the NiCd battery to be charged.
●Repeat check.
If volume decreases too soon again:
●Call DrägerService.
Checking LEDs, displays and alarm sound
5Press kkey:
For about 2 seconds – all LEDs are lit (except the
mains power failure LED), the digital displays show
88.8 and alarm sound commences.
Thereafter, displays and LEDs go dark and alarm
sound ceases. After approximately another 2 seconds
the original displays for measured and set values re-
appear.
This check may also be carried out during operation.
●Check at least once daily.
If there is a fault:
●Call DrägerService.
The incubator is ready for operation when all
checks have been carried out successfully.
Checking Readiness for Operation
Before each use
16
Reset Control
>37 °C
Check
°C
°C LUFT/AIR
5
± 0,5 °C
Sensor
15.22
87.06
±1,5 °C
Sensor
Control
>37 °C
Inop.Control
Check
36 °C
±0,1 Control Reset Control
>37 °C
Check
°C HAUT/SKIN/PEAU/PIEL °C LUFT/AIR
°C
°C
°C
1
2
°C
33
Reset Control
>37 °C
Check
°C
°C LUFT/AIR
4

Operation
Precautions
Warming-up time
Allow adequate time for warming-up before placing the
baby in the incubator (about 35 minutes).
Recommendation: keep incubator in standby,
see p.19.
Do not cover air stream channels in base plate:
Danger of burning or cooling patient.
Covering control panel
The control panel is covered with a flap to prevent set
values being altered accidentally. To switch on the
incubator, change set values or identify alarms, fold down
flap.
Then fold flap back up again.
Controlling temperature of incubator
– Temperature may be increased very rapidly when
required because of high heating power.
– Temperature drops slowly because of good thermal
insulation.
Additional external heat sources, such as sunlight, heat
lamps, spotlamps, electric cushions should be avoided.
These increase the air temperature inside the incubator in
an uncontrolled manner.
Setting air temperature of incubator
The baby experiences minimal heat loss
– by convection because of low air speed across bed
– by conduction through the mattress
– by evaporation because of high humidity setting in
incubator
– by radiation when double walls are fitted.
Therefore,
compared with other incubators, such as the Incubator
6000 or 7000, a lower incubator air temperature can be
set.
The baby's core temperature must be monitored
continually, particularly during the first few hours of
incubator care.
17
Operation
Precautions

Reducing the internal temperature of the incubator
The cooling time is dependent on the design and can be
accelerated by:
– reducing the outside temperature (when possible)
– reducing the air-humidity setting.
The rate of cooling is not accelerated by:
– setting the air temperature to a lower value than is
actually required.
In urgent cases: open front door or hand ports. When
front door is opened, there must be continuous
supervision to make sure that the baby does not fall out.
When older babies are being treated, their greater heat
production may cause the incubator temperature to rise,
and, if so, the double walls should be removed.
Fire risk from oxygen
– No naked lights or smoking. Textiles, oil and
plastics can very easily catch fire and burn rapidly
in an oxygen-enriched atmosphere.
– Keep all fittings and seals in contact with oxygen
free of oil and grease.
– Open valves on O2cylinders slowly.
– Do not use an incubator where there are flammable
anaesthetic gases or disinfection agents. Risk of
explosion.
– Do not use or keep flammable liquids, such as
alcohol, ether and acetone in the incubator.
– Do not use any electrical equipment inside the
incubator, except, that is, for equipment expressly
designed for use in areas where there is a risk of
explosion.
Physiological risks from oxygen
The air in the incubator should only be enriched with
oxygen when prescribed by a doctor. It is absolutely
essential that such oxygen enrichment is controlled
on the basis of the arterially-measured oxygen partial
pressure in the blood of the patient. This is the only
way of avoiding both hyperoxaemia (damage to the
eyes) and hypoxaemia (damage to the brain).
Temperature of breathing gas
During ventilation the breathing-gas hoses may be
additionally heated by the heated air circulating in the
incubator. The temperature of the breathing gas must be
monitored.
Phototherapy in the incubator
Absorption of light through the baby's skin will supply
heat which may increase the baby's core temperature.
Therefore,
●Decrease temperature setting for incubator air by
about 2 °C 15 minutes before phototherapy.
●Decrease the set value for humidity.
●Reduce the room temperature to at least 3 °C below
the air temperature of the incubator.
This value applies for Dräger Photo-Therapy
800/8000/4000.
Other phototherapy units, particularly those without a
built-in fan, may cause even greater heating of the
incubator.
The core temperature of the baby must be monitored
with particular care during phototherapy.
The supply of fluids to the baby must be increased
e. g. by parenteral infusion, in order to compensate for
increased loss of water during phototherapy.
The phototherapy lamp and incubator canopy must
not be covered with cloths, aluminium foil, or other
materials, to boost the photo-therapeutic effect. Risk of
heat build-up. The incubator could not then be
adequately cooled with ambient air.
Danger of overheating the patient.
Preventing high noise levels
Noise levels that are too high for the patient may be
caused by:
– using head boxes to deliver pressurised gas,
– wear on the bearings of the fan motor,
– placing objects on the incubator canopy.
●Observe maintenance intervals, p. 46.
●Do not place anything on the incubator canopy.
Electrical safety
Use only electro-medical ancillary equipment which
complies with the IEC 601-1, EN 60601-1 or
DIN VDE 0750, part 1, regulations.
Operation
Precautions
18

Wait for warming-up time.
Wait for about 35 minutes before use.
●Heat incubator in "air temperature control" operating
mode.
If incubator has to be used urgently, operate in standby
mode:
●Set air temperature to 32 °C to 36 °C, see p.20.
●Oxygen control off, see p.33.
●Humidity control off, see p.30.
Just before placing the baby in the incubator:
Fill water bottles
●If required use protective gloves.
1Open back panel and fold down.
2 Disconnect empty water bottles and refill with 500 mL
clean, distilled or demineralised water (hospital
dispensary). Do not use any additives.
●Refit filled water bottles and close back panel
again.
●Then disinfect hands.
Use
– DIN 58363-IL 500-FL-BK1 or
– ISO 8536-1-IL 500-CL-HC1 Form A,
infusion bottles only.
If a water container is used:
Fill water container
●If required use protective gloves.
1Take cover of water container off and
2fill container to mark with clean, distilled or
demineralised water (hospital dispensary).
Do not use any additives. Take care not to overfill.
●Put cover of water container back.
●Then disinfect hands.
Placing baby in the incubator
●Open front door and pull out bed.
●Put the baby on the bed and slide the bed back in
position.
●Close the front door and check that the catches are
properly engaged.
●Adjust the bed as required.
Adjusting working height
●Adjust working height, as required, see p. 8.
19
Operation
1
2
1
2

Controlling air temperature
Measure the patient's core temperature at regular
intervals.
●Fold down flap with brief instructions.
1 Push on / off switch in – until it engages = on.
2Green LED is lit.
●Wait for self-test to finish, then incubator will switch to
"air temperature control" mode.
3The display alternates regularly between measured
value for air temperature and the word, SEt.
4Default value for flashing display of air temperature
set value is 33.0 °C.
5Press Por pkey briefly to select this set value.
The display will remain continuously lit.
Setting values in 28 °C to 37 °C range
The set value can be changed in 0.1 °C steps.
6Press pkey – the set value is decreased,
7Press Pkey – the set value is increased.
●Press Por pkey until the set value required is
reached.
8While green
RR
RR
LED flashes – incubator is in
heating-up phase.
Operation
Controlling air temperature
20
Reset Control
>37 °C
Check
°C
°C LUFT/AIR
3
4
21
Reset Control
>37 °C
Check
°C
°C LUFT/AIR
55
Reset Control
>37 °C
Check
°C
°C LUFT/AIR
67
8
Other manuals for Incubator 8000 IC
3
Table of contents
Other Dräger Accessories manuals

Dräger
Dräger Polytron 8100 User manual

Dräger
Dräger Incubator 8000 IC Parts list manual

Dräger
Dräger DragerSensor IR User manual

Dräger
Dräger Incubator 8000 IC User manual

Dräger
Dräger DOL 53 Manual

Dräger
Dräger Isolette 8000 plus User manual

Dräger
Dräger X-am 3500 User manual

Dräger
Dräger PEX 3000 User manual

Dräger
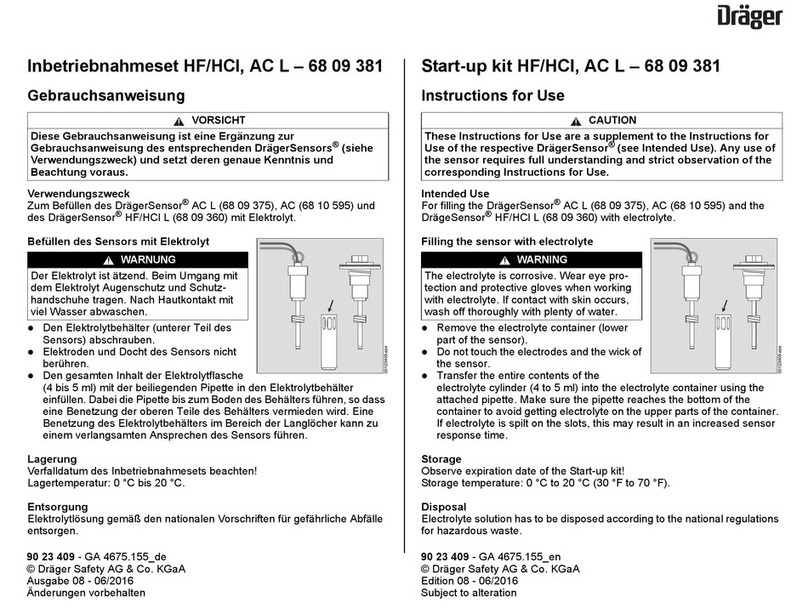
Dräger 68 09 381 User manual

Dräger
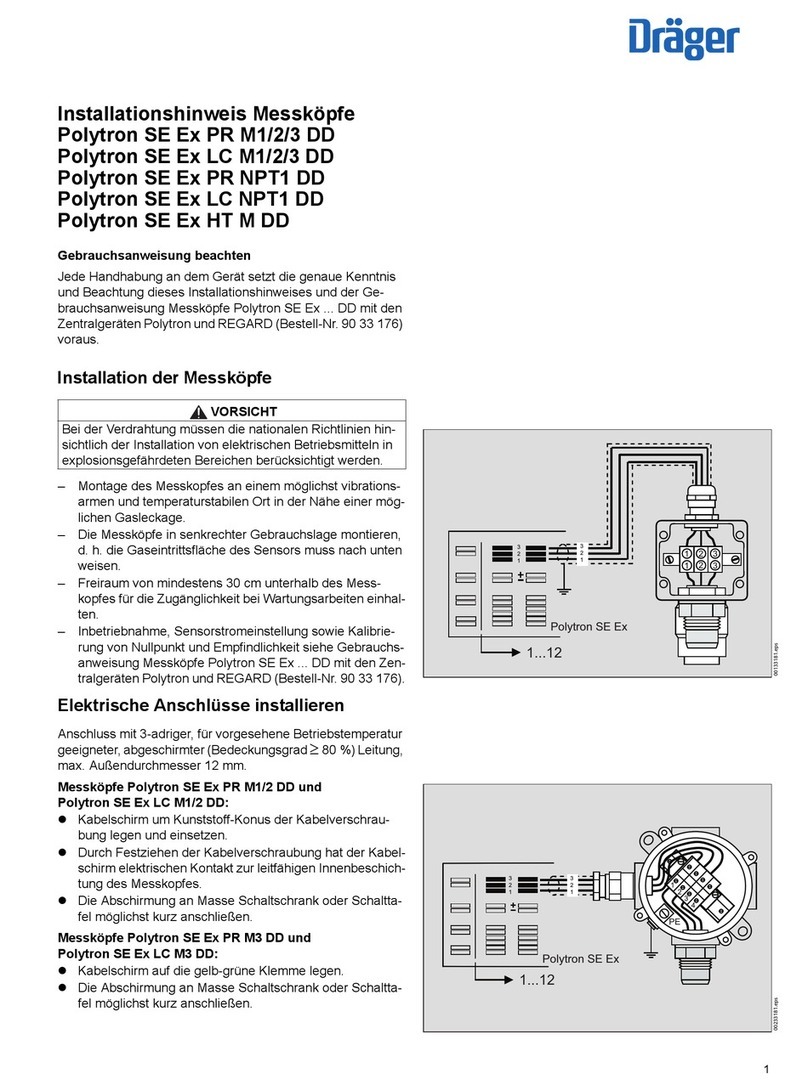
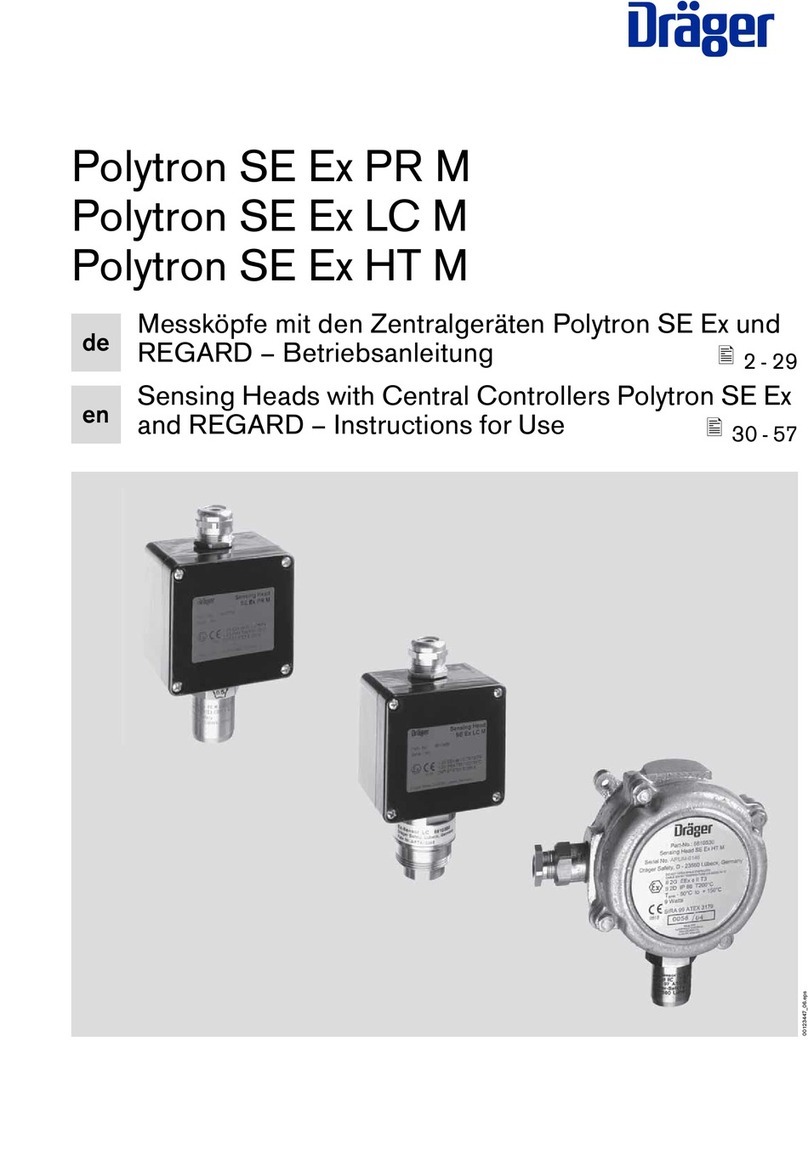
Dräger SE Ex PR M User manual