manuals.online logo
Brands
  1. Home
  2. •
  3. Brands
  4. •
  5. Dynojet
  6. •
  7. Motorcycle Accessories
  8. •
  9. Dynojet Power commander V User manual

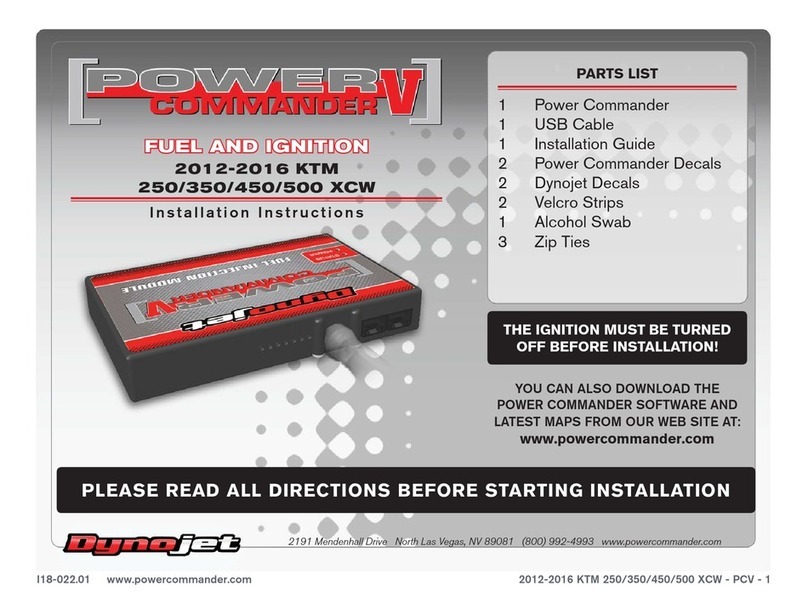
Dynojet Power commander V User manual

I21-002 www.powercommander.com 2006-2012 Triumph Daytona 675 - PCV - 1
PARTS LIST
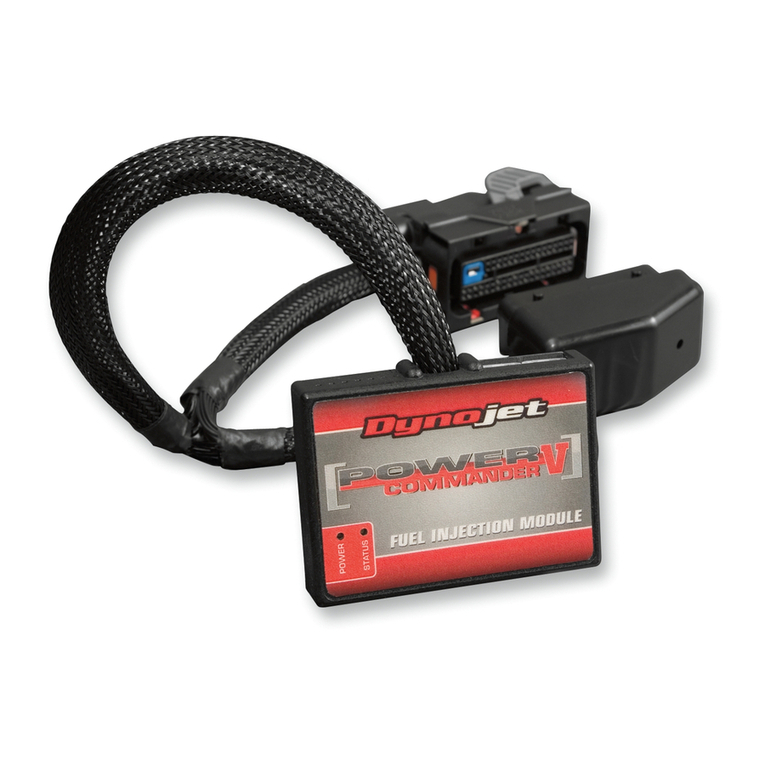
1 Power Commander
1 USB Cable
1 Installation Guide
2 Power Commander Decals
2 Dynojet Decals
2 Velcro strips
1 Alcohol swab
THE LATEST POWER COMMANDER
SOFTWARE AND MAP FILES CAN BE
DOWNLOADED FROM OUR WEB SITE AT:
www.powercommander.com
2006-2012 Triumph Daytona 675
Installation Instructions
PLEASE READ ALL DIRECTIONS BEFORE STARTING INSTALLATION
THE IGNITION MUST BE TURNED
OFF BEFORE INSTALLATION!
2191 Mendenhall Drive North Las Vegas, NV 89081 (800) 992-4993 www.powercommander.com
I21-002 www.powercommander.com 2006-2012 Triumph Daytona 675 - PCV - 2
EXPANSION PORTS 1 & 2
Optional Accessories such as
POD-300 unit or Auto-tune kit.
POWER COMMANDER V
INPUT ACCESSORY GUIDE
Map - (Input 1 or 2) The PCV has the ability to hold
2 different base maps. You can switch on the
fly between these two base maps when you
hook up a switch to the MAP inputs. You can
use any open/close type switch. The polarity
of the wires is not important. When using the
Autotune kit one position will hold a base map
and the other position will let you activate the
learning mode. When the switch is “CLOSED”
Autotune will be activated. (Set to Switch
Input #1 by default.)
Shifter- (Input 1 or 2) These inputs are for use with the
Dynojet quickshifter. Insert the wires from the
Dynojet quickshifter into the SHIFTER inputs.
The polarity of the wires is not important. (Set
to Switch Input #2 by default.)
Speed- If your application has a speed sensor then
you can tap into the signal side of the sensor
and run a wire into this input. This will allow
you to calculate gear position in the Control
Center Software. Once gear position is setup
you can alter your map based on gear position
and setup gear dependent kill times when
using a quickshifter.
Analog- This input is for a 0-5v signal such as
engine temp, boost, etc. Once this input
is established you can alter your fuel curve
based on this input in the control center
software.
Crank- Do NOT connect anything to this port unless
instructed to do so by Dynojet. It is used to
transfer crank trigger data from one module to
another.
ACCESSORY INPUTS
Wire connections:
To input wires into the PCV first remove the rubber
plug on the backside of the unit and loosen the
screw for the corresponding input. Using a 22-24
gauge wire strip about 10mm from its end. Push the
wire into the hole of the PCV until is stops and then
tighten the screw. Make sure to reinstall the rubber
plug.
NOTE: If you tin the wires with solder it will make
inserting them easier.
CRANK
ANALOG
SPEED
INPUT 1 (Grnd)
INPUT 1
INPUT 2 (Grnd)
INPUT 2
USB CONNECTION
I21-002 www.powercommander.com 2006-2012 Triumph Daytona 675 - PCV - 3
1 Remove the seat.
2 Remove the fuel tank.
3 Using the supplied Velcro, secure the PCV module next to the battery at the
location shown in Figure A.
Clean both surfaces with the supplied alcohol swab prior to applying the
Velcro.
4 Route the PCV harness to the right side of the battery and go towards the
throttle bodies.
5 Attach the ground wire of the PCV to the negative side of the battery (Fig. A).
6 Unplug the stock wiring harness from each fuel injector (Fig. B).
Squeeze the sides of the connector to remove.
7 Unplug the crank position sensor connector (Fig. B).
This is a WHITE 2-pin connector.
8 Plug the PCV harness in-line of the stock wiring harness and each fuel injector
(Fig. C).
PCV harness:
ORANGE - cylinder #1 (left)
YELLOW - cylinder #2
GREEN - cylinder #3 (right)
FIG.B
Ground wire
FIG.A
FIG.C
Unplug
Unplug
Unplug
Unplug
I21-002 www.powercommander.com 2006-2012 Triumph Daytona 675 - PCV - 4
9 Plug the PCV harness in-line of the stock wiring harness and crank position
sensor harness (Fig. D).
FIG.D
10 Locate the Throttle Position Sensor connector. Unplug this connector (Fig. E).
This is a BLACK 3-pin connector located to the right of the throttle bodies.
FIG.E
11 Plug the PCV harness in-line of the stock TPS connectors (Fig. F).
Optional Inputs:
Gear Position (Analog Voltage) - BLACK/PINK wire of 3-pin BLACK
connector located behind the throttle bodies of the left hand side of the bike
Speed - PINK wire of 3-pin BLACK vehicle speed sensor connector
12v source for Auto-tune - YELLOW wire of taillight connector
FIG.F
PCV
Stock
Stock
PCV
Unplug

Other manuals for Power commander V

95

Other Dynojet Motorcycle Accessories manuals

Dynojet Power Commander III User manual

Dynojet

Dynojet Power Commander III User manual

Dynojet POWER COMMANDER III User manual

Dynojet

Dynojet POWER COMMANDER III User manual

Dynojet Power commander V User manual

Dynojet

Dynojet Power commander V User manual

Dynojet Power Commander V 23-010 User manual

Dynojet

Dynojet Power Commander V 23-010 User manual

Dynojet POWER VISION 3 User manual

Dynojet

Dynojet POWER VISION 3 User manual

Dynojet Power commander V User manual

Dynojet

Dynojet Power commander V User manual

Dynojet DYNOWARE RT - 224 DYNOS User manual

Dynojet

Dynojet DYNOWARE RT - 224 DYNOS User manual

Dynojet Power Commander III User manual

Dynojet

Dynojet Power Commander III User manual

Dynojet Power commander V User manual

Dynojet

Dynojet Power commander V User manual

Dynojet Power commander V User manual

Dynojet

Dynojet Power commander V User manual

Dynojet Power commander V User manual

Dynojet

Dynojet Power commander V User manual

Dynojet POWER VISION PV3-22-12 User manual

Dynojet

Dynojet POWER VISION PV3-22-12 User manual

Dynojet Power commander V User manual

Dynojet

Dynojet Power commander V User manual

Dynojet Power commander V User manual

Dynojet

Dynojet Power commander V User manual

Dynojet Power Commander III User manual

Dynojet

Dynojet Power Commander III User manual

Dynojet Power Commander User manual

Dynojet

Dynojet Power Commander User manual

Dynojet 450f User manual

Dynojet

Dynojet 450f User manual

Dynojet Power Commander III 705-411 User manual

Dynojet

Dynojet Power Commander III 705-411 User manual

Dynojet Power Commander III User manual

Dynojet

Dynojet Power Commander III User manual

Dynojet Power commander V User manual

Dynojet

Dynojet Power commander V User manual

Dynojet Power commander V User manual

Dynojet

Dynojet Power commander V User manual

Dynojet Power commander V User manual

Dynojet

Dynojet Power commander V User manual

Dynojet POWER VISION 4 User manual

Dynojet

Dynojet POWER VISION 4 User manual

Dynojet POWER VISION PV3-22-11 User manual

Dynojet

Dynojet POWER VISION PV3-22-11 User manual

Popular Motorcycle Accessories manuals by other brands

BorMann BWH1000 manual

BorMann

BorMann BWH1000 manual

Ohlins SD195 Mounting instruction

Ohlins

Ohlins SD195 Mounting instruction

Krauser BMW R 1200 GS Assembling instructions

Krauser

Krauser BMW R 1200 GS Assembling instructions

Wunderkind Custom HDN1V Installation and safety instructions

Wunderkind Custom

Wunderkind Custom HDN1V Installation and safety instructions

DYNATEK D3K7-7 installation instructions

DYNATEK

DYNATEK D3K7-7 installation instructions

Cardo Systems PACKTALK EDGE Pocket guide

Cardo Systems

Cardo Systems PACKTALK EDGE Pocket guide

HealTech Electronics SpeedoHealer SH-V4-C Supplementary manual

HealTech Electronics

HealTech Electronics SpeedoHealer SH-V4-C Supplementary manual

CYCLOPS Explorer quick start guide

CYCLOPS

CYCLOPS Explorer quick start guide

STARLANE POWER SHIFT NRG Installation and operation manual

STARLANE

STARLANE POWER SHIFT NRG Installation and operation manual

CNC PST04 instructions

CNC

CNC PST04 instructions

N-Com MCS II Safety and instructions for use

N-Com

N-Com MCS II Safety and instructions for use

Acewell ACE-1500 user manual

Acewell

Acewell ACE-1500 user manual

Sena M1 EVO quick start guide

Sena

Sena M1 EVO quick start guide

hepco & becker 7316514 00 01 installation instructions

hepco & becker

hepco & becker 7316514 00 01 installation instructions

KTM Power Parts 7650297900004 Information

KTM Power Parts

KTM Power Parts 7650297900004 Information

probrake AP11-1 Mounting instruction

probrake

probrake AP11-1 Mounting instruction

AFX FX-76 INTERNATIONAL OWNER’S MANUAL

AFX

AFX FX-76 INTERNATIONAL OWNER’S MANUAL

SWP Stealth-G Operator's manual

SWP

SWP Stealth-G Operator's manual

manuals.online logo
manuals.online logoBrands
  • About & Mission
  • Contact us
  • Privacy Policy
  • Terms and Conditions

Copyright 2025 Manuals.Online. All Rights Reserved.