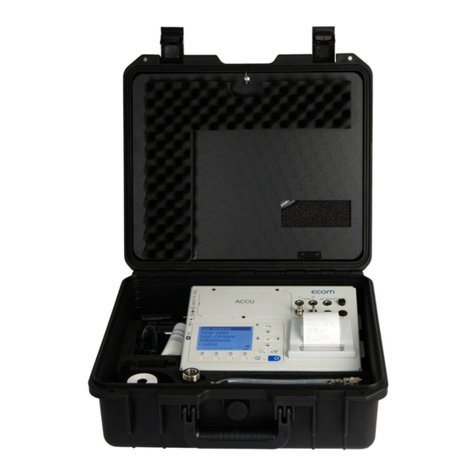
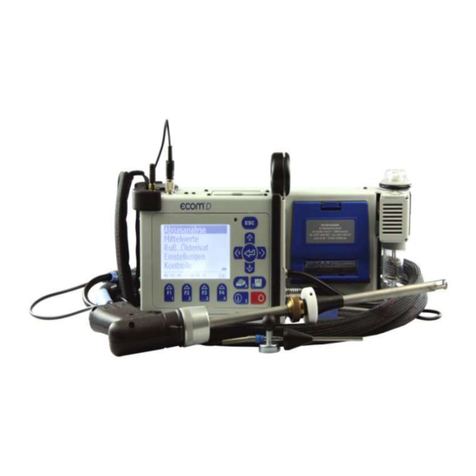
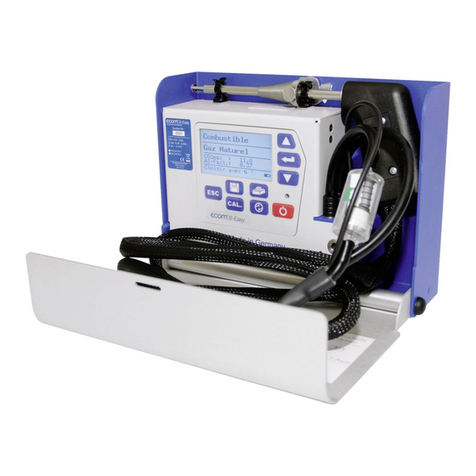
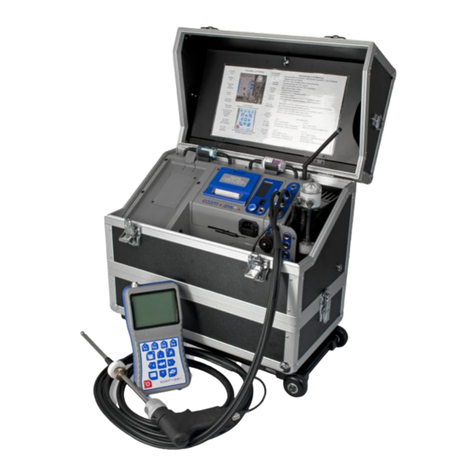
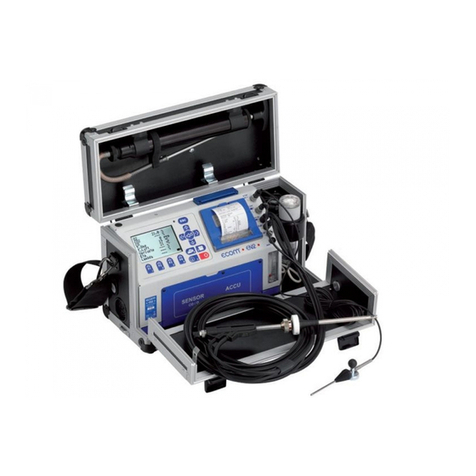
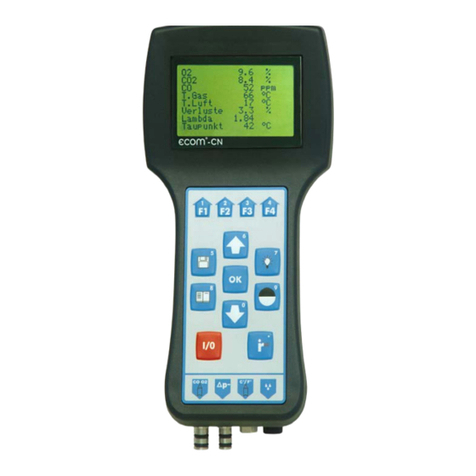
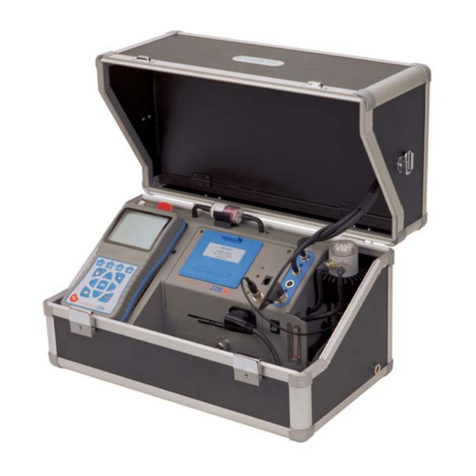
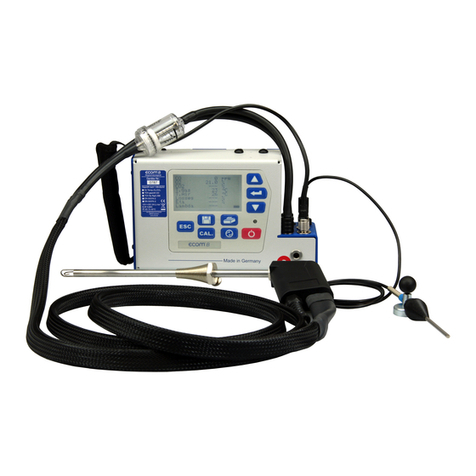
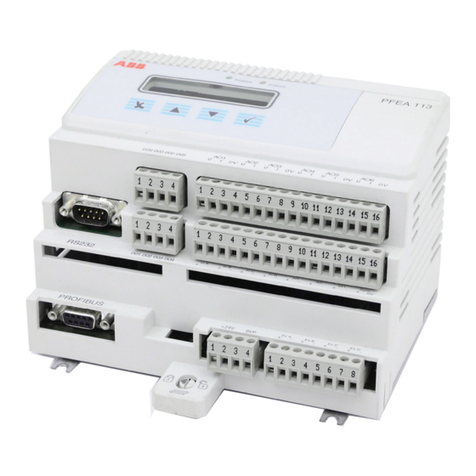
Ecom J2KNpro Tech User manual

ECOM America Ltd, 1628 Oakbrook Drive, Gainesville, GA 30507
Toll free (877) 326-6411 Phone (770) 532-3280 Fax (770) 532-3620
w w w . e c o m u s a . c o m
Quick Guide
version 3.6.2

Page 2
Thank you for choosing ECOM! Please follow the
instructions in this quick guide to get acquainted with
your J2KN Pro analyzer.

Page 3
Table of Contents Page(s)
INSTRUMENT DESIGN
J2KN Pro Base Unit……………………………………………………..4
Remote Display Unit ……………………………………………………5
Info Display………………………………………………………………..6
Filters……………….……………………………………………………….6
EMISSIONS MEASUREMENT &RECORDING
J2KN Pro Start-up…………………………………………………..…..7
Gas Analysis………....……………………………………..………………8
Capturing Data on Memory Card……………………………………9
Software Communication...................................................10
Accessories........................................................................11
CONSUMABLES
PART
PART #
DESCRIPTION
Particulate
Filter (10/PK)
3015840G
10/PK - Particulate
filter located on top
of water trap
assembly
In-line Smoke
Filter (1 EACH)
7118501H
1 EACH - Standard
3/4" in-line filter in
clear plastic casing.
NOx/SOx Filter
Media (1LB)
3014457G
1LB - NOx/SOx filter
media refill
container (purple
beads)
Thermal On-
board Printer
Paper (5/PK)
7927401H
5/PK - Printer paper
for on-board
thermal printer
Soot Test
Paper
(200/PK)
3003168G
200/PK - Round
smoke test filters for
smoke dot test
Soot Test
Chart
3002970G
Soot Test Chart with
0-9 Grayness Scale

Page 4
Instrument Design
J2KN Pro Base Unit
Ambient air
temperature
sensor
Thermocouple
connection
Main gas
connection
Draft/Pressure
connection
Draft/Pressure
connection
Water trap
drain hose
connection
On-board
printer
Filter for
IR bench
(if applicable)
Remote Display
Unit
(see next page)
Power cord
socket
Info display
ON / OFF
button
Analogue
inputs
(optional)
Auxiliary
temperature
connections
Nox/SOx
filter for
CO sensor
Pitot tube
connections
(optional)
Data cable
connection
(used by ECOM
personnel only)
Under case
(optional)
Trolley w/ wheels
(optional)
Heated line power
supply connection
(optional)
Fresh Air
Bypass Switch
(Pro IN only)

Page 5
J2KN Pro Remote Display Unit
Escape
Note: All keypad buttons
are used for input of num-
bers 0-9 and decimal point
OK
(press to confirm)
Up/Down/Right/Left
and Scroll
Capture data
Press to add
custom text to printout
(Press F2 to
print normally)
ON/OFF
Display
Backlight
ON/OFF
Function Keys
(See 8.1 Gas Analysis)
Memory card slot
LCD display
screen
USB
connection
Data cable sockets
(used by ECOM per-
sonnel only)
WiFi antenna
(If your antenna has a
pink band, it is
Bluetooth)
Air temperature
connection
(not an antenna)

Page 6
Info display
Filters
Particulate filter (water trap filter)
Unscrew the cover of the water trap and check the particu-
late filter for grayness. Change the filter when it is dark gray.
Tip: use the elbow piece as a reference since it is dark gray.
In-line smoke filter
The round in-line smoke filter should be checked periodically
for grayness. Change the filter when it is dark gray. Tip: use
the elbow piece as a reference since it is dark gray.
NOx/SOx filter
The CO sensor has an independent gas path (see 4. Gas
Path Diagram) which includes a potassium permanganate
chemical filter for filtering SO2 and NOx from the gas sample.
Color change: purple -> brown -> grey-> white
Filter media should be changed once it has turned grey!
2.24
ltr /
min
Main pump is running
Fresh air valve is open
CO purging is running
Gas cooler ready for use
Heated line ready for use
Heated head ready for use
Probe heating is switched on
Gas flow
(liters per minute)
Radio mode
Battery operation
Calibration phase
läuft
Elbow piece
Particulate filter
In-line smoke filter

Page 7
J2KN Pro Start-up
Make sure the probe is in fresh air when you
turn on the J2KN Pro.
1. Switch on the J2KN base unit and the remote control
unit. The Main Menu is displayed with 8 sub-menus:
- Gas analysis View gas readings & calculations
- Averaging Perform averaging tests
- Draft/Pressure Calibrate pressure sensor
- Soot Test Perform soot/smoke density test
- Automatic meas. Data logging onto memory card
(Pro Easy & IN) and set up auto-
matic test cycles (Pro IN only)
- Adjustments Modify J2KN settings
- Control Diagnostic info/Calibration mode
- Diagnostics (Only used with ECOM AK tool)
2. Select Gas Analysis and press <OK>
3. Press Up/Down to select Fuel Type
and press <OK>
1. Analyzer will complete auto-zeroing
of all sensors, except the O2 sensor
which is calibrated to 20.9%
Fuel type
Gas-Natural
CO2max A1 B
11.7 0.35 0.006
Select: (
Radio Link
Quality Indicator
Battery Charging
Indicator
Display contrast:
Lighten F1
Darken F2
Gas analysis
Averaging
Draft/Pressure
Soot Test
Automatic meas.
Adjustments
Control
Diagnostics

Page 8
Gas Analysis
If you change testing environments, let the
analyzer acclimate to the new ambient envi-
ronment, then power down and restart.
After the 1-minute auto-zeroing phase, the instrument switches
to Gas Analysis mode. The measurement values can be viewed
on 3 display pages: a zoomed in 4-line display and 2 full 9-line
displays. All line items are user-selectable (see Display Values
below). Press Up/Down to scroll between the pages.
Bypass Switch (Pro IN)..Turn on/off fresh air bypass to purge
Info Screen (Pro Easy)....View diagnostic info on Control screen
Quick Print............Prints on-screen measurement values
CO Bypass.............Manually turn on/off CO bypass pump
Display Lines.......Choose measurement values to display by
pressing F4 then Up/Down/Right/Left
To change F1 hotkey from default, go to
Adjustments > Internal > F1 Hotkey
Turn on CO bypass pump to protect CO
sensor from high concentrations
Pump automatically activates at 4000ppm!
To change F4 hotkey from default, go to
Adjustments > Internal > F4 Hotkey
Edit Display
Lines
<F4>
Control Screen (Pro Easy)
Purge Valve On/Off (Pro IN)
<F1>
F1:
F2:
F3:
F4:
Tip: To apply O2 correction, go
to Adjustments>Ref. O2 and input
your O2 correction % value. Then
go to Adjustments>Unit & change
unit to ppm %O2 corrected.
Quick Print
<F2>
CO Bypass
Pump ON/OFF
<F3>
O2 8.2 %
CO 431 ppm
NO 126 ppm
NO2 65 ppm
Gas Analysis 25.11.07
Tip: If you are in a
cold environment, you
may need to use a
heated probe. Go to
Adjustments>Internal
‘>Probe Heating>F1 to
‘’’ turn on and off.

Page 9
Capturing Data on Memory Card (2GB max)
Data Logging in Timed Intervals
1. Go to Automatic Meas. > Save to MM
Card. This is the time interval that each
data point is recorded to the memory card
(min. 1sec, max 255sec). Input desired
amount in seconds and press OK.
2. Select Datalogger > “Start dl? Are you
sure?” > Press F1
3. Analyzer is now in Datalogging mode. The
blinking disk in the top right corner indicates that the analyzer
is currently logging data. Press to return to the main menu
and select Gas Analysis to view real-time measurements.
4. To complete data logging and save the file, press to return
to the main menu, go to Automatic Meas. > Datalogger >
“Finish dl? Are you sure?” > Press F1.
OR
Capturing Data Snapshots On-Demand
1. Go to Automatic Meas. > Save to MM Card and input 255.
2. Select Datalogger > “Start dl? Are you sure?” -> Press F1
3. Press to return to the main menu and go to Gas Analysis
to view real-time measurements.
4. Press 5 (disk symbol). You will see an X over the disk icon
in the top right corner. This is normal and expected.
5. When you are ready to capture the first data point, press 5
(disk symbol), wait 2 seconds, and press 5again. The
data point was captured during the 2 second interval.
6. Repeat step 5 for all desired data points.
7. To complete data collection and save the file, press to
return to the main menu, go to Automatic Meas., select
Datalogger -> “Finish dl? Are you sure?” -> Press F1.
Each data file will be saved separately as J2KDL-00, J2KDL-01, etc. Open in
Microsoft Excel. You can also import the data from the SD card into ECOM’s
free DAS 5 software to create formal reports.

Page 10
Software Communication
If you need help with installation or operation of your DAS
or e-Comply software, please consult the User Manual for your
software product. If you are having trouble communicating
from the analyzer to a computer, please check the following:
Adjustments > Internal > RF Connect
Make sure it is in Remote setting.
Adjustments > Internal > USB
For both DAS and e-Comply, make sure the Baud rate is
38400 and the Protocol is Enhanced.
Adjustments > Internal > WLAN (if applicable)
If you have WiFi communication problems, refresh the WiFi
signal by selecting Auto Connect > F1. You will see the IP
address dash out and come back again. Note: You can’t con-
nect to both the software and mobile app simultaneously.
Adjustments > Internal > Bluetooth (if applicable)
For both DAS and e-Comply, make sure the Baud rate is
9600 and the Protocol is Enhanced. To reset the Bluetooth
signal on your computer, right-click on > Show Bluetooth
Devices > Right-click on BT connection> Remove Device. Now
click Add a Device and re-connect to the analyzer. PIN=1234
If communication issues persist, re-sync the remote & base
1. Place remote unit into cradle. Go to Adjustments >
Internal > RF Connect and select Standard.
2. The base and remote are now synced.
3. Change the RF Connect setting back to Remote.
4. The remote can now be used as normal.
If all else fails, do a hard reset of the analyzer:
1. Power down the analyzer.
2. Disconnect analyzer from AC power.
3. Open the battery drawer and disconnect the lead from the
battery (white plastic clip). Wait at least 1 minute.
5. Reconnect the battery, reconnect the power cord, and
restart analyzer. You have just completed a hard reset.

Page 11
Accessories
e-Comply Testing Software
Part no. 9038001H
(Records mass emissions in
g/bhp-hr, lbs/hr, & tons/year)
Calibration Gas Kits
Part no. available upon request
Probe Shield
Part no. 3025006G
(Recommended for high temp
applications to protect grip)
15ft/30ft Heated Sample Line
Part no. 7952501H
(Custom lengths available
from 0 to 100ft)
Tail Pipe Probe Assembly
Part no. 7126631H
(Recommended for tail pipes
when inserting 180into stream)
Flex-Tip Probe Assembly
Part no. 7129601H
(Recommended for hard-to-
access sampling ports)

Page 12
RUGGED.RELIABLE.ACCURATE.
ECOM AMERICA LTD
1628 OAKBROOK DRIVE
GAINESVILLE,GA 30507
TOLL FREE (877) 326-6411
PHONE (770) 532-3280
FAX (770) 532-3620
ecom.info@ecomusa.com
w w w . e c o m u s a . c o m
Other manuals for J2KNpro Tech
5
Table of contents
Other Ecom Measuring Instrument manuals
Popular Measuring Instrument manuals by other brands
Endress+Hauser
Endress+Hauser Liquiline System CA80TP Brief operating instructions
Minebea
Minebea CSD-401 instruction manual
Catalyst
Catalyst AirCom UWB Analyzer user manual

WILDLIFE
WILDLIFE 265A quick start guide
Keysight
Keysight NFA Series Performance Verification and Calibration Guide
Panametrics
Panametrics DigitalFlow GM868 Service manual
