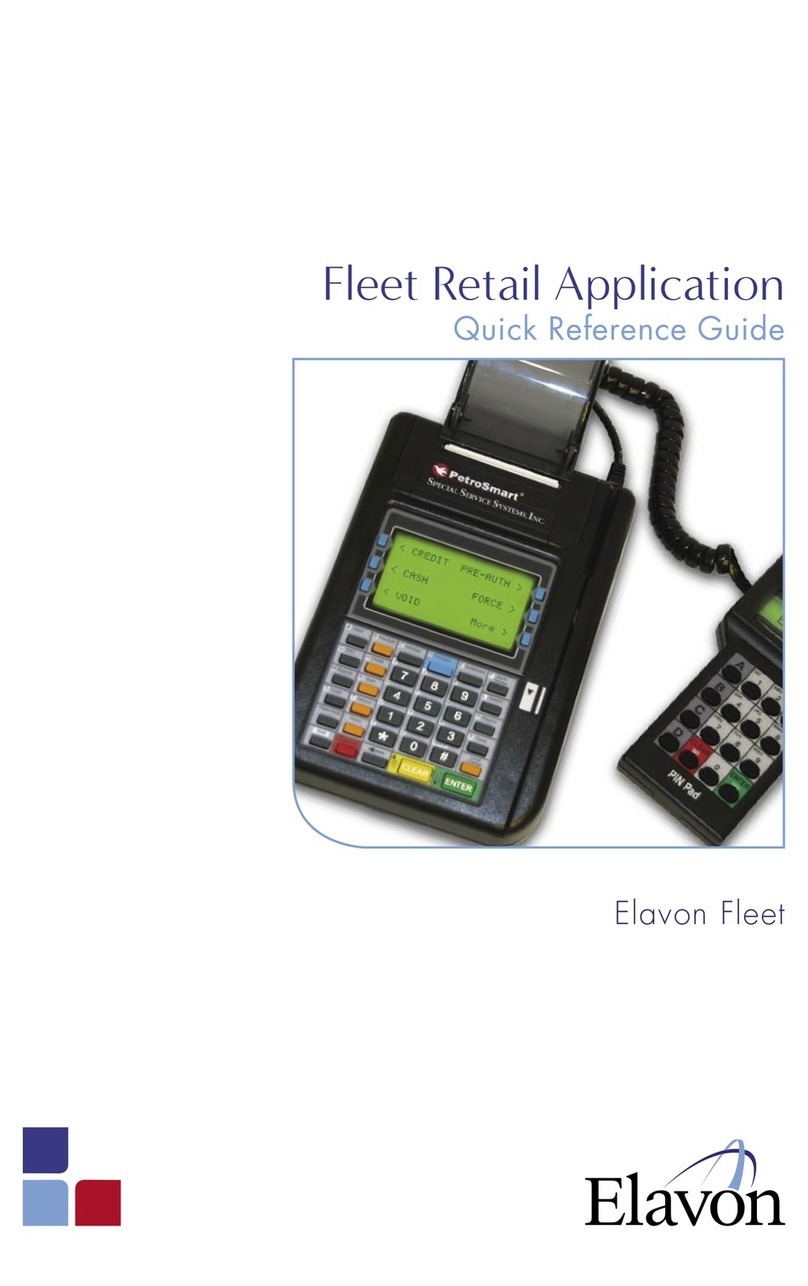
Elavon Ingenico Move5000 User manual

Chip & PIN sale
Press the menu key and select
‘SALE’ from the main menu.
1
Enter the sale amount and
press ‘Enter’.
2Ask the customer to insert their card,
enter their PIN and press ‘Enter’.
3
Enter sale amount:
£0.00
1
4
7
3
6
9
.
5
8
2
0
1
4
7
3
6
9
.
5
8
2
0
BLUETOOTH
COMM MODE
Cancel Clear Ok
SALE
€45.00
Enter PIN
1
4
7
3
6
9
.
5
8
2
0
1
4
7
3
6
9
.
5
8
2
0
BLUETOOTH
COMM MODE
Cancel Clear Ok
SALE
£20.00
1
4
7
3
6
9
.
5
8
2
0
1
4
7
3
6
9
.
5
8
2
0
BLUETOOTH
COMM MODE
SALE
Cancel
APPROVAL
400431
1
4
7
3
6
9
.
5
8
2
0
1
4
7
3
6
9
.
5
8
2
0
BLUETOOTH
COMM MODE
SALE
Tear off merchant receipt
1
4
7
3
6
9
.
5
8
2
0
1
4
7
3
6
9
.
5
8
2
0
BLUETOOTH
COMM MODE
Reprint Ok
SALE
Print customer copy?
SALE
1
4
7
3
6
9
.
5
8
2
0
1
4
7
3
6
9
.
5
8
2
0
BLUETOOTH
COMM MODE
No Yes
If the transaction
is successful the
authorisation code will be
shown and the terminal
will print your copy.
Tear off your copy
and press ‘Enter’.
Ask the customer if they would
like a customer copy. Press
‘Enter’ to print the customer
copy or press ‘Clear’ to finish
the transaction without printing
the customer copy.
4 5 6
Carrying out a transaction
2elavon.co.uk |elavon.ie

Contactless sale
Press the menu key and select
‘SALE’ from the main menu.
1
Enter the sale amount and
press ‘Enter’.
2Ask the customer to present their card or
mobile device to the screen. There will be
a beep to indicate the device has read the
card or mobile device.
3
Enter sale amount:
£0.00
1
4
7
3
6
9
.
5
8
2
0
1
4
7
3
6
9
.
5
8
2
0
BLUETOOTH
COMM MODE
Cancel Clear Ok
SALE
£20.00
1
4
7
3
6
9
.
5
8
2
0
1
4
7
3
6
9
.
5
8
2
0
BLUETOOTH
COMM MODE
SALE
Cancel
APPROVAL
400431
1
4
7
3
6
9
.
5
8
2
0
1
4
7
3
6
9
.
5
8
2
0
BLUETOOTH
COMM MODE
SALE
3elavon.co.uk |elavon.ie

Keyed sale
Press the menu key and select
‘SALE’ from the main menu.
1
Enter the sale amount and
press ‘Enter’.
If you are in the UK, enter the customer’s address
and postcode, pressing ‘Enter’ after each entry.
Enter the card number, expiry date and security
code, pressing ‘Enter’ after each entry.
2
4
3
Enter sale amount:
£0.00
1
4
7
3
6
9
.
5
8
2
0
1
4
7
3
6
9
.
5
8
2
0
BLUETOOTH
COMM MODE
Cancel Clear Ok
SALE
Enter card number:
1
4
7
3
6
9
.
5
8
2
0
1
4
7
3
6
9
.
5
8
2
0
BLUETOOTH
COMM MODE
Cancel Clear Ok
SALE
Enter expiry date (MM/YY):
1
4
7
3
6
9
.
5
8
2
0
1
4
7
3
6
9
.
5
8
2
0
BLUETOOTH
COMM MODE
Cancel Clear Ok
SALE
Enter security code
1
4
7
3
6
9
.
5
8
2
0
1
4
7
3
6
9
.
5
8
2
0
BLUETOOTH
COMM MODE
Cancel Clear Ok
SALE
£20.00
1
4
7
3
6
9
.
5
8
2
0
1
4
7
3
6
9
.
5
8
2
0
BLUETOOTH
COMM MODE
SALE
Cancel
SALE
Enter customer address
1
Q
A
5
T
G
V
3
E
D
X
7
U
J
N
2
W
S
Z
@SPACE
Sym
6
Y
H
B
4
R
F
C
8
I
K
M
.
9
O
L
0
P
1
4
7
3
6
9
.
5
8
2
0
1
4
7
3
6
9
.
5
8
2
0
BLUETOOTH
COMM MODE
SALE
Enter customer post code
1
Q
A
5
T
G
V
3
E
D
X
7
U
J
N
2
W
S
Z
@SPACE
Sym
6
Y
H
B
4
R
F
C
8
I
K
M
.
9
O
L
0
P
1
4
7
3
6
9
.
5
8
2
0
1
4
7
3
6
9
.
5
8
2
0
BLUETOOTH
COMM MODE
When using the on screen keyboard, you may find
it easier to use the stylus provided, which is located
on the left hand side on the reverse of the terminal.
4elavon.co.uk |elavon.ie

Chip & PIN refund
Press the menu key and select
‘REFUND’ from the main menu.
1
Enter the refund amount and
press ‘Enter’.
Ask the customer to insert their card. Once the
transaction is approved, the terminal will print
your copy, which the customer must sign.
2 3
Enter amount:
£0.00
1
4
7
3
6
9
.
5
8
2
0
1
4
7
3
6
9
.
5
8
2
0
BLUETOOTH
COMM MODE
Cancel Clear Ok
REFUND
€30.00
1
4
7
3
6
9
.
5
8
2
0
1
4
7
3
6
9
.
5
8
2
0
BLUETOOTH
COMM MODE
REFUND
Cancel
APPROVAL
1
4
7
3
6
9
.
5
8
2
0
1
4
7
3
6
9
.
5
8
2
0
BLUETOOTH
COMM MODE
REFUND
Tear off merchant receipt
1
4
7
3
6
9
.
5
8
2
0
1
4
7
3
6
9
.
5
8
2
0
BLUETOOTH
COMM MODE
Reprint Ok
REFUND
Verify the customer’s signature and retain
your copy.
4Press ‘Enter’ to print the
customer copy.
5
Remove card
1
4
7
3
6
9
.
5
8
2
0
1
4
7
3
6
9
.
5
8
2
0
BLUETOOTH
COMM MODE
REFUND
Signature ok?
REFUND
1
4
7
3
6
9
.
5
8
2
0
1
4
7
3
6
9
.
5
8
2
0
BLUETOOTH
COMM MODE
No Yes
Print customer copy?
REFUND
1
4
7
3
6
9
.
5
8
2
0
1
4
7
3
6
9
.
5
8
2
0
BLUETOOTH
COMM MODE
No Yes
5elavon.co.uk |elavon.ie

End of day report and batch
Press the menu key and select
‘BATCH’ from the main menu.
1Select ‘End of day’ and press ‘Enter’. The total sales and
refunds for the current batch will be shown and printed.
2
1
4
7
3
6
9
.
5
8
2
0
1
4
7
3
6
9
.
5
8
2
0
BLUETOOTH
COMM MODE
Cancel Continue
END OF DAY
Sales total: €39.00
1
4
7
3
6
9
.
5
8
2
0
1
4
7
3
6
9
.
5
8
2
0
BLUETOOTH
COMM MODE
END OF DAY
Printing totals receipt
Please wait
6
Changing communication mode
To change the communication mode between
Bluetooth, WIFI and GPRS follow the steps below:
Press the menu key and select ‘TERMINAL’,
then ‘TERMINAL CONFIG’ and press ‘Change’.
Select the required communication mode from the three
types displayed and the terminal will attempt to establish
a connection. The icon in the top left corner will change
depending on the communication mode selected.
If this is unsuccessful and the terminal cannot establish
a connection, then please follow the additional steps below.
1
2
COMM MODE
Cancel
BLUETOOTH
WIFI
GPRS
1
4
7
3
6
9
.
5
8
2
0
1
4
7
3
6
9
.
5
8
2
0
BLUETOOTH
COMM MODE
elavon.co.uk |elavon.ie

1
4
7
3
6
9
.
5
8
2
0
1
4
7
3
6
9
.
5
8
2
0
BLUETOOTH
COMM MODE
Press the menu key and
select ‘TERMINAL’, then
‘TERMINAL CONFIG’
and press ‘Change’.
On the ‘Enter profile
number’ screen
press ‘Enter’.
The terminal will show the
current network settings.
GPRS is available in three different network modes:
• Smart roaming (Smart) – the terminal will select the most available network
• Automatic – the SIM card will select the network
• Manual – the network can be selected from a list of available networks
To configure the network mode, follow these steps:
GPRS
1 2 3
Enter profile number:
01234567
1
4
7
3
6
9
.
5
8
2
0
1
4
7
3
6
9
.
5
8
2
0
BLUETOOTH
COMM MODE
Cancel Clear Ok
Network settings:
Network: 02 - IRL
Mode: Auto
Type: 3G/GPRS
1
4
7
3
6
9
.
5
8
2
0
1
4
7
3
6
9
.
5
8
2
0
BLUETOOTH
COMM MODE
Change Accept
Radio Access Type
Cancel
GPRS ONLY
3G/GPRS
1
4
7
3
6
9
.
5
8
2
0
1
4
7
3
6
9
.
5
8
2
0
BLUETOOTH
COMM MODE
Select Provider
Cancel
1. Vodafone IE
2. METEOR
3. Vodafone IE
4. 02 - IRL
1
4
7
3
6
9
.
5
8
2
0
1
4
7
3
6
9
.
5
8
2
0
BLUETOOTH
COMM MODE
For all network modes:
Smart roaming, Automatic
registration and Manual
either a GPRS 2G or 3G
network can be selected.
If ‘Manual’ is selected, a list
of available networks is shown.
Press ‘Enter’ to select the
highlighted network or select
it on the screen.
Network Select Mode
Cancel
Smart
Auto
Manual
1
4
7
3
6
9
.
5
8
2
0
1
4
7
3
6
9
.
5
8
2
0
BLUETOOTH
COMM MODE
Press ‘Change’ to
select ‘Smart’, ‘Auto’
or ‘Manual’ mode.
4 5 6
7elavon.co.uk |elavon.ie

Select ‘Bluetooth’
from the list.
Press ‘Enter’ on the ‘Enter profile number’ screen and select
either ‘Tone’ or ‘Pulse’ as the dial type.
Press the menu key and
select ‘TERMINAL’, then
‘TERMINAL CONFIG’
and press ‘Enter’.
Please note for the Bluetooth connection to work, there must be either
an Ethernet or PSTN cable or both plugged into the base. Although
PSTN might not be relevant, you must go through the following PSTN
process to change IP setting and change base settings.
Bluetooth
2 3
1
Enter profile number:
01234567
1
4
7
3
6
9
.
5
8
2
0
1
4
7
3
6
9
.
5
8
2
0
BLUETOOTH
COMM MODE
Cancel Clear Ok
PSTN SETUP
Select dial type
1
4
7
3
6
9
.
5
8
2
0
1
4
7
3
6
9
.
5
8
2
0
BLUETOOTH
COMM MODE
Tone Pulse
PSTN SETUP
Dial prefix required?
1
4
7
3
6
9
.
5
8
2
0
1
4
7
3
6
9
.
5
8
2
0
BLUETOOTH
COMM MODE
No Yes
PSTN SETUP
Blind dialling?
1
4
7
3
6
9
.
5
8
2
0
1
4
7
3
6
9
.
5
8
2
0
BLUETOOTH
COMM MODE
No Yes
Check with your phone provider if a prefix is required for the
terminal to dial out via PSTN and if blind dialling is needed
(standard choice would be no).
4Place the terminal on the
Bluetooth base and select
‘Assign to base’. Press
‘Cancel’ until you get back
to the main menu.
5
8
BLUETOOTH SETUP
Cancel
Assign to base
Select base
Remove base
1
4
7
3
6
9
.
5
8
2
0
1
4
7
3
6
9
.
5
8
2
0
BLUETOOTH
COMM MODE
COMM MODE
Cancel
BLUETOOTH
WIFI
GPRS
1
4
7
3
6
9
.
5
8
2
0
1
4
7
3
6
9
.
5
8
2
0
BLUETOOTH
COMM MODE
elavon.co.uk |elavon.ie

WiFi
Press the menu key and select ‘TERMINAL’,
then ‘TERMINAL CONFIG’ and press ‘Enter’.
1
Select ‘Wifi’ from
the list.
Select ‘Profiles’, then ‘New profile’ and then ‘Automatic’.
2 3
COMM MODE
Cancel
BLUETOOTH
WIFI
GPRS
1
4
7
3
6
9
.
5
8
2
0
1
4
7
3
6
9
.
5
8
2
0
BLUETOOTH
COMM MODE
WIFI SETUP
Cancel
Profiles
IP Configuration
1
4
7
3
6
9
.
5
8
2
0
1
4
7
3
6
9
.
5
8
2
0
BLUETOOTH
COMM MODE
Cancel
CONNECTION METHOD
Cancel
Automatic
Manual
1
4
7
3
6
9
.
5
8
2
0
1
4
7
3
6
9
.
5
8
2
0
BLUETOOTH
COMM MODE
Scanning
Please wait
1
4
7
3
6
9
.
5
8
2
0
1
4
7
3
6
9
.
5
8
2
0
BLUETOOTH
COMM MODE
Enter WiFi password
1
Q
A
5
T
G
V
3
E
D
X
7
U
J
N
2
W
S
Z
@SPACE
Sym
6
Y
H
B
4
R
F
C
8
I
K
M
.
9
O
L
0
P
1
4
7
3
6
9
.
5
8
2
0
1
4
7
3
6
9
.
5
8
2
0
BLUETOOTH
COMM MODE
The device will search for Wifi networks
and display those available.
Select the relevant network, select ‘Personal’ or
‘Enterprise’ network and enter the Wifi password.
When using the on screen keyboard, you may find
it easier to use the stylus provided, which is located
on the left hand side on the reverse of the terminal.
4 5
Elavon Financial Services DAC, trading as Elavon Merchant Services, is regulated by the Central Bank of Ireland.
Elavon Financial Services DAC, trading as Elavon Merchant Services, is authorised and regulated by the Central Bank of Ireland. Authorised by the
Prudential Regulation Authority and with deemed variation of permission. Subject to regulation by the Financial Conduct Authority and limited
regulation by the Prudential Regulation Authority. Details of the Temporary Permissions Regime, which allows EEA-based rms to operate in the
UK for a limited period while seeking full authorisation, are available on the Financial Conduct Authority’s website.
Y4002_3902v30221
9
SELECT NETWORK
Cancel
TP-LINK_388082
EGuest
eir16217558-
HP-Print-E6-
1
4
7
3
6
9
.
5
8
2
0
1
4
7
3
6
9
.
5
8
2
0
BLUETOOTH
COMM MODE
SECURITY
Cancel
PERSONAL
ENTERPRISE
1
4
7
3
6
9
.
5
8
2
0
1
4
7
3
6
9
.
5
8
2
0
BLUETOOTH
COMM MODE
WIFI PROFILES
New Profile
Active Profile
Modify Profile
Remove Profile
1
4
7
3
6
9
.
5
8
2
0
1
4
7
3
6
9
.
5
8
2
0
BLUETOOTH
COMM MODE
elavon.co.uk |elavon.ie
Other Elavon Touch Terminal manuals
Elavon
Elavon Hypercom T7 Series User manual

Elavon
Elavon Ingenico 7780 User manual
Elavon
Elavon Ingenico DESK/5000 User manual
Elavon
Elavon Verifone Evolution Series User manual
Elavon
Elavon Secured P2PE User manual
Elavon
Elavon Ingenico Tetra User manual
Elavon
Elavon Nurit 8000 User manual
Elavon
Elavon iCT250 User manual
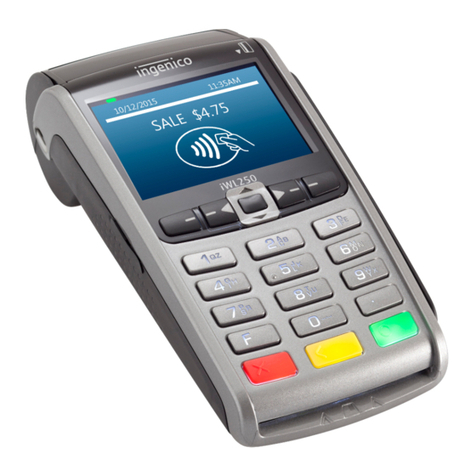
Elavon
Elavon Ingenico IWL 250 User manual
Elavon
Elavon Nurit 8320 User manual
Popular Touch Terminal manuals by other brands
Sharp
Sharp UP-3300 Supplement manual
datacap systems
datacap systems DC Direct Ingenico Move/5000 Quick reference guide

Mitsubishi Electric
Mitsubishi Electric GT14 user manual
PIONEERPOS
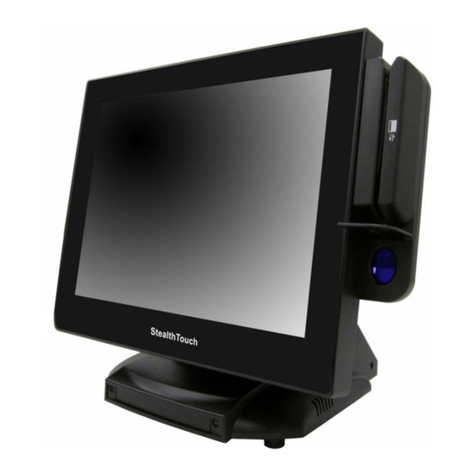
PIONEERPOS StealthTouch M5 user manual

Seuic
Seuic AUTOID Pad Series Reference manual
Boundless
Boundless ADDS 4000 user guide


