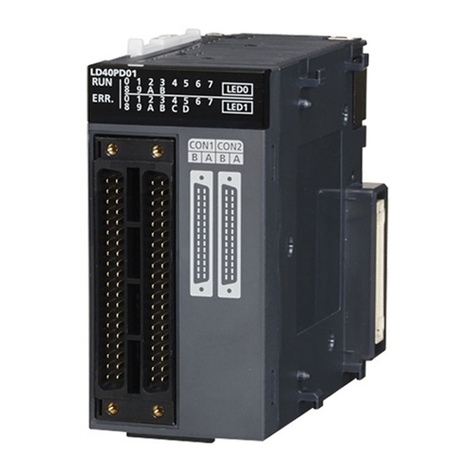
Elko iNELS RFGB-20 User manual

RFGB-20, RFGB-40,
RFGB-220, RFGB-240
Glass touch controllers
EN
02-01/2021 Rev.0
Characteristics /
RFGB-20 RFGB-40 RFGB-220 RFGB-240
EN
• The glass touch control is a design component of the RF Control system and is available in
an elegant black and white variant.
• Thickness only 8 mm.
• RFGB-20 / RFGB-220: 2 capacitive buttons allow you to control 2 components.
• RFGB-40 / RFGB-240: 4 capacitive buttons allow you to control 4 components.
• When the button is pressed, it sends the set command (ON / OFF, dimming, time off / on,
push/ pull). Transmission of the command is indicated by a red LED.
• Ability to set scenes where you control multiple iNELS RF Control devices with one press.
• The rear base allows screwing on the installation box, gluing with double-sided tape or just
laying on the table.
• Battery power supply (2x 3 V battery CR 2032 - part of the package) with a lifespan of
approx. 2 years depending on the frequency of use.
• Range up to 200 m (outdoors), in case of insufficient signal between the controller and the
device use the RFRP-20 signal repeater or devices with the RFIO2protocol that support this
function.
• Communication frequency with RFIO2protocol.
RF controlers can control:
• switches
RFSA-11B, RFSA-61B, RFSA-62B, RFSA-61M, RFSA-66M, RFSAI-61B, RFSC-11, RFSC-61, RFUS-11,
RFUS-61, RFJA-12B
• dimmers
RFDA-73/RGB, RFDA-11B, RFDA-71B, RFDEL-71B, RFDEL-71M, RFDSC-11, RFDSC-71, RFDAC-71B
• lighting
RF-RGB-LED-550, RF-White-LED-675
Control options /
Radio frequence signal penetration through various construction materials /
x
RFRP-20
60 - 90 % 80 - 95 % 20 - 60 % 0 - 10 % 80- 90 %
brick walls wooden structures
with plaster boards reinforced
concrete metal partitions common glass
1 /4
Touch-Glasfernbedienung
DE
• Die Touch-Glasfernbedienung ist ein Designelement des Systems RF Control und steht in
der eleganten schwarzen und weißen Variante zur Verfügung.
• Dicke beträgt lediglich 8 mm.
• RFGB-20 / RFGB-220: 2 Kapazitätstasten ermöglichen 2 Elemente zu steuern.
• RFGB-40 / RFGB-240: 4 Kapazitätstasten ermöglichen 4 Elemente zu steuern.
• XEin/Ausschalten, Raufziehen/Einziehen). Die Sendung eines Befehls wird durch die rote
LED angezeigt.
• Einstellmöglichkeit der Szenen, wo mit einem Druck mehrere Elemente iNELS RF Control
gesteuert werden.
• Die hintere Basis macht das Aufschrauben auf die Installationsbox, das Zukleben mit einem
beiderseitigen Klebeband oder das bloße Legen auf den Tisch möglich.
• Batterieversorgung (2x 3 V Batterie CR 2032 - Teil der Verpackung) samt Nutzungsdauer ca.
2 Jahre je nach Nutzungshäufigkeit.
• Reichweite bis zu 200 m (im Freien), verwenden Sie einen RFRP-20-Signal-Repeater oder die
• Aktoren mit den RFIO2-Funktionen, wenn das Signal zwischen dem Sender und dem Aktor
nicht ausreicht ist.
• Kommunikationsfrequenz mit Protokoll iNELS RF Control.
RF Steuerungseinheiten steuern:
• Schalter
RFSA-11B, RFSA-61B, RFSA-62B, RFSA-61M, RFSA-66M, RFSAI-61B, RFSC-11, RFSC-61, RFUS-11,
RFUS-61, RFJA-12B
• Dimmer
RFDA-73/RGB, RFDA-11B, RFDA-71B, RFDEL-71B, RFDEL-71M, RFDSC-11, RFDSC-71, RFDAC-71B
• Licht
RF-RGB-LED-550, RF-White-LED-675
Eigenschaften
Steuerungsoptionen
Radiofrequenzsignal dringt durch verschiedene Baumaterialien
Ziegelwände Holzkonstruktionen
mit
Gipskartonplatten
Stahlbeton Metallwände Glas

CR2032
+
CR2032
+
Mounting jig (with brackets) - 1x
Battery*- 2x
* Batteries are inserted in the product. Before
using for the first time, remove the insulating
tape from the battery contacts by pulling in
the direction of the arrow.
Double-sided adhesive label - 4x
Package contents /
Screws- 2x
After inserting the battery, the red LED lights up continuously for 3 seconds and then for 5
seconds, the selected controller function is indicated by flashing LED.
• double flash - standard RFIO2operating mode
• rapid flashing - mode of compatibility with older actuators
If you do not want to change the function of the controller, you must not press any buttons
during this time
To switch between RFIO2mode and compatibility mode:
If you need to change the operating mode of the controller, after inserting the battery, when
the LED is constantly lit. press buttons 1 and 2 simultaneously and hold until the LED starts to
signal the changed mode (double flash or rapid flash). Then the buttons must be released. The
selected function mode is stored in memory and after replacing the battery, the controller
continues to operate in the same mode.
If the controller is used in RFIO2mode, then it is necessary to instruct the controller and link to
the actuators switch to learn mode not only the actuator (according to the instructions for the
actuator), but also the controller in the following way: Remove the battery from the controller,
press some of the buttons several times to discharge the internal capacitors and replace the
battery. When the LED lights up, press button 1 and keep it pressed until the controller starts
signaling the learning mode with short flashing LEDs. Then release the button and the button
now works in RFIO2learning mode. To end the learning mode, remove the battery, press some
of the buttons several times and then replace the battery. Now we do not press any button and
the controller will start again in RFIO2operating mode.
Indicators, settings /
Insertion and replacement of a battery /
1CR2032
+
CR2032
+
2
1
CR2032
CR2032
2
CR2032
3
Press to open the plug-in battery
holder (you can use a flat-blade
screwdriver to open it).
Insert the CR2032 battery into
Battery holder. Watch out for
polarity.
Insert the holder into the device.
or /
CR2032
+
CR2032
+
3
Never mix new and old batteries when replacing! It is always necessary to replace both
batteries at the same time with new ones
2 / 4
Packungsinhalt
Beiderseitige Klebeetikette - 4x
Montagevorrichtung (mit Haltern) - 1x
Batterie* - 2x
* Batterien sind im Produkt eingefügt. Vor dem
ersten Gebrauch durch Ziehen in Pfeilrichtung
das Isolationsband der Batteriekontakte entfer-
nen.
Schraube- 2x
Anzeige, Einstellung
Einsetzen und Austauschen der Batterie
Die Batterien CR2032 in den
Batteriehalter einfügen.
Achten Sie auf die Polarität.
Durch das Drücken den einzuschiebenden
Halter für die Batterien öff nen (zum Öff
nen kann auch der Schlitzschraubendreher
verwendet werden).
Den Halter ins Gerät
reinschieben.
oder
Niemals alte und neue Batterien mischen beim Austausch! Es ist immer notwendig, be-
ide Batterien gleichzeitig durch neue zu ersetzen.
Nach Einfügen der Batterie erleuchtet für 3 Sekunden die rote LED, ohne auszusetzen, und dann
wird über eine Periode von 5 Sekunden die gewählte Funktion der Fernbedienung durch das
Blinken der LED angezeigt.
• Doppelblinken - Standardmodus RFIO2
• Schnelles Blinken - Modus der Kompatibilität mit älteren Aktoren
Falls man nicht vorhat, die Funktion der Fernbedienung zu verändern, darf man über diese
Periode keine Tasten drücken.
Umschalten zwischen dem Modus RFIO2und dem Modus der Kompatibilität: Sofern man
braucht, den Betriebsmodus der Fernbedienung zu wechseln, drückt man nach Einlegen der
Batterie, wenn LED dauerhaft leuchtet, gleichzeitig die Tasten 1 und 2 und hält, bis die LED
den veränderten Modus signalisiert (doppeltes oder schnelles Blinken). Dann sind die Tasten
freizugeben. Der gewählte Funktionsmodus wird gespeichert und nach dem Batteriewechsel
arbeitet die Fernbedienung nach wie vor in demselben Modus.
Sofern die Fernbedienung im RFIO2Modus verwendet wird, ist für das Anlernen der
Fernbedienung in die Aktoren nicht nur der Aktor (gemäß der Anleitung zum Aktor), sondern
auch die Fernbedienung in den Anlernmodus umzuschalten, und zwar auf folgende Art: Aus
der Fernbedienung die Batterie herausnehmen, beliebige tasten mehrere Male drücken, damit
es zum Entladen der inneren Kondensatoren kommt, und die Batterie wieder einlegen. Zu dem
Zeitpunkt, zu welchem die LED aufl euchtet, die Taste 1 drücken und gedrückt halten, bis die
Fernbedienung durch ein kurzes Blinken der LED den Anlernmodus anzuzeigen beginnt. Dann
die Taste lösen und die Fernbedienung arbeitet nun im RFIO2-Anlernmodus. Für die Beendigung
des Anlernmodus die Batterie herausnehmen, beliebige Tasten mehrere Male drücken und dann
die Batterie wieder zurück einlegen. Jetzt wird keine Taste gedrückt und die Fernbedienung wird
wieder im RFIO2Betriebsmodus anlaufen.

Technical parameters /
More detailed information can be found in the iNELS RF Control Installation Manual:
https://www.elkoep.com/catalogs-and-brochures
ELKO EP, sro hereby declares that the type of radio equipment RFGB-20, RFGB-40,
RFGB-220, RFGB-240 is in accordance with Directives 2014/53 / EU, 2011/65 / EU,
2015/863 / EU and 2014 / 35 / EU. The full text of the EU Declaration of Conformity is
available on the following websites:
www.elkoep.com/glass-touch-controllers-white-sharp-rfgb-20w
www.elkoep.com/glass-touch-controller---2-buttons-black-sharp-rfgb-20b
www.elkoep.com/glass-touch-controller---4-buttons-white-sharp-rfgb-40w
www.elkoep.com/glass-touch-controller-4-buttons-black-sharp-rfgb-40b
www.elkoep.com/glass-touch-controller---2-buttons-white-round--rfgb-220w
www.elkoep.com/glass-touch-controller---2-buttons-black-round-rfgb-220b
www.elkoep.com/glass-touch-controller---4-buttons-white-round-rfgb-240w
www.elkoep.com/glass-touch-controller---4-buttons-black-round-rfgb-240b
When handling a device unboxed it is important to avoid contact with
liquids. Never place the device on the conductive pads or objects, avoid
unnecessary contact with the components of the device.
Safe handling /
Attention:
When you instal iNELS RF Control system, you have to keep
minimal distance 1 cm between each units. Between the
individual commands must be an interval of at least 1s.
Instruction manual is designated for mounting and also for user of the device. It is always a
part of its packing. Installation and connection can be carried out only by a person with ad-
equate professional qualification upon understanding this instruction manual and functions
of the device, and while observing all valid regulations. Trouble-free function of the device
also depends on transportation, storing and handling. In case you notice any sign of damage,
deformation, malfunction or missing part, do not install this device and return it to its seller.
It is necessary to treat this product and its parts as electronic waste after its lifetime is termi-
nated. Before starting installation, make sure that all wires, connected parts or terminals are
de-energized. While mounting and servicing observe safety regulations, norms, directives and
professional, and export regulations for working with electrical devices. Do not touch parts of
the device that are energized - life threat. Due to transmissivity of RF signal, observe correct
location of RF components in a building where the installation is taking place. RF Control is
designated only for mounting in interiors. The must not be installed into metal switchboards
and into plastic switchboards with metal door - transmissivity of RF signal is then impossible.
RF Control is not recommended for pulleys etc. - radiofrequency signal can be shielded by
an obstruction, interfered, battery of the transceiver can get flat etc. and thus disable remote
control.
Warning /
Power voltage:
Battery life:
Transmission indication:
Number of capacitive buttons:
Communication Protocal:
Frequence:
Signal transmission method:
Range:
Other data
OperatingTemprature:
Working Position:
Mounting:
Protection:
Pollution degree:
Dimension:
Weight:
Related standards:
RFGB-20 RFGB-40 RFGB-220 RFGB-240
3 / 4
Technische Parameter
Spannungsversorgung:
Lebensdauer der Batterien:
Übertragungsanzeige:
AnzahlderKapazitätstasten:
Kommunikationsprotokoll:
Übertragungsfrequenz:
Signalübertragungsmethode:
Reichweite:
Andere Daten
Arbeitstemperatur:
Arbeitsposition:
Montage:
Schutzart:
Verschmutzungsgrad:
Abmessungen:
Gewicht:
Standards:
Achtung:
Bei der Installation Aktoren iNELS RF Control muss es
der Mindestabstand 1 cm geachtet sein. Zwischen
aufeinanderfolgenden Befehlseingaben sollte mindesten 1 s
Abstand liegen.
2x 3 Vbattery CR 2032/ 2x Batterie CR 2032
about 2years depending on the frequency of use / ca. 2Jahre jenach Nutzungshäu g keit
Red LED/ rote LED
24 24
RFIO
866–922 MHz
one-way addressed message/ eindirektional adressierte Nachricht
in the open up to 200 m/ bis zu 200 m(im Freien)
-10 ... +50 °C
any / beliebig
adhesive, screw / Kleben, Schrauben
IP20
2
94 x 94 x 8mm 100 x 100 x 8mm
122 g 122 g 122 g 122 g
EN 60669, EN 300220, EN 301489 R&TTE Directive, Order. No426/2000 Coll.(Directive 1999/EC) /
EN 60669, EN 300220, EN 301489 Richtlinie RTTE, RG Nr.426/2000 Sgl.(Richtlinie 1999/EG)
Die Betriebsanleitung dient der Montage, sowie dem Benutzer des Geräts. Sie ist immer im
Lieferumfang enthalten. Die Montage und der Anschluss darf nur durch eine Person mit einer
angemessenen Berufsqualifi kation, nach dieser Bedienungsanleitung und Funktionen des
Gerätes und unter Beachtung aller gültigen Vorschriften ausgeführt werden. Die störungsfreie
Funktion des Gerätes hängt auch von Transport, Lagerung und Handhabung ab. Falls Sie
irgendwelche Anzeichen von Beschädigung, Verformung, Fehlfunktionen oder Fehlteilen
feststellen, ie das Gerät nicht und wenden sich an den Verkäufer. Es ist notwendig, dieses
Produkt und Teile davon als Elektronikschrott zu behandeln, nachdem seine Lebensdauer
beendet ist. Vor Beginn der Montage ist sicherzustellen, dass alle Leitungen, miteinander
verbundenen Teilen oder Anschlüsse spannungsfrei sind. Während der Montage und der
Wartung sind die Sicherheitsvorschriften, Normen, Richtlinien für die Arbeit mit elektrischen
Geräten zu beachten. Berühren Sie keine Teile des Gerätes, die mit Energie versorgt werden
- Lebensgefahr. Aufgrund der Sendeleistung des RF-Signals, beachten Sie den geeigneten
Montageort der RF-Komponenten in einem Gebäude, in dem die Installation stattfi ndet. RF
Control ist nur für die Montage im Innenbereich geeignet. Geräte sind nicht für die Montage
in Außenbereichen und Feuchträumen geeignet. RF Control Komponenten dürfen nicht
in Metallschalttafeln und in Kunststoff-Schalttafeln mit Metalltür installiert werden - Die
Durchlässigkeit des RF-Signals ist dann nicht gegeben. RF Control ist nicht für Aufzüge geeignet
- das RF Signal kann gestört und abgeschirmt werden, die Batterie des Emfängers verliert
schnell die Leistung etc. - dieses verhindert die Steuerung durch eine Steuerungseinheit.
Warnung
Beim Umgang mit einer ungeschützen Einheit ist es wichtig, den Kontakt mit Flüssigkeiten
vermeiden. Stellen Sie das Gerät nie auf den leitenden Anschlußfl ächen oder Objekte und,
vermeiden Sie unnötigen Kontakt mit den Komponenten des Gerätes.
Sicherer Umgang

1 3
2
Push the brackets out of the
mounting fixture.
Assembly /
Push the holders into the holes.
Free tting /
1 32
Peel off one protective layer on
the doublesided adhesive she-
ets and stick them to the marked
places on the controller.
Peel off the second protective
layer on the double-sided
adhesive sheets and place the
control in the prepared place.
Adhesive /
Depending on the type of sur-
face, clean (remove dust or de-
grease) the place where you
want to place the controller.
13
Place the mounting jig on the
KU box and screw it on.
Screw /
Snap on the controller.
Made in Czech Republic
2
ELKO EP, s.r.o. | Palackého 493 | 769 01 | Holešov, Všetuly | Czech Republic | e-mail: [email protected] | Support: +420 778 427 366
ELKO EP Germany GmbH | Minoritenstr. 7 | 50667 Köln | Deutschland | E-mail: [email protected] | Tel: +49 (0) 221 222 837 80
ELKO EP Austria GmbH | Laurenzgasse 10/7 | 1050 Wien | Österreich | E-mail: [email protected] | Tel: +43 (0) 676 942 9314
Aus der Montagevorrichtung
die Halter herausdrücken.
Halter in die Öff nungen
hineindrücken.
Montage
Frei liegend
Eine Schutzschicht auf den
beiderseitige klebeblättern
ablösen und diese an die
gekennzeichneten Stellen der
Fernbedienung kleben.
Die Stelle, wo man die
Fernbedienung platziert haben
möchte, je nach Eigenschaften
der Oberfl äche säubern bzw.
behandeln (entstauben bzw.
entfetten).
Ziehen Sie die zweite
Schutzschicht auf den
beiderseitige klebeblättern
ablösen und platzieren Sie den
Controller an der vorbereiteten
Stelle.
Auf den KU Kasten die
Montagevorrichtung legen
und zuschrauben.
Durch Verschrauben
Die Fernbedienung draufl egen
und einrasten lassen.
Kleben
www.elkoep.com / www.elkoep.de
This manual suits for next models
8
Other Elko Controllers manuals

Elko
Elko COS-1 User manual
Elko
Elko RFSA-61B User manual
Elko
Elko iNels LBC3-02M User manual
Elko
Elko LIC-2 User manual
Elko
Elko RFWB-20/G User manual
Elko
Elko LIC-1 User manual

Elko
Elko RFDEL-76M User manual

Elko
Elko iNELS AirSLC-100NB/NEMA/DALI User manual
Elko
Elko iNELS GSB3-40 User manual
Elko
Elko iNELS RFSTI-111B User manual
Elko
Elko RFDAC-71B User manual
Elko
Elko iNELS Air AirSLC-100 User manual
Elko
Elko RFDEL-76M User manual
Elko
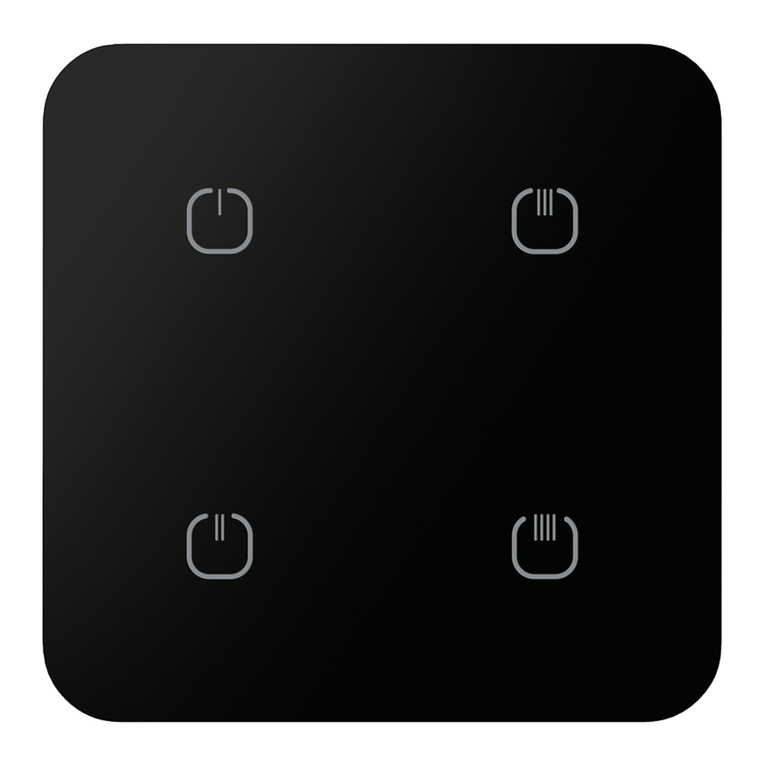
Elko iNels RFGB-20 User manual
Elko
Elko iNels BPS3-02M User manual
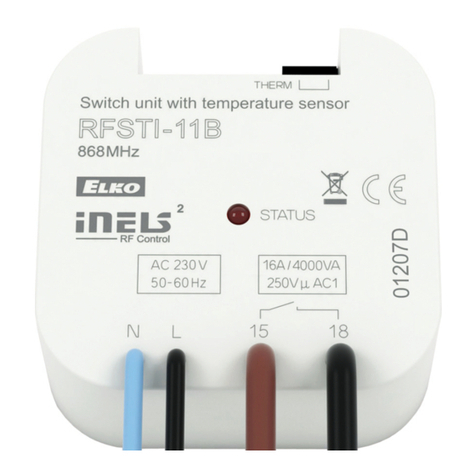
Elko
Elko inels RFSTI-11B User manual
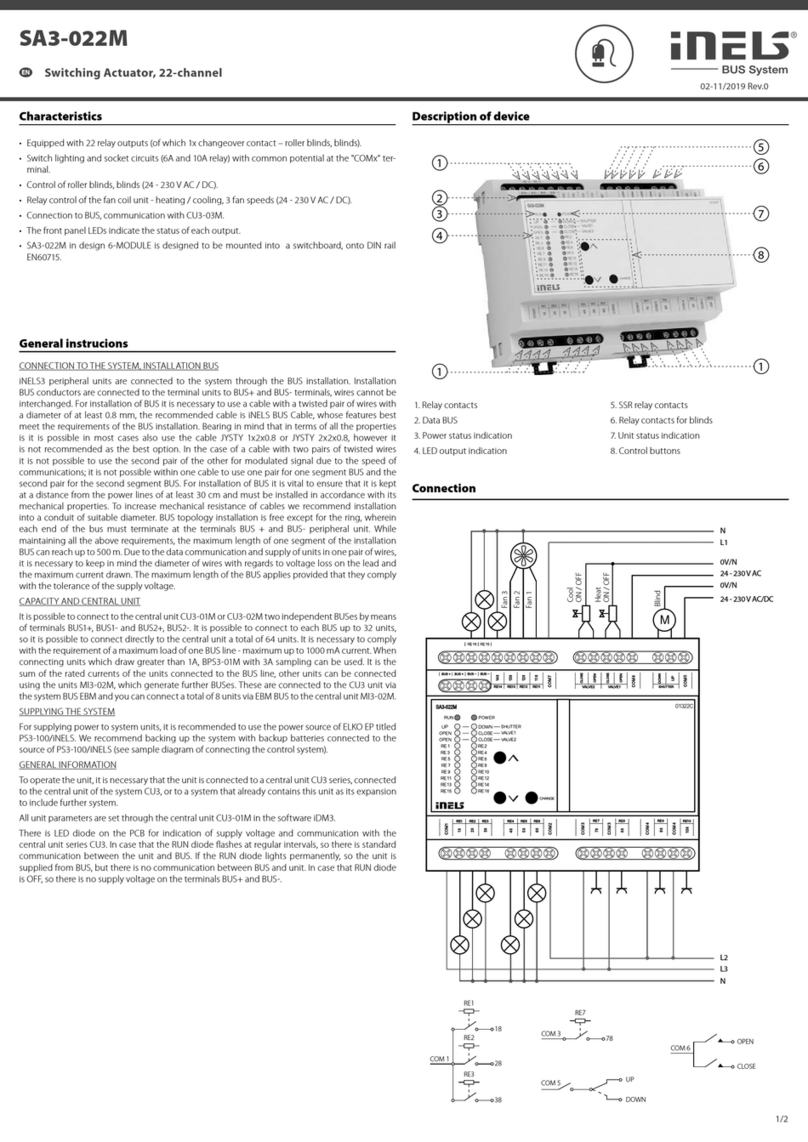
Elko
Elko iNels SA3-022M User manual
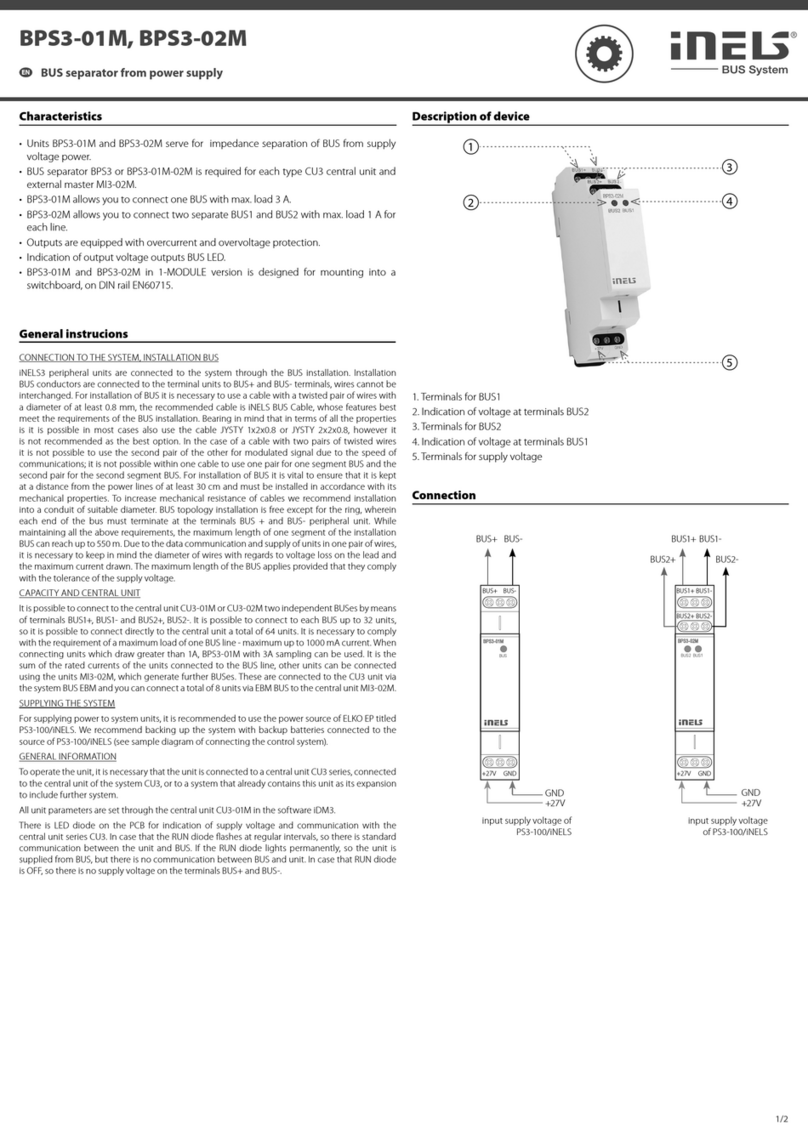
Elko
Elko iNels BPS3-01M User manual
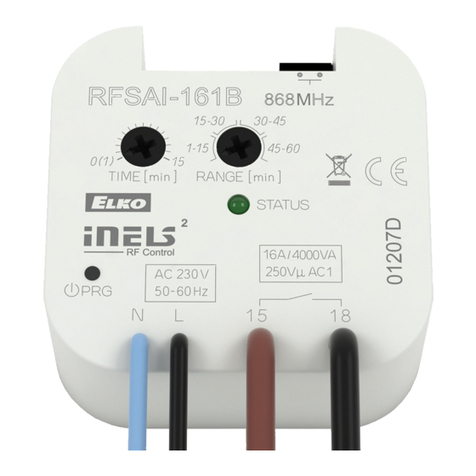
Elko
Elko iNels RFSAI-161B User manual

Elko
Elko RFDEL-76M User manual

