02-29/2017 Rev.2
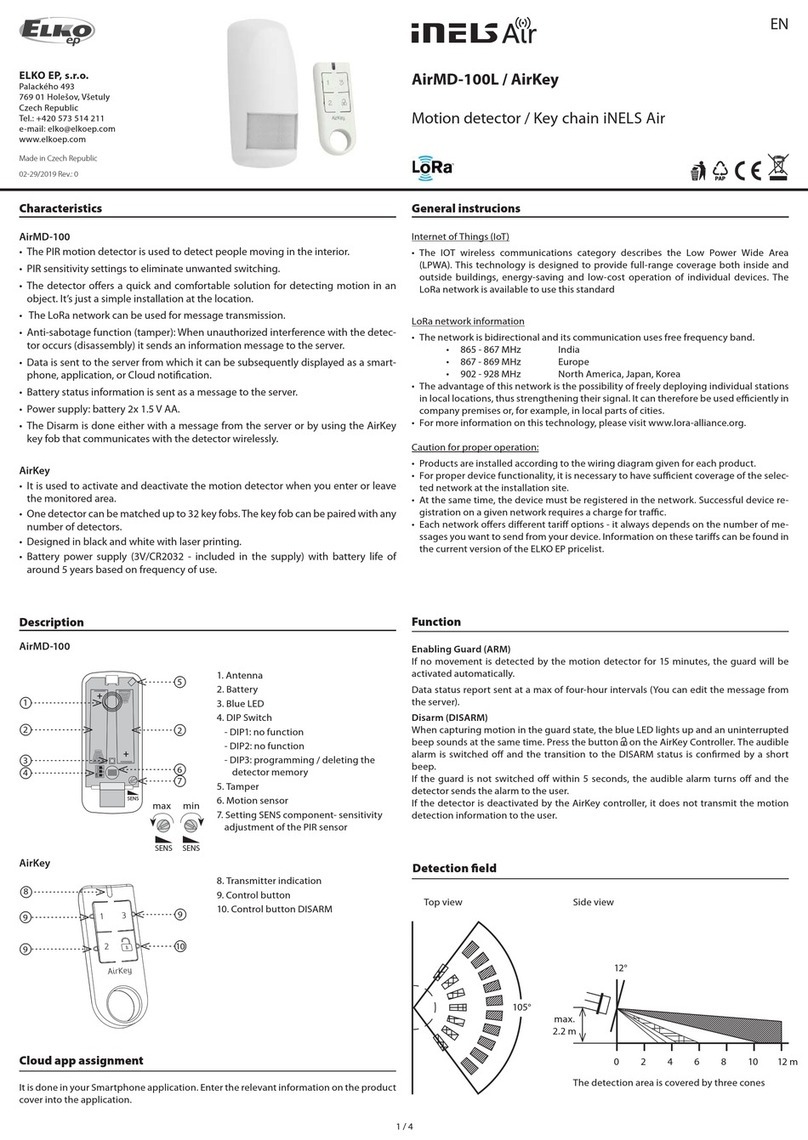
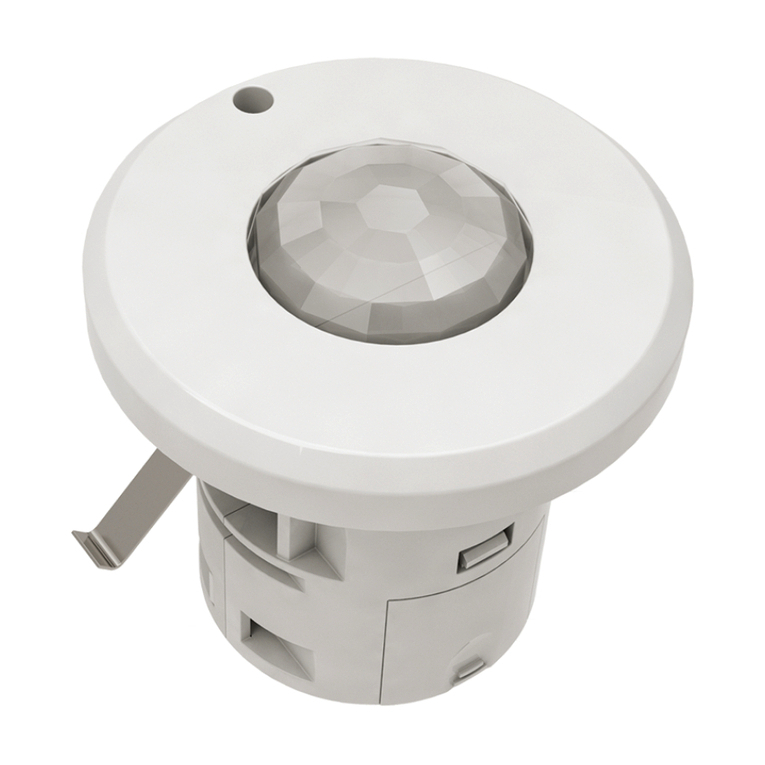
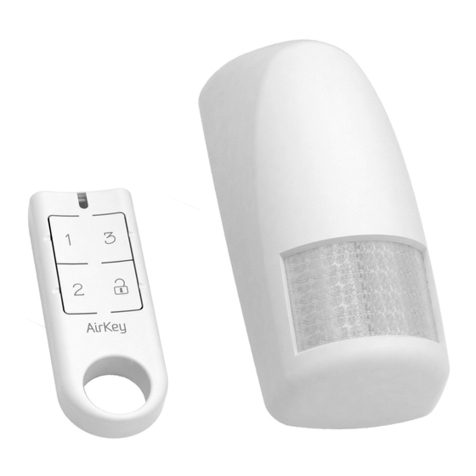
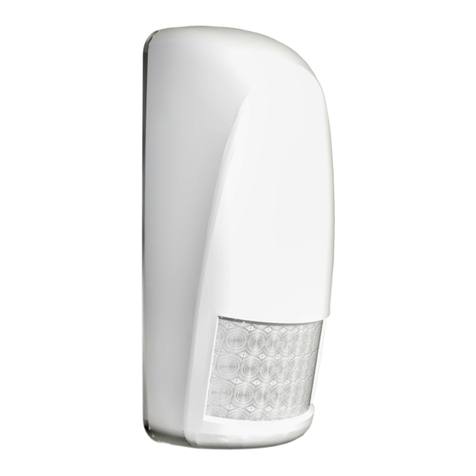
RFMD-100
Motion detector
EN
Made in Czech Republic
Compatibility /
• control units
eLAN-RF-003, eLAN-RF-Wi-003
• switches
RFSA-61B, RFSA-62B, RFSAI-61B, RFSA-61M, RFSA-66M, RFSC-61, RFUS-61
• The detector can only be assigned to components marked with the iNELS RF
Control2RFIO2communication protocol.
ON
1 2 3
+
+
+
-
AA
+
-
AA
3
PROG < 1s
1 x
Functions and programming with compatible switches /
Function "Fixed-time delayed return" /
Description of the delayed return feature with xed time /
The output contact of the switching component switches on when the detector activates, it will
open for 1s.
Programming /
Press of programming button
on compatible actuator for
1 second will activate actuator
into programming mode. LED
is flashing in 1s interval.
Slide the battery into the battery
holder in the detector. Beware
of polarity. The blue LED on the
detector will blink. The LED on
a compatible component will
blink at a faster interval - thereby
assigning the detector to the
component.
Press of programming button
on compatible actuator
shorter then 1 second will
finish programming mode,
LED switches off.
2
1
PROG > 1s
1 x
Function "delayed return with time setting" /
Description of the delayed return function with time setting /
The output contact of the switching component switches on when the detector activates, it
opens after the set time interval has elapsed.
Programming /
Press of programming button
on compatible actuator for
1 second will activate actuator
into programming mode. LED
is flashing in 1s interval.
Slide the battery into the
battery holder in the detector.
Beware of polarity. The blue
LED on the detector will blink.
The LED on a compatible
component will blink at a faster
interval - thereby assigning the
detector to the component.
Remove one of the batteries
from the detector and insert
it back after 30 seconds. The
blue LED on the detector
will blink. The LED on a
compatible component will
blink at a faster interval.
1
PROG > 1s
1 x
ON
1 2 3
+
+
2
+
-
AA
+
-
AA
Remove the battery from the detector again. After
30 seconds, press the programming button for more than
5 seconds to bring the compatible component into timer
mode. LED 2x blinks at second intervals. When the button is
released, delayed return time is retrieved.
After setting the desired time (within 2s ...
60 min), the timer mode ends by inserting
the battery into the detector. The red LED
on the detector will blink. This saves the
time interval stored in the memory of the
component, the LED on the compatible
component blinks.
ON
1 2 3
+
+
3
+
-
AA
+
-
AA
30 s
ON
1 2 3
+
+
4
PROG > 5s
1 x
+
-
AA
+
-
AA
30 s
ON
1 2 3
+
+
t = 2s . . . 60min
5
+
-
AA
+
-
AA
3/5
Bezprzewodowy czujnik ruchu
PL
ELKO
EP
,
s.r
.o.
|
Palackého
493
|
769
01
Holešov
,
V
šetuly
|
Czech
Republic
|
e
-mail:
[email protected] |
Support:
+420
778
427
36
6ELKO
EP
P
oland,
sp.
z
o
.
o.
|
ul.
Motelowa
21
|
43-400
Cieszyn
|
Polska
|
e-mail:
[email protected] |
GSM:
+48
785
431
024
www.elkoep.com / www.elkoep.pl
Kompatybilność
• urządzenia systemowe
eLAN-RF-003, eLAN-RF-Wi-003
• przełączniki
RFSA-61B, RFSA-62B, RFSAI-61B, RFSA-61M, RFSA-66M, RFSC-61, RFUS-61
• Czujnik można przypisać wyłącznie do elementów oznaczonych protokołem
komunikacyjnym iNELS RF Control2(RFIO2).
Naciśnięcie przycisku PROG
w urządzeniu kompatybilnym
na 1s, wprowadzi urządzenie
w tryb programowania. Dioda
LED miga w odstępie 1s.
Włóż baterie do uchwytu baterii
w czujniku. Zwróć uwagę
na biegunowość. Niebieska
dioda LED mignie. Dioda LED
w urządzeniu komp. miga w
krótszym odstępie - przypisanie
czujnika do urządzenia.
Naciśnięcie przycisku PROG w
urz. kompatybilnym na mniej
niż 1s, zakończy tryb progra-
mowania, dioda LED gaśnie.
Funkcje oraz programowanie z urządzeniami kompatybilnymi
Funkcja "opóźniony powrót po stałym czasie"
Styk wyjściowy urządzenia załączającego załączy przy aktywacji czujnika, rozłączy po upływie 1s.
Programowanie
Opis funkcji opóźnionego powrotu po stałym czasie
Funkcja "opóźnionego powrotu po ustawionym czasie"
Opis funkcji opóźnionego powrotu po ustawionym czasie
Styk wyjściowy urządzenia załączającego załączy przy aktywacji czujnika, rozłączy po upływie
ustawionego czasu.
Naciśnięcie przycisku PROG
w urządzeniu kompatybilnym
na 1s, wprowadzi urządzenie
w tryb programowania. Dioda
LED miga w odstępie 1s.
Włóż baterie do uchwytu baterii
w czujniku. Zwróć uwagę
na biegunowość. Niebieska
dioda LED mignie. Dioda LED
w urządzeniu komp. miga w
krótszym odstępie - przypisanie
czujnika do urządzenia.
Wyjmij jedną z baterii czujnika
i włóż z powrotem po 30s.
Niebieska dioda LED czujnika
mignie. Dioda LED w urz.
komp. miga w krótszym
odstępie.
Wyjmij ponownie jedną baterii z czujnika. Po 30s naciśnij
przycisk PROG na dłużej niż 5s, rozpocznie się tryb ustawiania
czasu. Dioda LED mignie 2x w odstępie 1s. Po zwolnieniu
przycisku rozpoczyna się odliczanie czasu opóźnionego
powrotu.
Po upływie wymaganego czasu (w zakresie 2s
... 60 min), tryb ustawiania czasu zakończ przez
włożenie baterii do czujnika. Niebieska dioda
LED czujnika mignie - zapisanie ustawionego
czasu w pamięci urządzenia, dioda LED w urz.
komp. mignie.
Programowanie


