manuals.online logo
Brands
  1. Home
  2. •
  3. Brands
  4. •
  5. ETI
  6. •
  7. Thermometer
  8. •
  9. ETI 810-287 User manual

ETI 810-287 User manual

Other ETI Thermometer manuals

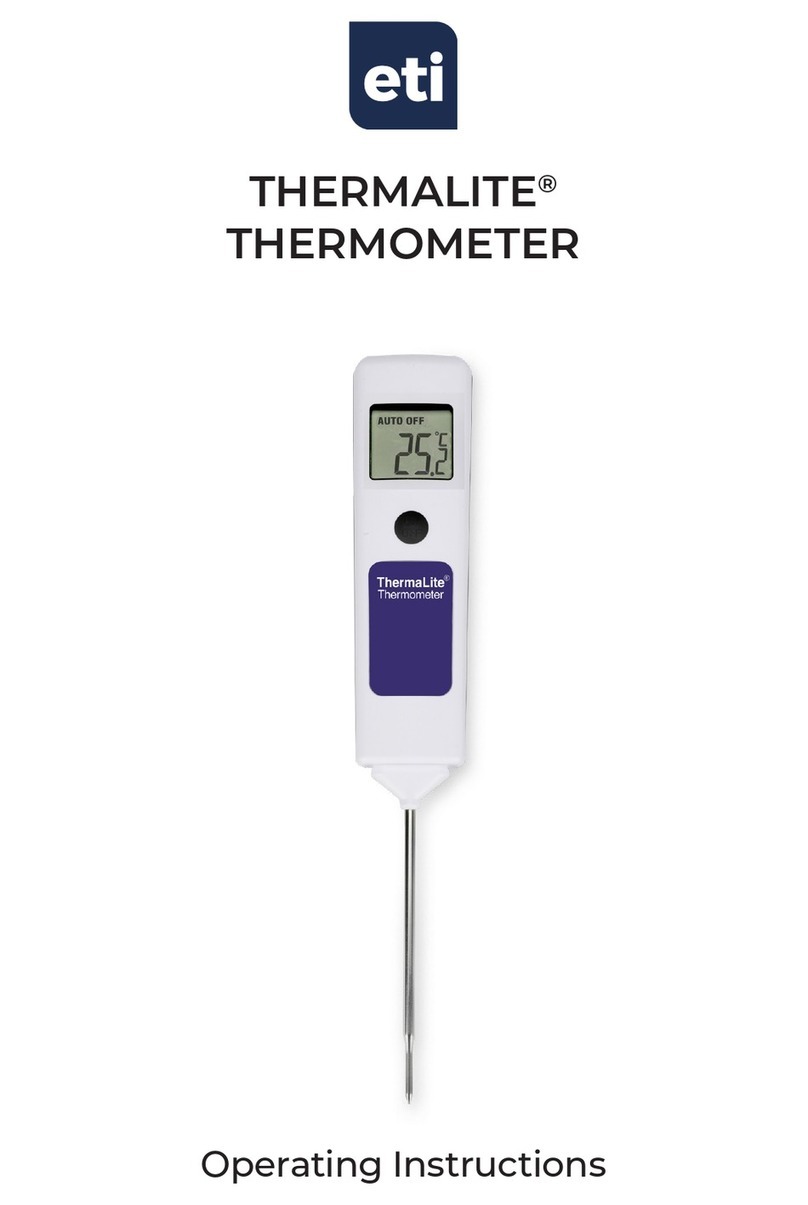
ETI REFERENCE THERMAPEN User manual

ETI

ETI REFERENCE THERMAPEN User manual

ETI THERMALITE 2 User manual

ETI

ETI THERMALITE 2 User manual

ETI 814-060 User manual

ETI

ETI 814-060 User manual

ETI 810-275 User manual

ETI

ETI 810-275 User manual

ETI 800-850 User manual

ETI

ETI 800-850 User manual

ETI 810-031 User manual

ETI

ETI 810-031 User manual

ETI THERMADATA User manual

ETI

ETI THERMADATA User manual

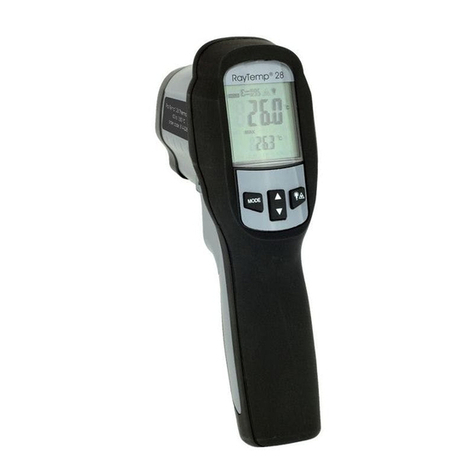
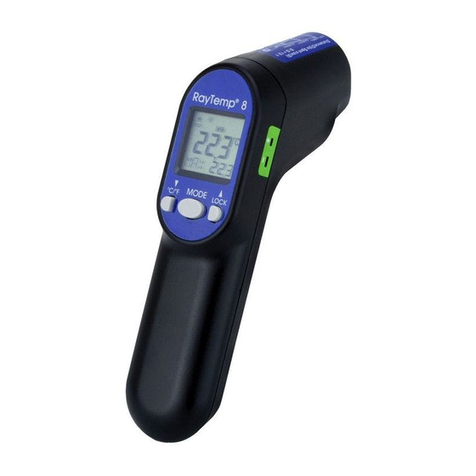
ETI Raytemp 28 User manual

ETI

ETI Raytemp 28 User manual

ETI ThermaStick Series User manual

ETI

ETI ThermaStick Series User manual

ETI RAYTEMP 6 User manual

ETI

ETI RAYTEMP 6 User manual

ETI THERMALITE User manual

ETI

ETI THERMALITE User manual

ETI Precision User manual

ETI

ETI Precision User manual

ETI 810-125 User manual

ETI

ETI 810-125 User manual

ETI 814-065 User manual

ETI

ETI 814-065 User manual

ETI THERMAMITE User manual

ETI

ETI THERMAMITE User manual

ETI ECOTEMP User manual

ETI

ETI ECOTEMP User manual

ETI 810-150 User manual

ETI

ETI 810-150 User manual

ETI ThermoPop User manual

ETI

ETI ThermoPop User manual

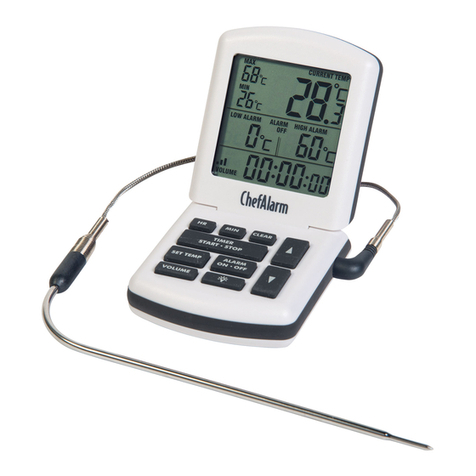
ETI ChefAlarm 810-041 User manual

ETI

ETI ChefAlarm 810-041 User manual

ETI 810-140 User manual

ETI

ETI 810-140 User manual

ETI THERMA WATERPROOF T User manual

ETI

ETI THERMA WATERPROOF T User manual

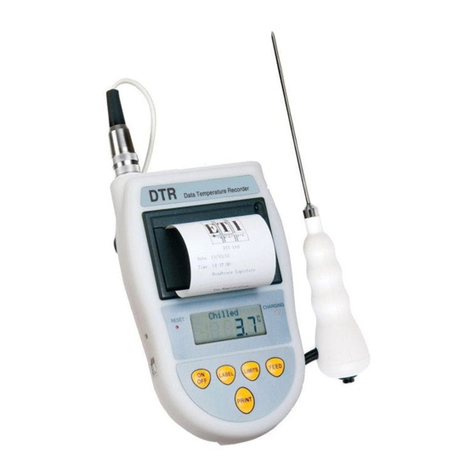
ETI DTR User manual

ETI

ETI DTR User manual

ETI RayTemp Blue User manual

ETI

ETI RayTemp Blue User manual

ETI 800-805 User manual

ETI

ETI 800-805 User manual

Popular Thermometer manuals by other brands

Benetech GM900 instruction manual

Benetech

Benetech GM900 instruction manual

Parton PTD-400 manual

Parton

Parton PTD-400 manual

GAME 15900 owner's manual

GAME

GAME 15900 owner's manual

scigiene FP-180 instruction manual

scigiene

scigiene FP-180 instruction manual

Ametek Land UNO U1 600/1600C-L user guide

Ametek Land

Ametek Land UNO U1 600/1600C-L user guide

Delton 981A instruction manual

Delton

Delton 981A instruction manual

Taylor 5286498 instruction manual

Taylor

Taylor 5286498 instruction manual

Baker MM2P instruction manual

Baker

Baker MM2P instruction manual

Chino IR-FA Series instructions

Chino

Chino IR-FA Series instructions

Vive DMD1010 user manual

Vive

Vive DMD1010 user manual

Tarmo 320281 manual

Tarmo

Tarmo 320281 manual

Citizen CTD 504 instruction manual

Citizen

Citizen CTD 504 instruction manual

TFA 14.1500 instruction manual

TFA

TFA 14.1500 instruction manual

Gotemp THB4002 user guide

Gotemp

Gotemp THB4002 user guide

GREISINGER G 1202 Quick reference guide

GREISINGER

GREISINGER G 1202 Quick reference guide

Amprobe TMD-53W user manual

Amprobe

Amprobe TMD-53W user manual

Trotec BP10 operating manual

Trotec

Trotec BP10 operating manual

Radiance instruments RT616 Series product manual

Radiance instruments

Radiance instruments RT616 Series product manual

manuals.online logo
manuals.online logoBrands
  • About & Mission
  • Contact us
  • Privacy Policy
  • Terms and Conditions

Copyright 2025 Manuals.Online. All Rights Reserved.

INSTRUMENT OPERATION - The instrument
is switched on by pressing any function
button located on the front of the
thermometer. Apply the tip of the probe to
the substance or medium to be measured.
The instrument reading may take a few
seconds to stabilise, depending on the nature
of the measurement. The instrument will
automatically turn off after 10 minutes.
MAX/MIN - Press the Max/Min button to
display the maximum reading and a 'MAX'
symbol will ash in the display. Press the
Max/Min button again to display the
minimum reading and a 'MIN' symbol will
ash in the display. Press the Max/Min button
again to return to normal readings. The
max/min readings will be cleared once the
unit automatically turns off.
HOLD - Press the Hold button to retain the
display reading, press the Hold button again
to resume taking temperature.
Please note: once Hold is selected the unit
will not automatically turn off.
BATTERY REPLACEMENT - Replace the
battery by unscrewing the screws located at
the back of the instrument. Ease the casing
apart, being careful not to dislodge the
wiring. Replace the battery, align the casing
and tighten the screws securely.
EMC/RFI - Instrument performance may be
affected if operated within a high frequency
radio eld, such as near a mobile phone, or if
subjected to an electrostatic shock.
GUARANTEE - This instrument carries a
one-year guarantee against defects in either
components or workmanship. During this
period, products that prove to be defective
will, at the discretion of ETI, be either
repaired or replaced without charge. This
guarantee does not apply to sensors/probes,
where a six-month period is offered. The
product guarantee does not cover damage
caused by fair wear and tear, abnormal
storage conditions, incorrect use, accidental
misuse, abuse, neglect, misapplication
or modication. Full details of liability are
available within ETI’s Terms & Conditions of
Sale at www.etiltd.com/terms. In line with our
policy of continuous development, we reserve
the right to amend our product specication
without prior notice.
FR - UTILISATION DE L’INSTRUMENT
On allume l’instrument en appuyant sur
n’importe quel bouton de fonction situé
sur le devant du thermomètre. Appliquez
la pointe de la sonde à la substance ou
au milieu à mesurer. La stabilisation de
l’indication de l’instrument peut prendre
quelques secondes, en fonction de la nature
de la mesure. L’instrument s’éteindra
automatiquement après
10 minutes.
FONCTION MÉMOIRE MAX/MIN - Appuyez
sur le bouton MAX/MIN pour afcher la
lecture maximum et le symbole MAX
clignotera alors dans la fenêtre. Appuyez à
nouveau sur le bouton MAX/MIN pour afcher
la lecture minimum et un symbole MIN
clignotera alors dans la fenêtre. Appuyez à
nouveau sur le bouton MAX/MIN pour revenir
aux lectures normales. Les relevés max/min
seront effacés une fois le thermomètre éteint.
MAINTIEN DE L’AFFICHAGE - Appuyez sur
le bouton HOLD pour conserver l’indication
de l’afchage, appuyez de nouveau sur le
bouton HOLD pour recommencer à prendre
la température. Veuillez-notez: qu’une fois
vous appuyez sur le boutons HOLD. l’unité ne
s’éteindra pas automatiquement.
REMPLACEMENT DE LA PILE
Pour remplacer la pile, dévissez les vis situées
à l’arrière de l’instrument. Écartez le boîtier
en veillant à ne pas déloger le système
électrique. Remettez la pile, alignez le boîtier
et serrez bien les vis.
810-285/04.09.18
T-SHAPED
THERMOMETER
Supplied by
Electronic Temperature Instruments Ltd
Worthing · West Sussex · BN14 8HQ
01903 202151 · sales@etiltd.com · etiltd.com
Operating Instructions
Product code:
810-287
DE - BEDIENUNG DES INSTRUMENTS
Das Instrument wird durch Drücken einer
beliebigen Funktionstaste auf der Vorderseite
des Thermometers eingeschaltet. Bringen
Sie die Sondenspitze mit der Substanz bzw.
dem Medium in Kontakt, für die bzw. das
die Messung erfolgen soll. Je nach Art der
Messung kann es einige Sekunden dauern,
bis sich der Messwert des Instruments
stabilisiert hat. Das Instrument schaltet sich
nach 10 Minuten automatisch ab.
SPEICHERFUNKTION FÜR MAX/MIN-WERTE
Drücken Sie die MAX/MIN-Taste, um den
Maximalwert anzuzeigen. Dabei blinkt ein
MAX-Symbol in der Anzeige. Drücken Sie die
MAX/MIN-Taste erneut, um den Minimalwert
anzuzeigen. Dabei blinkt ein MIN-Symbol in
der Anzeige. Drücken Sie die MAX/MIN-Taste
erneut, um zu den normalen Messwerten
zurückzukehren. Die MAX/MIN-Werte werden
beim Ausschalten des Geräts gelöscht.
ANZEIGE HALTEN - Drücken Sie die HOLD-
Taste, um den aktuellen Wert auf der Anzeige
beizubehalten; durch erneutes Drücken der.
HOLD Taste wird die laufende Erfassung
von Temperaturmesswerten wieder
aufgenommen. Bitte beachten Sie: Nach
dem Aufrufen der Haltefunktion schaltet sich
das Gerät nicht automatisch ab.
BATTERIEWECHSEL - Zum Wechseln der
Batterie müssen Sie die Schrauben auf der
Rückseite des Instruments lösen. Öffnen Sie
das Gehäuse und achten Sie darauf, die Kabel
nicht zu durchtrennen. Wechseln Sie die
Batterie, verschließen Sie das Gehäuse und
ziehen Sie die Schrauben fest an.
IT - FUNZIONAMENTO DELLO STRUMENTO
Lo strumento si accende premendo qualsiasi
tasto di funzione situato nella parte anteriore
del termometro. Appoggiare la punta della
sonda alla sostanza o al mezzo da misurare.
La lettura da parte dello strumento può
impiegare qualche secondo a stabilizzarsi, a
seconda della natura della misurazione. Lo
strumento si spegnerà automaticamente
dopo 10 minuti.
FUNZIONE MEMORIA MAX/MIN - Premere il
pulsante MAX/MIN per visualizzare la lettura
massima; il simbolo MAX lampeggerà nel
display. Premere nuovamente il pulsante
MAX/MIN per visualizzare la lettura minima;
il simbolo MIN lampeggerà nel display.
Premere nuovamente il pulsante MAX/MIN
per tornare alle letture normali. Le letture
max/min verranno cancellate una volta che
l’unità viene spenta.
COME PRESERVARE IL VISORE - Premere
il tasto HOLD per preservare la lettura sul
visore, tornare a premere il tasto HOLD per
ritornare a misurare la temperatura. NB: una
volta selezionato HOLD lo strumento non si
spegnerà automaticamente.
SOSTITUZIONE DELLA BATTERIA - Sostituire
la batteria svitando le viti situate sulla parte
posteriore dello strumento. Aprire l’involucro
protettivo, stando bene attenti a non
rimuovere i li. Sostituire la batteria, allineare
l’involucro protettivo e stringere bene le viti.
PT - FUNCIONAMENTO DO INSTRUMENTO
O instrumento é ligado premindo qualquer
botão de função localizado na frente do
termómetro. Aplicar a ponta da sonda à
substância ou meio a ser medido. A leitura do
instrumento pode demorar alguns segundos
para estabilizar, dependendo da natureza
da medição. O instrumento desligar-se-á
automaticamente após
10 minutos.
FUNÇÃO DE MEMÓRIA MÁX/MÍN - Prima
o botão MAX/MIN para visualizar o valor de
leitura máximo e o símbolo MAX começar a
piscar no visor. Prima de novo o botão
MAX/MIN para visualizar o valor de leitura
mínimo e o símbolo MIN começar a piscar no
visor. Para voltar ao modo de leituras normais,
prima de novo o botão MAX/MIN. As leituras
de max/min serão apagadas após a unidade
ser desligada.
EXIBIR HOLD (PREMIR) - Premir o botão
HOLD para manter a leitura apresentada,
premir o botão HOLD novamente para
recomeçar a medição da temperatura.
Tenha, por favor, em atenção: a unidade não
se desligará automaticamente depois de
seleccionar HOLD.
SUBSTITUIÇÃO DA PILHA - Substitua
as pilhas desaparafusando os parafusos
posicionados na parte de trás do instrumento.
Separe o invólucro com muito cuidado para
não desalojar os os. Substitua a pilha, alinhe
o invólucro e aperte os parafusos rmemente.
ES - FUNCIONAMIENTO DEL INSTRUMENTO
El instrumento se encenderá pulsando
cualquier botón de mando situado en la
parte frontal del termómetro. Aplicar la
punta de la sonda a la sustancia o materia
cuya temperatura se desea medir. El valor
registrado podrá tardar unos segundos en
estabilizarse, según el tipo de sustancia que
se esté comprobando. El instrumento se
apagará automáticamente al cabo de
10 minutos.
FUNCIÓN DE MEMORÍA MAX/MIN - Pulse
la tecla MAX/MIN para mostrar la lectura
máxima y el símbolo MAX parpadeará en la
pantalla. Vuelva a pulsar la tecla MAX/MIN
para mostrar la lectura mínima y el símbolo
MIN parpadeará en la pantalla. Vuelva a
pulsar la tecla MAX/MIN para regresar a las
lecturas normales. Los valores máximo y
mínimo registrados se borrarán cuando se
apague el instrumento.
BLOQUEAR VISUALIZACIÓN - Pulse el botón
HOLD para bloquear el valor registrado,
y vuelva a pulsar HOLD para reanudar la
medición de temperatura.
Nota: mientras HOLD esté seleccionado,
el instrumento no se apagará
automáticamente.
CAMBIO DE PILA - Para cambiar la pila se
aojarán los tornillos situados en la parte
posterior del instrumento. A continuación
se separará la base, teniendo cuidado de no
desencajar los cables. Cambie la batería, junte
las dos partes de la caja y vuelva a apretar los
tornillos.