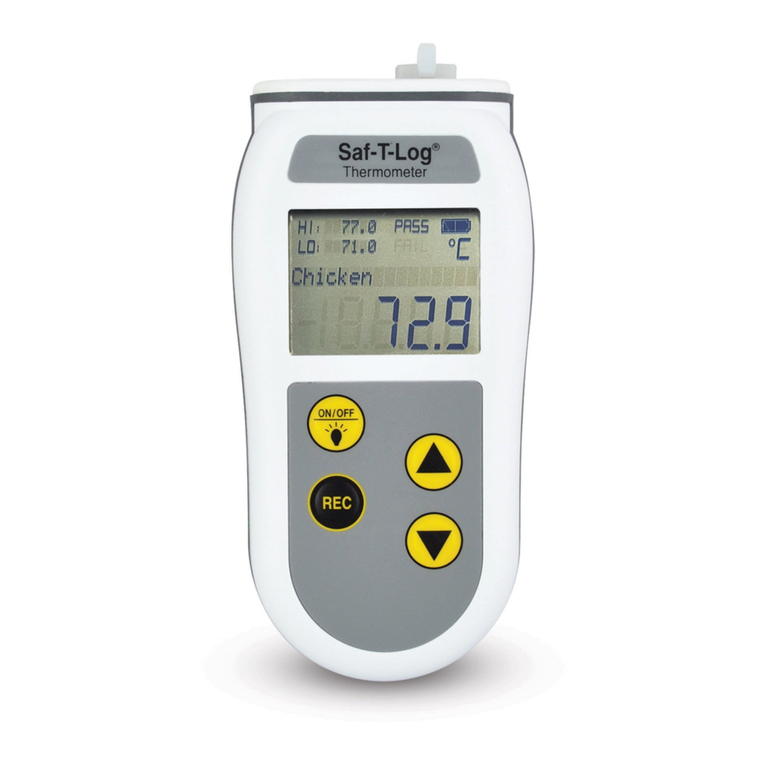
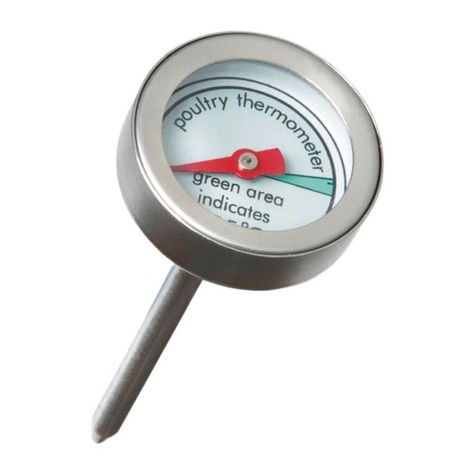
ETI MULTI-FUNCTION THERMOMETER User manual

INSTRUMENT OPERATION - Open the battery cover
by gently pulling the foot stand to unravel the lead
and insert the battery. The instrument is switched
on by pressing the located on the front of the
instrument. Remove the protective cover from the
probe, Insert the probe into the substance being
measured. The instrument reading may take a few
seconds to stabilise, depending on the nature of the
measurement.
HOLD - Press the Hold button to capture the
temperature reading. The 'Hold' icon will ash in
the display. Press the Hold button again to resume
taking the temperature.
MAX/MIN - Press the MAX/MIN button to display the
maximum reading (MAX symbol displayed). Press
the MAX/MIN button again to display the minimum
reading (MIN symbol displayed). Press MAX/MIN
button again to return to normal readings. Hold
MAX/MIN for three seconds to reset minimum and
maximum temperature memory. Please note:
Max/Min readings are not saved so switching the
thermometer off will clear the max/min readings.
°C/°F - Press and Hold the °C/°F button on the front
of the instrument to switch between Centigrade
and Fahrenheit.
AUDIBLE ALARM - Press the Set button and the
'HI' value will ash in the display. Press the up or
down arrows to set the desired 'HI' alarm limit. Press
the Set button again and the 'LO' value will ash in
the display. Press the up or down arrows to set the
desired 'LO' alarm limit. Press Set button again to
set the alarm. The audible alarm will sound when
the temperature setting has been exceeded. Press
any button to stop the alarm sounding, the 'HI' or 'LO'
symbol will continue to ash until the temperature is
within the set limit. To disable (turn off) the Alarm/s,
press the Set button and the ‘HI’ alarm digits will
ash. Press the power button once and the display
will show ‘OFF’, repeat for low alarm.
CALIBRATION FUNCTION - Press and hold the
power button until ‘CAL’ is shown in the display.
Using the and buttons, you can enter an
offset temperature by as much as ±2.2 °C/°F to
compensate for any errors. Press the power button
to return to the temperature display. If no
buttons are pressed the screen will default to the
temperature display after a short period of time.
BATTERY REPLACEMENT - Replace the battery
when the display dims, using a AAA or 1.5 volt
equivalent. The battery is located under the battery
cover at the rear of the instrument, to change the
battery lift the footstand and pull gently.
EMC/RFI - Instrument performance may be affected
if operated within a high frequency radio eld,
such as near a mobile phone, or if subjected to an
electrostatic shock.
FR - FONCTIONNEMENT DU THERMOMÈTRE
Ouvrez le couvercle de pile en tirant délicatement
le pied de manière à dénouer le l et insérer la
batterie. Mettez le thermomètre en marche en
appuyant sur le bouton situé sur sa face avant.
Retirer la protection de la sonde, Insérez la sonde
dans l’aliment voulu. En fonction de sa nature,
quelques secondes peuvent être nécessaires à la
mesure pour se stabiliser.
HOLD - Appuyez sur le bouton Hold pour obtenir le
relevé de température. L’icône HOLD clignotera à
l’écran. Appuyez une nouvelle fois sur le bouton Hold
pour poursuivre le relevé de température.
MAX/MIN - Appuyez sur le bouton MAX/MIN pour
afcher la valeur mesurée maximale (symbole MAX
afché). Appuyez à nouveau sur le bouton
MAX/MIN pour afcher la valeur mesurée minimale
(symbole MIN afché). Appuyez à nouveau sur le
bouton MAX/MIN pour revenir aux valeurs mesurées
normales. Maintenez enfoncé MAX/MIN pendant trois
secondes pour réinitialiser la mémoire de température
minimale et maximale. Remarque: les valeurs Max/
Min ne sont pas enregistrées ; en conséquence, la mise
hors tension du thermomètre les efface.
°C/°F - Maintenir enfoncé le °C/°F à l’arrière du
thermomètre pour basculer entre Celsius et
Fahrenheit.
ALARME SONORE - Appuyez sur le bouton Set: la
valeur HI clignotera à l’écran. Utilisez les touches
échées vers le haut ou le bas pour dénir la limite
d’alarme HI. Appuyez à nouveau sur le bouton Set:
la valeur IO clignotera à l’écran. Servez-vous des
touches échées vers le haut ou le bas pour dénir
la limite d’alarme IO voulue. Appuyez de nouveau
sur le bouton Set pour congurer l’alarme. L’alarme
sonore se déclenchera en cas de dépassement du
paramètre de température conguré. Appuyez
sur n’importe quel bouton pour arrêter l’alarme. Le
symbole HI ou IO continuera à clignoter jusqu’à ce
que la température soit dans la limite dénie. Pour
désactiver (éteindre) les alarmes, appuyez sur le
bouton Set: les chiffres correspondant à l’alarme
de limite supérieure ‘HI’ se mettent à clignoter.
Appuyez sur le bouton Marche/Arrêt une fois :
l’afchage indique « OFF ». Répétez la procédure
pour l’alarme de limite inférieure.
FONCTION D’ÉTALONNAGE - Maintenez le
bouton Marche/Arrêt enfoncé jusqu’à ce que
l’afchage indique CAL. À l’aide des boutons et
, vous pouvez régler une température de décalage
dans une plage de ±2,2 °C/°F an de compenser
d’éventuelles erreurs. Appuyez sur le bouton
Marche/Arrêt pour revenir à l’afchage de la
température. Si aucun bouton n’est actionné,
l’écran revient par défaut à l’afchage de la
température au bout de quelques instants.
REMPLACEMENT DE LA PILE - Lorsque l’afchage
s’estompe, remplacez la pile par une pile AAA ou
de 1,5 volt. La pile est située sous le couvercle de
pile à l’arrière du thermomètre. Pour la remplacer,
soulevez le pied et tirez délicatement.
GUARANTEE - This instrument carries a one-year
guarantee against defects in either components or
workmanship. During this period, products that prove
to be defective will, at the discretion of ETI, be either
repaired or replaced without charge. This guarantee
does not apply to sensors/probes, where a six-month
period is offered. The product guarantee does not
cover damage caused by fair wear and tear, abnormal
storage conditions, incorrect use, accidental misuse,
abuse, neglect, misapplication or modication. Full
details of liability are available within ETI’s Terms &
Conditions of Sale at etiltd.com/terms. In line with
our policy of continuous development, we reserve
the right to amend our product specication without
prior notice.
810-927/10.10.19
MULTI-FUNCTION
THERMOMETER
Supplied by
Electronic Temperature Instruments Ltd
Worthing · West Sussex · BN14 8HQ
01903 202151 · sales@etiltd.com • etiltd.com
Operating Instructions
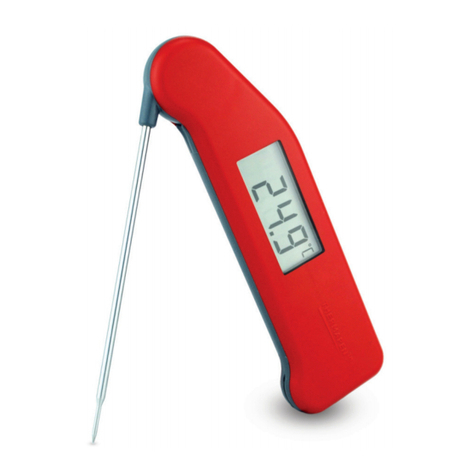
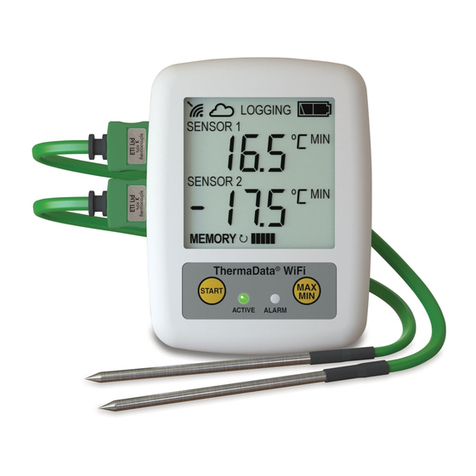
Table of contents
Other ETI Thermometer manuals

ETI
ETI 801-590 User manual

ETI
ETI FoodSafe 803-900 User manual

ETI
ETI ThermoPop User manual

ETI
ETI 810-930 User manual

ETI
ETI THERMAQ 2 User manual

ETI
ETI THERMALITE 2 User manual

ETI
ETI THERMA WATERPROOF T User manual

ETI
ETI ChefAlarm 6401 User manual

ETI
ETI THERMAQ BLUE User manual

ETI
ETI 810-287 User manual