QUICK START GUIDE
Remove old versions of Saf-T-Log software
prior to installing new version (your data files
will not be removed or lost).
Install the software by following on-screen
instructions BEFORE connecting the Saf-T-Log
instrument to the PC (see below for more
information).
PC SOFTWARE INSTALLATION
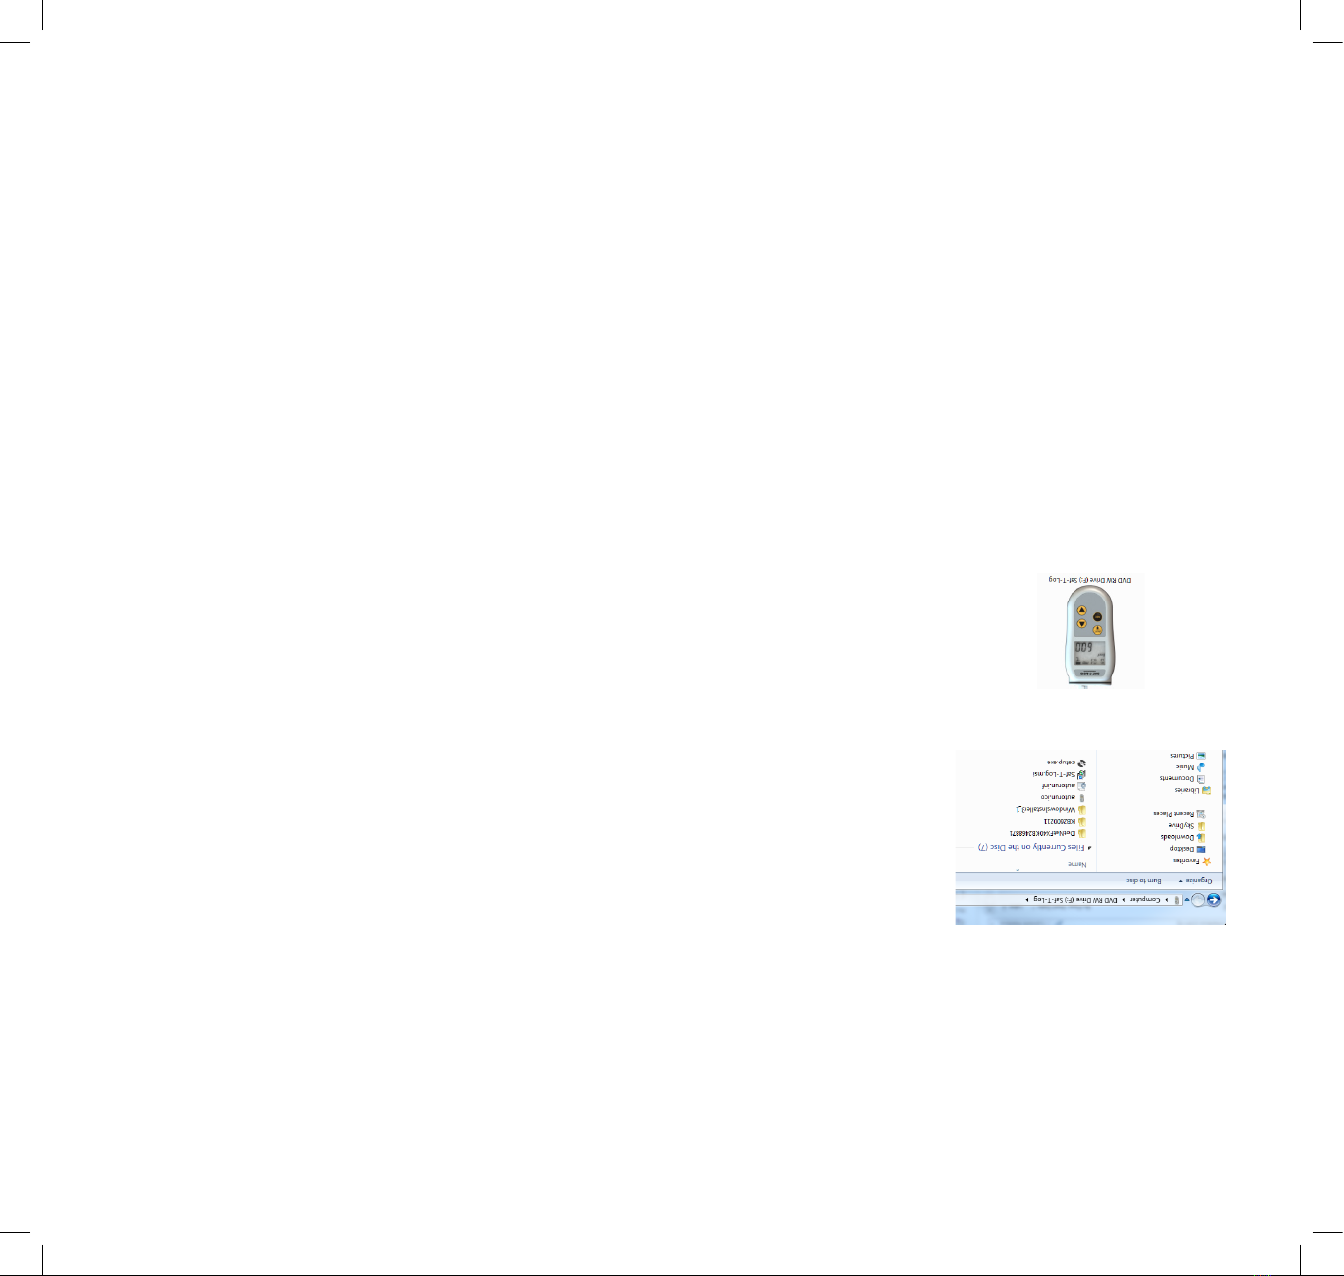
Place the CD in the CD drive. The CD will
autorun. If it does not, click 'Start', 'Run...' and
browse to the CD drive and click 'Setup.exe'
or double click the 'My Computer' icon on the
Desktop and double click the CD drive
Saf-T-Log Software requires Microsoft .Net
Framework to be installed on the PC. Some
PC's will already have this installed but if not it
will be installed from the CD. Click the 'Accept'
button in the 'Microsoft License window'. (This
may take a few minutes to install). When
installed, the Saf-T-Log software installation
will resume.
The program files will be installed by default
to... 'C:\Program Files\ETI Ltd\ Saf-T-Log\'
(Recommended). The 'Browse' button can
be used to install to an alternate location
(Advanced Users). The 'Disk Cost' button will
show the space on available drives and the
amount required.
The final installation dialogue box gives a
last opportunity to go back and revise the
installation settings. Click the 'Next' button to
install the software. A moving bar will show
the installation progress.
Click the 'Close' button to exit the installation
procedure.
An Icon for the Saf-T-Log software will be
placed on the desktop. Saf-T-Log and Help
shortcuts will be placed in 'Start ' - 'Programs'
- 'ETI Ltd' - Saf-T-Log'.
CREATING A CHECKLIST
Open the Saf-T-Log software by clicking on
the desktop icon.
Click the 'New Checklist' button.
Type in user names.
Type in the items [a list of the items to be
measured], adjust the alarm limits if required
and the users [a list of staff].
Type in any optional corrective actions [a list
of actions that could be implemented In the
case of a failed reading].
Add your custom information to the report
layout in the 'Format Report' tab. Click the
Settings button to select the directory to
save reports to, set the default date format,
temperature units and time zone.
Save the Checklist.
Connect a Saf-T-Log instrument to the PC via
a USB lead and click the Send Checklist to
Saf-T-Log button. The 'choose checklist to use'
window will pop up which will allow you to
add a single or multiple checklist to be sent
to the Saf-T-Log. For more information on
multiple checklists, please refer to the full
instructions.
The date and time within the Saf-T-Log
instrument will be set to match the date and
time of the PC it is connected to.
TURNING THE INSTRUMENT ON/OFF
Turn the instrument on by pressing the
ON/OFF (Backlight) button.
To turn the instrument off press and hold the
ON/OFF (Backlight) button for approximately
3 seconds or until the display goes blank.
RECORDING TEMPERATURES
Plug a type K thermocouple probe into the
socket at the top of the instrument (ensure '+'
on plug matches '+' on instrument).
Turn the instrument on by pressing the
ON/OFF (Backlight) button.
Select the item to be measured by pressing the
up () or down () buttons.
The actual temperature of the probe is
displayed by the large digits at the bottom of
the display. The Hi and Lo limits are shown
at the top of the display. If the temperature
is within these limits the PASS icon will be
illuminated. If not the FAIL icon will flash.
Press the REC button to record the user, item,
temperature, date and time and PASS/FAIL
status and (if included) the device will prompt
to select a corrective action.
RECORDING YES/NO ITEMS
Select the YES/NO item to be measured by
pressing the up () or down () buttons ('Yes'
or 'No' is displayed in the top left corner of
the display.
Press the REC button to show 'Yes' or 'No' in
the large digits of the display. Use the up ()
or down () button to select the required
answer.
Press the REC button again to record the
selection and (if included) the device will
prompt to select corrective action.
CHANGING THE USER
Press the up () and down () buttons
together to enter the instrument menu.
Use the up () or down () buttons to select
'Change User' and press record.
Select the new user by pressing the up () or
down () buttons.
Save the user by pressing the REC button.
Press the REC button to exit the menu.
DOWNLOADING RECORDED DATA
Connect a Saf-T-Log instrument to the PC via
a USB lead and a 'Sync' window will pop up
on the PC screen.
The 'Sync' window will display a summary
of the data in the Saf-T-Log instrument while
it downloads the data and automatically
stores it onto the hard-drive of the PC.
An 'Add notes' window will pop up. This allows
the user to add notes against
individual readings or a footnote for the
whole file.
Close the 'Add notes' window and the Saf-T-
Log instrument can be unplugged, ready to use
again.
Should the user require a different checklist
on the instrument, click the 'Choose New
Checklist to send to Saf-T-Log' button.
BACKLIGHT
With the instrument switched on, press the
Backlight button.
The backlight will automatically turn off after
20 seconds.
•
•
•
•
•
•
•
•
•
•
•
•
•
•
•
•
•
•
•
•
•
•
•
•
•
•
•
•
•
•
•
•
•
•
•
•
•
•
•
•


