3
English
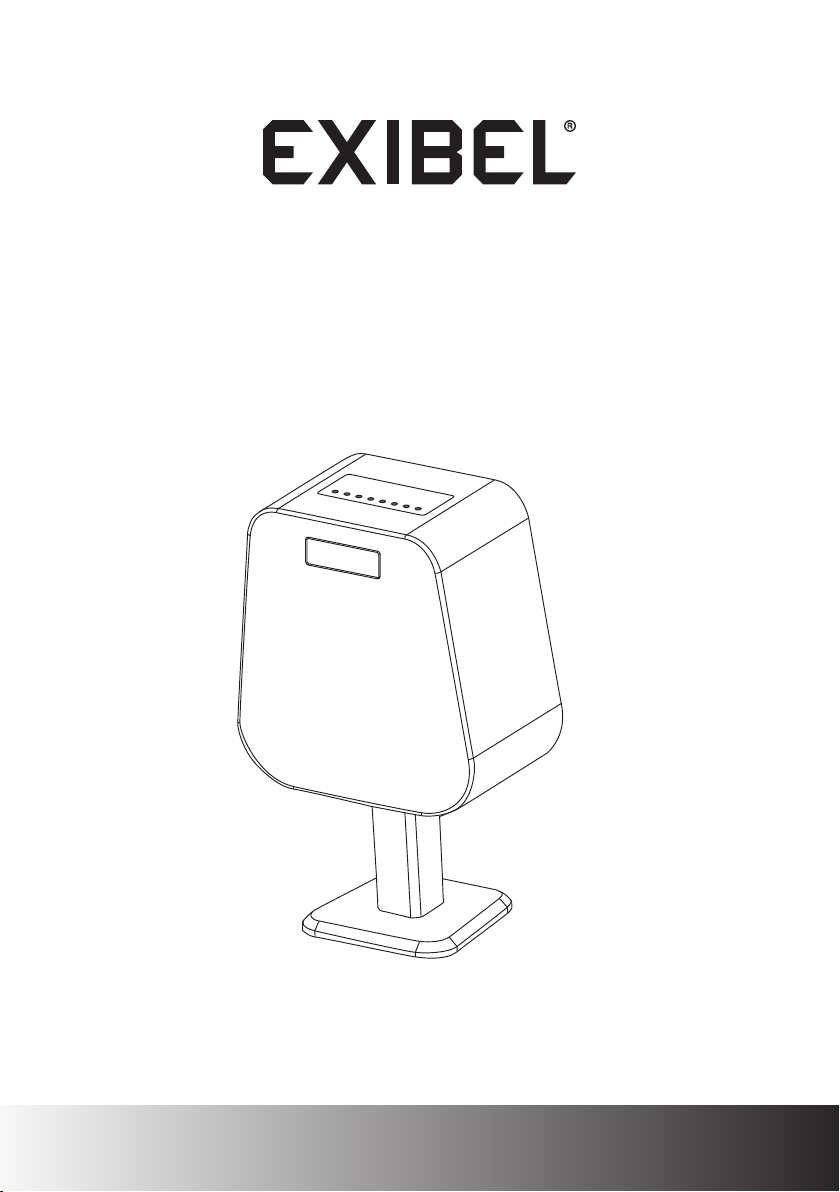
Bluetooth speaker with FM/DAB
Art.no 38-5698 Model BDX1400
Please read theentire instruction manual before using theproduct and save it for future
reference. We reserve theright for any errors in text or images and any necessary changes
made to technical data. If you have any questions regarding technical problems please
contact our Customer Services.
Contents
1. Safety ...........................................................................................4
2. Product description ....................................................................4
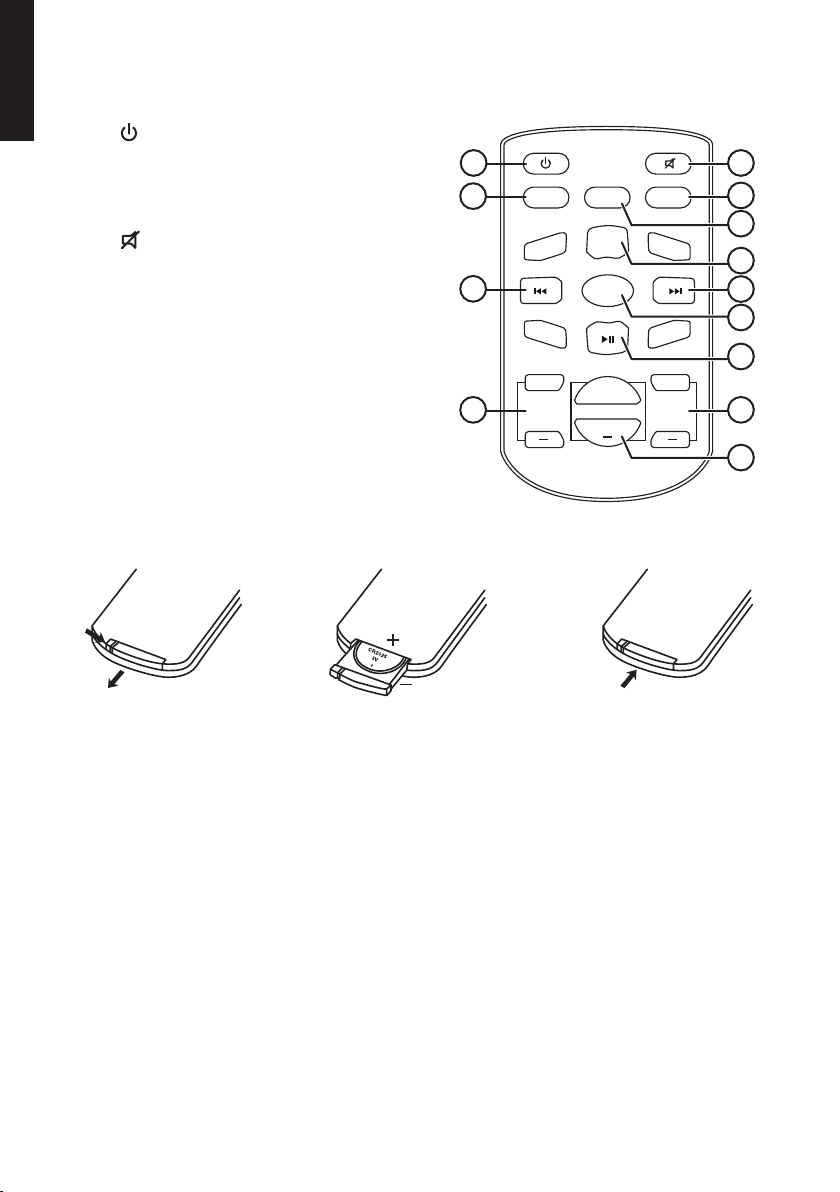
3. Buttons and functions ...............................................................5
4. Assembly .....................................................................................7
5. Connections.................................................................................7
6. Operating instructions...............................................................8
7. Settings .......................................................................................8
Sound........................................................................................................10
8. Connections...............................................................................10
Bluetooth connection .............................................................................10
AUX connection.......................................................................................10
9. Radio .........................................................................................10
9.1 FM-radio............................................................................................10
Settings .............................................................................................................................. 11
Setting radio stations....................................................................................................... 11
Saving radio stations to the memory presets ............................................................... 11
Using presets..................................................................................................................... 12
FM radio display info........................................................................................................ 12
FM settings........................................................................................................................ 12
9.2 DAB radio...........................................................................................12
DAB Settings...................................................................................................................... 12
Full scan............................................................................................................................. 13
Removing preset channels .............................................................................................. 13
Station selection ............................................................................................................... 13
Saving radio stations to the memory presets ............................................................... 13
Using presets..................................................................................................................... 14
DAB radio display info ...................................................................................................... 14
10. Care and maintenance ...........................................................14
11. Disposal ...................................................................................14
12. Specifications..........................................................................15