manuals.online logo
Brands
  1. Home
  2. •
  3. Brands
  4. •
  5. Festo
  6. •
  7. Control Unit
  8. •
  9. Festo CPX-E-EP Parts list manual

Festo CPX-E-EP Parts list manual

Translation of the original instructions
© 2020 all rights reserved to Festo SE & Co. KG
EtherNet/IP®, MODBUS® are registered trademarks of the respective trademark
owners in certain countries.
1 About this document
This document describes the use of the above-mentioned product.
Certain aspects of use are described in other documents and must be observed
è 1.1 Applicable Documents.
1.1 Applicable Documents
All available documents for the product èwww.festo.com/pk.
Document Contents
Description of the automation system CPX-E
(CPX-E-SYS)
Detailed description of the
automation system CPX-E
Instruction manual for automation system CPX-E
(CPX-E-SYS)
Instruction manual and important information on
assembly, electrical installation and mainten-
ance tasks for an automation system CPX-E
Description of the bus module CPX-E-EP
(CPX-E-EP)
Detailed description of product function and
parameterisation options
Device description file (EDS) Definition of the modules of an
automation system CPX-E for integration into the
higher-order controller
Documentation of the components in an
automation system CPX-E and the connected
peripherals
Information on using the components
Documentation for the higher-order controller
and the additional participants in the network
Information on commissioning and paramet-
erisation of the components
Tab. 1 Applicable Documents
1.2 Product version
This document refers to the following product versions:
Product Version
CPX-E-EP Bus module CPX-E-EP, revision1 or later
Tab. 2 Product version
The product version can be identified from the product labelling or with the help
of appropriate software from Festo.
Appropriate software for determining the product version can be found in the
Festo Support Portal èwww.festo.com/sp.
Information on using the software can be found in the integrated Help function.
There may be an updated version of this document for these or later product ver-
sions èwww.festo.com/sp.
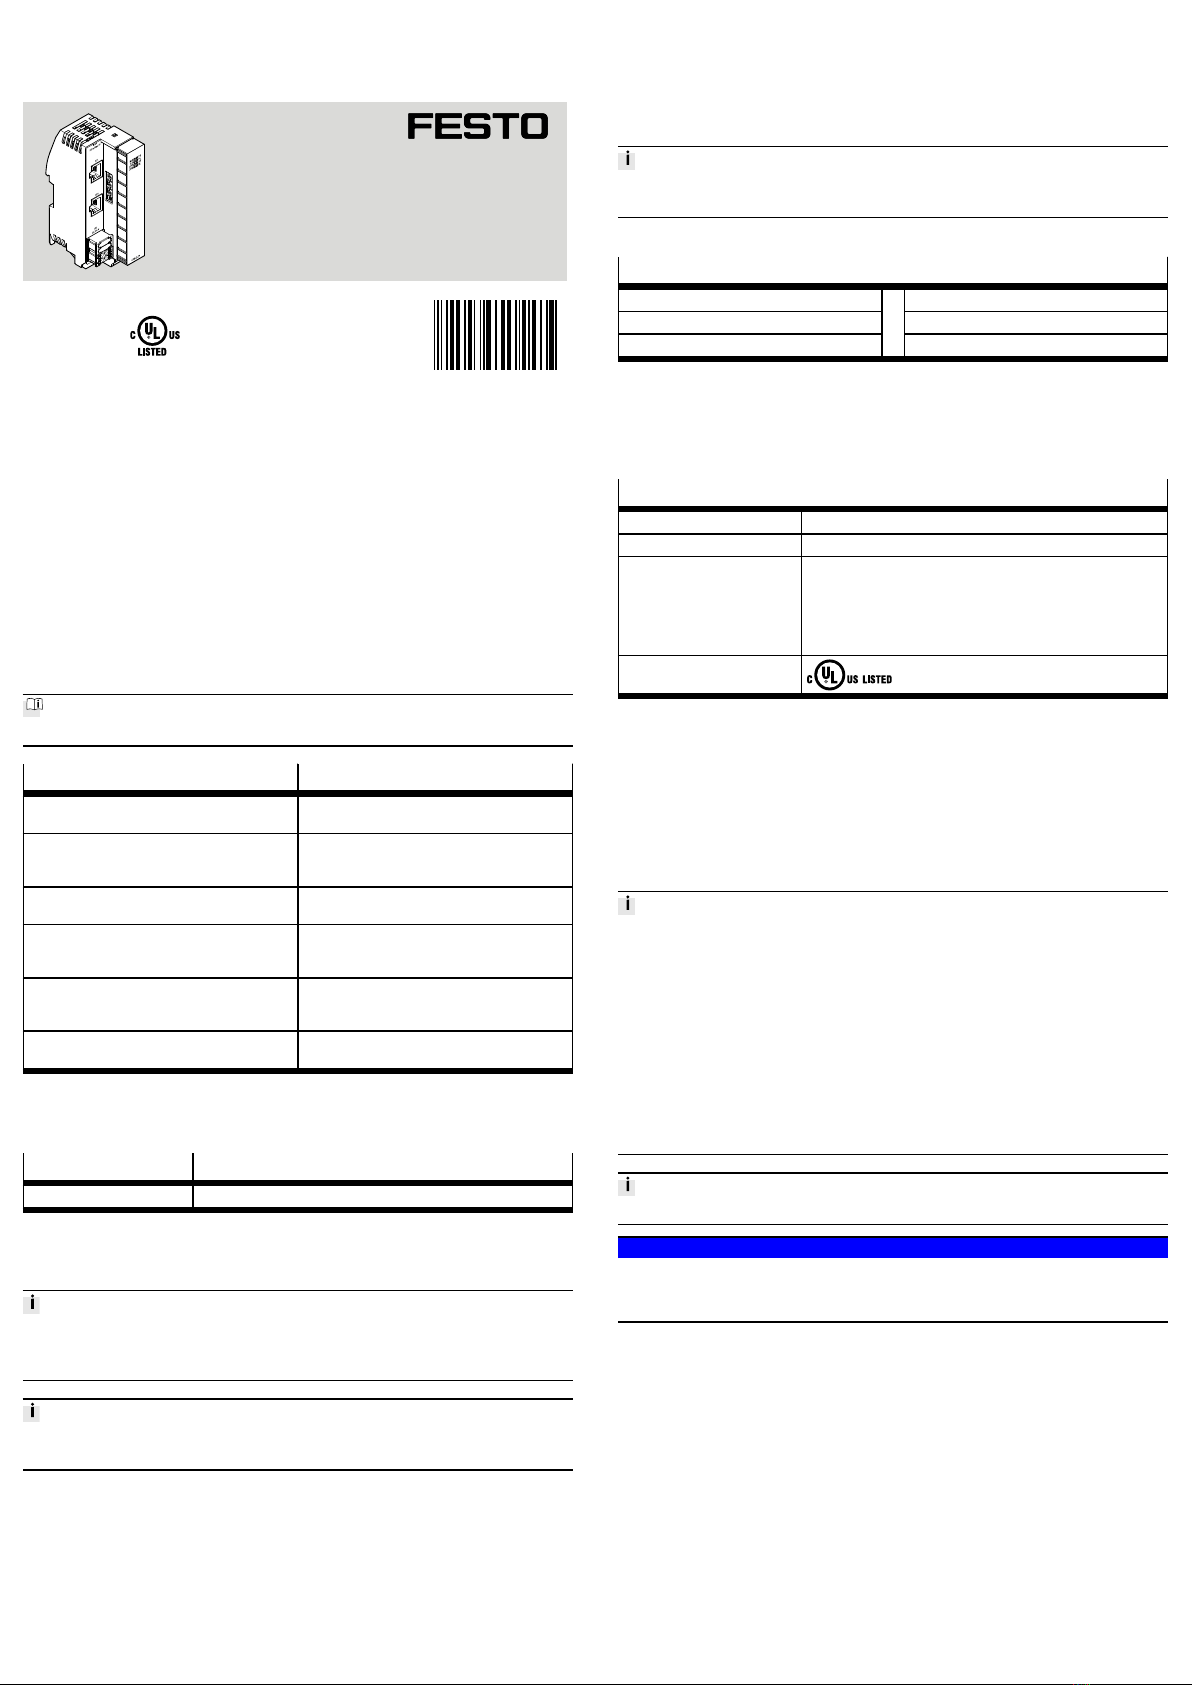
1.3 Product labelling
The product labelling is located on the left-hand side of the module. Scanning the
printed Data Matrix Code with an appropriate device opens the Festo Support
Portal, with the information appropriate for the product. Alternatively, the Product
Key (11-digit alphanumeric code on the product labelling) can be entered in the
search field of the Support Portal.
You can find detailed information on the product labelling in the description of the
module è 1.1 Applicable Documents.
1.4 Specified standards
Version status
EN60529:2013-10 IEC60204-1:2014-10
EN61000-6-2:2005-08 IEEE802.3:2014-00
EN61000-6-4:2007-01 NE21:2012-05
Tab. 3 Standards specified in the document
1.5 UL/CSA Certification
In combination with the UL inspection mark on the product, the information in this
section must also be observed in order to comply with the certification conditions
of Underwriters Laboratories Inc. (UL) for USA and Canada.
UL certification information
Product category code NRAQ/NRAQ7
File number E239998
Considered standards UL 61010-1, 3rd Edition, May 11, 2012, revised April 29, 2016
CAN/CSA-C22.2 No. 61010-1-12, 3rd Edition, revision dated April
29, 2016
UL 61010-2-201, 1st Edition, revised February 20, 2017
CSA-C22.2 No. 61010-2-201: 14, 1st Edition, issue date January
01, 2014
UL mark
Tab. 4 UL/CSA Certification Information
– Technical data and environmental conditions may be subject to change in
order to comply with Underwriters Laboratories Inc. (UL) certification require-
ments for the USA and Canada.
Observe deviations èTechnical data.
– The unit shall be supplied by a power source which fulfils the requirements
on a limited-energy circuit in accordance to IEC/EN/UL/CSA 61010-1 or on a
Limited Power Source (LPS) in accordance to IEC/EN/UL/CSA 60950-1 or
IEC/EN/UL/CSA 62368-1 or a Class 2 circuit in accordance to NEC or CEC.
Unauthorised access to the device can cause damage or malfunctions.
When connecting the device to a network:
Protect the network against unauthorised access.
Measures to protect the network include:
• Firewall
• Intrusion Prevention System (IPS)
• Network segmentation
• Virtual LAN (VLAN)
• Virtual private Network (VPN)
• Security at physical access level (port security)
For additional information èGuidelines and standards for security in information
technology, e.g. IEC62443, ISO/IEC27001.
An access password only protects against unintentional modification.
NOTICE!
Modules with Ethernet interfaces should only be operated in networks if all con-
nected network components are supplied by PELV circuits or integrated circuits
with equivalent protection.
2 Safety
2.1 Safety instructions
– Take into consideration the legal regulations for the respective destination.
– Use the product only within the defined values
è 13 Technical Dataè Tab. 17 Ambient Conditions UL/CSA.
– Observe labelling on the product.
– Observe further applicable documents.
– Store the product in a cool, dry, UV-protected and corrosion-protected envir-
onment. Ensure that storage times are kept to a minimum.
– Before working on the product: switch off the power supply and secure it
against being switched on again.
– Comply with the handling specifications for electrostatically sensitive devices.
2.2 Intended Use
The product described in this document is intended only for use as an interface
between an Automation system CPX-E and a higher-order controller through
integration in a network with the protocols EtherNet/IP or ModbusTCP.
8126550
CPX-E-EP
Bus module
8126550
2020-01a
[8126552]
Instructions| Operating
Festo SE & Co. KG
Ruiter Straße 82
73734 Esslingen
Germany
+49 711 347-0
www.festo.com
Use the product only as follows:
– Use only in an industrial environment. Outside industrial environments,
e.g.in commercial and residential/mixed-use areas, it may be necessary to
take measures to suppress radio interference.
– Use only in combination with modules and components that are permissible
for the respective product variant èwww.festo.com/catalogue.
– Only use the product if it is in perfect technical condition.
– Only use the product in original status without unauthorised modifications.
Only the conversions or modifications described in this and the further applic-
able documents are permitted.
2.3 Training of Qualified Personnel
Installation, commissioning, maintenance and disassembly should only be con-
ducted by qualified personnel. The qualified personnel must be familiar with
installation of electrical control systems.
3 Further information
– Accessories èwww.festo.com/catalogue.
– Spare parts èwww.festo.com/spareparts.
4 Service
Contact your regional Festo contact person if you have technical questions
èwww.festo.com.
5 Product overview
5.1 Function
The product acts as a participant in an EtherNet/IP or ModbusTCP network,
establishing a connection between a higher-order controller and the modules in
an automation system CPX-E.
Web server
The integrated web server provides read access to the key parameters and dia-
gnostic functions of the automation system CPX-E. The web server can be
accessed by entering the IP address in the address bar of a web browser.
Factory settings of the bus module:
IP address: 192.168.1.1, subnet mask: 255.255.255.0 (DHCP=active)
5.2 Configuration
5.2.1 Product Design
1LED displays
2Rotary and DIL switches
3Terminal strip for operating
voltage supply UEL/SEN [XD]
4Terminal strip interlock
5Network connection [XF2]
6Linking element
7Network connection [XF1]
Fig. 1 Product design
5.2.2 Display Components
1Network-specific LED displays:
– Module status [MS] (green, red,
orange)
– Network status [NS] (green, red,
orange)
– Connection/data traffic
[XF1]/[XF2] (green)
2System-specific LED displays:
– Operating voltage supply
UEL/SEN [PS] (green)
– Load voltage supply UOUT [PL]
(green)
– System error [SF] (rot)
– Force mode [M] (yellow)
Fig. 2 LED displays
The network-specific LED displays are described below è 11.3 LED Displays.
The system-specific LED displays are described in the documents for the automa-
tion system CPX-E è 1.1 Applicable Documents.
5.2.3 Control Elements
NOTICE!
Damage to internal electronics.
Damage to at-risk components due to electrostatic discharge.
• Ensure your body is electrostatically discharged before activating the rotary
switch.
Rotary/DIL switches Function
The 3 rotary switches are used to set the 4th octet of the IP address
(192.168.1.XXX).
Possible Settings:
– 0 = Dynamic addressing via DHCP/BOOTP
– 1…255 = permissible address range
Valid Values:
– EtherNet/IP: 300…555 (IP address = value – 300)
– ModbusTCP: 600…855 (IP address = value – 600)
– Factory setting: 900
In the case of invalid values, the IP parameters are reset to dynamic
addressing (DHCP).
The diagnostic mode is set using the DIL switches
è Tab. 6 DIL Switch.
Tab. 5 Rotary/DIL Switches
For switch positions 0…255, the protocols EtherNet/IP and ModbusTCP can be
used in parallel. The rights to control the outputs are assigned to the protocol that
sends outputs first.
DIL switch Function
DIL 1: OFF
DIL 2: OFF
No diagnostics1)
DIL 1: OFF
DIL 2: ON
Status bits activated
DIL 1: ON
DIL 2: OFF
I/O diagnostic interface activated
DIL 1: ON
DIL 2: ON
Reserved
1) Factory setting
Tab. 6 DIL Switch
Changes to the rotary and DIL switches only take effect following a restart of the
bus module.
5.2.4 Connecting Elements
Connection [XF1], [XF2] Signal
1 TD+ Transmitted data +
2 TD– Transmitted data –
3 RD+ Received data +
4 n.c. –
5 n.c. –
6 RD– Received data –
7 n.c. –
8 n.c. –
1) Shield Functional earth
1) Housing
Tab. 7 Connection [XF1], [XF2]
Port [XD]1) Signal
0
1
+24VDC operating voltage supply UEL/SEN
2
3
0VDC operating voltage supply UEL/SEN
1) The ports XD.0 and XD.1 and also XD.2 and XD.3, respectively, are interconnected in the terminal strip.
Tab. 8 Port [XD]
6 Transport and storage
• Observe specifications for environmental and storage conditions
è 13 Technical Dataè Tab. 17 Ambient Conditions UL/CSA.
7 Assembly
• Assemble the module as outlined in the “Instruction manual for Automation
system CPX-E” è 1.1 Applicable Documents.
8 Installation
8.1 Network
• Use cables as described in the cable specification
è 13 Technical Dataè Tab. 17 Ambient Conditions UL/CSA.
8.2 Operating Power Supply UEL/SEN
1. Please note the information in the “Instruction manual for Automation system
CPX-E” è 1.1 Applicable Documents.
2. Make sure that the power supply is switched off.
3. Connect the lines to the terminal strip in accordance with the “Instruction
manual for Automation system CPX-E” è 1.1 Applicable Documents.
9 Commissioning
NOTICE!
Malfunction due to switching on the higher-order controller and automation
system CPX-E in the incorrect order.
• Switch on the higher-order controller and automation system CPX-E according
to the preset order of the network used.
1. Using the appropriate software, set up an automation project for the higher-
order controller.
2. Import the device description file into the software èwww.festo.com/sp.
3. Automation system CPX-E Configure in the software:
– System structure
– Network addressing
– I/O addressing
4. Transfer the automation project to the higher-order controller.
You can find information on commissioning the automation system CPX-E in the
“Instruction manual for automation system CPX-E”.
Information on the parameters can be found in the "Description of the
automation system CPX-E" and in the descriptions of the modules used
è 1.1 Applicable Documents.
9.1 Behaviour of the Display Components after Error-free Commissioning
[MS] (green) [NS] (green/orange) [XF1], [XF2] (green)
Lights up Lights up1) Lights up
1) The colour of the LED display is dependent on the network protocol used (green=EtherNet/IP,
orange=ModbusTCP)
Tab. 9 Display Components after Error-free Commissioning
[PS] (green) [PL] (green) [SF] (red) [M] (yellow)
Lights up Lights up Off Off
Tab. 10 Display Components after Error-free Commissioning
You can find information on troubleshooting in the event of incorrect behaviour in
the “Description of Automation system CPX-E” and the descriptions of the mod-
ules used è 1.1 Applicable Documents.
10 Service
NOTICE!
Accumulation of heat due to reduced air supply to electronics.
• Keep the ventilation slots free and regularly remove contamination.
11 Diagnostics and fault clearance
11.1 Diagnostics options
Various options are available for diagnosing errors:
– Internal system diagnostics
– LED indicators on the product
11.2 Internal system diagnostics
The internal system diagnostics is described in the “Description of automation
system CPX-E” è 1.1 Applicable Documents.
11.3 LED Displays
The network-specific LED displays are described below.
The system-specific LED indicators are described in the documents for the auto-
mation system CPX-E è 1.1 Applicable Documents.
Module status [MS]
LED
(green,
red,
orange)
Meaning Remedy
Lights up
green
Normal operating status –
Flashes
green
Configuration of automation system CPX-E
not complete or not correct
Complete or correct configuration of the
automation system CPX-E.
Lights up
red
Error cannot be rectified Contact Festo Service èwww.festo.com.
Flashes
red
Error can be rectified Check configuration of the
automation system CPX-E.
Flashes
altern-
ately
red/green
The automation system CPX-E is in self-
test mode.
–
Lights up
orange
Bootloader –
Off
No logic power supply to the network
interface
Check logic power supply.
Tab. 11 Module Status [MS]
Network status [NS]1)
LED
(green,
red,
orange)
Meaning Remedy
Lights up
green
The automation system CPX-E is online
and has a network connection (normal
operating status).
–
Flashes
green
The automation system CPX-E is online
and has received an IP address but does
not have a configured network connection.
Check configuration of the
automation system CPX-E; it is possible
that the automation system CPX-E is not
assigned to a master/scanner.
Lights up
red
Communication has failed.
Non-permitted IP address set that is
already used in the network.
Correct IP address.
Flashes
red
One or more “I/O connections” are in the
“time-out state”.
Check the physical connection to the mas-
ter/scanner.
Flashes
altern-
ately
red/green
The automation system CPX-E is in self-
test mode.
–
Lights up
orange
ModbusTCP has control over the output
data.
Bootloader, if the LED[MS] is also lit up
orange è Tab. 11 Module Status [MS].
–
Network status [NS]1)
LED
(green,
red,
orange)
Meaning Remedy
Off
The automation system CPX-E is offline.
No IP address assigned or no IP address
received from DHCP server.
Check network connection.
Check IP addressing settings.
1) The behaviour of the LED display depends on the network protocol used.
Tab. 12 Network Status [NS]
Connection/data traffic [XF1]/[XF2]
LED
(green)
Meaning Remedy
Lights up
Network connection OK –
Flashes1)
Data traffic activity (traffic) –
Off
No network connection Check network connection.
1) The flashing frequency depends on the traffic.
Tab. 13 Connection/Data Traffic [XF1]/[XF2]
12 Disposal
ENVIRONMENT!
Send the packaging and product for environmentally sound recycling in accord-
ance with the current regulations èwww.festo.com/sp.
13 Technical Data
13.1 General Technical Data
General technical data
Automation system CPX-E
Description of automation system CPX-E
è 1.1 Applicable Documents
Dimensions
(length × width × height)1)
[mm] 125.8 × 37.8 × 76.5
Product weight2) [g] 145
Mounting position Vertical/horizontal
Ambient temperature with
vertical mounting position
[°C] –5…+603)
Ambient temperature with
horizontal mounting position
[°C] –5…+503)
Storage temperature [°C] –20…+70
Humidity (non-condensing) [%] 0…95
Module code (CPX-E-specific) 222/36
Module identification E-EP
Degree of protection in accordance with
EN60529
IP20
The degree of protection is not UL-tested.
Protection against electric shock
(Protection against direct and indirect
contact in accordance with IEC60204-1)
through the use of PELV circuits
(protected extra-low voltage)
Electromagnetic compatibility to EN61000-6-2/-4 and NE21
Assigned address space (inputs/outputs)
Without diagnostics [bit] –/–
With status bits [bit] 8/–
With I/O diagnostics inter-
face
[bit] 16/16
1) not including linking element
2) Including linking element
3) for non-conforming technical data see UL operating conditions table UL
Tab. 14 General Technical Data
Power supply
Operating power supply
UEL/SEN
[VDC] 24_25%
Intrinsic current consumption
at nominal operating voltage
24V from UEL/SEN
[mA] 70
Reverse polarity protection
24V UEL/SEN against 0V
UEL/SEN
Yes
Power supply
Mains buffering time [ms] 20
Tab. 15 Power Supply
Network-specific Data
Protocol EtherNet/IP, ModbusTCP1)
Specification EtherNet/IP
Transmission rate [Mbps] 10/100 (full duplex/half duplex)
Crossover detection Auto-MDI/MDI-X
Maximum cable length per
segment
[m] 1002)
Cable specification
Cable type Ethernet twisted pair cable, shielded
Transmission class Category Cat5/Cat5e (linkclass)
Cable diameter [mm] 6…8
Wire cross section [mm2] 0.14……0.75; 22AWG3)
1) based on the Ethernet protocol IEEE802.3
2) at a transmission rate of 100Mbps
3) required for maximum connection length between network participants
Tab. 16 Network-specific Data
13.2 Technical Data UL/CSA Certification
Ambient conditions UL/CSA
Pollution degree 3
Installation site for indoor use only
Max. installation height [m] 2000
Tab. 17 Ambient Conditions UL/CSA
Ambient temperature
Mounting position Vertical Horizontal
Operating power supply UEL/SEN via XD
Ambient temperature, max. current rating
of terminal strip £4A
[°C] –5…+60 –5…+50
Ambient temperature, max. current rating
of terminal strip >4…8A
[°C] –5…+50 –5…+40
Operating voltage UEL/SEN with feed via both connections [XD]1)
Ambient temperature, max. current rating
of terminal strip >4…8A
[°C] –5…+60 –5…+50
1) see chapter 'Product design' or 'Connection elements'
Tab. 18 Ambient temperature ranges

Other manuals for CPX-E-EP

3

Other Festo Control Unit manuals

Festo CPX-E-4IOL User manual

Festo

Festo CPX-E-4IOL User manual

Festo Field Rheostat EduTrainer 8036772 User manual

Festo

Festo Field Rheostat EduTrainer 8036772 User manual

Festo CPX-E-PN User manual

Festo

Festo CPX-E-PN User manual

Festo VPPL User manual

Festo

Festo VPPL User manual

Festo VZWD-L-M22C-M Series User manual

Festo

Festo VZWD-L-M22C-M Series User manual

Festo CPX-E-4IOL User manual

Festo

Festo CPX-E-4IOL User manual

Festo SPC200-SMX-1 Parts list manual

Festo

Festo SPC200-SMX-1 Parts list manual

Festo MS9-SV-10V24P User manual

Festo

Festo MS9-SV-10V24P User manual

Festo VIFB5 Series Parts list manual

Festo

Festo VIFB5 Series Parts list manual

Festo VIFB-21 Series User manual

Festo

Festo VIFB-21 Series User manual

Festo VPPM-6L-L-1-G18-0L6H-LK-S1 User manual

Festo

Festo VPPM-6L-L-1-G18-0L6H-LK-S1 User manual

Festo MPYE-5-***-B series User manual

Festo

Festo MPYE-5-***-B series User manual

Festo VZBA-...-R Series User manual

Festo

Festo VZBA-...-R Series User manual

Festo SPC200-COM-PDP User manual

Festo

Festo SPC200-COM-PDP User manual

Festo DRRD-PS1 Series User manual

Festo

Festo DRRD-PS1 Series User manual

Festo CPX-FVDA-P Parts list manual

Festo

Festo CPX-FVDA-P Parts list manual

Festo HSW-x-AP Series User manual

Festo

Festo HSW-x-AP Series User manual

Festo CAMC-G-S1 User manual

Festo

Festo CAMC-G-S1 User manual

Festo MS4/6-E-IPM-40-80 User manual

Festo

Festo MS4/6-E-IPM-40-80 User manual

Festo CP-FB13-E Parts list manual

Festo

Festo CP-FB13-E Parts list manual

Festo MS6-SV Series User manual

Festo

Festo MS6-SV Series User manual

Festo CPX-CMIX-M1-1 User manual

Festo

Festo CPX-CMIX-M1-1 User manual

Festo EXCM-10 User manual

Festo

Festo EXCM-10 User manual

Festo Smart cubic CPVSC1-VI User manual

Festo

Festo Smart cubic CPVSC1-VI User manual

Popular Control Unit manuals by other brands

Pentair F251 Installation & maintenance instructions

Pentair

Pentair F251 Installation & maintenance instructions

Parker IQAN-XC21 Instruction book

Parker

Parker IQAN-XC21 Instruction book

HRW HPD0460MR manual

HRW

HRW HPD0460MR manual

Dungs VPM-VC Operation and assembly instructions

Dungs

Dungs VPM-VC Operation and assembly instructions

Siemens SIMATIC ET 200SP F-AI 4xI 0(4) 20mA 2-/4-wire HF... manual

Siemens

Siemens SIMATIC ET 200SP F-AI 4xI 0(4) 20mA 2-/4-wire HF... manual

GAPOSA QCzero instructions

GAPOSA

GAPOSA QCzero instructions

tbs electronics 6909 quick guide

tbs electronics

tbs electronics 6909 quick guide

Buhler Nivotemp NT64 Installation and operation instruction

Buhler

Buhler Nivotemp NT64 Installation and operation instruction

MG R6S-SS2 instruction manual

MG

MG R6S-SS2 instruction manual

iLumin Revio installation guide

iLumin

iLumin Revio installation guide

Pickering 40-280 user manual

Pickering

Pickering 40-280 user manual

Acromag BusWorks XT Series user manual

Acromag

Acromag BusWorks XT Series user manual

Anval SG Series Installation & maintenance manual

Anval

Anval SG Series Installation & maintenance manual

ABB AC500 PLC Hardware manual

ABB

ABB AC500 PLC Hardware manual

GRASS VALLEY KAMELEON Series instruction manual

GRASS VALLEY

GRASS VALLEY KAMELEON Series instruction manual

Elkron IMG500/N quick start guide

Elkron

Elkron IMG500/N quick start guide

National Instruments PXIe-6595 Getting started guide

National Instruments

National Instruments PXIe-6595 Getting started guide

Watts Industries Ultramis TX91 Installation

Watts Industries

Watts Industries Ultramis TX91 Installation

manuals.online logo
manuals.online logoBrands
  • About & Mission
  • Contact us
  • Privacy Policy
  • Terms and Conditions

Copyright 2025 Manuals.Online. All Rights Reserved.