Operation manual P328S
10 © 2018 FROMM Holding AG
All rights reserved. Reproduction and duplication - also in extracts - are not permitted.
4 Accessories
4.1 Battery
The battery is not automatically supplied with the tool. The battery has to
be ordered separately under the following item number.
* Only available in EU countries.
4.2 Battery - chargers
The charger must be ordered separately according to below shown table.
(..) = an adaptor N52.2102 is required.
Charging times
*Older models were not equipped for a capacity of 9 Ah. They have a time limitation of 90 minutes. This
means that if the battery is not completely loaded after 90 minutes, the charger will be set to malfunction, and
both LEDs will blink alternatively. To completely load the 9 Ah, disconnect the battery from the charger and
insert it again. This continues the charging.
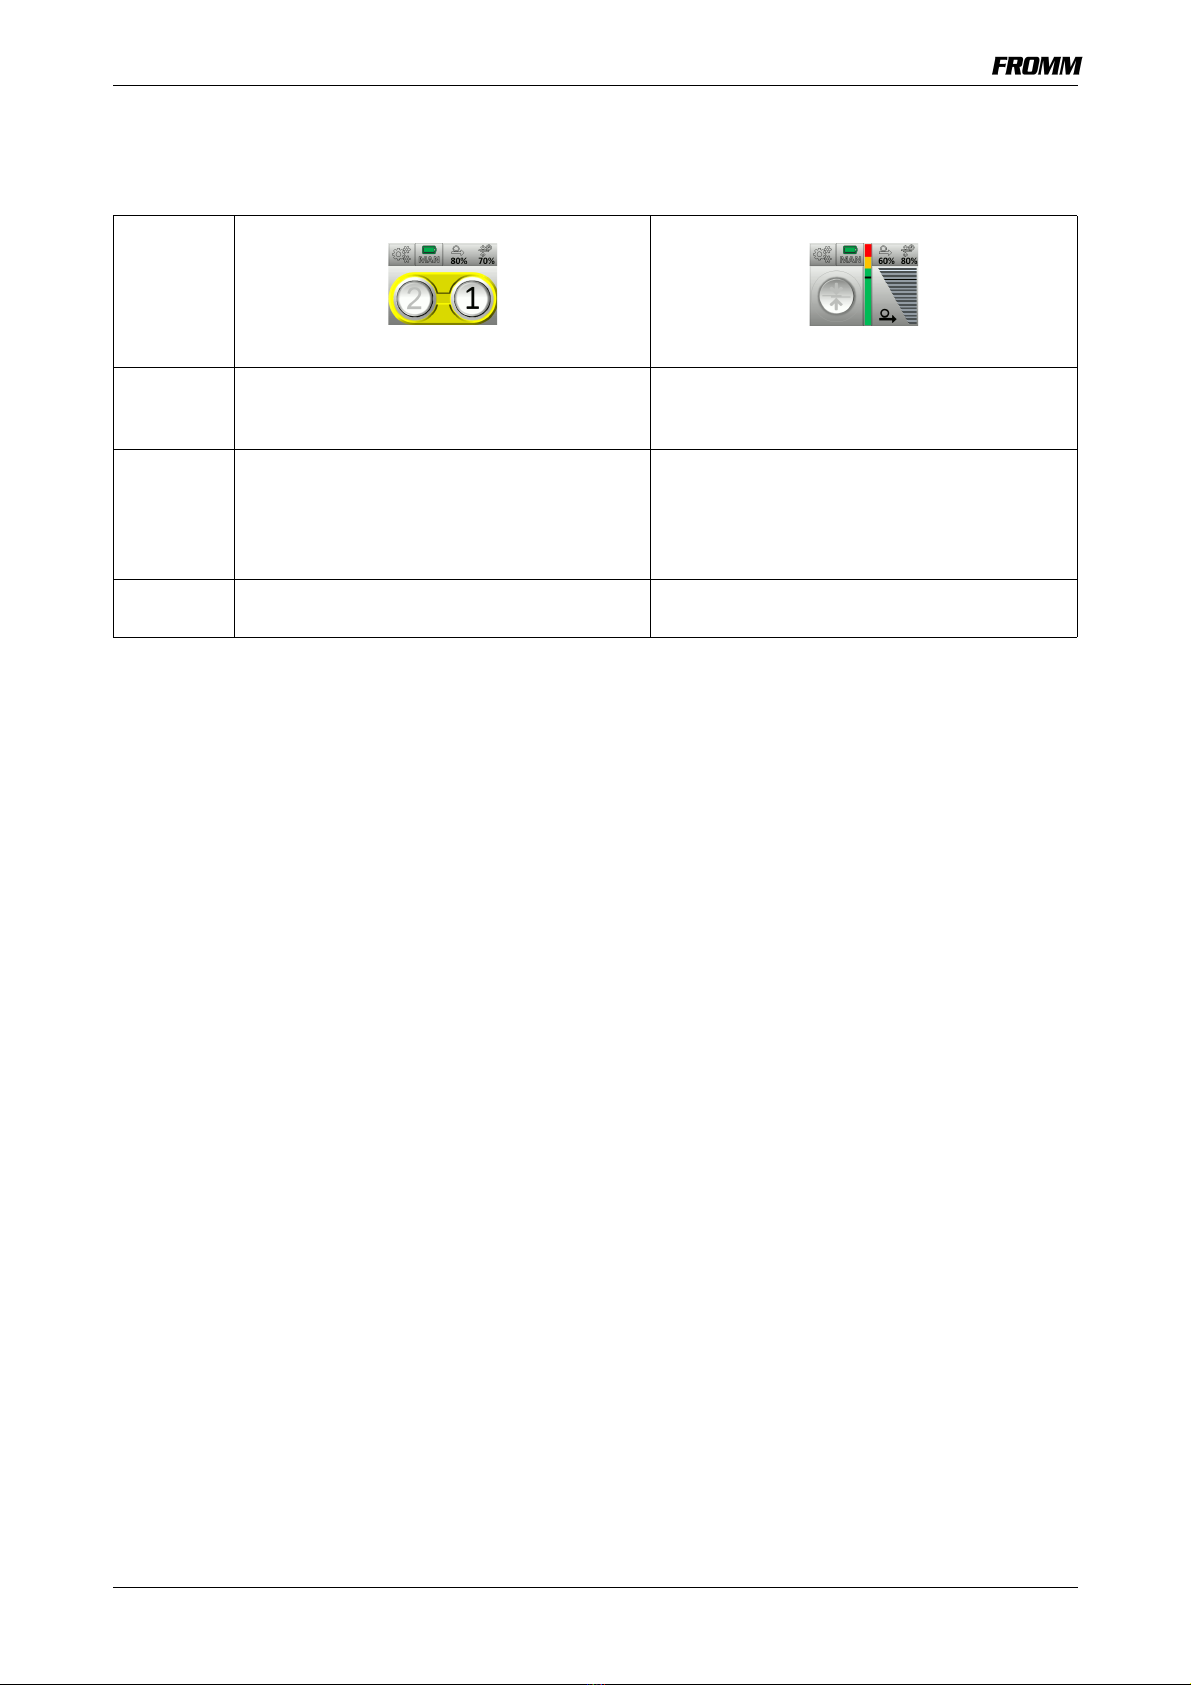
4.3 FROMM Tool app for tools with activated remote module
With the FROMM tool app, the tool status can be displayed on a smart phone. This can also manage the strap
database and transmit any firmware updates to the tool.
The FROMM tool app can be downloaded from the App Store / Google Play Store.
4.4 Power Supply
The strapping tool can be operated directly from the mains with the optional power supply part no. N5.1471.
The power supply (220-240 V / 50-60 Hz) is only available for EU countries.
WARNING The use of unsuitable spare parts or accessories can cause damages and
personal injuries. Use only parts and accessories mentioned in the operation manual.
Item-No. Battery Voltage Capacity
N5.4349 Li-Ion 18 VDC 4.0 Ah
N5.4353* Li-Ion 18 VDC 9.0 Ah
Item-No. Voltage / frequency Admitted for country
N5.4443 220-240 V / 50-60 Hz A, B, BG, BIH, BOL, BR, BY, CH, CL, CZ, D, DK, DZ, E, EAS, EST,
ET, F, FIN, GE, GR, H, HK, HR, I, IL, IND, IR, IRQ, IS, JOR, KSA,
KWT, L, LAR, LT, LV, MA, MC, MK, MOC, N, NL, P, PK, PE, PL,
PRC, PY, RA, RCH, RI, RL, RO, ROK, ROU, RP, RUS, S, SK, SLO,
SYR, THA, TN, TR, UA, (UAE), YU, YV, (BRN), (BRU), (CY), (EAK),
(EAT), (GB), (IRL), (M), (MAL), (OM), (SGP), (Y), (Z), (ZA), (ZW)
N5.4468
(Quick
charger)
N5.4447 120 V / 50-60 Hz BR, C, CDN, CO, CR, DOM, EC, GCA, J, JA, KSA, LB, MEX, NIC,
PA, Puerto Rico, RC, RP, USA, YV
N5.4445 220-240 V / 50-60 Hz AUS, NZ
Item-No. Battery Capacity Standard charger Quick charger
N5.4349 Li-Ion 4,0 Ah approx. 80 min approx. 45 min
N5.4353 Li-Ion 9,0 Ah approx. 180 min* approx. 90 min