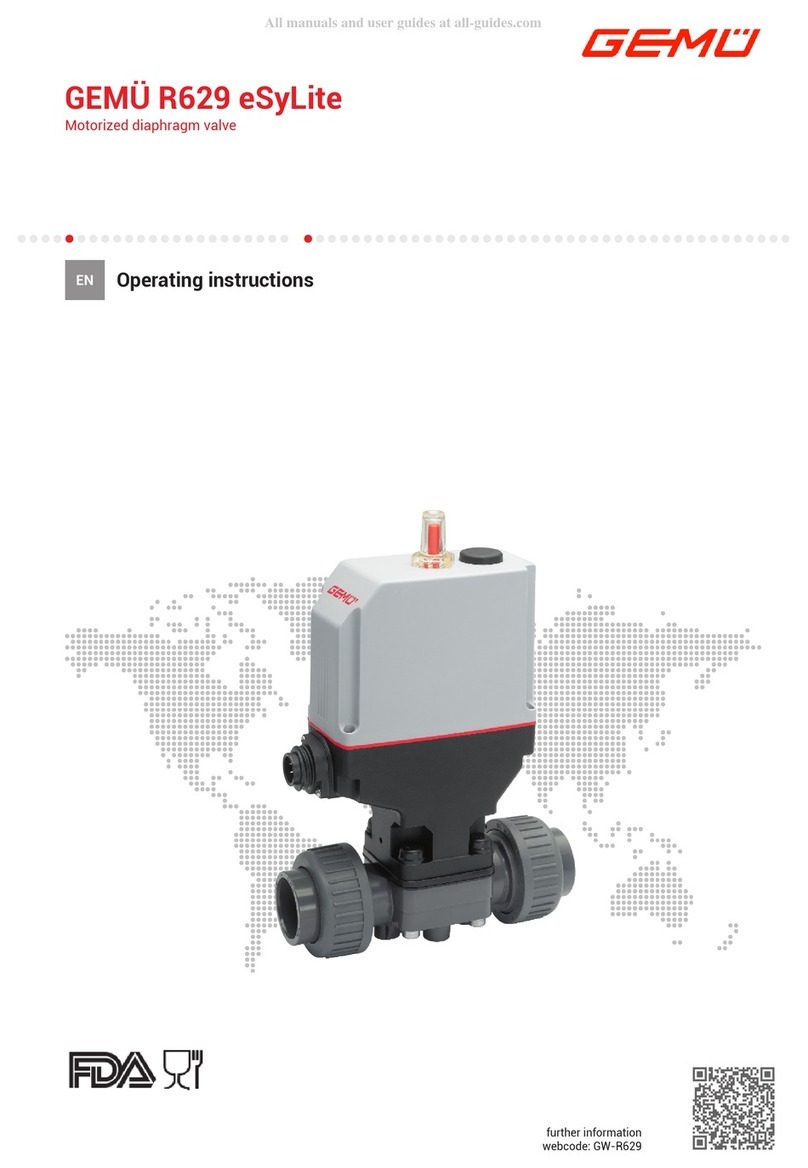
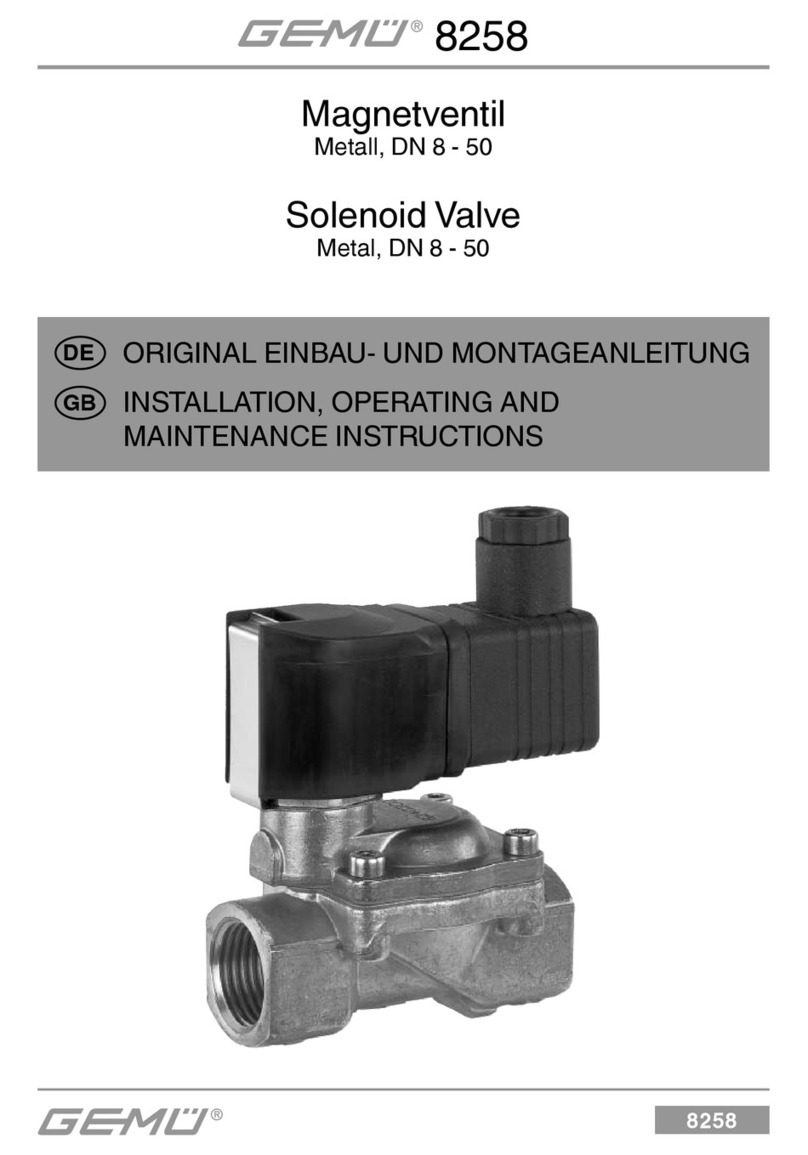
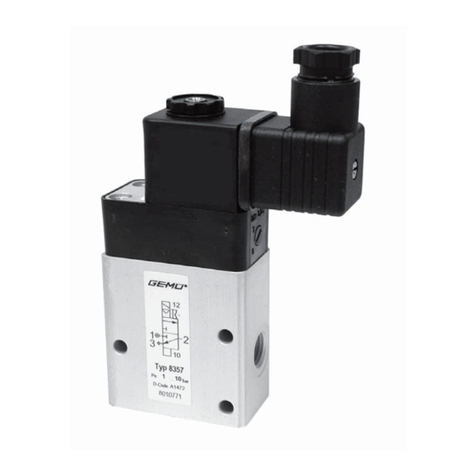
Gemu 0322 User manual

GEMÜ 0322
Electrically operated pilot solenoid valve
Operating instructions
EN
further information
webcode: GW-0322

All rights including copyrights or industrial property rights are expressly reserved.
Keep the document for future reference.
© GEMÜ Gebr. Müller Apparatebau GmbH & Co. KG
07.03.2023
www.gemu-group.com2 / 20GEMÜ 0322

Contents
1 General information ............................................. 4
1.1 Information .................................................... 4
1.2 Symbols used ................................................ 4
1.3 Definition of terms ........................................ 4
1.4 Warning notes ............................................... 4
2 Safety information ............................................... 5
3 Product description ............................................. 5
3.3 Functional description .................................. 5
3.3.1 Safety function ................................. 5
4 GEMÜ CONEXO .................................................... 5
5 Correct use .......................................................... 6
6 Order data ........................................................... 7
7 Technical data ..................................................... 9
8 Dimensions .......................................................... 11
9 Manufacturer's information .................................. 12
9.1 Delivery .......................................................... 12
9.2 Transport ....................................................... 12
9.3 Storage ........................................................... 12
10 Installation .......................................................... 12
11 Electrical connection ........................................... 14
11.1 Plug design A ................................................. 15
11.2 M12 plug (code 02, 03) ................................. 15
11.3 Manual override (option) .............................. 15
12 Commissioning .................................................... 16
13 Troubleshooting .................................................. 16
14 Inspection and maintenance ................................ 16
15 Disassembly ........................................................ 16
16 Disposal .............................................................. 16
17 Returns ................................................................ 16
18 Declaration of conformity in accordance with
2014/35/EU (Low Voltage Directive) and 2014/30/
EU (EMC Directive) ............................................... 18
19 EU Declaration of conformity in accordance with
2014/34/EU (ATEX) ............................................. 19
GEMÜ 0322www.gemu-group.com 3 / 20

www.gemu-group.com4 / 20GEMÜ 0322
1 General information
1.1 Information
- The descriptions and instructions apply to the standard ver-
sions. For special versions not described in this document
the basic information contained herein applies in combina-
tion with any additional special documentation.
- Correct installation, operation, maintenance and repair work
ensure faultless operation of the product.
- Should there be any doubts or misunderstandings, the Ger-
man version is the authoritative document.
- Contact us at the address on the last page for staff training
information.
1.2 Symbols used
The following symbols are used in this document:
Symbol Meaning
Tasks to be performed
Response(s) to tasks
– Lists
1.3 Definition of terms
Working medium
The medium that flows through the GEMÜ product.
1.4 Warning notes
Wherever possible, warning notes are organised according to
the following scheme:
SIGNAL WORD
Type and source of the danger
Possible
symbol for the
specific
danger
Possible consequences of non-observance.
Measures for avoiding danger.
Warning notes are always marked with a signal word and
sometimes also with a symbol for the specific danger.
The following signal words and danger levels are used:
DANGER
Imminent danger!
▶Non-observance can cause death or
severe injury.
WARNING
Potentially dangerous situation!
▶Non-observance can cause death or
severe injury.
CAUTION
Potentially dangerous situation!
▶Non-observance can cause moderate
to light injury.
NOTICE
Potentially dangerous situation!
▶Non-observance can cause damage to
property.
The following symbols for the specific dangers can be used
within a warning note:
Symbol Meaning
Danger of explosion
Risk of electric shock
Protect against leakage!
Danger of burning from hot surfaces!

www.gemu-group.com 5 / 20 GEMÜ 0322
2 Safety information
The safety information in this document refers only to an indi-
vidual product. Potentially dangerous conditions can arise in
combination with other plant components, which need to be
considered on the basis of a risk analysis. The operator is re-
sponsible for the production of the risk analysis and for com-
pliance with the resulting precautionary measures and re-
gional safety regulations.
The document contains fundamental safety information that
must be observed during commissioning, operation and main-
tenance. Non-compliance with these instructions may cause:
- Personal hazard due to electrical, mechanical and chemical
effects.
- Hazard to nearby equipment.
- Failure of important functions.
- Hazard to the environment due to the leakage of dangerous
substances.
The safety information does not take into account:
- Unexpected incidents and events, which may occur during
installation, operation and maintenance.
- Local safety regulations which must be adhered to by the
operator and by any additional installation personnel.
Prior to commissioning:
1. Transport and store the product correctly.
2. Do not paint the screws and plastic parts of the product.
3. Carry out installation and commissioning using trained
personnel.
4. Provide adequate training for installation and operating
personnel.
5. Ensure that the contents of the document have been fully
understood by the responsible personnel.
6. Define the areas of responsibility.
7. Observe the safety data sheets.
8. Observe the safety regulations for the media used.
During operation:
9. Keep this document available at the place of use.
10. Observe the safety information.
11. Operate the product in accordance with this document.
12. Operate the product in accordance with the specifications.
13. Maintain the product correctly.
14. Do not carry out any maintenance work and repairs not de-
scribed in this document without consulting the manufac-
turer first.
In cases of uncertainty:
15. Consult the nearest GEMÜ sales office.
3 Product description
3.1 Construction
2
1
3
Item Name Materials
1 Plug PA
2 Coil housing Standard: PA 6
M12 connection: Duroplast
(Epoxyd NU463)
ATEX version: PPS
3 Valve body PBT
Seal materials FPM
3.2 Description
The GEMÜ 0322 directly controlled 3/2-way pilot solenoid
valve is designed for direct mounting or for modular battery
mounting by using clips. The body is made of plastic. The coil
is plastic encapsulated.
3.3 Functional description
GEMÜ 0322 is a 3/2-way pilot solenoid valve. GEMÜ0322 is
designed for single mounting (straight through design) or for
modular battery mounting of up to 12 valves (by using clips).
3.3.1 Safety function
The fail-safe state is defined as the state where the solenoid
valve is de-energized and the valve is returned to the CLOSED
position (de-energized).
4 GEMÜ CONEXO
In the corresponding design with CONEXO, this product has
an RFID chip for electronic identification purposes. The posi-
tion of the RFID chip can be seen below. The CONEXO pen
helps read out information stored in the RFID chips. The CON-
EXO app or CONEXO portal is required to view this informa-
tion.
Installing the RFID chip
4 GEMÜ CONEXO

www.gemu-group.com6 / 20GEMÜ 0322
5 Correct use
RFID chip
5 Correct use
DANGER
Danger of explosion
▶Danger of death or severe injury.
●Only use the product in potentially ex-
plosive zones confirmed in the declara-
tion of conformity.
WARNING
Improper use of the product!
▶Risk of severe injury or death
▶Manufacturer liability and guarantee will be void
●Only use the product in accordance with the operating
conditions specified in the contract documentation and in
this document.
1. Use the product in accordance with the technical data.
The GEMÜ 0322 directly controlled 3/2-way pilot solenoid
valve is designed for direct mounting or for modular battery
mounting by using clips. The body is made of plastic. The coil
is plastic encapsulated.
5.1 Product without ATEX, code 02, 03, 06, 08, 09
The product is not intended for use in potentially explosive
areas.
5.2 Product with ATEX, code 01, 04, 05, 07, 11
The product with the ATEX ordering option is intended for use
in potentially explosive areas of zone 1 with gases, mists or
vapours and zone 22 with combustible dusts in accordance
with EU directive 2014/34/EU (ATEX).
The product has the following explosion protection marking:
Gas: II 2G Ex mb II T4
Dust: II 2D Ex tD A21 IP65 T130°C
Type examination certificate: PTB 03 ATEX 2018 X
The product has been developed in compliance with the fol-
lowing harmonised standards:
- DIN EN 60079-0:2012+A11:2013
- DIN EN 60079-7:2015
- DIN EN 60079-15:2010
- DIN EN 60079-31:2014
Use of the product is permissible in the following ambient
temperature ranges: 0 to +60°C
For use in potentially explosive areas, the following
conditions or operation limits must be observed:
The following special conditions must be complied with:
1. Connection cables and connectors must be protected
from damage.
2. Layers of dust > 5 mm must be removed.
3. Warning label "Danger from electrostatic build-up".
4. Warning label "Do not disconnect when live".

6 Order data
The order data provide an overview of standard configurations.
Please check the availability before ordering. Other configurations available on request.
Order codes
1 Type Code
Pilot solenoid valve, directly controlled,
single mounting/battery mounting
0322
2 DN Code
DN 2 2
3 Body configuration Code
Multi-port design M
4 Connection type Code
Threaded socket DIN ISO 228 1
5 Valve body/solenoid material Code
PA, polyamide 74
6 Seal material Code
FKM 4
7 Control function Code
Normally closed (NC) 1
Normally open (NO) 2
8 Voltage/Frequency Code
24 V DC C1
24 V/50 - 60 Hz C4
120 V/50 - 60 Hz G4
230 V/50 - 60 Hz L4
9 Electrical connection Code
Plug design A 00
Plug design A,
with cable socket, without cable
01
M12 plug,
(only NC and 24V DC version)
02
M12 plug,
with cable socket, without cable,
(only NC and 24V DC version)
03
Plug design A,
with cable socket, 3 m cable,
encapsulated (only ATEX version)
05
Plug design A
with cable socket, without cable,
green LED, suppressor diode,
(only for 24V DC version)
09
10 Option Code
Without 00
ATEX (only electrical connection 05, only control
function normally closed)
01
Manual override
(only control function 1, normally closed)
02
Silencer
(only control function 1, normally closed)
03
ATEX,
manual override
(only electrical connection 05 and for control function 1,
normally closed)
04
ATEX
silencer
(only electrical connection 05 and for control function 1,
normally closed)
05
Manual override, silencer
(only control function 1, normally closed)
06
ATEX,
manual override, silencer
(only electrical connection 05 and for control function 1,
normally closed)
07
Manual override, silencer
with exhaust air throttle
(only control function 1, normally closed)
08
Silencer
with exhaust air throttle
(only control function 1, normally closed)
09
ATEX,
manual override, silencer
with exhaust air throttle
(only electrical connection 05 and for control function 1,
normally closed)
11
11 Maximum operating pressure Code
10 bar 10
12 Type of design Code
Without
Media wetted area cleaned to ensure suitability for paint
applications, parts sealed in plastic bag
0101
13 CONEXO Code
Without
Integrated RFID chip for electronic identification and
traceability
C
Order example
Ordering option Code Description
1 Type 0322 Pilot solenoid valve, directly controlled,
single mounting/battery mounting
2 DN 2 DN 2
3 Body configuration M Multi-port design
6 Order data
www.gemu-group.com 7 / 20 GEMÜ 0322

Ordering option Code Description
4 Connection type 1 Threaded socket DIN ISO 228
5 Valve body/solenoid material 74 PA, polyamide
6 Seal material 4 FKM
7 Control function 1 Normally closed (NC)
8 Voltage/Frequency C1 24 V DC
9 Electrical connection 01 Plug design A,
with cable socket, without cable
10 Option 00 Without
11 Maximum operating pressure 10 10 bar
12 Type of design Without
13 CONEXO Without
6 Order data
www.gemu-group.com8 / 20GEMÜ 0322

7 Technical data
7.1 Medium
Working medium: Quality classes to DIN ISO 8573-1
Dust content: Class 4, max. particle size 15 μm, max. particle density 8 mg/m³
Oil content: Class 4, max. oil concentration 5 mg/m³
Pressure dew point: Class 4, max. pressure dew point +3 °C
7.2 Temperature
Ambient temperature: -10 — 50 °C
Media temperature: -10 — 50 °C
7.3 Pressure
Operating pressure: 0 — 10 bar
Flow rate: Control function:
Normally closed (code 1): 70 l/min
Normally open (code 2): 40 l/min
7.4 Product compliance
Explosion protection: ATEX (2014/34/EU), order code Option
ATEX marking: Gas: II 2G Ex mb II T4
Dust: II 2D Ex tD A21 IP65 T130°C
Type examination certificate: PTB 03 ATEX 2018 X
SIL: Product description: 3/2-way pilot solenoid valve GEMÜ 0322
Device type: A
Safety function: Due to the safety function, the valve is placed in the
closed position. For this, the solenoid valve is closed
when de-energized (switch positiona1).
HFT (Hardware Fault Tolerance): 0
MTTR (Mean Time To Restoration): 24 hours
7.5 Mechanical data
Weight: 150 g
Corrosion
resistance class:
KBK 2
Isolation class: F
Protection class: IP 65
Max. switching fre-
quency:
5 Hz
Switching times: On: 11 ms
Off: 20 ms
7.6 Electrical data
Supply voltage: AC operation: 24 V, 120 V, 230 V
DC operation: 24 V
GEMÜ 0322www.gemu-group.com 9 / 20
7 Technical data

Power consumption: AC operation
Normally closed (NC) Pull in: 11.5 W
Hold in: 8.5 W
Normally open (NO) 6.8 W
DC operation
Normally closed (NC) 4.5 W
Normally open (NO) 6.8 W
Permissible voltage toler-
ance:
±10 % to VDE 0580
Duty cycle: Continuous duty
Max. perm. ripple: 20 %
Electrical connection
type:
Plug design A
Cable diameter: 8 to 10 mm
Optional: M12 plug, cable socket
Optional: ATEX version with 3 m cable (H05V2V2-F 3G1, external Ø 7 mm)
Note: DC coils are used for the AC version of normally open (NO) solenoid valves.
For these AC applications with normally open (NO) valves a plug with an integrated bridge rectifier
must be used (e.g. GEMÜ 1221 000 Z 0012 230 50/60).
www.gemu-group.com10 / 20GEMÜ 0322
7 Technical data

8 Dimensions
8.1 Single valve for direct mounting
81.0
38.0 30.0
30.0
33.0
68.0
85.0
11.5
18.0
G1/4 G1/4
Dimensions in mm
8.2 Battery mounting
M5
PG11
Ø4.3
30.0 30.0 30.0
51.0
41.0
22.0
63.0
Dimensions in mm
GEMÜ 0322www.gemu-group.com 11 / 20
8 Dimensions

www.gemu-group.com12 / 20GEMÜ 0322
9 Manufacturer's information
9.1 Delivery
●Check that all parts are present and check for any damage
immediately upon receipt.
The product's performance is tested at the factory. The scope
of delivery is apparent from the dispatch documents and the
design from the order number.
9.2 Transport
1. Only transport the product by suitable means. Do not drop.
Handle carefully.
2. After the installation dispose of transport packaging ma-
terial according to relevant local or national disposal regu-
lations / environmental protection laws.
9.3 Storage
1. Store the product free from dust and moisture in its ori-
ginal packaging.
2. Avoid UV rays and direct sunlight.
3. Do not exceed the maximum storage temperature (see
chapter "Technical data").
4. Do not store solvents, chemicals, acids, fuels or similar
fluids in the same room as GEMÜ products and their spare
parts.
10 Installation
DANGER
Risk of electric shock
▶There is a danger of injury or death (if
operating voltage is higher than safe
extra low voltage)!
●Before performing any work on the
GEMÜ product, switch off power and
protect circuit from being switched on
again.
NOTICE
ATEX version
▶Please observe the relevant EX regulations, in particular
EN 60079-14 and EN 50281-1-12, during installation and
maintenance .
Prior to installation:
1. Check the suitability of the pilot solenoid valve prior to
the installation!
See chapter "Technical data".
10.1 Installation
WARNING
The equipment is subject to pressure!
▶Risk of severe injury or death
●Depressurize the plant.
●Completely drain the plant.
Installation location:
CAUTION
●Do not apply external force to the pilot solenoid valve.
- Installation position: Optional.
- Manual override and electrical plug must be accessible.
- Direction of the control medium:
from "P" to "A".
Installation:
- Installation work must only be performed by trained person-
nel.
- Use appropriate protective gear as specified in plant oper-
ator's guidelines.
1. Ensure the suitability of the valve for each respective use.
The valve must be appropriate for the piping system oper-
ating conditions (medium, medium concentration, temper-
ature and pressure) and the prevailing ambient conditions.
Check the technical data of the valve and the materials.
2. Shut off plant or plant component.
3. Secure against recommissioning.
4. Depressurize the plant or plant component.
5. Completely drain the plant or plant component and allow it
to cool down until the temperature is below the media va-
porization temperature and cannot cause scalding.
6. If necessary, correctly decontaminate, rinse and ventilate
the plant or plant component.
7. Carefully remove the caps from the female threads.

www.gemu-group.com 13 / 20 GEMÜ 0322
10.1.1 Single mounting - GEMÜ 0322
P
A
3
7
1
4
2
5
Fig.1: Single mounting - GEMÜ 0322
1. Fasten the pilot solenoid valve with two machine screws 1
(ø2.5mm). Max. screw depth: 10 mm.
2. Connect and seal the pressure inlet tubing to connection
"P" 2 (G 1/4). Only use screwed plugs form A or B, short
design, to DIN 3852!
3. If applicable, connect and seal the exhaust tubing to con-
nection "R" 5 (M5) or mount a silencer.
4. Connect and seal the outlet tubing to connection "A" 4 (G
1/4).
5. Close the open connection "P" with supplied sealing plug 3
and O-ring 7.
6. All threads must be sealed gas tight.
10.1.2 Battery mounting - GEMÜ 0322
P
A
P
A
3
7
7
2
5
4
16
Fig.2: Battery mounting - GEMÜ 0322
1. Insert O-ring 7 into base recess.
2. Press the pilot solenoid valves together and insert brack-
ets 6 into the respective retainers from below.
3. The brackets 6 hold the pilot solenoid valves together and
also serve as fastening elements.
4. Fasten the pilot solenoid valve battery with screws 1.
5. Connect and seal the pressure inlet tubing to connec-
tion"P" 2 (G 1/4). Only use screwed plugs form A or B,
short design, to DIN 3852!
6. If applicable, connect and seal the exhaust tubing to con-
nection "R" 5 (M5) or mount a silencer.
7. Connect and seal the outlet tubing to connection "A" 4 (G
1/4).
8. Close the open connection "P" with supplied sealing plug 3
and O-ring 7.
9. All threads must be sealed gas tight.
After the installation:
- Re-attach or reactivate all safety and protective devices.
10 Installation

www.gemu-group.com14 / 20GEMÜ 0322
11 Electrical connection
DANGER
Risk of electric shock
▶Risk of injury or death (if operating
voltage is higher than safe extra low
voltage).
▶Electric shock can cause severe burns
and fatal injury.
●Work on electrical connections only by
qualified trained personnel.
●Disconnect the cable from the power
supply before making the electrical
connection.
●Connect the protective earth con-
ductor.
CAUTION
●Power supply varies dependent on the design (see
product label).
●Do not bridge terminals!
NOTICE
AC solenoid
▶Tendency to hum.
Required for electrical connection:
- Crosshead screwdriver
- Small flat screw driver
The following note only applies to the ATEX version:
NOTICE
▶Every valve solenoid must have a fuse appropriate for its
rated current (max. 3 times rated current in accordance
with DIN 41571 or IEC 60127-2-1) or a motor protection
switch with short circuit and thermal instantaneous trip
(setting to rated current) connected upstream as protec-
tion against short circuits. This fuse may be located in the
corresponding power supply unit or must be connected
separately upstream. The fuse rated voltage must be
equal to or greater than the specified nominal voltage of
the solenoid. The breaking capacity of the fuse unit must
be equal to or greater than the maximum short-circuit cur-
rent occurring at the site of installation (usually 1500 A).
Plug design A
(DIN EN 175301-803)
6
4
5
1
2
3
Fig.3: Electrical connection of plug
1. Disconnect the plant from power supply.
2. Unscrew retaining screw 1.
3. Pull off plug 2 with terminal block 3 from solenoid.
4. Press terminal block 3 carefully out of plug 2.
5. Unscrew cable entry 6.
6. Remove pressure ring 4 and gasket 5.
7. Insert cable through cable entry 6, pressure ring 4, gasket
5 and plug 2.
8. Connect the cable.
9. Insert terminal block 3 again in the plug 2 until it audibly
clicks in position.
10. Screw plug 2 to solenoid with retaining screw1 (max.
0.3Nm).
11. Close cable entry 6.
Fig.4: Rear of terminal block
Item Name
1 Supply voltage
2 Supply voltage
3 Not connected
Earth

www.gemu-group.com 15 / 20 GEMÜ 0322
11.1 Plug design A
11.1.1 Without bridge rectifier (code 00, 01, 05, 09)
Control function 1 (NC), AC/DC voltage
control function 2 (NO), DC voltage
L PE N
+ PE GND
DC supply voltage:
NC/NO valves
AC supply voltage:
Plug design A
Solenoid valve with
plug design A
11.1.2 With bridge rectifier (code 06, 10)
Control function 2 (NO), AC voltage
L PE N
AC supply voltage:
NO valves
Plug design A with bridge rectifier
Solenoid valve
with plug design A
11.1.2.1 ATEX version (DC version)
Solenoid housing
Blue
Brown
Green/yellow
11.1.2.2 ATEX version (AC version)
Solenoid housing
Blue
Brown
Green/yellow
NOTICE
●Electrical connection with the connecting cable integ-
rated into the solenoid coil (cable ends suitable for screw
clamp connections) in the safe area or in the potentially
explosive area with permissible equipment protected
from explosion (e.g. terminal box with type of ignition pro-
tection Increased Safety "e" as per EN 50019).
●When screwing in the connecting wires, make sure that
the cable ends fit completely into the connecting clamp.
●Connecting wires and cables should not be bent sharply
in order to avoid short circuits and breaks.
11.2 M12 plug (code 02, 03)
11.2.1 Pin assignment
1
4
3
2
5
Plug assignment X1 (A-coded)
Pin Signal name
1 n.c.
2 n.c.
3 Uv, GND
4 Uv, 24 V DC supply voltage
5 n.c.
11.3 Manual override (option)
Fig.5: Manual override
The pilot solenoid valves are equipped with a manual override
as an option.
Only actuate the manual override in case of malfunction!
To activate / lock the manual override:
1. Turn red button 90° clockwise with a screw driver.
2. To unlock turn it 90° anti-clockwise with a screwdriver.
11 Electrical connection

www.gemu-group.com16 / 20GEMÜ 0322
12 Commissioning
12 Commissioning
CAUTION
Protect against leakage!
●Check the tightness of the media con-
nections prior to commissioning!
●Provide precautionary measures
against exceeding the maximum per-
mitted pressures caused by pressure
surges.
Prior to cleaning or commissioning the plant:
1. Check the tightness and the function of the pilot solenoid
valves.
2. If the plant is new and after repairs blow out the piping
system with a fully opened pilot solenoid valve (to remove
any harmful foreign matter).
Cleaning:
- The plant operator is responsible for selecting the cleaning
material and performing the procedure.
13 Troubleshooting
Error Error cause Troubleshooting
The pilot solenoid
valve does not
open or does not
open fully
Power supply not
OK
Сheck power sup-
ply and connection,
see product label
The pilot solenoid
valve does not
close or does not
close fully
Return spring faulty Replace the pilot
solenoid valve
Dirt in the valve
body
Clean or replace
valve body
Manual override ac-
tivated
Unlock the manual
override as de-
scribed in "Manual
override (optional)"
The pilot solenoid
valve does not con-
trol correctly
Medium pressure
too low / too high
Check medium
pressure (see
"Technical data")
Connections leak-
ing
Check the connec-
tions (see "Installa-
tion")
14 Inspection and maintenance
WARNING
The equipment is subject to pressure!
▶Risk of severe injury or death
●Depressurize the plant.
●Completely drain the plant.
WARNING
Danger of burning from hot surfaces!
▶Solenoid coil heats up during opera-
tion.
●Allow the solenoid coil and piping to
cool down before servicing work.
CAUTION
●Servicing and maintenance work must only be performed
by trained personnel.
●GEMÜ shall assume no liability whatsoever for damage
caused by improper handling or third-party actions.
●In case of doubt, contact GEMÜ prior to commissioning.
1. Use appropriate protective gear as specified in plant oper-
ator's guidelines.
2. Shut off plant or plant component.
3. Secure against recommissioning.
4. Depressurize the plant or plant component.
NOTICE
●Only use genuine GEMÜ spare parts.
●When ordering spare parts, please state the complete or-
der number of the pilot solenoid valve.
The operator must carry out regular visual examination of the
valves dependent on the operating conditions and the poten-
tial danger in order to prevent leakage and damage. The valve
also has to be checked for wear in the corresponding inter-
vals.
15 Disassembly
Disassembly is performed observing the same precautionary
measures as for installation.
1. Disassemble the pilot solenoid valve (see "Installation").
2. Disconnect the electric wire(s) (see "Electrical connec-
tion").
16 Disposal
1. Pay attention to adhered residual material and gas diffu-
sion from penetrated media.
2. Dispose of all parts in accordance with the disposal regu-
lations/environmental protection laws.
17 Returns
Legal regulations for the protection of the environment and
personnel require that the completed and signed return deliv-
ery note is included with the dispatch documents. Returned
goods can be processed only when this note is completed. If

www.gemu-group.com 17 / 20 GEMÜ 0322
no return delivery note is included with the product, GEMÜ
cannot process credits or repair work but will dispose of the
goods at the operator's expense.
1. Clean the product.
2. Request a return delivery note from GEMÜ.
3. Complete the return delivery note.
4. Send the product with a completed return delivery note to
GEMÜ.
17 Returns

18 Declaration of conformity in accordance with 2014/35/EU (Low Voltage Directive) and 2014/30/EU
(EMC Directive)
EU Declaration of Conformity
in accordance with 2014/30/EU (EMC Directive) and 2014/35/EU (Low
Voltage Directive)
We, GEMÜ Gebr. Müller Apparatebau GmbH & Co. KG
Fritz-Müller-Straße 6-8
74653 Ingelfingen-Criesbach, Germany
declare that the product listed below complies with the directives named above.
Description of the product: GEMÜ 0322
2023-03-01
Joachim Brien
Head of Technical Department
www.gemu-group.com18 / 20GEMÜ 0322
18 Declaration of conformity in accordance with 2014/35/EU (Low Voltage Directive) and 2014/30/EU (EMC Directive)

19 EU Declaration of conformity in accordance with 2014/34/EU (ATEX)
EU Declaration of Conformity
in accordance with 2014/34/EU (ATEX)
We, GEMÜ Gebr. Müller Apparatebau GmbH & Co. KG
Fritz-Müller-Straße 6-8
74653 Ingelfingen-Criesbach, Germany
declare that the product listed below complies with the requirements of directive 2014/34/EU for intended use in potentially ex-
plosive areas.
Description of the product: Pilot solenoid valve GEMÜ 0322
Explosion protection designation: Gas: II 2G Ex mb II T4
Dust: II 2D Ex tD A21 IP65 T130°C
Type examination certificate: PTB 03 ATEX 2018 X
Explanations: For special conditions or operation limits see chapter "Correct use" in the operating
instructions.
The Essential Safety and Health Requirements are met by compliance with the standards listed below that are applicable for the
above mentioned product:
- DIN EN 60079-0:2012+A11:2013
- DIN EN 60079-7:2015
- DIN EN 60079-15:2010
- DIN EN 60079-31:2014
2023-03-01
Joachim Brien
Head of Technical Department
GEMÜ 0322www.gemu-group.com 19 / 20
19 EU Declaration of conformity in accordance with 2014/34/EU (ATEX)

GEMÜ Gebr. Müller Apparatebau GmbH & Co. KG
Fritz-Müller-Straße 6-8, 74653 Ingelfingen-Criesbach, Germany
Phone +49 (0) 7940 1230 · [email protected]
www.gemu-group.com
Subject to alteration
03.2023 | 88660002
Table of contents
Other Gemu Control Unit manuals