Gima CMS80 User manual

Code 33257 CARDIOPOCKET ECG
USER MANUAL

—I —
This Manual is written and compiled in accordance with the council directive 93/42/EEC for medical
devices and harmonized standards. The Manual is written for the current CMS80 Electrocardiograph.
In case of modifications and software upgrades, the information contained in this document is
subject to change without notice.
The Manual describes, in accordance with the CMS80 Electrocardiograph’s features and
requirements, main structure, functions, specifications, correct methods for transportation,
installation, usage, operation, repair, maintenance and storage, etc. as well as the safety procedures to
protect both the user and equipment. Refer to the respective chapters for details.
Please read the Manual very carefully before using this equipment. These instructions describe the
operating procedures to be followed strictly, Failure to follow these instructions can cause measuring
abnormality, equipment damage and personal injury. The manufacturer is NOT responsible for the
safety, reliability and performance issues and any monitoring abnormality, personal injury and
equipment damage due to user’s negligence of the operation instructions. The manufacturer’s
warranty service does not cover such faults.
WARNING:
All the electrodes connected to the patients directly must be correct and tried..
Make sure the battery voltage is normal when choosing the UPS
TheAC power cable and the patient cable could not be enlaced.
Please peruse the relative content about the clinical restrictions and caution.
This device is not intended for treatment.

—II —
Contents
1 Safety...............................................................................................................................................1
2 Overview.........................................................................................................................................2
3 Principle and Caution....................................................................................................................3
4 Technical specifications .................................................................................................................4
5 Accessories......................................................................................................................................4
6 Installation......................................................................................................................................5
7 Operating Guide ............................................................................................................................8
8 The notice of the battery operating..........................................................................................12
9 Repairing and Maintenance......................................................................................................13
10 Troubleshooting........................................................................................................................14
11 Key of Symbols.........................................................................................................................17

—1—
1 Safety
1.1 Instructions for safe operations
Check the main unit and all accessories periodically to make sure that there is no visible
damage that may affect patient’s safety and monitoring performance about cables and
transducers. It is recommended that the device should be inspected once a week at least. When
there is obvious damage, stop using the monitor.
Necessary maintenance must be performed by qualified service engineers ONLY. Users are not
permitted to maintain it by themselves.
The Electrocardiograph cannot be used together with devices not specified in User’s Manual.
When the cardiac defibrillator be used with other electric stimulate devices, Please select the
electrode (type: A30-G26-21) provided by our company.
The electrode and its connector of this ECG must keep from other conductor, for example, the
earth.
According the Standard IEC60601, this device is belonged to internal electrical power source,
CF applied part. it is applied for cardiac examination. This device is safe and reliable.
Please select the ECG cable which is provided by our company, if the defibrillation time is
over 5 s, you should use one-off chest electrode, which can avoid the metal electrode burn
patient’s skin. Please don’t use it with electric stimulator at the same time, if it is compulsory, a
professional technician must guide on the scene.
1.2 Warnings
Explosive hazard—DO NOT use the Electrocardiograph in environment with inflammable gas
such as some ignitable anesthetic agents.
When other device be joined with this ECG device, it must be accorded with Standard
IEC60601, internal electrical power source. because creepage summation may injure the
patient, the creepage current be inspected by the other device.
The disposal of scrap instrument and its accessories (including battery) should follow the local
laws and regulations.
1.3 Attentions
Keep the Electrocardiograph away from dust, vibration, corrosive substances, explosive
materials, high temperature and moisture.
If the Electrocardiograph gets wet, please stop operating it.
When it is carried from cold environment to warm and humid environment, please do not use it
immediately.
Do not operate keys on front panel with sharp materials.
Do not have the product immerged in liquid.
When cleaning the device with water, the temperature should be lower than 60℃.

—2—
The design of the instrument is considered sufficiently with the safety requirement, but the
observation of the patient and the instrument can not be ignored.
The instrument has normal useful life for five years since the first electrified use.
The instrument does not have low-voltage alarm function, it only shows the battery energy,
please change the battery when the battery energy is used out.
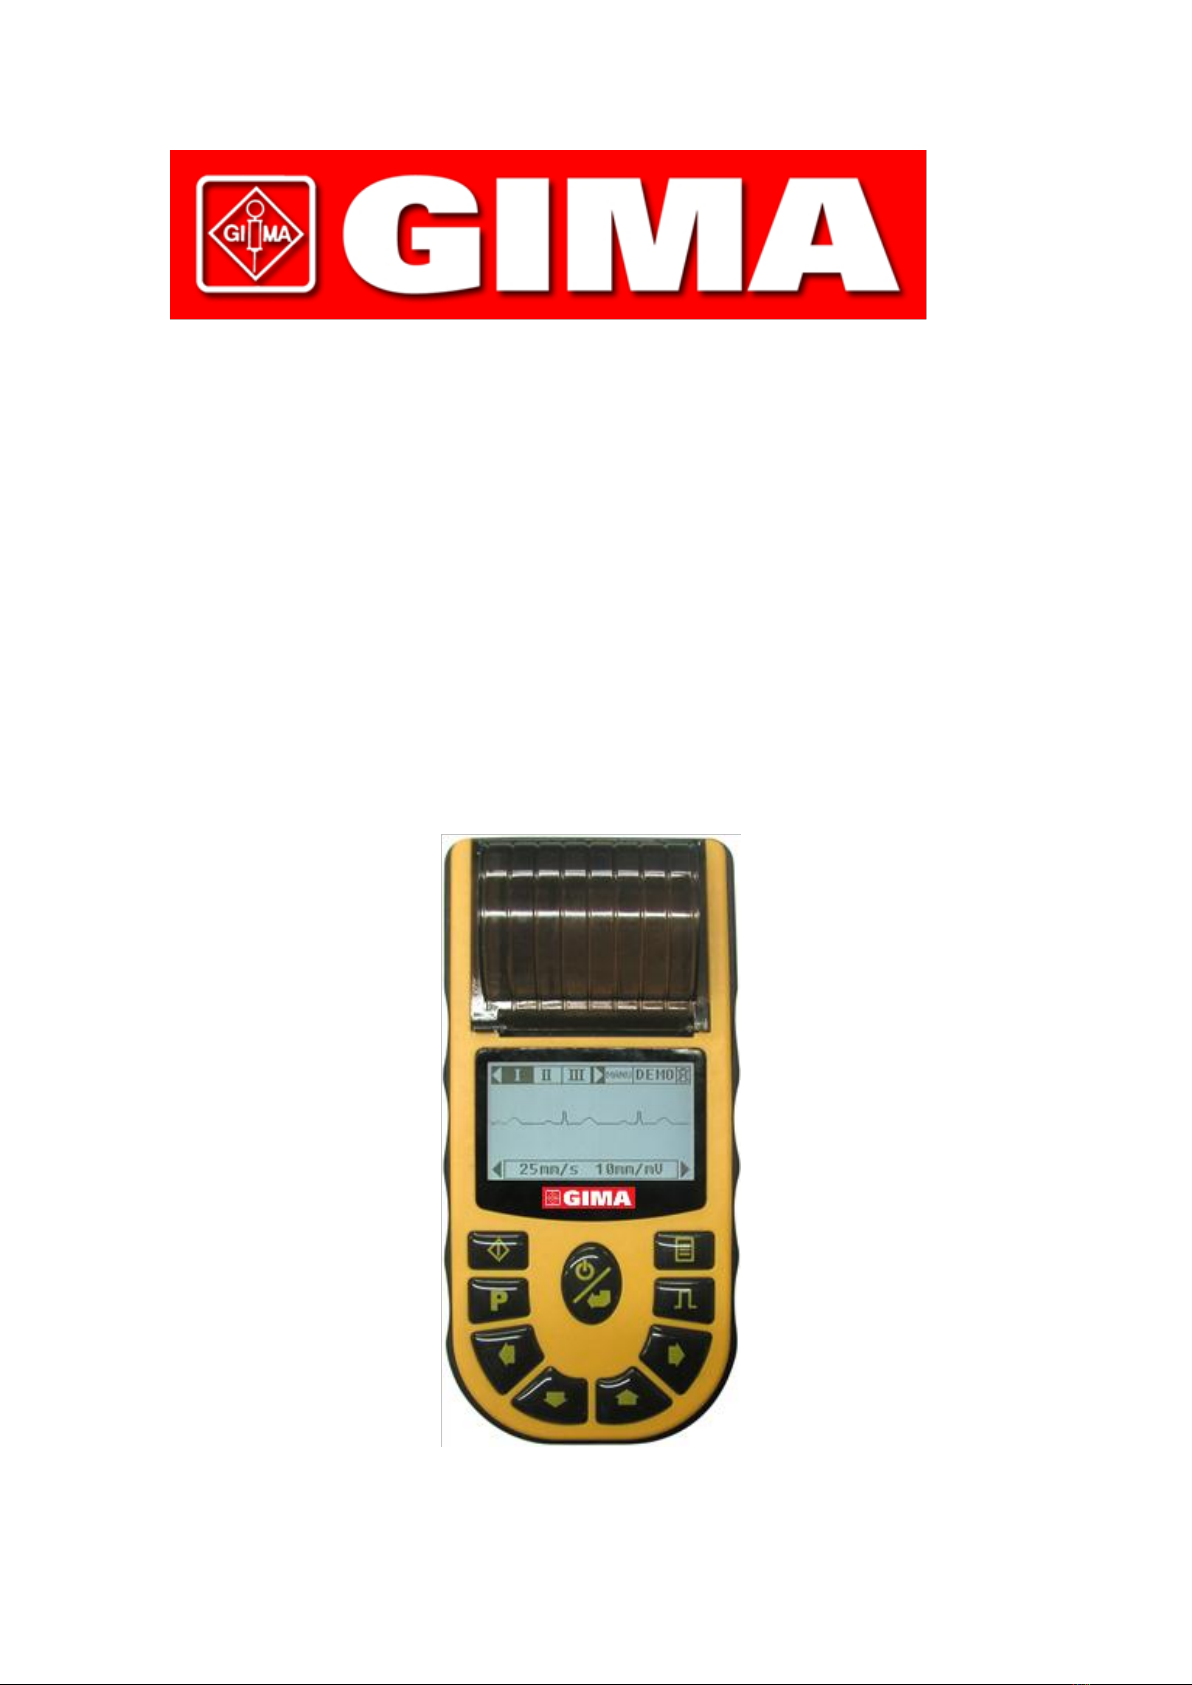
2 Overview
Through the broad market investigation, our company assembles a lot of talents in the
following majors: the appearance design of the product, structure design, transmission structure
design, and circuit design, they produced the CMS80 ECG successfully after their deep research and
reduplicate tests. This equipment adopts the thermal recording mode (the key point of thermal
recording technique is the core component---thermal recording probe. The thermal recording probe
is the high-tech component with advanced component integrated technology, integrating a large
amount of heating elements (8points/millimeter) and its controlled circuit based on the ceramic basal
body. It doesn’t have the false difference which caused by non- linearity, damping, and incongruence
of pen warmth of the traditional hot pen ECG. In the frequency response which is the important
index of affecting the descriptive authenticity, the CMS80 can reach 0.05-150Hz frequency response
which is the world level, also the equipment has advanced digital baseline drifting filter, Alternating
Current filter, and Myo- electricity disturbance filter. The sampling rate of lead signal is 800Hz, the
closure frequency of low pass filter machine with guards against mixes folds is (-3dB) 220Hz. The
sampling rate is higher than the standard of not lower than 500Hz which made by American AHA
Association and European CSE Association.
2.1 Features
Operation of the product is simple and convenient.
The product is small in volume, light in weight (total weight is about 800g including batteries)
and convenient in carrying.
The instrument can be used under AC&DC, with the lithium rechargeable battery inside, and it
will record eighty ECG waveform persistently under the best DC conditions.
Voltage indication will be displayed when power on.
Classification: internal electrical power source, CF applied part.
EMC complies with the requirements of IEC60601-1-2:2001 (refer to the appendix 2)
2.2 Major applications and scope of application
This product is single channel,12 leads electrocardiograph ,can be widely applied in ECG
check-up under different circumstances such as in family ,hospital consultation, doctor’s diagnosis,
physical check-up,social medical organizations etc. it can implement real time continuous records of
clear and exact single-channel ECG waveform using thermo sensitive printer at the same time.
waveforms also can be freezed at any time. it has manual and automatic modes to be chosen and

—3—
Chinese/English operation interface, it is easy to be used.
2.3 Environment requirements
a). Ambient temperature: +5℃~+35℃
Transportation and Storage Temperature: -10°C~55°C
b). Relative humidity: 25%~95%(without condensation)
Transportation and Storage humidity: ≤95%
c). Power: POWER ADAPTOR :
Input AC: 100-240V , 50/60Hz
Output DC: 9V
DC: 7.4V rechargeable battery
The instrument could normally work for more than 0.5 hours under DC supply.
d). Barometric: 860hPa~1060hPa
3 Principle and Caution
3.1 Principle of measurement
The CMS80 equipment is constituted by power source system, signal gathering and processing,
and controlling system etc. The power source system converts the Alternating Current or battery volt
to the stable Direct Current which the equipment needs, meantime, it completes the charge of battery
and the conversion of alternating current and direct current. The signal gathering and processing part
is responsible for the clustering of inputing signal, digital filter and gaining controlling, etc.. The
controlling system coordinates the operation of print controlling equipment, liquid crystal screen and
keyboard driver, it is responsible for the profile print driver, controlling information demonstration,
keyboard management and some other control of CMS80.
3.2 Caution
3.2.1 Observe the status of the patients and the instrument momentarily.
3.2.2 Use the patient cable only to connect the patient and instrument.
3.2.3 Do not move the instrument and patient when the instrument working.
3.2.4 Turn off the instrument after using it.
3.2.5 Shut off the power supply, remove the patient cable gently without overexertion.
3.2.6 Put away the instrument and its accessories for reuse.
3.3 Clinical restrictions
(1) If used with heart defibrillator or other stimulating equipment, the silver and silver chloride chest
electrode and heart electric conductance line of our company can be chosen. If the defibrillating time
surpassed 55, there needs to use disposable chest electrode to resist burning the patients’skin by
metal electrode. Please don’t use with other electronic stimulating equipment, if it has to, it needs
conduction of professors.
(2) If other machine used connecting with CMS80, the machines have to fit in with the standard of

—4—
IEC60601, because the sum total of leakage is able to hurt patients, so the monitor of leakage current
is responsible by the inserting side.
4 Technical specifications
(1) Display Format: LCD Display;
Battery Voltage Indication: three segments display.
(2) Power Requirements:
POWER ADAPTOR :
Input AC: 100-240V , 50/60Hz ;
Output DC: 9V ;
DC 7.4V Lithium rechargeable battery
(3) Input Power: ≤55VA
(4) Sensitivity Setting: 5,10,20(mm/mV),conversion deviation≤5%。
(5) Fuse Standard: AC 250V/2A
(6) Paper Speed: 25mm/s、50mm/s±5%。
5 Accessories
ATTENTION: Followed is the models of accessories provided by the factory. It may damage this
equipment if using the accessories with different models.
Power adapter
(Input AC: 100-240V , 50/60Hz Output DC: 9V )
Attention: User can choose the power cord according the request of local power net and also the
safe standard.
Power supply adapter should be accorded with relevant regulation according to
IEC60601-1.
One lithium rechargeable battery DC
(7.4V lithium rechargeable battery; The battery can keep on working for more than one hour
when it is fully charged.)
One ECG leads
(D&M 15Pin12 lead ECG leads)
Attention: The equipment must be connected with the lead cable with anti-defibrillate function or
lead cable manufactured by us to insure normal operation and safety.
Six Suction Bulb
(A30-G26-21)
Four Clamp
(B30-(RYGNB))

—5—
6 Installation
6.1 Sketch on each side and accessory
Front view

—6—
6.2 Electrode Placement
Advice: Set the chest electrode first, then the limb electrode.
6.2.1 Chest electrode:
V1: Fourth inter-costal space at right border of sternum.
V2: Fourth inter-costal space at left border of sternum.
V3: Midway between V2 and V4.
V4: Fifth inter-costal space at left mid-clavicular line.
V5: Left anterior axillary line at the horizontal lever of V4.
V6: Left mid-axillary line at the horizontal lever of V4.
Clean the positions around to which chest electrodes are to be attached with alcohol, lay the ECG
medical gel on dia.25cm area around the position and the edge of chest electrode cap, press the
suction bulb, firmly attach the electrodes to the positions between V1 and V6.

—7—
Attention: The ECG medical gel coating should be separated, and the touching chest electrode may
result in short circuit.
6.2.2 Limb electrode
Place the electrode on the hand and leg, clean the positions around to which limb electrodes are to
be attached with alcohol, then lay some ECG medical gel on the cleaned skin.
Attention: Tighten the knob after inserting the mainframe patient cable pin in the patient cable
socket.
6.2.3 Electrode connection definitions and color code:
Electrode
Location
Electrode
Code
Line
Color
Electrode
Color
Socket
Number
Right arm
R
Black
Red
9
Left arm
L
Black
Yellow
10
Left leg
F
Black
Green
11
Right leg
RF
Black
Black
14
Chest 1
V1/C1
White
Red
12
Chest 2
V2/C2
White
Yellow
1
Chest 3
V3/C3
White
Green
2
Chest 4
V4/C4
White
Brown
3
Chest 5
V5/C5
White
Black
4
Chest 6
V6/C6
White
Purple
5

—8—
6.3 Paper loading:
(1)The instrument uses 57mm single track wrap-round recording paper.
(2)Open the paper cabinet cover, take out the paper axis, and put it into the recording paper
according to the illustration, then clip them in the relevant position in paper fixer.
(3)Close the paper cabinet cover, and protrudes 2cm in the top of the recording paper.
7 Operating Guide
7.1 The instrument starts self-checking after its turning on. In the self-checking process.
7.2 The instrument will show the following state after self-checking (under DEMO mode):

—9—
(1) Patient cabling indicator column:
Press the button to choose the patient cabling indictor column, the guide arrow in the
column just turning (for example: ), then press the button to choose the
corresponding patient cable, the instrument switches to the corresponding patient cable inspection.
The relevant patient cable No. just turn when choosing the patient cable. Press I II III aVR
aVL aVF Vl V2 V3 V4 V5 V6 to change the order.
(2) System state information column:
Press the button to choose the patient cabling indictor column, the guide arrow in the
column just turning (for example: ), then press the button to switch the relevant
information, this column is read-only. The state and other indicator information are all read-only.
Mode Conversion: shows the mode conversion of the systemic lead, it divides into Auto lead
conversion (AUTO) and Manual lead conversion (MANU).
Leading condition indication: it will show ‘NORM’when the leads collecting signals
normally,and‘OVER’when the leads fall off or the collected signals too big and results in system
saturation.
(3) Leads state indication.
When the leads state is "NORM" , you can print the ECG.
When the leads state is "OVER", you can’t print the ECG, please check whether electrodes are
palced well.
When the leads state is "SAT", printed ECG is disordered,please check whether electrodes are
palced well.

—10 —
When the leads state is "DROP", leads shown on the screen have been off .Please reconnect
them .
(4) Printing:
Under this conditions, press to startup the printer’s printing-system information setting and
the ECG waveform; press again to close down the printer.
ATTENTION: When there is no paper in the paper cabinet, the instrument will indicate you to
install the paper when you press the or the button as followings. Press button to
return after installing paper.
(5) Calibrating:
Press button to print a lmv standard voltage mark in order to observe the current sensitivity
directly.
The LCD will display the following picture when in calibrating process:
In calibrating process:
Please Waiting…
English Interface
Ending the Calibrating:
English Interface
ATTENTION: The calibrating process is operated automatically without pressing any button,
and it will return after ending the calibrating.
(6) Waveform-freezing:
Press to freeze the current ECG waveform displayed on the LCD in order to preview.
OVER

—11 —
Press the again to renew the operation.
7.3 Shortcut setup menu:
English Interface
(1) Short menu:
Press to enter this interface. Press to choose the relevant items and the item just
turning, then press button to set the information, and then press to return.
(2) Contents explanation:
Sensitivity: 5mm/mV、10mm/mV、20mm/mV, these three types of sensitivities.
Switch Mode: MANU、AUTO, shows the two operation mode: Manual andAutomatic.
In the Auto mode, the instrument records the twelve patient cables automatically, three seconds
ECG signal each patient cable.
Filter: OFF、50Hz、60Hz、50Hz+、60Hz+,totally five types of filter, among them, 50Hz+ and
60Hz+ denote the opening of 35Hz EMG filter.
ATTENTION: Switching on the EMG interference filter will fall the range of the recorded
R-wave.
Speed: 25mm/s、50mm/s,totally two types of paper skipping speed mode.
System Manual:
English Interface
(3) Short menu:
Press to enter this interface. Press to choose the relevant items and the item
Menu
Backlight 99s
Contrast 10
Language English
Demo ON
About Ver.
Shortcut Set
Sensitivity 10mm/mV
Switch Mode MANU
Filter OFF
Speed 25mm/s

—12 —
just turning, then press button to set the information, and then press to return.
(4) Contents explanation:
Backlight: 0-99 seconds, the time of turning on the backlight, and the backlight normally off
when it sets 0 second.
Contrast: 00-20, set the corresponding number according to different types of instrument.
Language: English, Chinese, totally two types of language interface.
Demo: ON, OFF, choose ON in demo when it does not need to be actual checked.
8 The notice of the battery operating
(1) This device includes hermetical chargeable lithium battery, which needn’t maintenance. This
battery is with perfect automatic charge and discharge circuit. When you connect power supply
adapter with alternating current, the charge will be start automatically. When this device is on, an
icon is displayed on top right corner of LCD screen. means the battery is on charge. The
whole charge process needs four hours when it is exhausted.
(2) When the battery is full, the device can be operated for one hour, when the battery be used as
power supply, An icon of battery will be displayed in the LCD screen of front panel, this icon
indicates power of battery. When the battery is power off, the device will turn off automatically; this
setting is for avoiding permanent damage on battery caused by excessive discharge.
(3) please charge the battery after power off. When this device be deposit for long time, the battery
should be charge once every six months, this operation will prolong the use –pan of battery.
(4) The icon of seven different state of power supply as following:
(5) If the battery is full, but the power of battery is exhausted within 10 minutes. Please change new
battery. If the battery is can’t be charged, please change new battery.
(6) When the icon display on screen. Please charge the battery immediately, or the device will
turn off.
AC power is on (no battery)
The battery is only power supply and its power is full.
The battery is only power supply and its power is not full
The battery is only power supply and its power is
exhausted.
The battery is on charge

—13 —
! Warning
Please don’t connect the anode and cathode with lead of battery directly, it will cause danger.
Please don’t put the battery on fire. It may cause explosion.
Please don’t disassemble the battery privately.
The battery should be taken gently, please don’t strike it with other article.
9 Repairing and Maintenance
!Attention:
Before cleaning the device, make sure that the equipment is switched off and disconnected
from the power line.
If there is any sign that the ECG cable may be damaged or deteriorated, replace it with a new
one instead of continuing its application on the patient.
9.1 Maintenance
Do not open the shell of the instrument avoiding the possible electric shock. Any reparation and
update of the instrument must be operated by professional being trained and authorized. Only
repair with the accessories produced by our company.
The instrument guarantees for one year, and do not arbitrary disassembly.
Remove the electric plug when there is power cut, the instrument must be kept cool and dry
when it is unused for long time; electrify the instrument every three months.
Inspect and maintain of Lead, electrode.
1)The state of leads can be checked by multimeter, please check the leads according to
following list. If the resistance between electrode and relevant insert needle is less than 100ohm, the
lead is up to grade. Please check the leads periodically, because damage of any lead will cause
wrong waveform, the lead can be cleaned by water and soap, be disinfected with 75% alcohol(please
don’t dip the lead in the liquid).
Lead symbol
R
L
F
RF
C1
C2
C3
C4
C5
C6
Insert needle’s position
9
10
11
14
12
1
2
3
4
5
2)Curve and knot of the lead will shorten the leads’ lifespan, so please tidy the leads orderly
before use, then connect it with ECG machine.
3) The electrode must be reserved in proper way, after long period use, its surface will be
oxidated, which may affect test result, so please change the electrode.

—14 —
9.2 cleaning
Use fine-hair cloth moistened in mild soap liquid or cleaning agent containing 70% ethanol to
clean the equipment.
9.3 Sterilization
To avoid extended damage to the equipment, sterilization is only recommended when stipulated
as necessary in the Hospital Maintenance Schedule. Sterilization facilities should be cleaned first.
Recommended sterilization material:
Ethylate: 70% alcohol, 70% isopropanol
Acetaldehyde
9.4 Disinfection
To avoid extended damage to the equipment, disinfection is only recommended when stipulated
as necessary in the Hospital Maintenance Schedule. Disinfection facilities should be cleaned first.
10 Troubleshooting
10.1Automatic Switch off
(1) Check battery capacity. The instrument has the function of protecting the electro circuit when
the battery over discharged.
(2) Check the AC power voltage. The instrument has the function of protecting the electro circuit
when its overvoltage.
(3) Check AC interference, check the knob on the plug of the patient cable. The instrument has
the function of protecting the electro circuit when over loading.
10.2AC interference
(1) Make sure that the unit is properly grounded.
(2) Verify the electrode attachment and patient cable wire performance.
(3) Daub enough ECG medical gel on the electrodes and patients’body.
(4) Make sure that the metal-bed is properly grounded.
(5) Keep the patient from contact with the wall or other metal parts of the sickbed.
(6) Keep the patient from physical contact with other patients.
(7) Check for electrical devices in the surrounding area, X-ray machine, ultrasound equipment.

—15 —
10.3 EMG interference
(1) A comfortable patient room.
(2) Soothe the patient from irritation or excitement.
10.4 Baseline drift
(1)Make sure the steady installation of the electrodes.
(2) Verify the electrode attachment and patient cable wire performance.
(3) Check the cleaning of electrode and patient skin. Daub enough ECG medical gel on the
electrodes and patients’body.
(4) Keep the patient from motion or hyperventilation.
(5)Check the connection between patient cable and electrodes.
Please use filter if still having above-mentioned interference.
10.5 Troubleshooting
Trouble
Possible Reason
Solution
Big interference.
Random
waveform
1·It is firm whether the grounding
connections
2· The joint of two sides of conductance
line is not stable
3·AC interference
4·the patient from irritation or excitement
1·checking ECG leaders, grounding,
and Power source
2·Bing good patient handle

—16 —
The baseline
possess the burr
1·AC interference is big
2·The patient excitement,EMG interference
is big
1·Improvement environment
2·If iron and steel bed ,Need
change
3·the power source line and joint line
of the ECG machine is non- parallel
or too near
The waveform is
not Regular
Big undulation,
Right line
1·Electrode electric conductivity is not
good
2·The batteries are drained
3·The electrode is loose contact against skin
4·The joint line and leader’s plug part is not
connection enough
5·the connection between patient cable and
electrodes is not well
1·The alcohol of use is asked for
well
2·Use ethyl alcohol to wash
electrode wafer and the skin under
the electrode
3·Be charged to the battery
4·The electrode reed tightly clip
Baseline drift
1·The batteries are drained
2·Patient moves
1·Be charged to the battery
2·Keep patients quietly
The waveform is
not understand
1·There is the filthy matter in the print head
face
2·Paper problem
1·The situation of the power off
Wash print head by alcohol ,it
may be print after the alcohol has
volatilized
2·Replace thermal paper which
assigned

—17 —
11 Key of Symbols
Symbol
Description
CF applied part,Have except for shakes the protection。
Warning –See User Manual
Direction Key: Up.
Direction Key: Down.
Direction Key: Left
Direction Key: Right.
Function key:power supply/acknowledgement/shortcut menu
Function Key: Pause/On
Function Key: System Menu.
Function Key: Print.
Function Key: Calibrate.
AC power is on (no battery)
The battery solely powering and the battery is full of electricity
The battery solely powering and the battery is not full of electricity
The battery solely powering and the electric power is going to be used up
On charging
Danger voltage
This manual suits for next models
1
Table of contents
Other Gima Medical Equipment manuals

Gima
Gima 33442 User manual

Gima
Gima SUPERVEGA EVO BATTERY ASPIRATOR User manual

Gima
Gima 34291 Parts list manual

Gima
Gima 27363 User manual

Gima
Gima OXY-0 CMS50Q1 Instruction Manual

Gima
Gima CM-1222 User manual

Gima
Gima 600G ECG User manual

Gima
Gima SUPER VEGA BATTERY PLUS User manual

Gima
Gima 27850 User manual

Gima
Gima ABPM50 User manual