STEP 3
Attach the left leg panel. Inset the panel 1”,
like the cabinet. To attach the leg use the
provided support brackets. Screw the bracket
to the inside of the leg panel using the
provided SPAX wood screws. Be sure the top
of the bracket is flush with the top of the leg.
Once attached to the leg the brace can be
screwed to the desks wall. Use the level to
be sure the leg is plumb. Attach to the wall
using the SPAX wood screws.
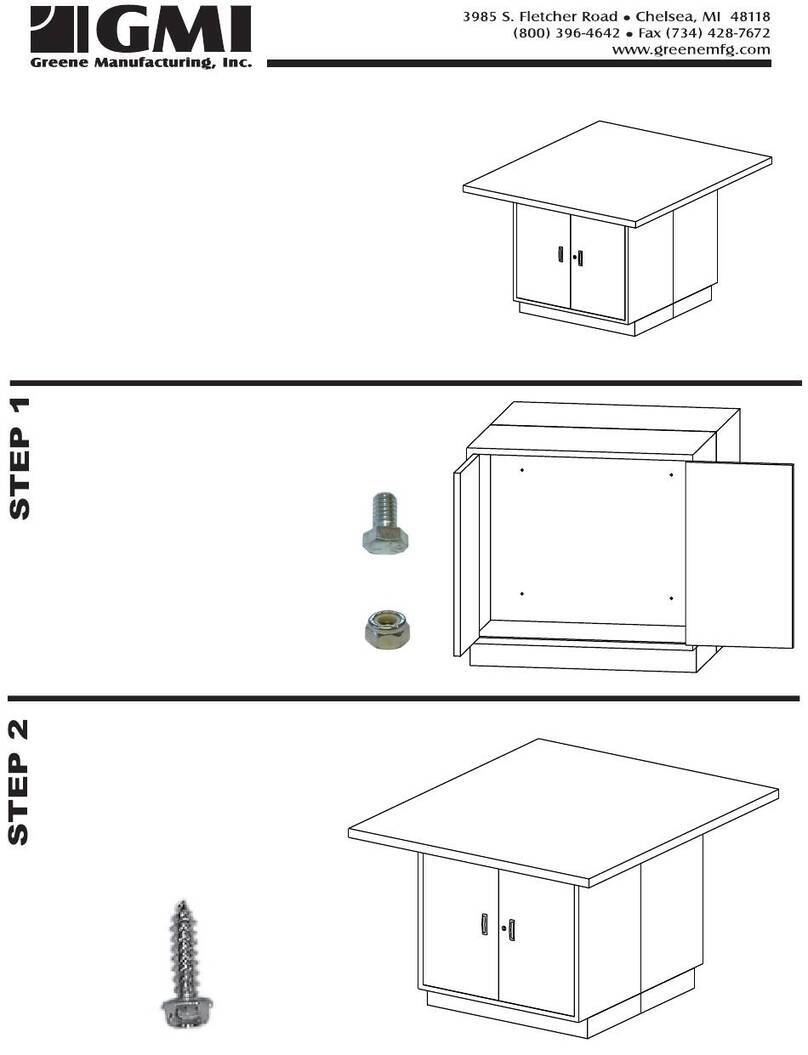
#10 x 5/8”
SPAX Wood Screw
STEP 4
Attach the second leg panel in the same way
as the end panel using the provided support
brackets. Mount the leg/bracket on the flat
section of the wall where the curve first starts.
on the wall.
Next attach the support bracket on the wall
near the cabinet. Mount this on the flat
section of the wall where the curve first starts.
Be sure to measure that the top of the bracket
is at the same height as the leg panel
brackets. Attach to the wall using the SPAX
wood screws.
#10 x 5/8”
SPAX Wood Screw
STEP 5
With assistance, carefully lower the
worksurface down on the supports. Once
positioned attach the top using the #10 x 5/8”
SPAX wood screws.
#10 x 5/8”
SPAX Wood Screw


