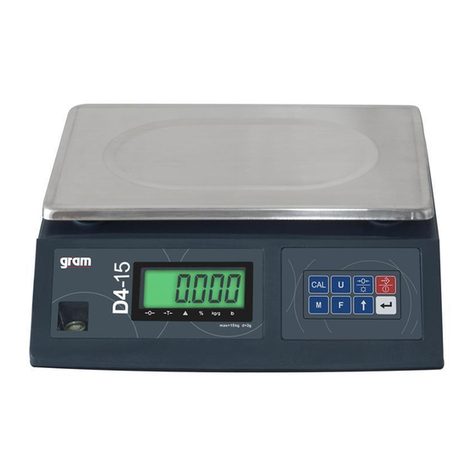
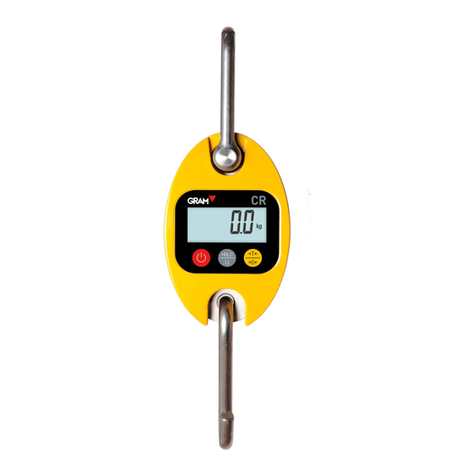
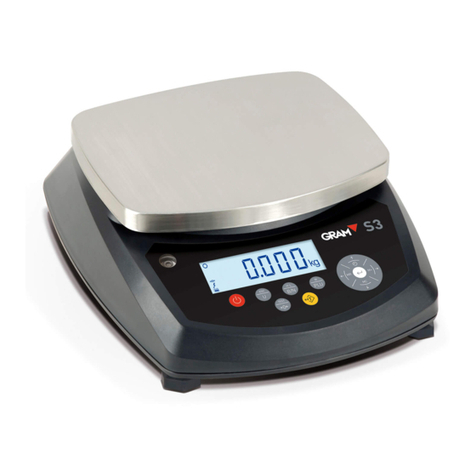
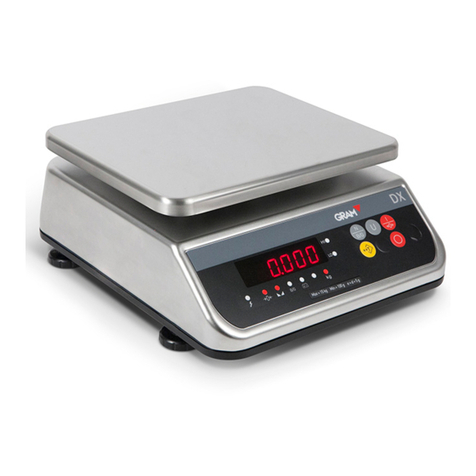
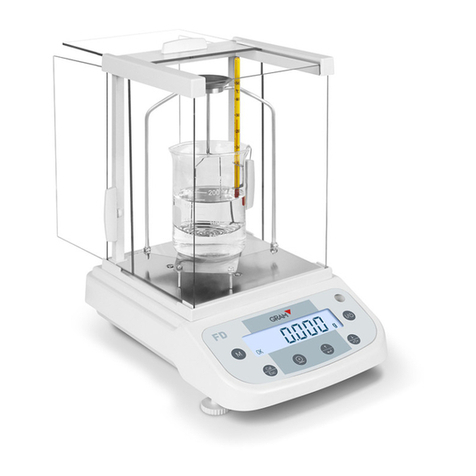
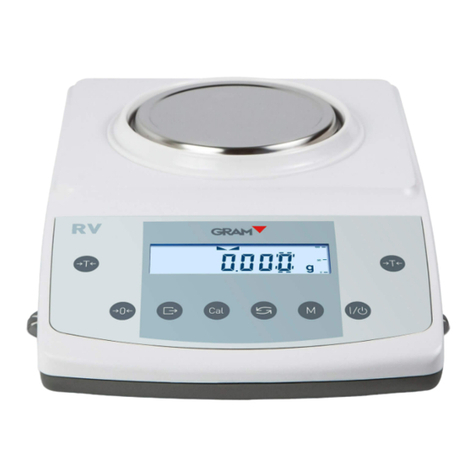
Unpacking and delivery inspection
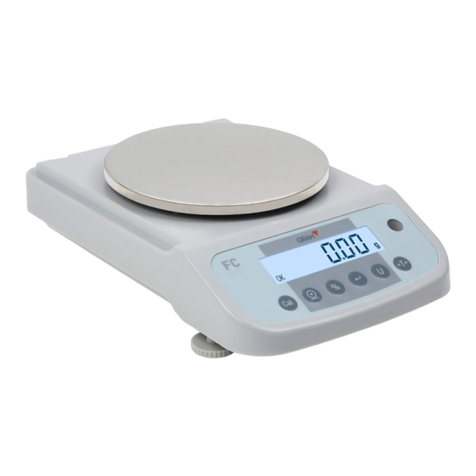
Check that all of the items indicated below are included in the package, and that nothing has been
damaged.
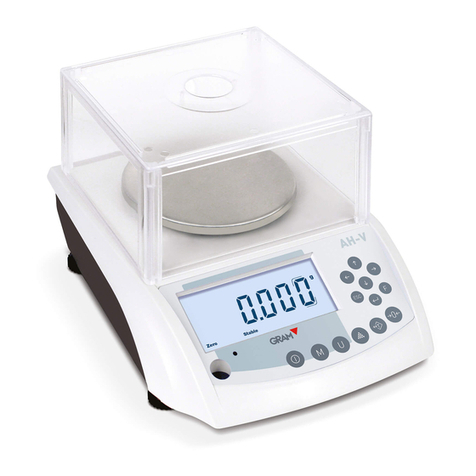
1. Main Body.
2. Pan.
3. Introduction Manual.
4. Adapter.
Turning the power on
1. Insert the plug of the Power Cord into the DC IN connector on the back of the balance.
2. Connect the Power Cord to the power outlet.
3. Press “ON”.
The display will automatically go through the changes indicated below.
Warming up
Before performing span calibration on the balance or measuring its accuracy, you must ensure
that is it in a stable state.
When stabilizing the balance, it is important that its temperature is stable.
Putting the balance in weighing mode and leave it with the power on for at least half an hour in
advance of calibration.
This is called “warming up”.
Using the balance
1. Enter the weighing mode.
2. Place a container on the pan.
3. Once the display has stabilized, press “zero/tare”.
3.1. The indication changes to zero.
4. Insert the sample into the container.
5. When the display has stabilized, (the stability mark) lights up, read the display.
Switching units
You can display different units from among those set to be available.
1. press “UNIT” in the weighing mode.
Repeatedly pressing this key will cycle you through the registered units.
