manuals.online logo
Brands
  1. Home
  2. •
  3. Brands
  4. •
  5. Grandview
  6. •
  7. Projector Accessories
  8. •
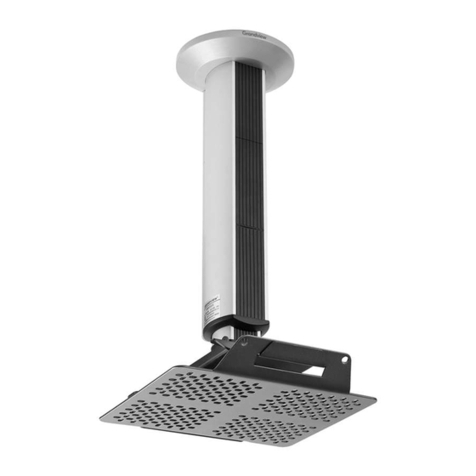
  9. Grandview GPCM-B User manual

Grandview GPCM-B User manual

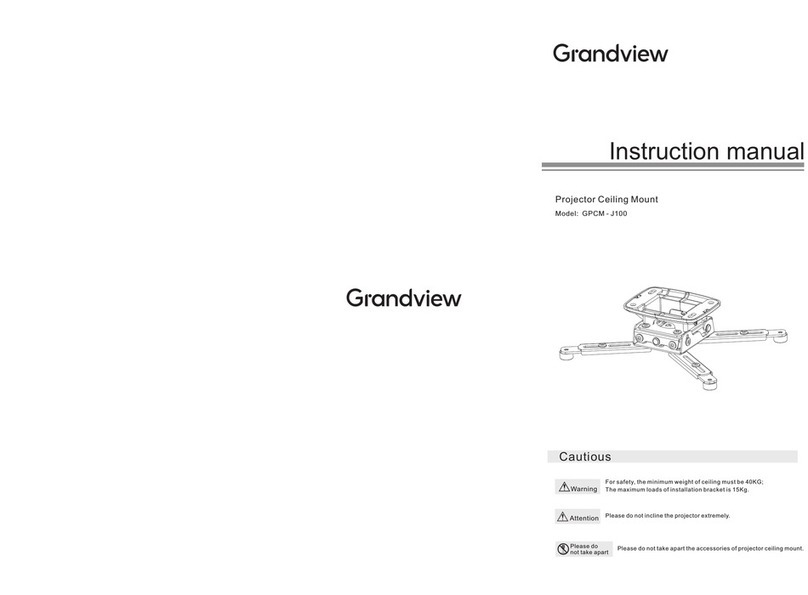
Instruction Manual
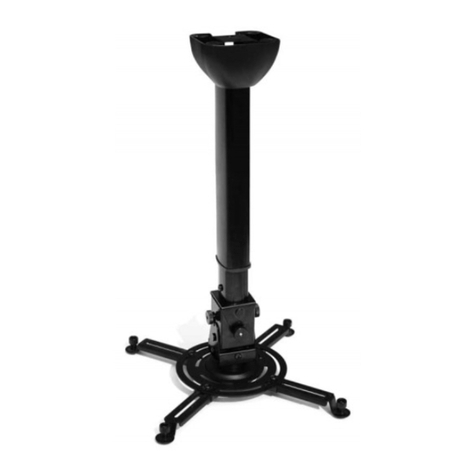
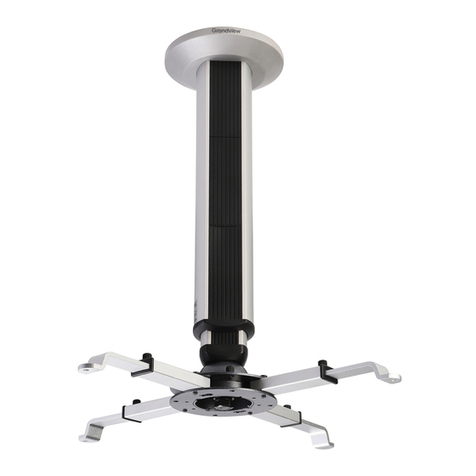
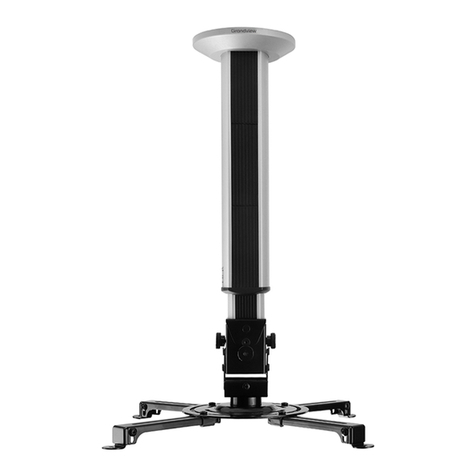
Projector Lift GPCM-B
Applicable Model:GPCM-B Series
Cautious
Warnings
30°
3°
3°
Please read before using
Thank you for purchasing our products.
Ple ase r ead t he in str uct ion m anu al
carefully in order to ensure this projector lift
is suitable for your projection equipment.
This projector lift must be installed for the
bottom of projector (bottom area: length is
280mm; width is 255mm).
(Figure: suitable area for projector lift)
This instruction manual is written for dealers and technicians.
The customer must employ the technicians for installation. Please process the
construction following this instruction manual to avoid injury caused by accidents.
For safety, the minimum load of ceiling must be 40KG
Caution Please do not incline the
projector the extremely.
Please do not take apart the
accessories of projector lift.
Do not
take apart
A. Please install GPC support bar
assembly on the ceiling
Fix the base on the ceiling or concrete
(please ensure that the load is 40kg at least).
Figure 7
Open the back ornament board b, and
loosen the screws of subsidiary arm④
Please adjust the subsidiary arm④to your
desired position (this function is only for
B200、B300), and then fasten the screws
again. Please hide the power line into the gap
and close the back ornament board ③b.
Figure 9 and Figure10.
③
.
1.
2.
B.
assembly and GPM projector fixation
Please connect the GPC support bar
C. Adjust your desired angle.
Loosen the screws of GPC support bar
assembly⑥
projector to your desired position and fasten
it. Figure 12
via the spanned; adjust the
1.
2. The direction of projector can be adjusted by
forward 30° and backward 3°. Left and right
adjustment is 3°. Figure 13.
Figure 7 Figure 8
Figure 9
Figure 10
Figure 11
Figure 12 Figure 13
According to figure 10 and figure 11, please
adjust the groove of half-cycle junction to be
consistent with the direction of the projector.
The pos itioning bar of GPC half-cy cle
junction must be align to the groove of GPC
projector fixation, and then circumrotate for
fastening. Finally, connect GPC half-cycle
junction⑤
with two M4x5 pressing screws.
Please ensure whether the GPC projector
fixation is fastened.
Connection of power cord to projector.
Install the back ornament board.
and GPC projector fixation using
1.
2.
3.
4.
M6-M8 Expanding
Screw or Tapping
Screw
Grandview Crystal Screen Canada Ltd.
#11- 3751 North Fraser Way,
Marine Way Business Centre,
Burnaby, BC, Canada V5J 5G4
Tel: 1-604-412-9777 Fax: 1-604-412-9796
Website: www.grandviewscreen.ca
Guangzhou Grandview Crystal Screen Co., Ltd.
No.43,Guomao Road South, Hualong Town,
Panyu District, Guangzhou City, China
Tel: +8620-8489-9499 Fax: +8620-8480-3343
Website: www.grandviewscreen.com
www.grandviewscreen.com.cn
H
130mm
255mm
30mm 295mm
60mm
Max 360mm
Min 280mm
Max 360mm
Min 280mm
Max255mm
Min198mm
Components and Accessories
GPCM-B is combined by GPC and GPM .
Accessories
M4x10 Pressing Screw (4pcs)
M4x5 Pressing Screw (2pcs)
M3x10 Cross Machine Screw(4pcs)
M4x10 Cross Machine Screw(4pcs)
M5x10 Cross Machine Screw(8pcs)
M5x30 Cross Machine Screw(4pcs)
Specifications
Adjust distance
for each grid
Specifications for
Multifunctional Arm
The length of
main arm ⑧
The length of
subsidiary arm ⑧a
Load
GPC
GPM
Three steps for installation
B C
3°
30°
3°
Optional Accessories( )Support Bar、Multifunctional Arm
Product Name
The length of support bar 400/600/800
Specification for Multifunctional Arm 30x355
Specifications
Unit(mm)
Diagram for applicable projector area
10x30mm
spot of insatl lation
Figure 1
280
255
Bottom View
Front View
Top View
This projector lift must be installed on the bottom of projector (length 240mm;
width 255mm). Figure 1. Note: there is a spot of insatllation , figure 2.
Figure 2
Unit(mm)
1. Assembly
The main bar and the subsidiary bar are fixed together from factory. And
the positioning bar is installed on half-cycle junction⑤ b. Before installation,
please put the half-cycle junction⑤ on subsidiary bar④. Please put the glider ⑤
b on the half-cycle junction⑤, and then fasten the screw.
2. Adjustment
Loosen the screens of main bar③ and subsidiary bar④. The distance between
projector and ceiling can be adjusted according to the distance of install holes
between main bar③ and subsidiary bar④ . Please refer to H in specification
table.
(Note: GPCM-B100 is no subsidiary bar and no stretch function).
③ ④
Figure 3
Figure 4 Figure 5 Figure 6
A. Please install GPC support
bar assembly on the ceiling
B. Please connect the GPC
support bar assembly and
GPM projector fixation
C. Adjust your desired angle.
Usage
1. If need, please loosen the screws on the main arm⑧ and
subsidiary arm⑧a to extend the arms.
2. Please follow figure 4 or figure 5 to install the multifunctional
arm , be cau se o f dif fe ren t pro je cto rs. I n ad dit ion , th e
multifunctional arm can be invisible from the projector.
3. Put the main fixation⑦ on projector at the central gravity. Make
sure the two holes on the main fixation⑦ locate at the both side.
4. Before connecting GPC main bar③, please fasten the screws
of main arm⑧ and subsidiary arm⑧a.
GPC
GPM
⑦⑧ ⑧a
⑨⑨a
①
②
③
③b
④
③a
④a
⑤
⑤a
⑤b
⑥
GPCM-B
/
Model
16
Parts:
① Base (1pc)
② Ornament Cover (1pc)
③ Main Bar (1pc)
③a Front Ornament Board
③b Back Ornament Board
④ Subsidiary Bar(1pc)
④a Ornament board for
subsidiary bar
⑤ Half-Cycle Junction (1pc)
⑤a Positioning Screw (2pcs)
⑤b Glider (1pc)
⑥ Main Screw (1pc)
⑦ Main Fixation (1pc)
⑧ Main Arm (4pcs)
⑧a Subsidiary Arm (4pcs)
⑨ Multifunctional Arm (2pcs)
⑨a Ornament board for
Multifunctional Arm(4pcs)
M3x20 Cross Machine Screw(4pcs)
M4x20 Cross Machine Screw(4pcs)
M5x20 Cross Machine Screw(4pcs)
M3x30 Cross Machine Screw(4pcs)
M4x30 Cross Machine Screw(4pcs)
M5 Self-tapping Screw(3pcs)
16x10 Rubber Insert(4pcs)
Washer(4pcs)
Spring Washer(4pcs)
Spanner (1pc)
A
30x295
70
50
25kg

Other Grandview Projector Accessories manuals

Grandview U-WORK User manual

Grandview

Grandview U-WORK User manual

Grandview GPCM-E3540 User manual

Grandview

Grandview GPCM-E3540 User manual

Grandview Prestige PP R1 Series User manual

Grandview

Grandview Prestige PP R1 Series User manual

Grandview GPCN-E200 User manual

Grandview

Grandview GPCN-E200 User manual

Grandview GPAD50 Series User manual

Grandview

Grandview GPAD50 Series User manual

Grandview Prestige PP R1 Series User manual

Grandview

Grandview Prestige PP R1 Series User manual

Grandview GPCM-C User manual

Grandview

Grandview GPCM-C User manual

Grandview GPCM-F User manual

Grandview

Grandview GPCM-F User manual

Grandview Cyber Series User manual

Grandview

Grandview Cyber Series User manual

Grandview GPCM-J Series User manual

Grandview

Grandview GPCM-J Series User manual

Grandview PT-Uxx User manual

Grandview

Grandview PT-Uxx User manual

Grandview GPAD58 Series User manual

Grandview

Grandview GPAD58 Series User manual

Grandview LS-Zxx User manual

Grandview

Grandview LS-Zxx User manual

Grandview CB-UY60 User manual

Grandview

Grandview CB-UY60 User manual

Grandview Smart Screen User manual

Grandview

Grandview Smart Screen User manual

Grandview PE-L R3 Series Instruction Manual

Grandview

Grandview PE-L R3 Series Instruction Manual

Grandview GPCD50 Series User manual

Grandview

Grandview GPCD50 Series User manual

Grandview GPAD42 Series User manual

Grandview

Grandview GPAD42 Series User manual

Grandview GPAD64 Series User manual

Grandview

Grandview GPAD64 Series User manual

Grandview Smart combo 106H User manual

Grandview

Grandview Smart combo 106H User manual

Grandview CN-MI series User manual

Grandview

Grandview CN-MI series User manual

Grandview GPCN- E200 User manual

Grandview

Grandview GPCN- E200 User manual

Grandview GPAC76Series User manual

Grandview

Grandview GPAC76Series User manual

Grandview LS-MA III Series User manual

Grandview

Grandview LS-MA III Series User manual

Popular Projector Accessories manuals by other brands

Optoma BX-AL133B datasheet

Optoma

Optoma BX-AL133B datasheet

PEERLESS PE 1120 Installation and assembly

PEERLESS

PEERLESS PE 1120 Installation and assembly

Osram SIRIUS HRI Series Directions for use

Osram

Osram SIRIUS HRI Series Directions for use

Presentation Switchers PS111 quick start

Presentation Switchers

Presentation Switchers PS111 quick start

Kramer VIA GO user manual

Kramer

Kramer VIA GO user manual

Yamaha PJL-112 Replacement guide

Yamaha

Yamaha PJL-112 Replacement guide

Mitsubishi Electric 236CB Features

Mitsubishi Electric

Mitsubishi Electric 236CB Features

Epson BrightLink 475Wi user guide

Epson

Epson BrightLink 475Wi user guide

Acer WP100 quick guide

Acer

Acer WP100 quick guide

Biamp Modena Hub Network administrator's guide

Biamp

Biamp Modena Hub Network administrator's guide

Panamorph DCR-S3 installation guide

Panamorph

Panamorph DCR-S3 installation guide

Exact solutions FRAME-EVO-P10 manual

Exact solutions

Exact solutions FRAME-EVO-P10 manual

i3 i3board user manual

i3

i3 i3board user manual

CHIEF VCM103S installation instructions

CHIEF

CHIEF VCM103S installation instructions

InFocus LP70+ Replacement instructions

InFocus

InFocus LP70+ Replacement instructions

Sharp AN-PH20EZ Operation manual

Sharp

Sharp AN-PH20EZ Operation manual

PDR UPM51 product manual

PDR

PDR UPM51 product manual

CHIEF HB-43E installation instructions

CHIEF

CHIEF HB-43E installation instructions

manuals.online logo
manuals.online logoBrands
  • About & Mission
  • Contact us
  • Privacy Policy
  • Terms and Conditions

Copyright 2025 Manuals.Online. All Rights Reserved.