manuals.online logo
Brands
  1. Home
  2. •
  3. Brands
  4. •
  5. Grandview
  6. •
  7. Projector Accessories
  8. •
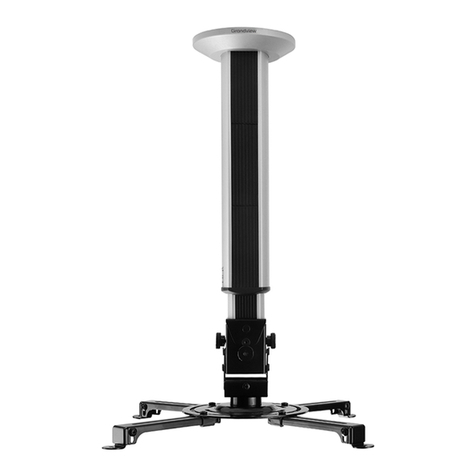
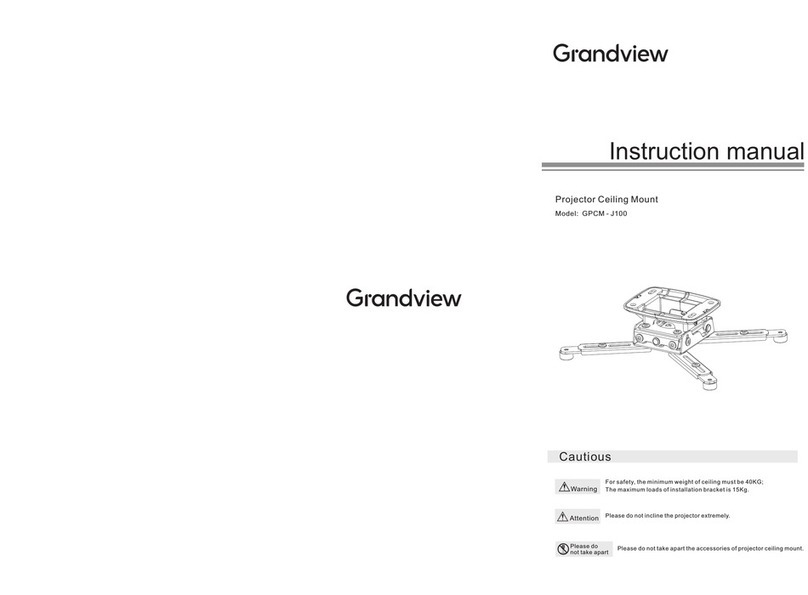
  9. Grandview GPCM-F User manual

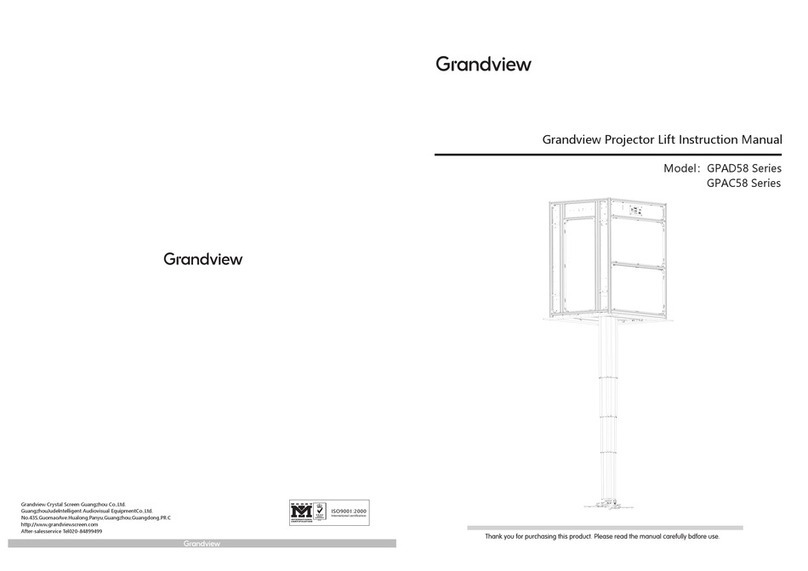
Grandview GPCM-F User manual

Details of installation
Height Adjustment
Take apart the ornament cap of the main bar (2-3) and loosen the front
positioning screws. Adjust the subsidiary bar (2-3) to the required
position, and then install the ornament cap back to the main bar (2-3)
as figure 9.
Installation Base
A hexagon screw is located at the back of the adjuster. Loosen it to
adjust the suitable angle of the projector.
Wires collection
Take apart the ornament cap of the main bar (2-5) after connecting the
GPCM Main Bar to the fixation (1-1), then put the power cords into the
storage gap. At last, re-install the ornament cap back to the main bar
(2-5) as figure 6、 7 and 8.
Instruction Manual
Projector Lift
Applicable Model
GPCM-F
Please read before use
Thank you for purchasing
our product! Please read
the manual carefully to
ensure this projector lift is
suitable to your projector
equipment.
Cautious
Warning For safety reason, the minimum load of the ceiling must be
at least 20kg.
Important Do not over incline the projector.
Do not disassemble any part of the projector lift.
Do not
disassemble
figure 6 figure 7 figure 8
figure 9
figure 10 figure 11
Maximum
load Maximum load of the projector lift is 20kg.
Grandview Crystal Screen
Canada Ltd.
#11- 3751 North Fraser Way,
Marine Way Business Centre,
Burnaby, BC, Canada V5J 5G4
Tel: 1-604-412-9777 Fax: 1-604-412-9796
Website: www.grandviewscreen.ca
Guangzhou Grandview Crystal
Screen Co., Ltd.
No.43,Guomao Road South, Hualong Town,
Panyu District, Guangzhou City, China
Tel: +8620-8489-9499 Fax: +8620-8480-3343
Website: www.grandviewscreen.com
www.grandviewscreen.com.cn
Installation of main bar
1.Firstly, please confirm how many installation holes the projector has
3 or 4.
2.If there are 3 holes, the installation arms (4-2) need to be taken apart
from Installation bracket firstly. Connect 3 installation arms(4-2) to the
projector, and then connect the installation arms (4-2) to the installation
base (4-5) However,the installation base needs to be the center of
projector. Figure 12.
3.Connect the installation arms to the projector conversely if the
distance of installation holes is less than 120mm. Connect the
installation arms (4-2) to the installation base (4-5) via sliding
installation button (4-4) as figure 13
4.Rotate the adjustable nuts (4-3) for adjusting the height of instllation
arms (4-2) if the installation holes are not at the same level as figure 14.
5.The front or back of adjuster must be parallel to the surface of
projector as figure 15.
Scope of
adjustment: 10mm
figure 12
figure 13 figure 14
figure 15
The front or back of
adjuster must be
parallel to the surface
of projector

h
Parts
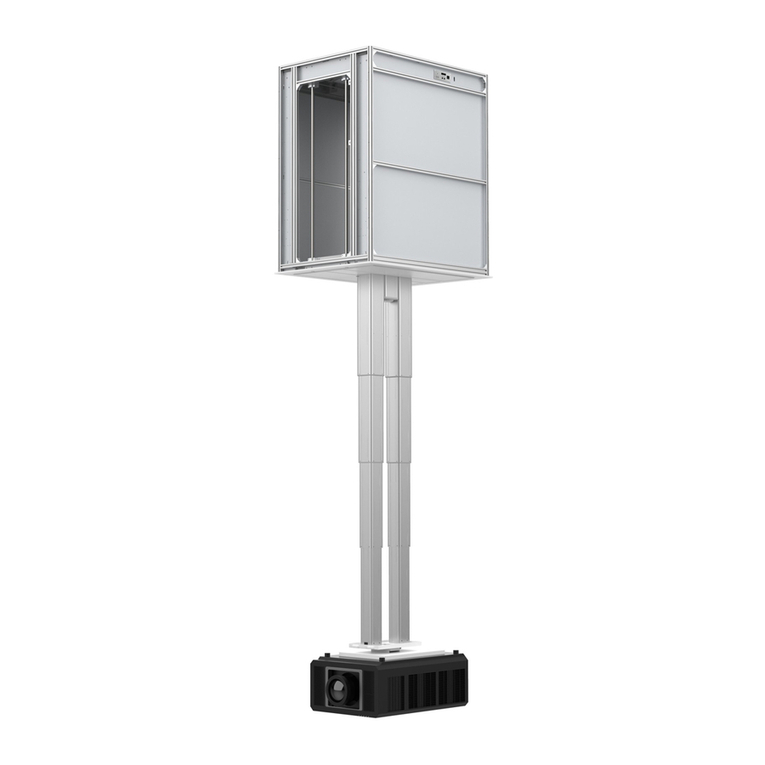
GPCM-F is combined by GPCM and GPF
GPCM Main Bar Overview
1-1 Fixation
1-2 Top Cap
2-1 Main Bar
2-2 Subsidiary Bar
2-3 Ornament Board of Main Bar
2-4 Ornament Board of Subsidiary Bar
2-5 Ornament Cap of Main Bar
GPF Adjuster Overview
3-1 Adjuster
3-2 Hook
Install the fixation on the ceiling using screws (Accessory
no. 1) as figure 1. GPCM-F can be installed to the concrete
roof with ceiling or without ceiling, as figure 2 and figure 3.
1
3
Scope for installation (Installation hole of projector):
Maximum scope for installation: 365mm diameter
Minimum scope for installation: 50mm diameter
Note: Connect the installation arms to the projector conversely for
different installation holes of projector.
Maximum diameter: 365mm
Connect the adjuster to GPCM Main Bar, and then fasten
with the screws (Accessory no. 2 ). Put the cables into
place and fasten the screws on the on the main bar(2-1).
Install the Ornament Board as figure 4.
2
3 Steps Installation
Scope for installation (H is the distance between ceiling and projector)
Scope of Installation(Projector)
Accessories:
1. M6x25 Tapping Screw (3sets)
2. M5x10 Philips Screw/
Washer/Spring Washer (4sets)
3. M4x8 Socket Cap Screw (6pcs)
4. M5x8 Philips Screw (2pcs)
5. M3x30 Philips Screw (4pcs)
6. M4x30 Philips Screw (4pcs)
7. M5x30 P ilips Screw (4pcs)
figure 4
Minimum diameter: 50mm
Scope of Installation(Projector lift)
Connect the base(already installed with the projector) by
hooking on the adjuster as figure 5. Lastly, tighten the
screw.
Tighten with the
M10 hexagon screw
figure 5
figure 1
figure 2
figure 3
GPCM-F
H
1-1
1-2
2-1
2-4
2-3
3-1
2-2
3-2
2-5
Adjuster installation
4-1
4-2
4-3
4-4
4-5
4-6
4-1 Installation Bracket
4-2 Installation Arm
4-3 Adjustable Nut
4-4 Sliding Installation
Button
4-5 Installation Base
4-6 Vertical Adjusting
Button

Other Grandview Projector Accessories manuals

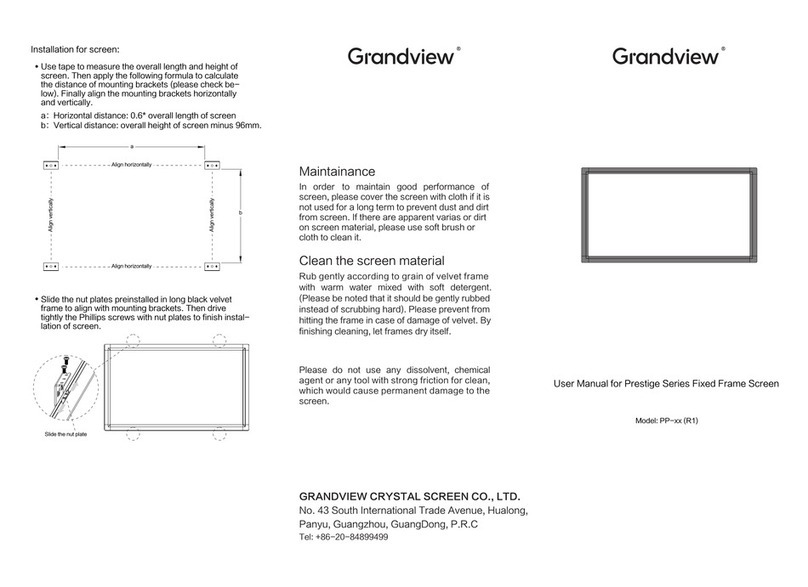
Grandview Prestige PP R1 Series User manual

Grandview

Grandview Prestige PP R1 Series User manual

Grandview GPCN-E200 User manual

Grandview

Grandview GPCN-E200 User manual

Grandview GPAD42 Series User manual

Grandview

Grandview GPAD42 Series User manual

Grandview GPCM-J Series User manual

Grandview

Grandview GPCM-J Series User manual

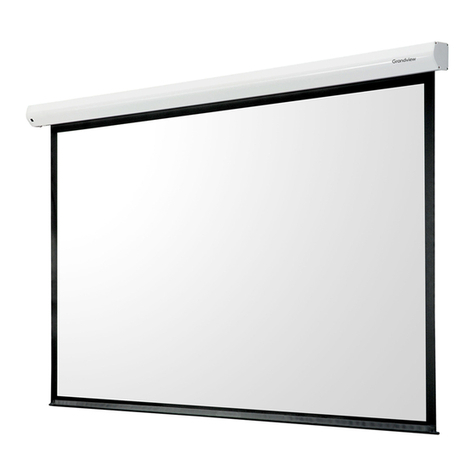
Grandview Smart Screen User manual

Grandview

Grandview Smart Screen User manual

Grandview Cyber Series User manual

Grandview

Grandview Cyber Series User manual

Grandview U-WORK User manual

Grandview

Grandview U-WORK User manual

Grandview GPAD50 Series User manual

Grandview

Grandview GPAD50 Series User manual

Grandview Smart combo 106H User manual

Grandview

Grandview Smart combo 106H User manual

Grandview Prestige PP R1 Series User manual

Grandview

Grandview Prestige PP R1 Series User manual

Grandview LS-MA III Series User manual

Grandview

Grandview LS-MA III Series User manual

Grandview GPAD58 Series User manual

Grandview

Grandview GPAD58 Series User manual

Grandview CN-MI series User manual

Grandview

Grandview CN-MI series User manual

Grandview GPCM-E3540 User manual

Grandview

Grandview GPCM-E3540 User manual

Grandview GPCM-B User manual

Grandview

Grandview GPCM-B User manual

Grandview GPCN- E200 User manual

Grandview

Grandview GPCN- E200 User manual

Grandview CB-UY60 User manual

Grandview

Grandview CB-UY60 User manual

Grandview LS-Zxx User manual

Grandview

Grandview LS-Zxx User manual

Grandview GPCD50 Series User manual

Grandview

Grandview GPCD50 Series User manual

Grandview PE-L R3 Series Instruction Manual

Grandview

Grandview PE-L R3 Series Instruction Manual

Grandview GPAC76Series User manual

Grandview

Grandview GPAC76Series User manual

Grandview GPCM-C User manual

Grandview

Grandview GPCM-C User manual

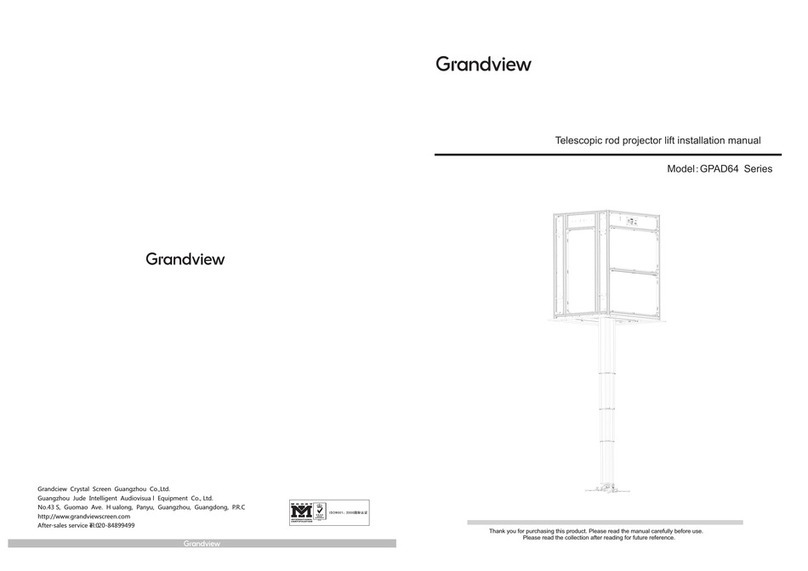
Grandview GPAD64 Series User manual

Grandview

Grandview GPAD64 Series User manual

Grandview PT-Uxx User manual

Grandview

Grandview PT-Uxx User manual

Popular Projector Accessories manuals by other brands

Elmo CRB-2 quick start guide

Elmo

Elmo CRB-2 quick start guide

New Star BEAMER-C80 Instructional manual

New Star

New Star BEAMER-C80 Instructional manual

New Star Neomounts BEAMER-W050SILVER instruction manual

New Star

New Star Neomounts BEAMER-W050SILVER instruction manual

Coemar DR1 instruction manual

Coemar

Coemar DR1 instruction manual

Elite Screens ezFrame 2 Series Product White Paper

Elite Screens

Elite Screens ezFrame 2 Series Product White Paper

Sharp AN-PH80CW installation manual

Sharp

Sharp AN-PH80CW installation manual

EPV EDGE FREE AcousticPro 4K eFinity Series user guide

EPV

EPV EDGE FREE AcousticPro 4K eFinity Series user guide

Vutec Lectric 4 installation instructions

Vutec

Vutec Lectric 4 installation instructions

Crestron 4K DigitalMedia 3-Series Operation guide

Crestron

Crestron 4K DigitalMedia 3-Series Operation guide

EZCast Pro QuattroPod quick start guide

EZCast Pro

EZCast Pro QuattroPod quick start guide

DT Research MS200 Basic operation guide

DT Research

DT Research MS200 Basic operation guide

Premier Mounts Universal Short-Throw Projector Arm UNI-STB datasheet

Premier Mounts

Premier Mounts Universal Short-Throw Projector Arm UNI-STB datasheet

Navitar 669MCL1028 installation instructions

Navitar

Navitar 669MCL1028 installation instructions

InFocus LP630 installation instructions

InFocus

InFocus LP630 installation instructions

ViewSonic myViewBoard Box quick start guide

ViewSonic

ViewSonic myViewBoard Box quick start guide

Cisco MX200 G2 Quick reference guide

Cisco

Cisco MX200 G2 Quick reference guide

Extron electronics PCM 240 installation guide

Extron electronics

Extron electronics PCM 240 installation guide

Navitar 371MCZ125 installation instructions

Navitar

Navitar 371MCZ125 installation instructions

manuals.online logo
manuals.online logoBrands
  • About & Mission
  • Contact us
  • Privacy Policy
  • Terms and Conditions

Copyright 2025 Manuals.Online. All Rights Reserved.