Gree XK60 User manual

Owner's Manual
Original Instructions
Wired Controller XK60
Thank you for choosing our commercial air conditioners. Please
read this owner's manual carefully before operation and retain it for
future reference.
This owner's manual is subject to change without prior notice for
product improvement. GREE Electric Appliances, Inc. of Zhuhai
reserves the final right to interpret this manual.
User Notice
Thanks for choosing GREE duct type air conditioners. Please
read this manual carefully before operating this product and keep it
for future reference. In addition, please take notice of the symbols
below.
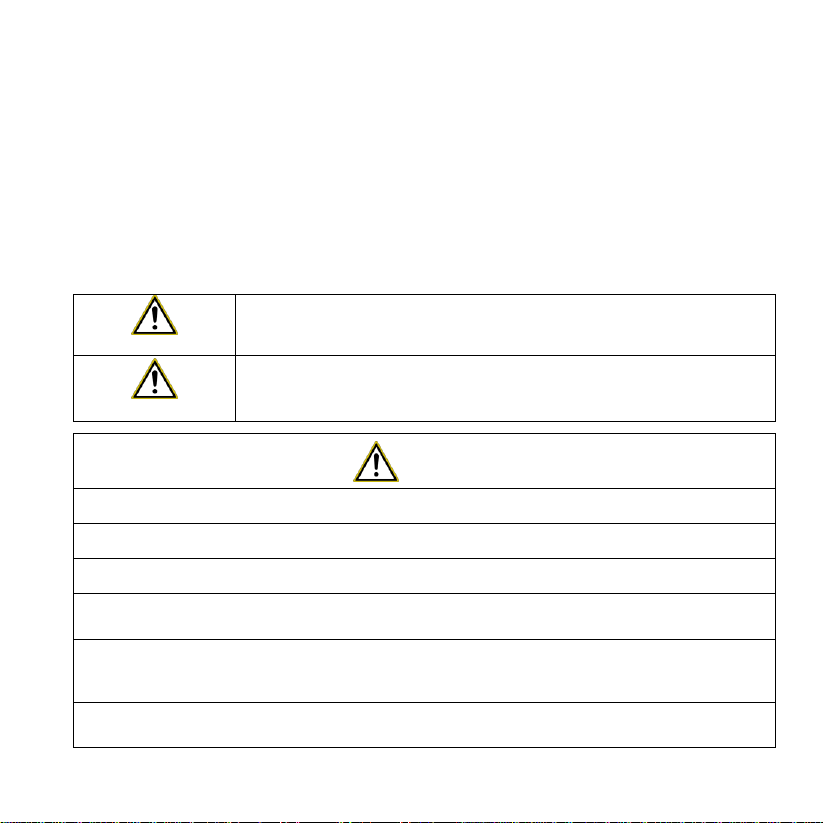
WARNING!
This mark indicates procedures which, if improperly performed,
might lead to the death or serious injury of the user.
CAUTION!
This mark indicates procedures which, if improperly performed,
might possibly result in personal harm to the user, or damage to
property.
CAUTION!
Do not install the wired controller in the damp place or under direct sunlight.
Do not beat, toss, or frequently assemble/disassemble the wired controller.
Do not operate the wired controller with wet hands and keep dry at all times.
Do not install or remove the wired controller by yourself. If necessary, please
contact a trained service technican.
This wired controller is applicable to various kinds of air conditioners, While
some specific functions,unavailable to the duct type air conditioners,will not be
covered in this manual.
Before operating the air conditioner, please read this manual carefully and keep
it for future reference.

Contents
1 Introduction to the Wired Controller---------------------------------1
1.1 Appearance and LCD Icons------------------------------------------------- 2
1.2 Introduction to the LCD Icons----------------------------------------------- 2
2 Press Buttons ------------------------------------------------------------5
2.1 Buttons---------------------------------------------------------------------------- 5
2.2 Instruction to the Function of Press Buttons ---------------------------- 5
3 OPERATION INSTRUCTION ----------------------------------------7
3.1 On/off------------------------------------------------------------------------------ 7
3.2 Mode Setting-------------------------------------------------------------------- 8
3.3 Temperature Setting----------------------------------------------------------- 8
3.4 Fan Speed Setting------------------------------------------------------------- 9
3.5 Right and Left Swing---------------------------------------------------------10
3.6 Up and Down Swing----------------------------------------------------------12
3.7 Timer Setting-------------------------------------------------------------------14
3.8 Air Exchange Setting---------------------------------------------------------18
3.9 Sleep Setting-------------------------------------------------------------------21

3.10 Health Setting ----------------------------------------------------------------26
3.11 I-Demand Setting------------------------------------------------------------29
3.12 Vacation Setting -------------------------------------------------------------32
3.13 Turbo Function Setting-----------------------------------------------------35
3.14 SAVE Function Setting-----------------------------------------------------38
3.15 E-HEATER Setting----------------------------------------------------------45
3.16 Blow Function Setting------------------------------------------------------48
3.17 Filter Setting ------------------------------------------------------------------52
3.18 Quiet Function Setting -----------------------------------------------------57
3.19 Ultra-Dry Setting-------------------------------------------------------------59
3.20 Other Functions--------------------------------------------------------------60
4 Installation of the Wired Controller-------------------------------- 66
4.1 Standard Parts-----------------------------------------------------------------66
4.2 Installation Location and Installation Requirements------------------67
4.3 How to Install the Wired Controller---------------------------------------68
4.4 How to Remove the Wired Controller------------------------------------70
5 Error Display------------------------------------------------------------ 70

Wired Controler XK60
1
1 Introduction to the Wired Controller
Fig.1 Appearance of the Wired Controller

Wired Controler XK60
2
1.1 Appearance and LCD Icons
Fig.2 Appearance of the LCD
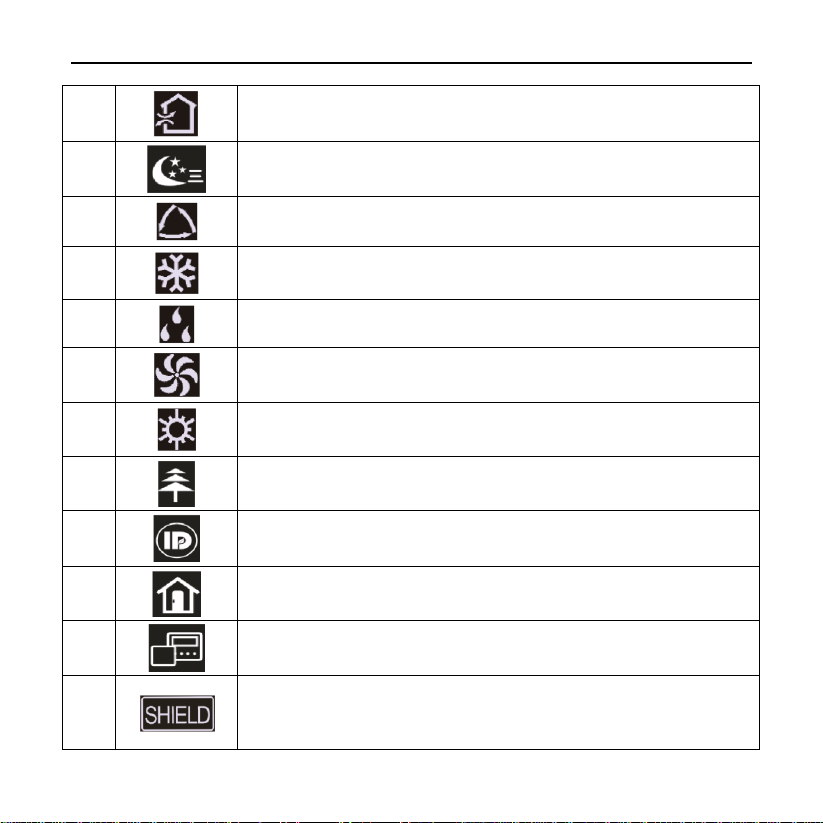
1.2 Introduction to the LCD Icons
Table 1
No.
Icons
Introduction
1
Left and right swing function
2
Up and down swing function
Wired Controler XK60
3
3
Air exchange function
4
Sleep function
5
Auto mode
6
COOL mode
7
DRY mode
8
FAN mode
9
HEAT mode
10
Health function
11
I-Demand function
12
Vacation function
13
Status display of master and slave wired controller
14
Shield function
The button operation, temperature setting, "On/Off" operation,
"Mode" setting, and "Save" setting are disabled
Wired Controler XK60
4
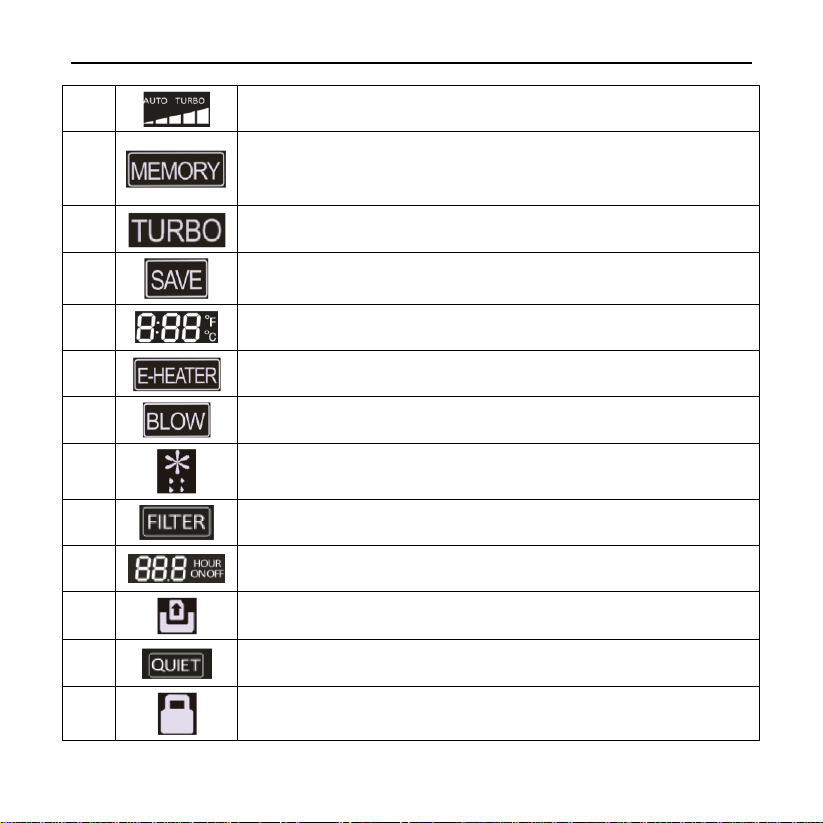
15
Fan speed
16
Memory function
The unit will resume the original setting state after power
recovery
17
Turbo function
18
Energy-saving function
19
Ambient/setting temperature
20
Electric heater
21
Blow function
22
Defrosting function
23
Filter cleaning
24
Timer Setting
25
Keycard control / Detected status sensed by human body
26
Quiet function
27
Lock function

Wired Controler XK60
5
2 Press Buttons
2.1 Buttons
Fig.3 Press Buttons
2.2 Instruction to the Function of Press Buttons
Table 2
No.
Press
Buttons
Function Introduction
1
Enter/
Cancel
Function selection and canceling
Press it for 5s to enquiry the outdoor and indoor ambient
temperature.
2
▲
Running temperature setting of indoor unit, range :61~86°F
Timer setting, range:0.5-24hr.

Wired Controler XK60
6
6
▼
Air function setting
Save setting
Clean setting.
3
Fan
Select fan speed from high, mid-high, middle, mid-low, low and
auto levels.
4
Mode
Selection of the COOL, HEAT, FAN, Auto or DRY mode.
5
Function
Switchover among these functions of
SWING/AIR/SLEEP/HEALTH/I-DEMAND/VACATION/TURBO/
SAVE/E-HEATER/BLOW/QUIET.
7
Timer
Timer setting.
8
On/Off
Turn on/off indoor unit.
4
mode
and
2 ▲
Memory
Press Mode and ▲ at the same time for 5s under the OFF state of
the unit to activate/deactivate memory function (If memory is set,
indoor unit will resume original setting state after power recovery.
If not, indoor unit is defaulted to be OFF after power recovery.
Memory function is defaulted to be ON) .
2 ▲
and
6 ▼
Lock
Under the ON state of the unit without any malfunction or under
the OFF state of the unit, press ▲and ▼ buttons at the same
time for 5s to go to the lock state. All other buttons won’t respond
when pressed. Repress ▲ and ▼ again for 5s to quit the lock
state.
4
mode
and
6 ▼
°F/°C
Under the OFF state of the unit, press the Mode and ▼ at the
same time for 5s to switch the temperature scale between Celsius
and Fahrenheit.
Other manuals for XK60
2
Table of contents
Other Gree Controllers manuals


 User manual")

 User manual")


 User manual")


Popular Controllers manuals by other brands

Digiplex
Digiplex DGP-848 Programming guide

YASKAWA
YASKAWA SGM series user manual

Sinope
Sinope Calypso RM3500ZB installation guide

Isimet
Isimet DLA Series Style 2 Installation, Operations, Start-up and Maintenance Instructions

LSIS
LSIS sv-ip5a user manual

Rockwell Automation
Rockwell Automation 1769-L31 installation instructions


