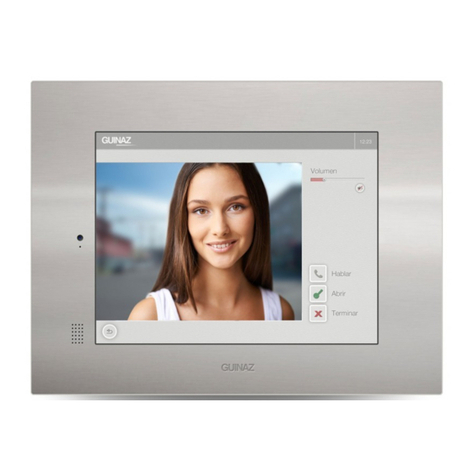
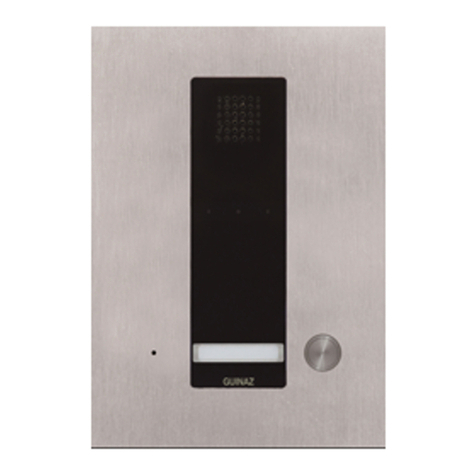
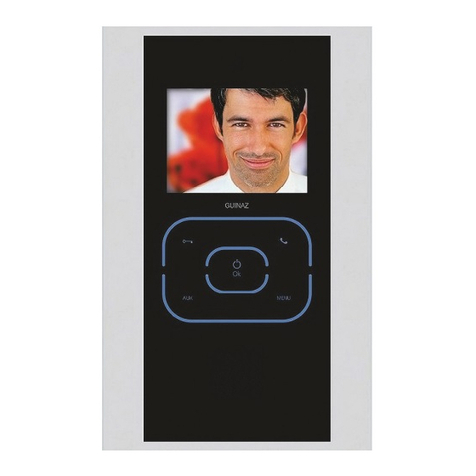
Guinaz M2710D User manual

GUÍA DE INSTALACIÓN INSTALLATION GUIDE
WALL BASES AND MONITORS
STANDARD SYSTEM
BASES Y MONITORES
SISTEMA ESTÁNDAR

G503111 - R00
CARACTERÍSTICAS Y FUNCIONAMIENTO. CHARACTERISTICS AND FUNCTIONING.
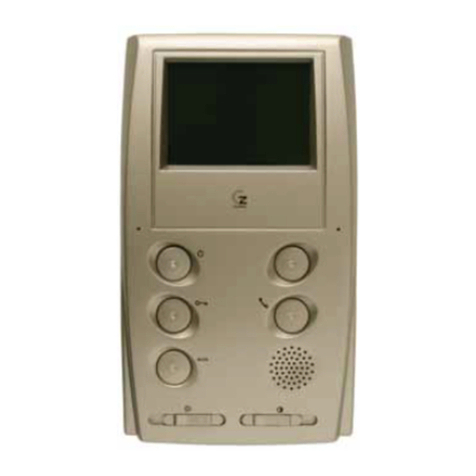
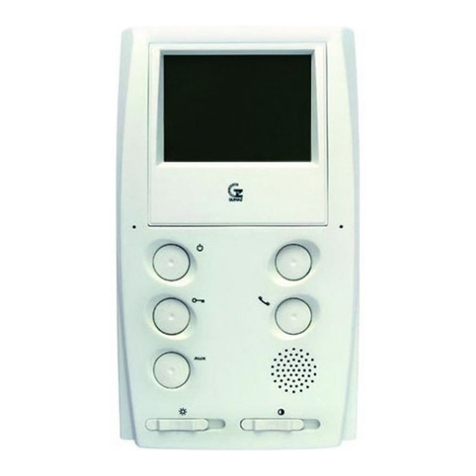
DESCRIPCIÓN MONITOR M1720D. DESCRIPTION OF THE MONITOR M1720D.
2
1. When receiving a call, the image a ears instantly on your
monitor. While you see the visitors, these are not warned
about your resence in the dwelling until audio contact is
established.
2. To establish audio contact, unhook the receiver or ress the
communication button , according to monitor model.
3. The image will be disconnected after 40 seconds. The image
is also turned off when the receiver is hung u or by ressing
the on/off button .
4. The door is o ened by ressing the door o ener ush-button
.
5. To erform video surveillance, ress the on/off button . Video
surveillance will automatically end 40 seconds after it is
initiated, or by once again ressing the on/off button .
7. For other a lications it has a su lementary otential-free
ush-button .
8. It has brightness and contrasts/colour adjustments to
achieve an a ro riate image quality.
All the devices that com ose each kit are for exclusive use in
facilities of video door entry sistems of GUINAZ.
The installation must be made such as it is s ecified in this
guide and is a lied the effective regulation.
The roduct must be handle only by es ecialized ersonnel,
and always with the disconnected equi ment of the feeding.
Always maintain cleared the grooves of ventilation of the devices;
in no case they can be obstructed or covered.
The monitors should be installed indoors; not be ex osed to
water dro lets or rojections.
Installing the monitor in laces where calls can be heard all
around the dwelling and far from heat sources (radiators, heaters,
etc.) or aggressive environments (kitchens, etc.) is
recommended.
1. Al recibir un ll m d , l im gen p rece inst ntáne mente
en su monitor. Mientr s usted visu liz l visit , ést no dvierte
su presenci en l viviend h st que no se est blece cont cto
uditivo.
2. P r est blecer cont cto uditivo b st con descolg r el
uricul r o puls r un vez el botón de comunic ción , según
modelo de monitor.
3. L comunic ción se desconect rá un vez tr nscurridos 40
seg. desde que se inició, colg ndo el uricul r o puls ndo el
botón de encendido/ p g do .
4. L pertur de l puert se re liz medi nte el puls dor de
brepuert s .
5.P r re liz r videovigil nci , puls r el botón de
encendido/ p g do . L videovigil nci fin liz rá
utomátic mente los 40 seg. de inici d , o puls ndo de
nuevo el botón de encendido/ p g do .
7. P r otr s plic ciones, se cuent con un puls dor uxili r
libre de potenci l.
8. P r conseguir un decu d c lid d de im gen los monitores
disponen de juste de brillo y contr ste / color .
Todos los dispositivos que componen c d kit son p r uso
exclusivo en inst l ciones de porteros y videoporteros GUINAZ.
Su inst l ción debe re liz rse t l y como se especific en est
guí y plic ndo l regl ment ción vigente.
L m nipul ción intern de estos productos sólo puede re liz rse
por person l especi liz do, y siempre con el equipo
desconect do de l liment ción.
M nteng siempre despej d s l s r nur s de ventil ción de los
dispositivos; en ningún c so pueden qued r obstruid s o
t p d s.
Los monitores están diseñ dos p r ser inst l dos en interiores;
no se h n de exponer got s o proyecciones de gu .
Se recomiend inst l r los monitores en lug res desde los cu les
se escuche l ll m d en tod l viviend y que estén lej dos
de fuentes de c lor (r di dores, estuf s, etc.) o de mbientes
gresivos (cocin s, etc).
1. Pulsador de encendido/apagado. Utiliz do p r
conect r y desconect r el monitor.
On/off push-button. Used to connect and disconnect
the monitor.
2. Pulsador abrepuertas . Sirve p r brir l puert .
Door opener push-button . This is ressed to o en
the door.
3. Pulsador auxiliar . Utiliz do p r funciones jen s
l inst l ción del videoportero (ilumin ción esc ler ,
pertur segund puert ....). Cont cto libre de potenci l.
Supplementary push-button . Used for functions
other than those of the video entry hone installation (lighting
of stairs, o ening a second door...). Potential-free contact.
4. Ajuste de brillo . Regul ción del brillo de l im gen
que p rece en p nt ll .
Brightness adjustment . To adjust the brightness of
the image a earing on the screen.
5. Ajuste de color . Regul ción del color de l im gen
que p rece en p nt ll .
Colour adjustment . To adjust the colour of the image
a earing on the screen.
3
CABLEADO TAR ETA CONEXIONES.
WIRING OF THE CONNECTION CARD.
Co xi l o P r trenz do
Coaxial or Twisted air
Aliment ción distribuidores
Distributor ower su ly
A siguiente monitor
To the following monitor
Puls dor uxili r
Su lementary ushbutton
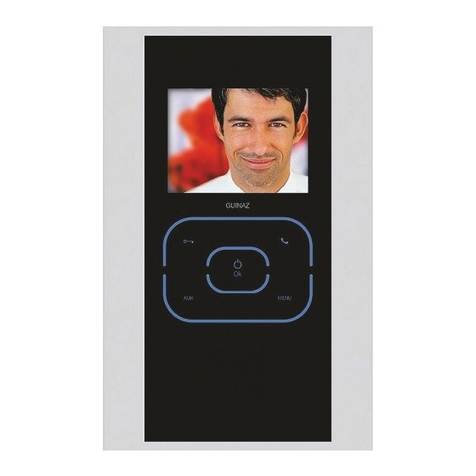
DESCRIPCIÓN MONITORES M2710D / M2740D / M1710DE / M1740DE.
DESCRIPTION MONITORS M2710D / M2740D / M1710DE / M1740DE.
1. Pulsador de encendido/apagado . Utiliz do p r
conect r y desconect r el monitor.
On/off push-button . Used to connect and disconnect
the monitor.
2. Pulsador abrepuertas . Sirve p r brir l puert .
Door opener push-button . This is ressed to o en
the door.
3. Pulsador comunicación . Sirve p r est blecer
comunic ción udio entre pl c c lle y monitor, siempre
y cu ndo el monitor se h y encendido previ mente.
Communication push-button . This is used to establish
audio communication between the street anel and the
monitor, as long as the monitor has been reviously turned
on.
4. Pulsador auxiliar . Utiliz do p r funciones jen s
l inst l ción del videoportero (ilumin ción esc ler ,
pertur segund puert ....). Cont cto libre de potenci l.
Supplementary push-button . Used for functions
other than those of the video entry hone installation (lighting
of stairs, o ening a second door...). Potential-free contact.
5. Ajuste de brillo . Regul ción del brillo de l im gen
que p rece en p nt ll .
Brightness adjustment . To adjust the brightness of
the image a earing on the screen.
6. Ajuste de contraste/color . Regul ción de contr ste
o color de l im gen que p rece en p nt ll .
Contrasts/Colour adjustment . To adjust the
contrasts/colour of the image a earing on the screen.
V/H
M/L
M/L
V/H
12
PUL
13
11
5
10
8
7
6
Hilos comunes
Common wires
11
MONITOR
PUL 7
568
G503111 - R00

4
CONFIGURACIÓN BASE MURAL PARA MONITOR
CONNECTION CARD CONFIGURATION.
RESISTENCIA DE TERMINACIÓN DE VÍDEO:
75 ohm: COAXIAL
100 ohm: PAR TRENZADO
SIN RESISTENCIA: el monitor no es el último de
l líne de vídeo.
VIDEO TERMINATION RESISTOR:
75 ohms: COAXIAL
100 ohms: TWISTED PAIR
NO RESISTANCE: the monitor is not the last one
along the video line.
Configur ción p r inst l ciones de vídeo con c ble tipo co xi l de 75 ohm, y el monitor es el último
de su r m de distribución. Es decir, el c ble sólo entr l b se mur l.
Configuration for video installations with 75 ohms coaxial cable and the monitor is last one on the
distribution branch, in order words, the cable only enters the wall-mounting base.
Configur ción p r inst l ciones de vídeo con c ble tipo p r trenz do c t.5 (100 ohm), y el monitor
es el último de su r m de distribución. Es decir, el c ble sólo entr l b se mur l.
Configuration for video installations with category 5 twisted air (100 ohms) and the monitor is last one
on the distribution branch, in order words, the cable only enters the wall-mounting base.
Configur ción cu ndo el monitor no es el último de su r m de distribución, t nto en inst l ciones
con c ble co xi l como con p r trenz do. Es decir, el c ble entr y s le de l b se mur l h ci otro
monitor.
Configuration when the monitor is not the last one on the distribution branch for both coaxial cable and
twisted air installations, in order words, the cable enters and exits the wall-mounting base to another
monitor.
Configur r l t rjet de conexiones de l b se mur l
según se indic en l pág. 4 y conect r el l tiguillo del
monitor.
Configure the connection card of the wall base anel as
indicated on age 4 and connect the monitor.
3Coloc ción monitor:
A) Enc j r sobre b se mur l
B) Presion r h st clip r.
Assembly of the monitor:
A) Assemble on the wall anel.
B) Press down until it cli s in.
4
INSTALACIÓN MONITOR M1720D. INSTALLATION OF THE MONITOR M1720D.
12
Coloc r l b se mur l en l p red medi nte 4 tir fondos
y conect r t rjet de conexiones.
Assemble this wall base anel on the wall using 4 slee er-
screws and connect it to the connection card.
P r extr er el monitor de l b se mur l:
A) Solt r el clip con un destornill dor.
B) Mover primero h ci rrib y después sep r r el
monitor de l b se.
Disassembly of the monitor:
A) Uncli with a screwdriver.
B) Move forward and then se arate the monitor from
the base.
G503111 - R00

5
INSTALACIÓN MONITORES M2710D (B&N) / M2740D (COLOR).
INSTALLATION MONITORS M2710D (B&W) / M2740D (COLOUR).
Configur r l t rjet de conexiones según se indic en l
págin 4 y conect r el monitor.
Configure the bridge of the wall base anel as indicated
on age 4 and connect the monitor.
21 Coloc r l b se mur l en l p red medi nte 4 tir fondos
y conect r t rjet de conexiones.
Assemble this wall base anel on the wall using 4 slee er-
screws and connect it to the connection card.
34
Coloc ción monitor:
A) Enc j r sobre b se mur l.
B) Presion r h st clip r.
Assembly of the monitor:
A) Assemble on the wall anel.
B) Press down until it cli s in.
P r sep r r monitor:
A) Solt r el clip con un destornill dor.
B) Empuj r h ci rrib y luego h ci fuer .
Disassembly of the monitor:
A) Uncli with a screwdriver.
B) Move u and then outwards.
G503111 - R00
¡ATENCI N! ¡IMPORTANTE!
LA POSICIÓN DE MONTAJE DE LAS BASES MURALES DE LOS MONITORES M2710D Y M2740D / M2740DT ES DIFERENTE.
W RNING! IMPORT NT!
THE ASSEMBLY POSITION OF THE WALL BASES IS DIFFERENT FOR MONITORS M2710D AND M2740D / M2740DT.

6
Empotr r c j p r monitor empotr ble. El c nto de l c j debe qued r r s de p red.
Fit in the box for the flush mounted monitor. The edge of the box will be at the level of the wall.
¡ATENCI N! ¡IMPORTANTE!
LA POSICIÓN DE MONTAJE DE LAS CAJAS DE LOS MONITORES M1710DE (B&N) Y M1740DE (COLOR) ES DIFERENTE.
W RNING! IMPORT NT!
THE ASSEMBLY POSITION FOR MONITOR M1710DE IS DIFFERENT FROM THAT FOR M1740DE (COLOUR).
1
Conect r los c bles y configur r l t rjet de conexiones
según se indic en l págin 4.
Perform the connections and configure card connections
as indicated on age 4.
2Antes de coloc r el monitor, just r l s p till s desliz ntes,
de t l form que l s superficies de referenci indic d s
queden r s de l p red. Cu ndo est s superficies queden
nivel d s, sujet r l s p till s con los tornillos de priete.
Before installing the monitor, adjust the sliding stri s in such
a way that the reference surfaces are at wall level. Once
levelled, tighten the stri s with the screws for tightening.
3
Antes de introducir el monitor en l c j , conect r el l tiguillo
del monitor:
A) Introducir el monitor en l c j empotr ble.
B) Despl z r l ter lmente, centr ndo el monitor.
Connect the connector before inserting the monitor in the box:
A) Fit the monitor in the flush mounted box.
B) Move the monitor sideways to centre it.
4Un vez coloc do el monitor y nivel do vertic lmente,
pret r los dos tornillos ocultos en l c rc s del
monitor.
Once the monitor has been installed and levelled
vertically, tighten the two screws hidden in the monitor
casing.
5
INSTALACIÓN MONITORES M1710DE (B&N) / M1740DE (COLOR).
INSTALLATION MONITORS M1710DE (B&W) / M1740DE (COLOUR).
G503111 - R00

7
G503111 - R00

Other manuals for M2710D
1
This manual suits for next models
7
Other Guinaz Intercom System manuals

Guinaz
Guinaz A2410 User manual

Guinaz
Guinaz A2420 User manual

Guinaz
Guinaz KC001 User manual

Guinaz
Guinaz KA001LA User manual

Guinaz
Guinaz M2710D User manual

Guinaz
Guinaz M1725V2 User manual

Guinaz
Guinaz T1150 User manual

Guinaz
Guinaz 1140V2 User manual

Guinaz
Guinaz T1140V2 User manual

Guinaz
Guinaz M3760 User manual